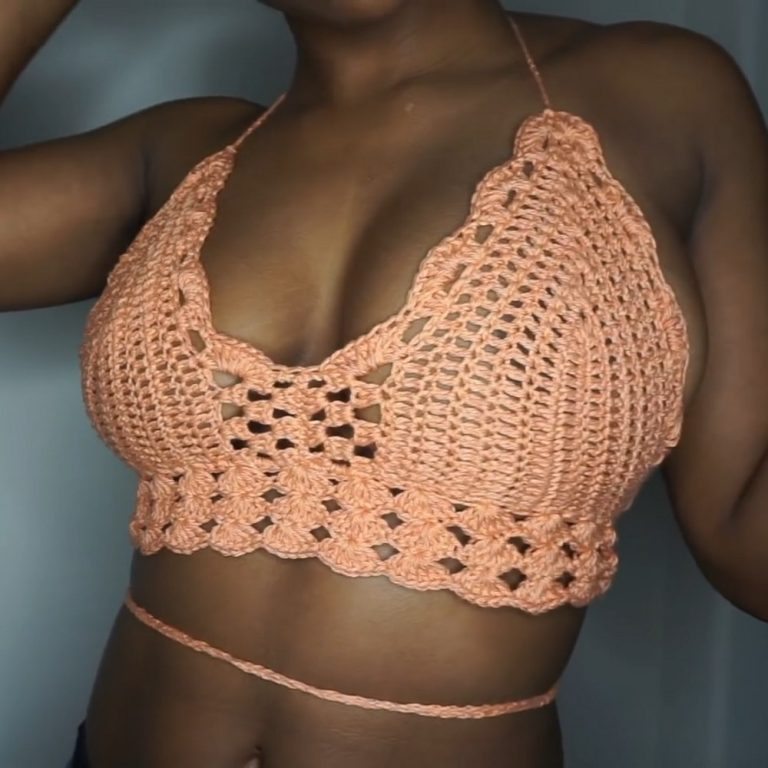
Sleek Crochet Tie-up Top Pattern for Effortless Looks
Switch up your look with this Crochet Tie-up Top Pattern featuring adjustable straps, airy comfort, and relaxed vibe perfect for casual days.
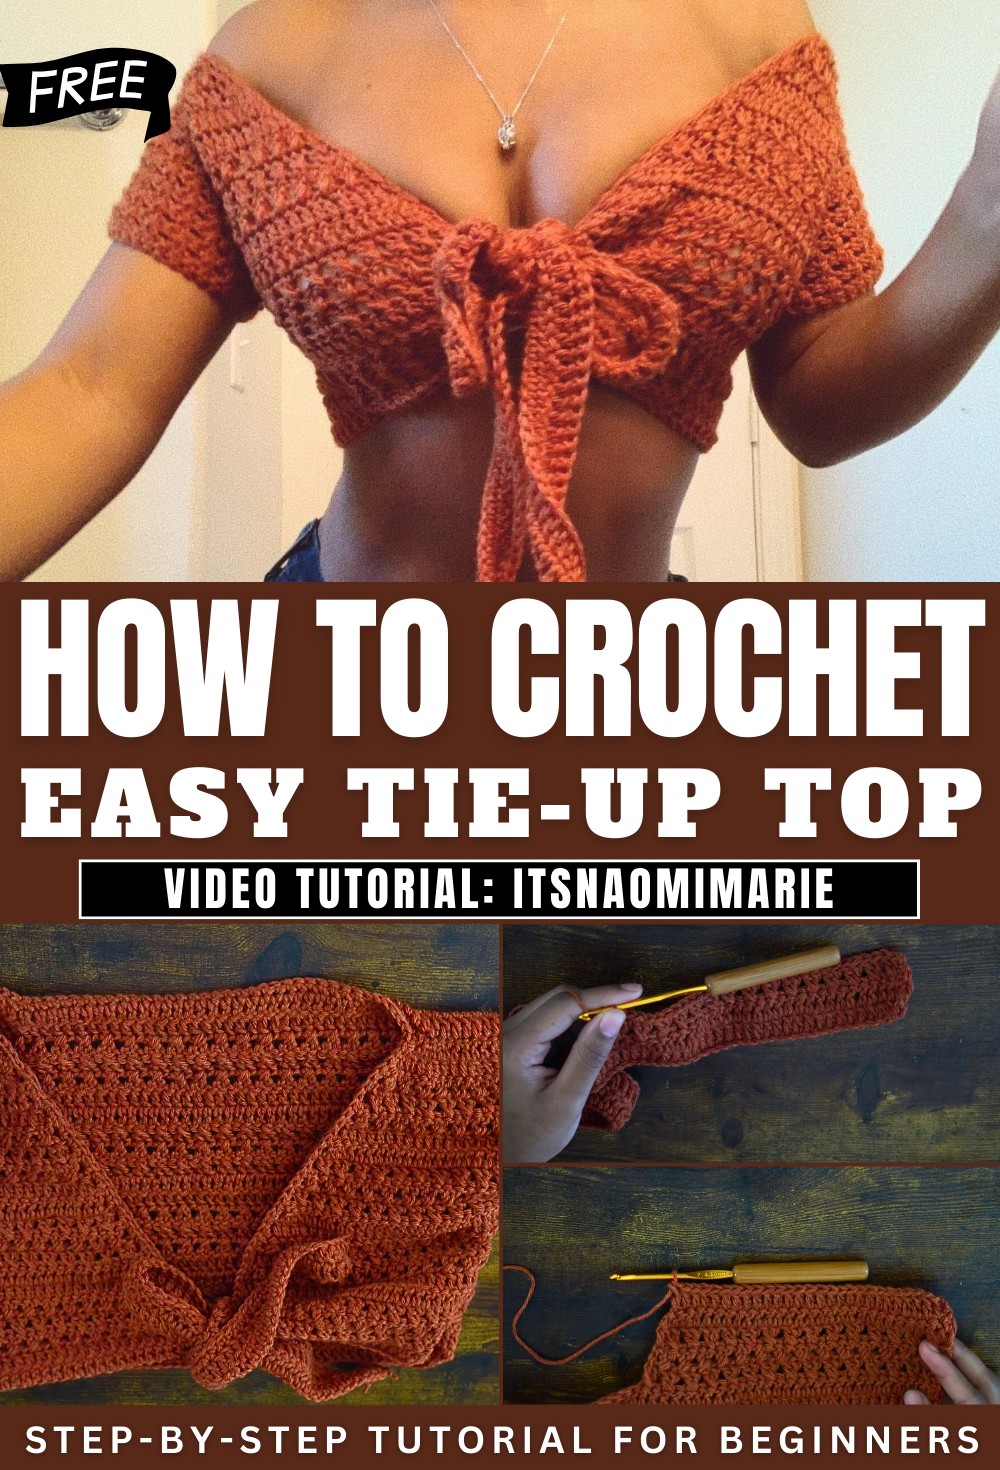
Bold Crochet Tie-up Top Pattern That Grabs Attention
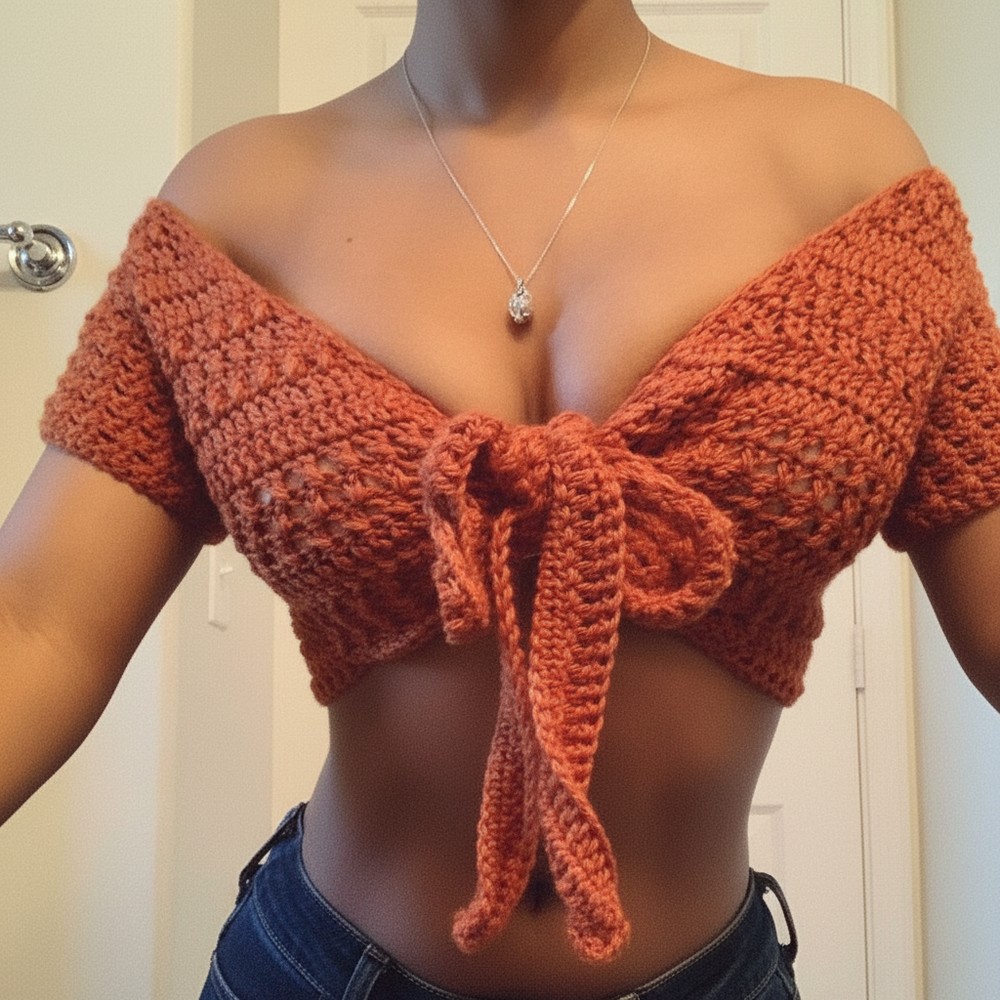
Effortless style meets functional versatility in the Crochet Tie-up Top Pattern, highlighted by its adjustable tie-up feature that ensures a personalized and flattering fit for every body shape. The open-back silhouette, accentuated with delicate ties, delivers a playful mix of elegance and modern flair, making it a striking choice for warm weather outings, music festivals, or spontaneous beach days. The breathable, lightweight nature of the piece keeps you comfortable even under the summer sun, while the intricate stitchwork adds visual interest and an artisanal touch to your ensemble.
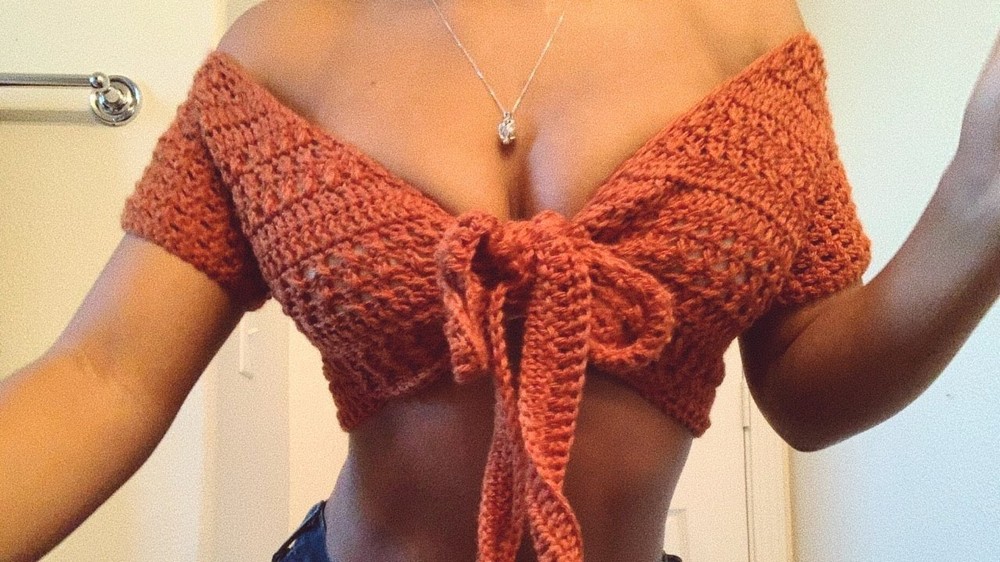
A range of color options allows for easy coordination with skirts, jeans, or shorts, seamlessly blending into both casual and more dressed-up occasions. The charm of the Crochet Tie-up Top Pattern lies in its unique blend of bohemian and contemporary elements, providing a standout wardrobe option that showcases individuality and creative expression. This versatile top brings confidence and sophistication to every setting, ensuring a memorable impression each time you wear it.
Materials Needed
-
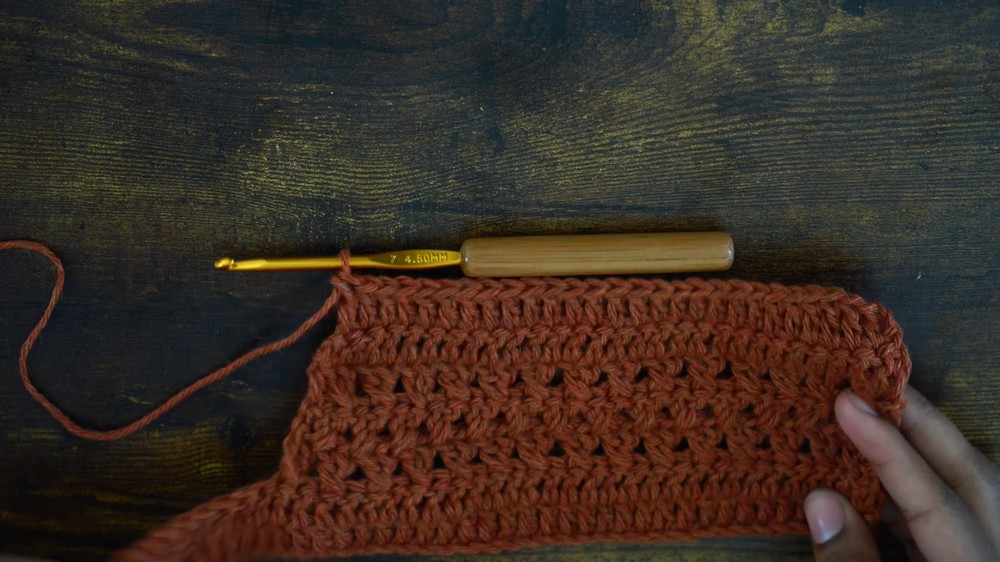
Yarn: Size 4 (Medium Weight/Worsted) yarn.
-
Hook: 3.5 mm or 4.0 mm crochet hook.
-
Tools: Measuring tape, scissors, tapestry needle.
Pattern Details
-
Skill Level: Intermediate.
-
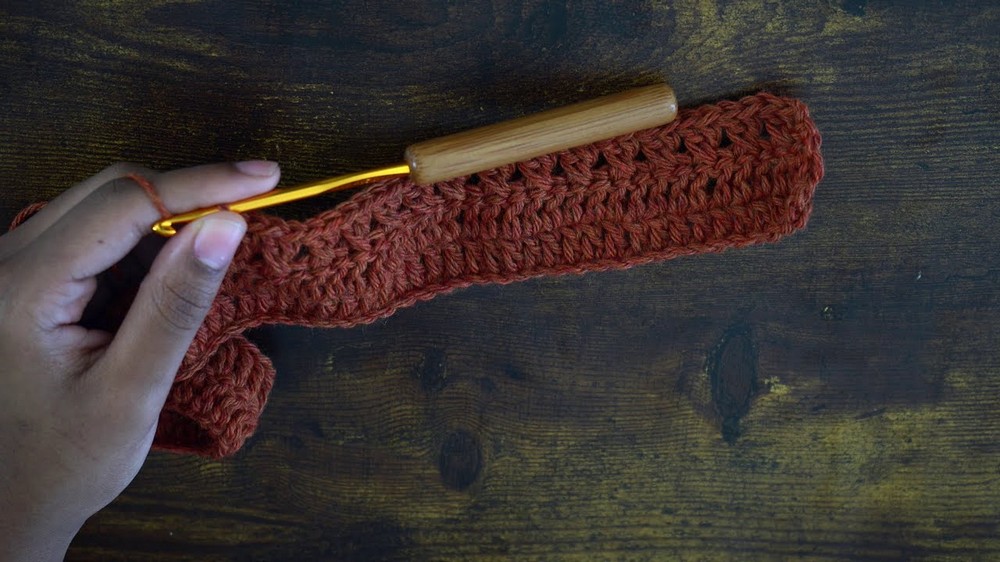
Special Stitch (X-Stitch): Skip 1 stitch, work 1 double crochet (dc) in the next stitch. Then, work 1 dc into the skipped stitch, crossing over the first dc.
Phase 1: The Back Panel
-
Foundation: Chain a length that stretches to cover your back from side-seam to side-seam. (Ensure it is an even number).
-
Rows 1–2: dc in the 4th chain from hook and in every chain across.
-
Rows 3–5: Work the X-Stitch pattern across.
-
Growth Logic: Repeat the sequence—2 rows of plain dc, followed by 3 rows of X-stitch—until the panel measures approximately 12.5 inches in width (or reaches your front bust area).
-
Finish: Cut and fasten off.

Phase 2: The Front Tie Panels (Make 2)
-
Foundation: Chain 90 (or a length sufficient for tying a bow).
-
Rows 1–2: dc in every chain across.
-
The Formula: Take your back panel’s total stitch count, subtract 10, and divide by 2. (Example: The tutor uses 25 stitches).
-
Shaping (Decreasing):
-
Work the X-stitch pattern for your calculated number of stitches (e.g., 25).
-
Inner Edge Decrease: To taper the tie into the bodice, work a dc2tog (double crochet two together) at the end of every row on the “inside” edge only.
-
Keep the “outside” edge straight (no decreases).
-
-
Height: Continue the decrease rows until the number of rows matches your back panel.
Phase 3: Assembly
-
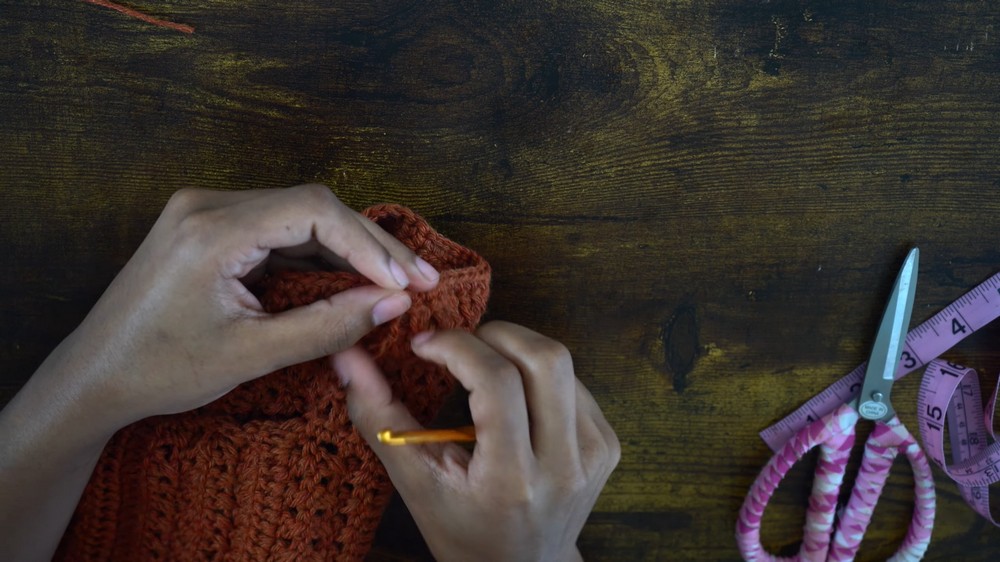
Shoulders: Align the top edges of the front and back panels. Slip stitch to join.
-
Side Seams: Flip the garment inside out. Slip stitch the side seams up from the bottom, leaving an opening of 5–6 inches for the armholes.
-
Borders: Attach yarn to the bottom edge. Work a row of single crochet (sc) around the entire perimeter (neckline and ties) for a clean finish.
Phase 4: The Sleeves
-
Foundation: Attach yarn to the armhole. Work 2 sc into the side of every dc row around the opening.
-
Sleeve Body: * Work the X-stitch pattern in rounds for 6–7 rows.
-
Cuff: Finish with one row of sc as a border.
-
Repeat: Mirror the process for the second sleeve.

Conclusion
Finishing this front-tie top provides you with a boutique-quality garment that showcases your growth in shaping and textured stitching. By mastering the asymmetrical decreases on the front panels, you’ve created a custom fit that is both supportive and stylish. Once you weave in your final ends and tie the front bow, your unique handmade top is ready for its first outing.
Pro Tip: When working the side-seam slip stitches, keep your tension loose. If the seam is too tight, it will pucker the fabric and make the armholes uncomfortable.