Polished Crochet Halter Top Pattern With a Refined Look
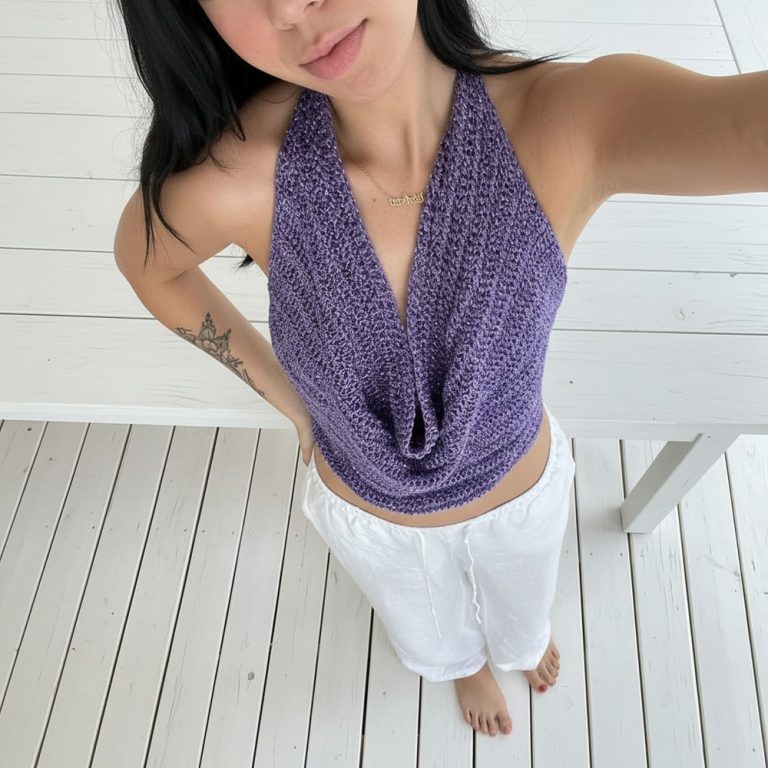
Showcase standout looks using this Free Crochet Halter Top Pattern for a sleek silhouette and airy comfort suited to relaxed days and nights.
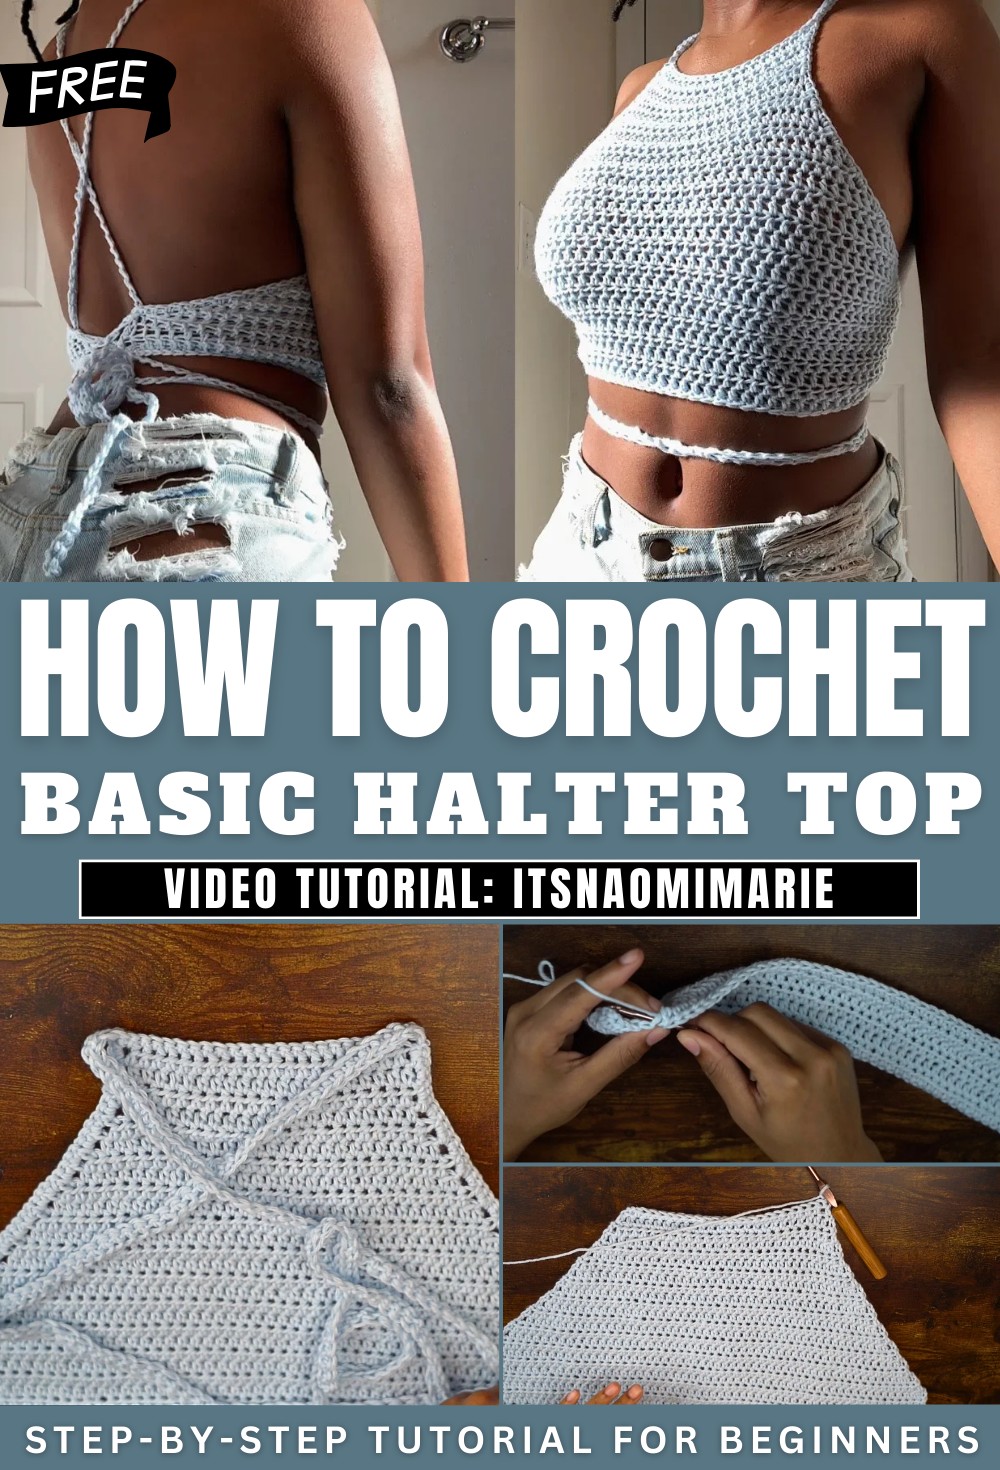
Youthful Crochet Halter Top Pattern for Fresh Styling
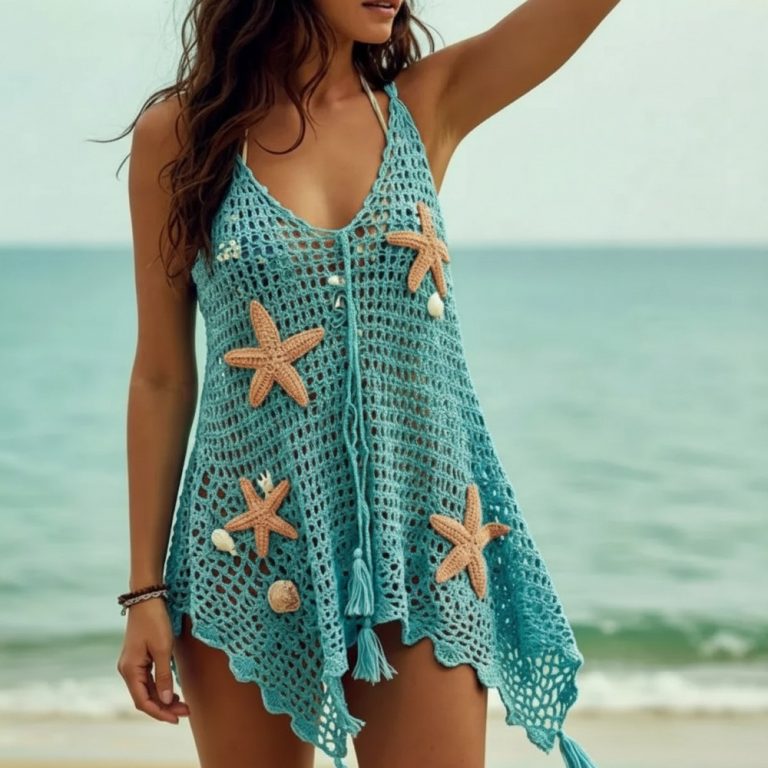
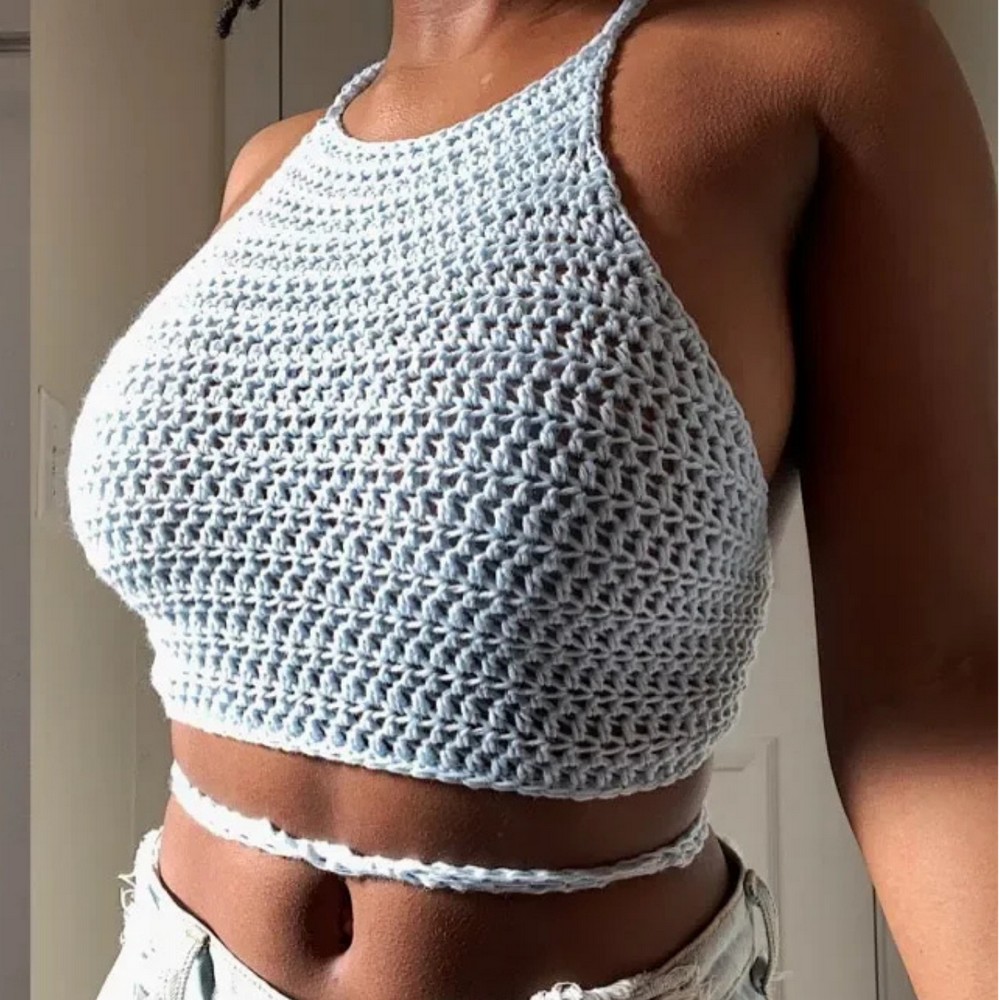
Graceful lines and a chic silhouette transform every outfit with this fashionable piece, capturing attention with its flattering halter neckline and delicate openwork texture. The elegant design spotlights the shoulders and collarbones, suiting a variety of body shapes while offering a touch of effortless sophistication. Perfect for sunny festivals, beach gatherings, or relaxed afternoons, its breathable structure keeps you cool and comfortable throughout any activity.
Color options range from bold, vibrant shades to classic neutrals, allowing for expressive personal style and seamless matching with existing wardrobe items. This versatile top layers beautifully under jackets or stands out on its own, bringing playful yet refined energy to every look. Easy customization in size and color makes each garment unique, while the lightweight feel supports all-day comfort. The specialty shines in its blend of bohemian inspiration and modern trends, ensuring you enjoy confident, standout style wherever you go.
Materials Needed
-
Yarn: Size 4 (Medium Weight/Worsted) yarn.
-
Hooks: 5.0 mm (for the body and straps) and 3.5 mm (for the border).
-
Tools: Scissors and a tapestry needle.
Pattern Details
-
Skill Level: Beginner-Friendly.
-
Sizing (Small/Medium): * Base: Chain 60 (approx. rib-to-rib width).
-
Decrease Target: 22 stitches at the neck.
-
Step-by-Step Instructions
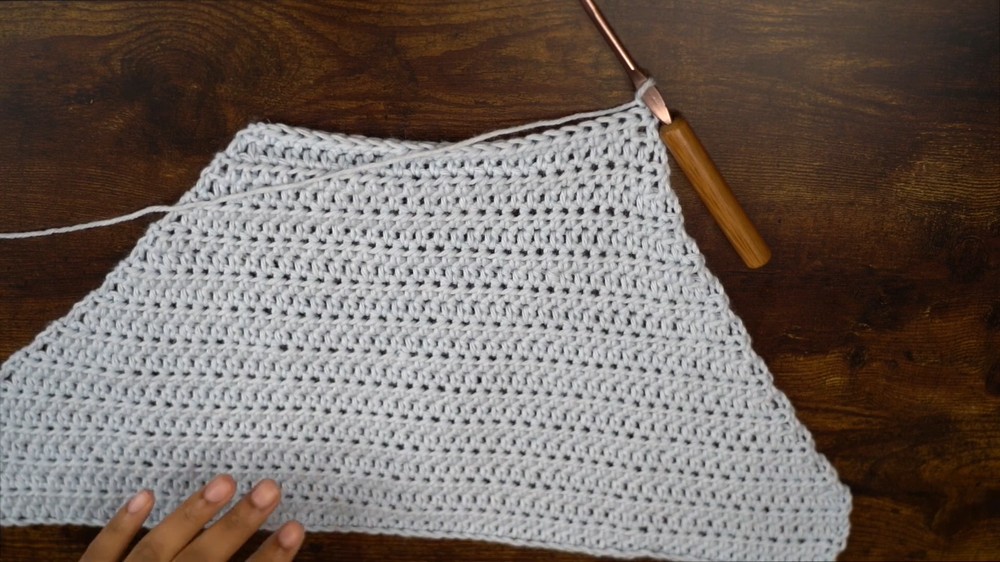
Phase 1: The Foundation Base
-
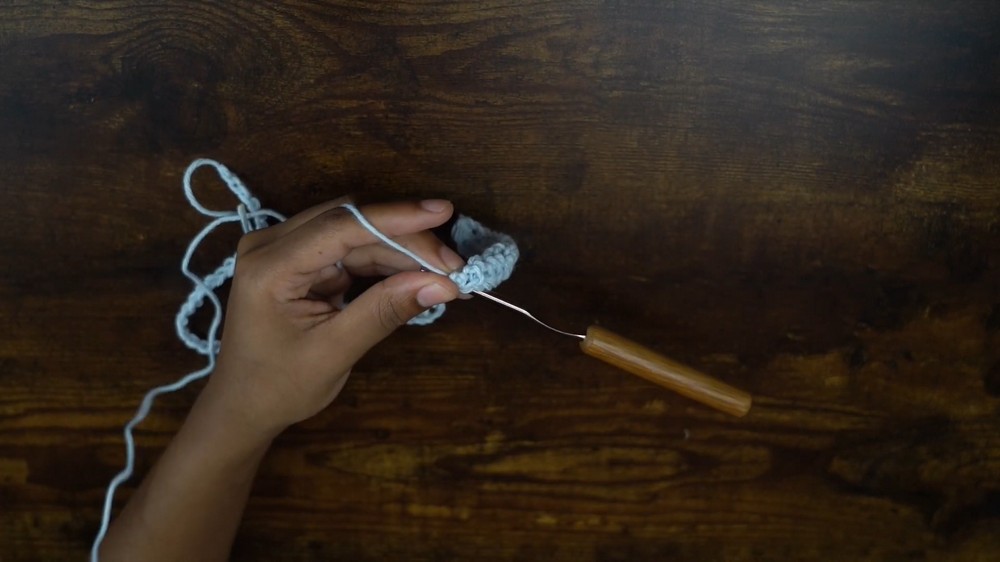
Foundation: Using the 5.0 mm hook, create a slipknot and chain 60.
-
Row 1: Work 1 half-double crochet (hdc) into the 2nd chain from the hook and in every chain across.
-
Rows 2–5: Chain 2 (does not count as a stitch), turn. Work 1 hdc in every stitch across.
-
Note: For more coverage/length, add more rows here before beginning the decreases.
-

Phase 2: Shaping the Taper
-
Decrease Row: Chain 2, turn. Skip the very first stitch and work 1 hdc into the 2nd stitch.
-
Row End: Work across until 2 stitches remain. Skip the second-to-last stitch and work 1 hdc into the very last stitch.
-
Growth: Repeat this decrease pattern (skipping the first and last stitch of every row) until your row count narrows to 22 stitches total.
-
The Neckline: Once you reach 22 stitches, work 3 rows of regular hdc (no decreases) to create a stable top edge.
Phase 3: Border and Straps
-
Side Border: Switch to the 3.5 mm hook. Attach yarn to the side of the top. Work 2 single crochets (sc) into the side post of every hdc row to clean up the edges.
-
The Straps: When you reach the top corner, switch back to the 5.0 mm hook.
-
Chain: Work a very long chain (approx. 350–400 chains).
-
Return: Work 1 sc in each chain back down to the top of the garment to create a sturdy, comfortable strap.
-
-
Repeat: Finish the border along the bottom and other side, repeating the strap process for the second corner.

Phase 4: Assembly
-
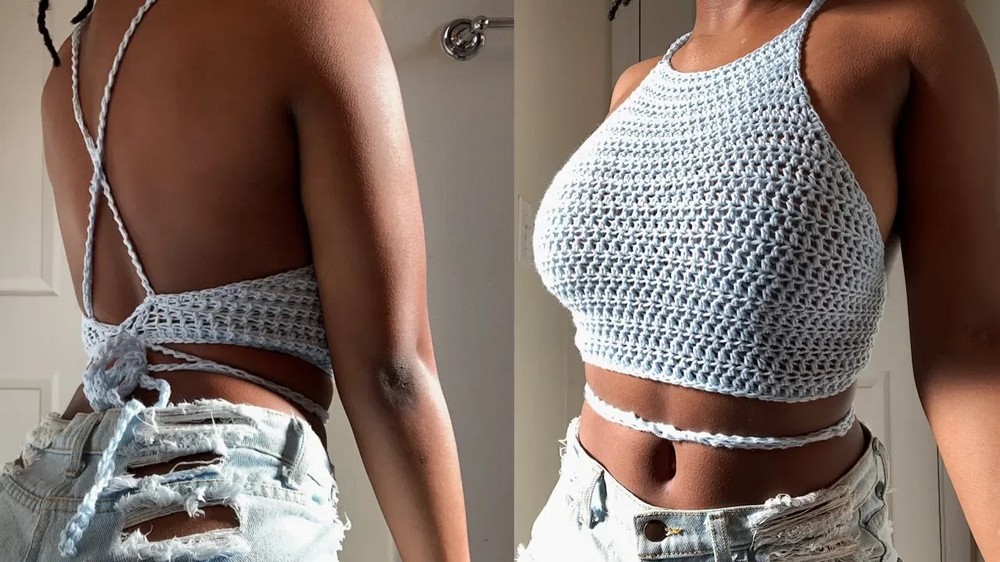
Criss-Cross Tie: Lace the long straps through the bottom corners of the garment.
-
Fit: Cross them over your back and tie at the waist for a secure, adjustable fit.

Conclusion
Finishing this halter top provides you with a custom-fit, high-interest summer piece that showcases your mastery of basic shaping. By combining the 5.0 mm hook for a flexible body and the 3.5 mm hook for a crisp border, you have created a garment that is as durable as it is stylish. Once you weave in your final ends, your unique handmade top is ready for festival season.
Pro Tip: To prevent the straps from digging into your neck, ensure the return sc stitches on the strap are not too tight. Maintaining a slightly looser tension on the straps allows them to stretch and move with your body.