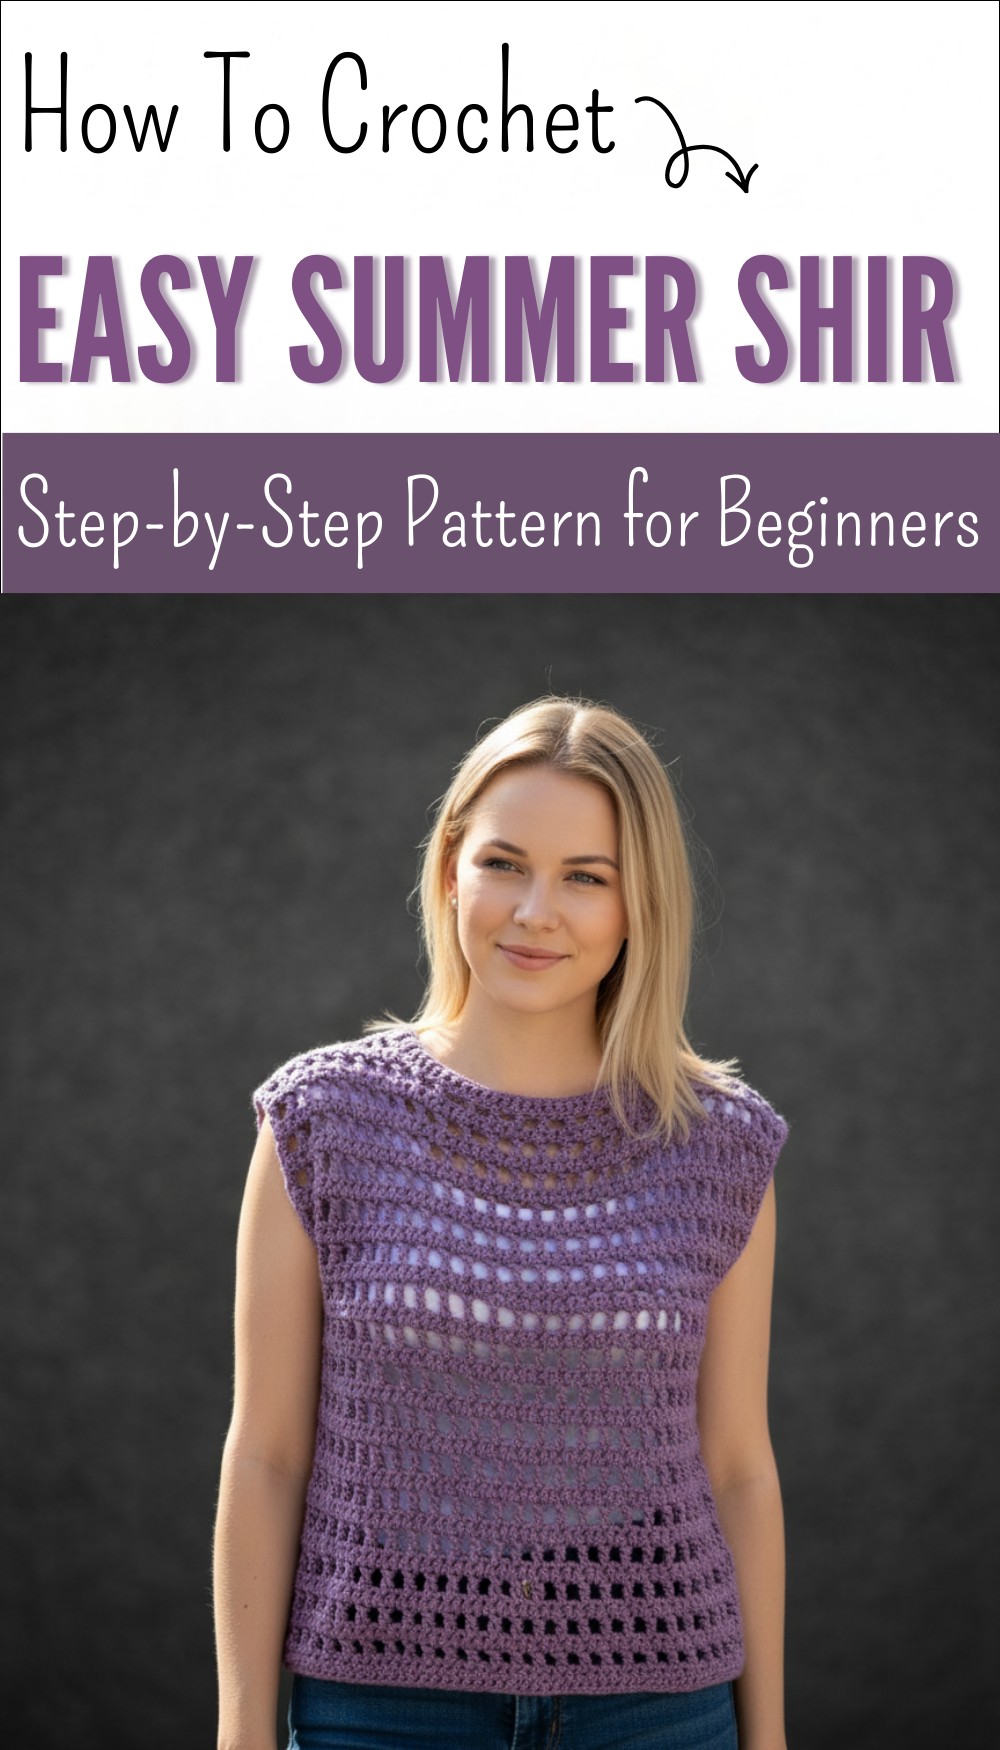
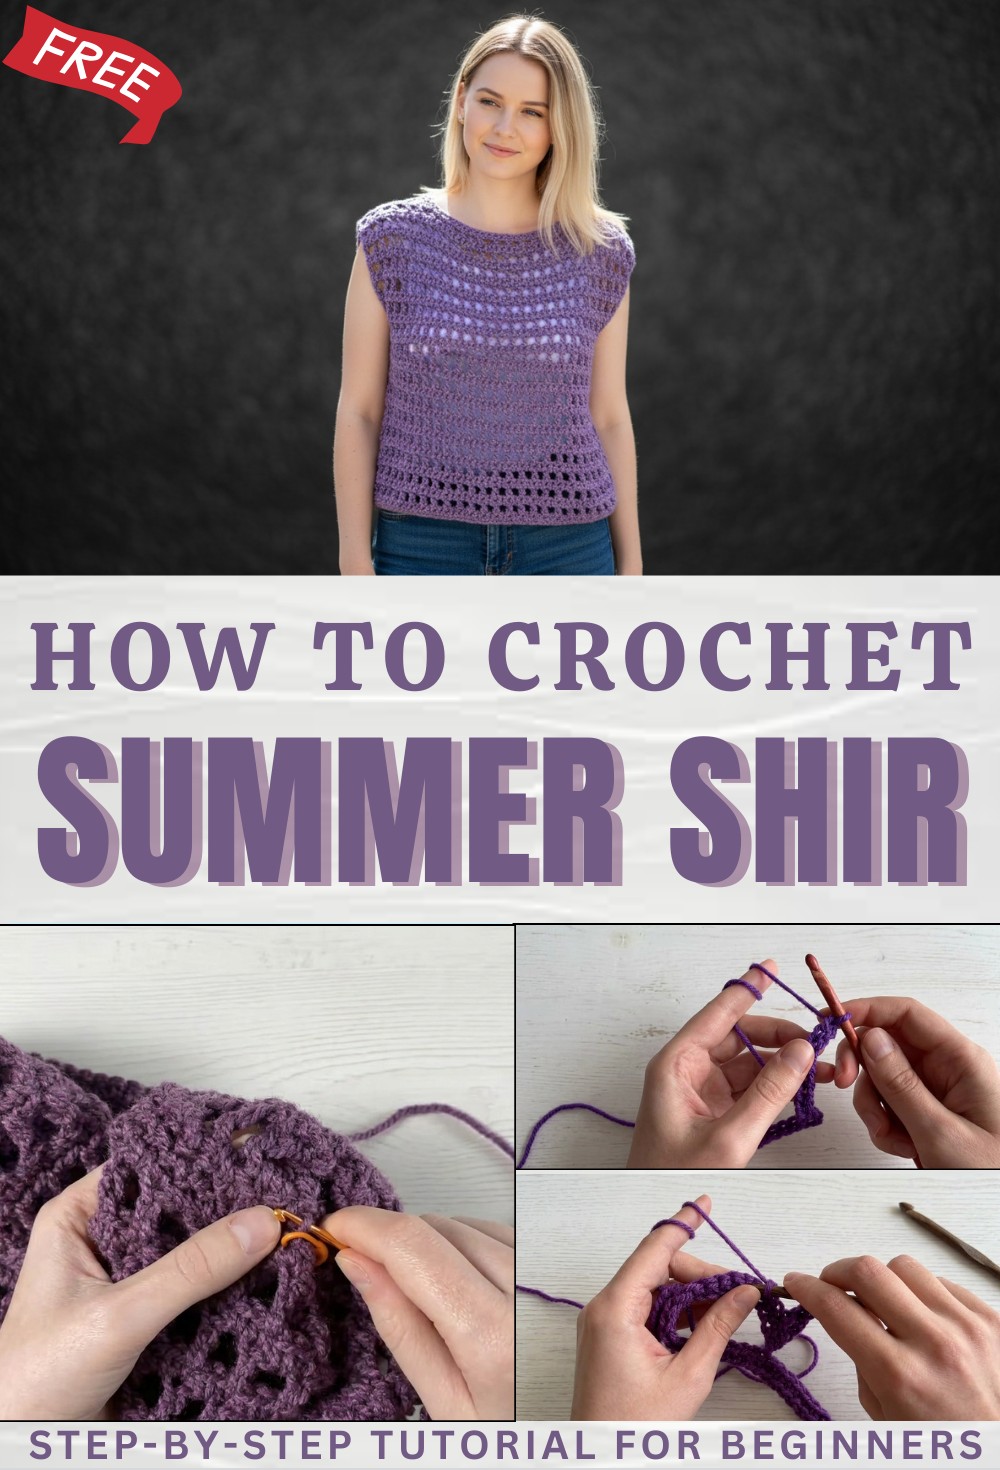
Boho Free Crochet Summer Shirt Pattern for Sunny Days
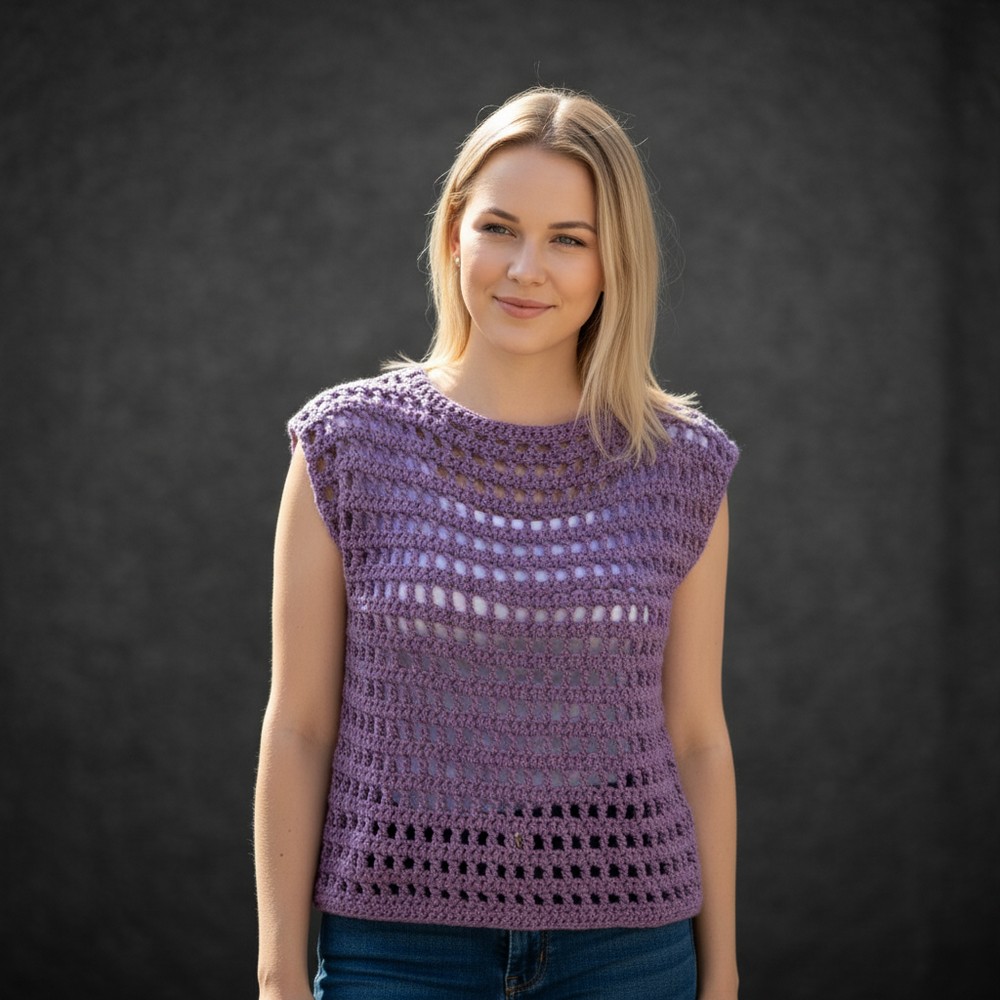
Radiate summer charm using Free Crochet Summer Shirt Pattern for breezy comfortable style for relaxing outside or enjoying warm weather.
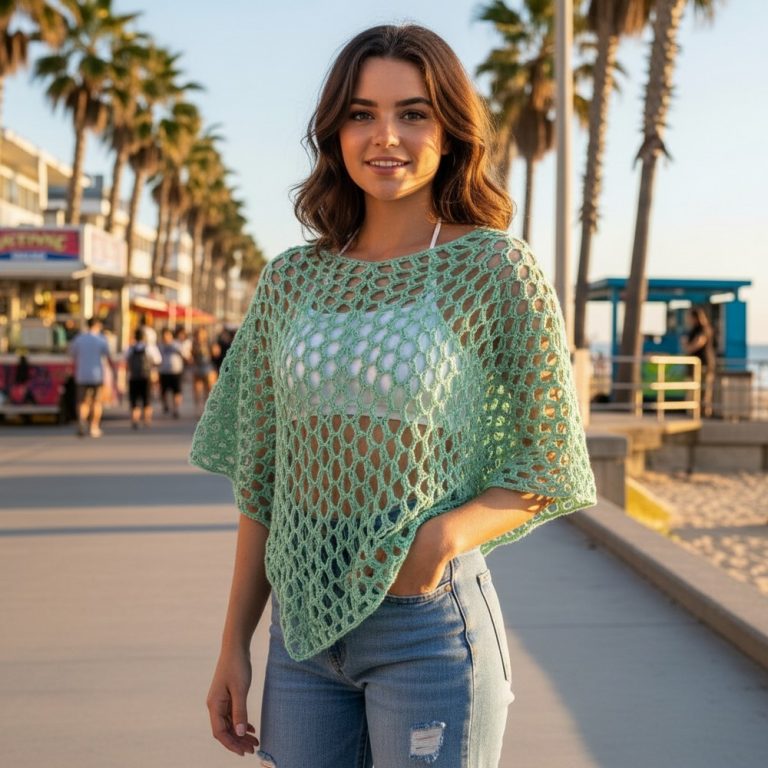
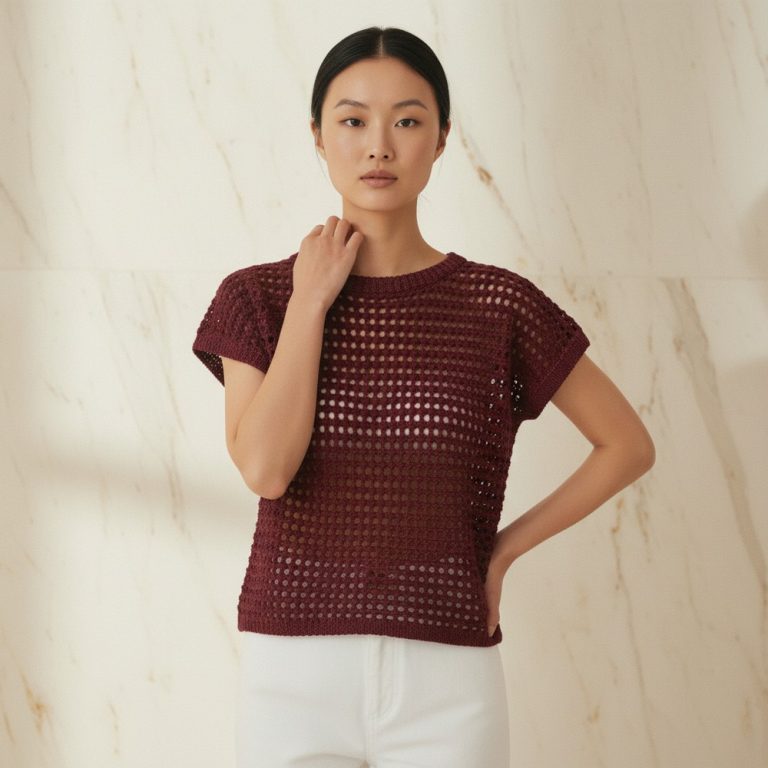
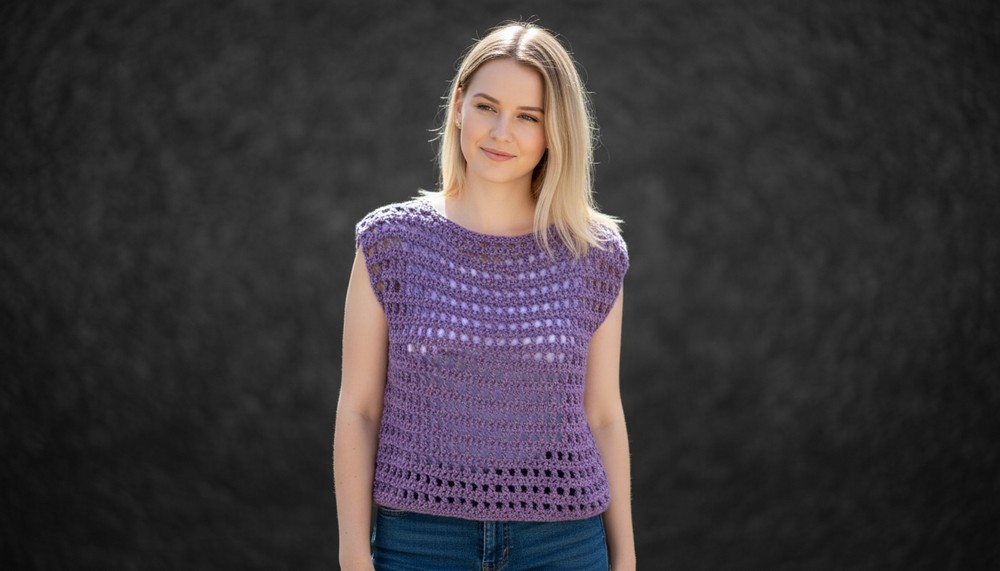
Not everyone enjoys heavy or sticky clothes during summer heat so finding a cool and gentle top is a real treat. The Crochet Summer Shirt pattern offers a beautiful way to stay comfortable while looking stylish. Its light and open stitches let air move easily making each shirt pleasant to wear even on the warmest days. You can choose bright colors or soft pastels to match your style and every piece feels unique with its lovely handmade look.
Trendy Free Crochet Summer Shirt Pattern You’ll Love Wearing
Using this pattern your shirt can mix well with jeans shorts or skirts and it fits smoothly without feeling tight. The Crochet Summer Shirt pattern uses soft yarns so the result feels gentle on your skin perfect for outdoor fun or simply relaxing with friends. With its textured design and easy style this shirt stands out as a favorite for many people who want something fresh and attractive during summertime.
Easy Crochet Summer shirt Pattern
Materials
- Yarn: Approx. 300g worsted or aran weight wool or cotton yarn (original used a 600g “mystery” wool, only about half used; any smooth yarn of preferred fiber works)
- Hook: Size 6.0 mm (US J-10) crochet hook
- Optional:
- Measuring tape
- Darning needle
- Scissors
- Stitch markers
Key Abbreviations (US Terminology)
| Abbreviation | Meaning |
|---|---|
| ch | chain |
| sc | single crochet |
| dc | double crochet |
| st(s) | stitch(es) |
| sp | space |
| sl st | slip stitch |
Special Notes
- The starting chain must be a multiple of 3, plus 1 extra chain.
- The top is made of two identical panels (front and back) which are seamed at the shoulders and sides.
- Work your sc rows into the back bumps of the starting chain for a neat edge.
- The width and length are customizable: sample measures 50cm wide (51 ch + 1 = 52 ch total for panel), and 42cm long.
Gauge & Sizing
- Approximate finished width: 50 cm (Each panel; adjustable)
- Approximate finished length: 42 cm (adjustable)
- To check width: Work the starting chain, lay it flat and measure. Adjust the chain count in multiples of 3 as needed.
- To check length: Work rows until desired length is reached before seaming.
Pattern Instructions
Panel (Make 2)
(Front and back are identical)
Foundation Chain
- Ch a multiple of 3 to desired width (e.g., 51 ch for 50cm).
- Ch 1 more (for turning; e.g., total 52 ch).
Row 1 (Set-up Row — Single Crochet in Back Bumps)
- Sc in 2nd ch from hook and in every ch across. (Work into back bumps of chain for neat bottom edge.)
- Turn.
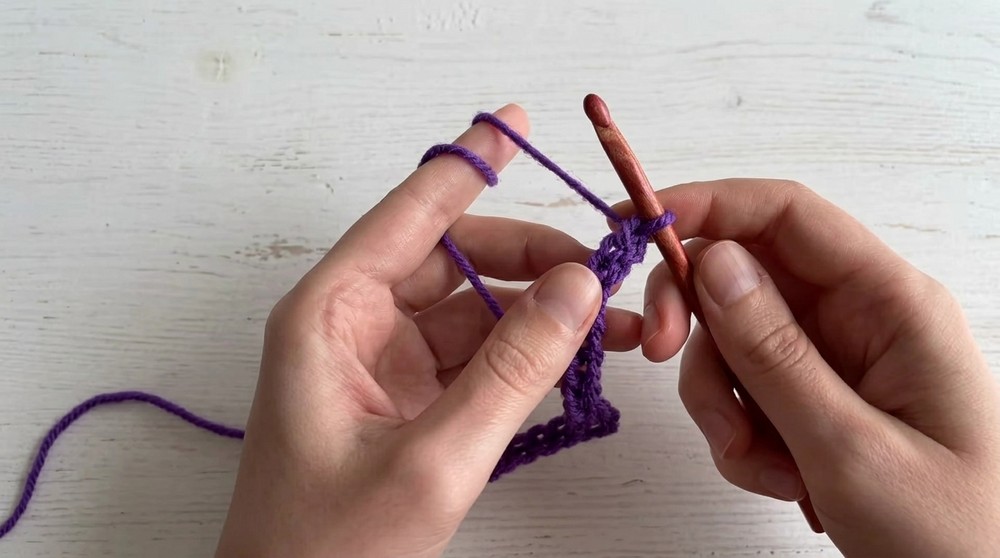
Row 2 (Lace Pattern Row)
- Ch 3 (counts as first dc, do NOT turn as a foundation stitch).
- Skip next st, dc in following st.
- *Ch 1, skip next st, dc in next st.
- Repeat (ch 1, skip next st, dc in next st) across the row.
- End with a dc in the last st. (Your last dc should be right at the edge.)
- Turn.

Row 3 (Single Crochet Row)
- No turning ch!
- Sc in each st and each ch-1 sp across:
- Sc in 1st st (the top of the ch-3),
- Sc in every ch-1 space AND sc in top of every dc.
- End with a sc in top of turning ch (if needed for your foundation).
- Turn.
Rows 4 and On
- Repeat Rows 2 and 3 alternately until piece reaches your desired length.
Assembly – Seaming
Shoulders
- Lay both panels flat, right sides facing.
- Measure and mark how wide you want the neck opening.
- Using a length of yarn and darning needle, start at the arm edge, sew the top edges together (shoulders), using the inside loops only for a flat seam. Leave an open space in the center for the neckline.
- Repeat for the other shoulder.
Sides
- Turn the top inside out.
- Measure and mark the armhole depth (try on, or use a favorite shirt).
- Sew from bottom edge up to the armhole marker, joining side seams with the same stitch-by-stitch or “looping” method as for the shoulders.
- Weave in all ends securely.
Special Techniques
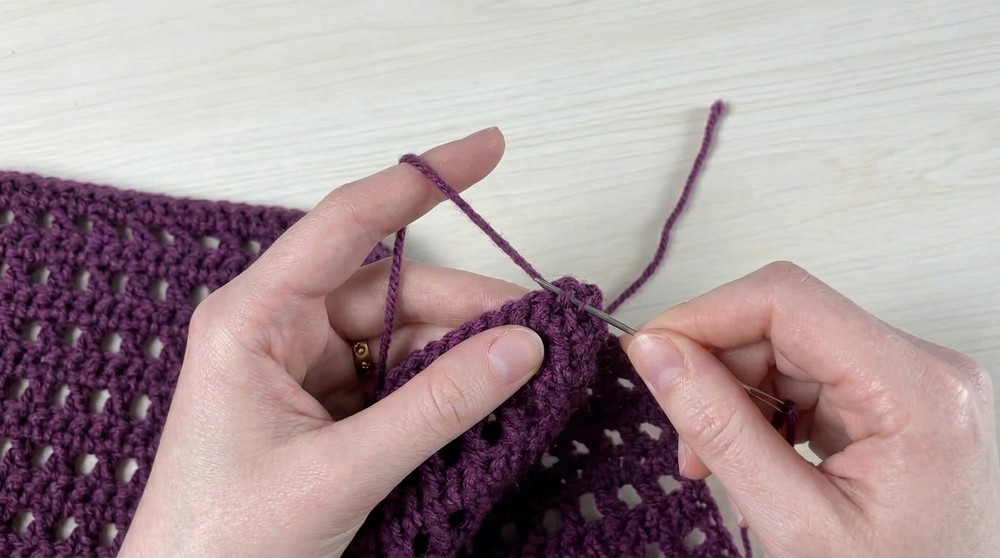
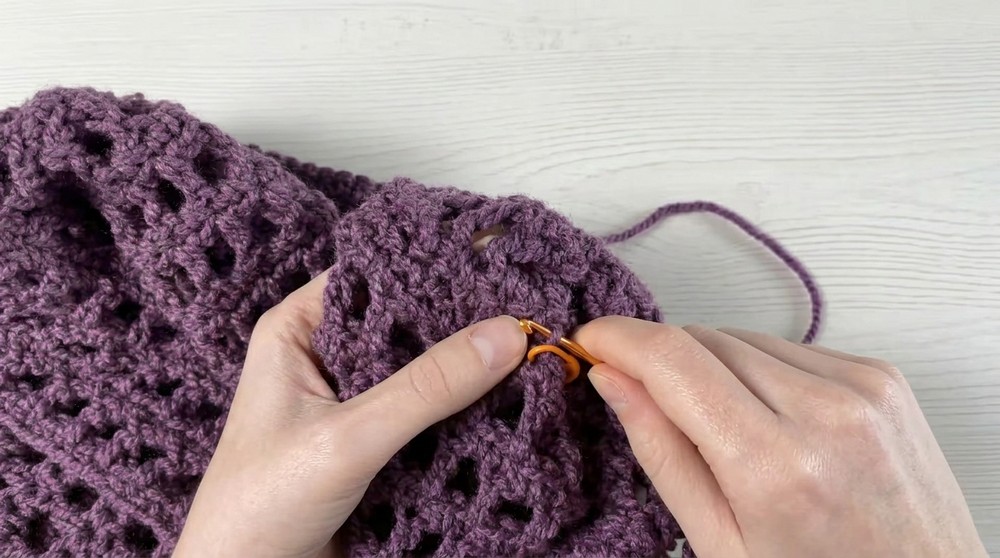
Invisible/Flat Seam (Shoulders and Sides):
- Sew through only the inside loop of each stitch on each panel for a nearly invisible, flexible seam (use darning needle and yarn tail).
Conclusion
This pattern creates a breezy, fashionable lace top worked in two rectangular panels. The lace pattern is quick and very beginner-friendly. With a customizable fit, you can create a garment that’s perfect for layering in any season.
Pattern Correction
- Ensure you have [multiple of 3] + 1 stitches in your starting chain (e.g., 51 + 1 = 52).
- Don’t add a turning ch before Row 3/sc rows—just turn the work and start single crochets for neat edges.
Tips
- Measuring: Use a shirt that fits well to determine width/length or use your own measurements.
- Edges: Always work the first sc row into the back bumps of starting chain for a neat, stretchy edge.
- Blocking: Block finished panels before seaming for best drape and clean seams.
- Customization: Try a bamboo, linen, or cotton yarn for a lighter summer top—or use a cozy wool for colder weather.
- Experiment: You may edge finished arm and neck openings with sc if desired for a tidy look.