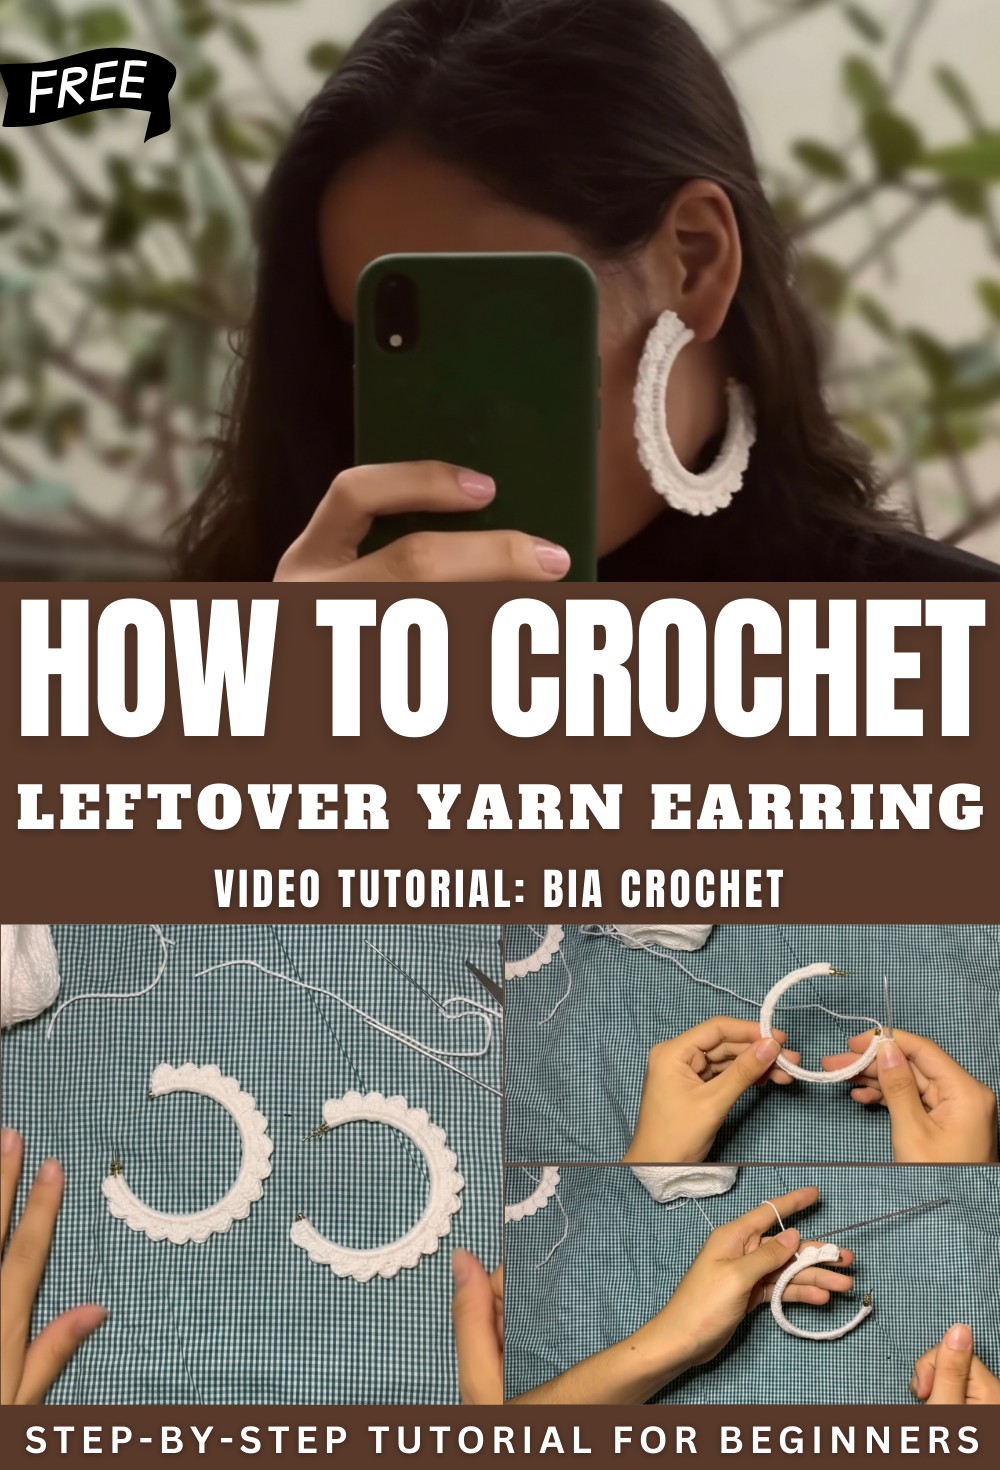
Free Crochet Leftover Yarn Earring Pattern To Updates Your Look

Rock these colorful crochet leftover yarn earring pattern pieces for a snappy way to gain some bubbly jewelry that utilizes every scrap while looking posh.
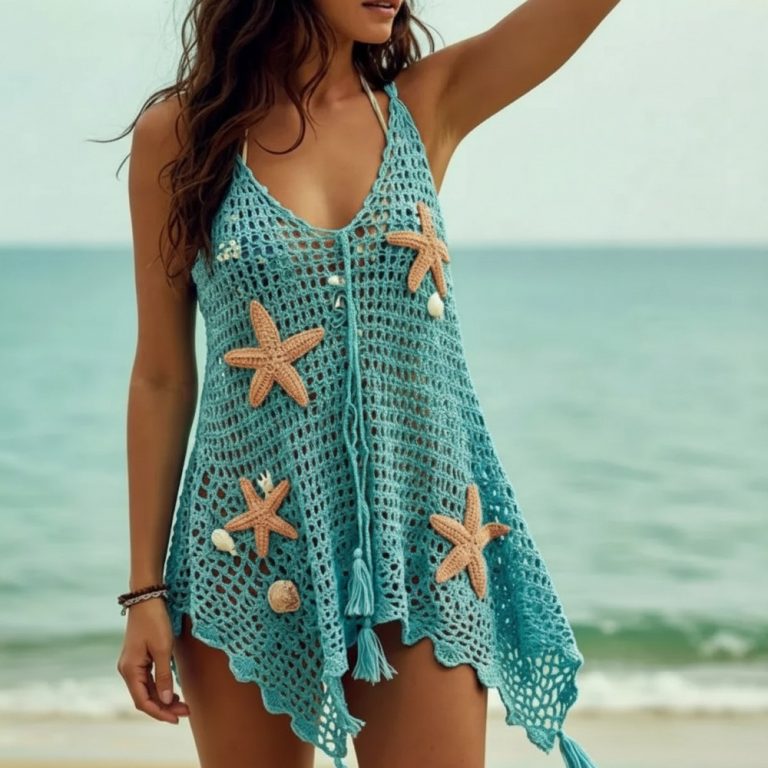
Small scraps of colorful thread often end up tucked away in a drawer, but they are actually perfect for making tiny, stylish accessories. This Crochet leftover yarn earring Pattern lets you turn those little bits into lightweight jewelry that feels much better for us than heavy metal pieces that can pull on your ears. By using what you already have, it becomes very easy to create a matching set for a crochet daisy cropped top or even a sleek crochet cropped high neck without spending any extra money.
Simple Crochet Leftover Yarn Earring Pattern Feels Very Light
You can finish a pair in just a few minutes, which makes it a fast and fun way to clear out your crochet bin while adding something unique to your collection. The beauty of these earrings is found in the soft texture and the handmade feel that looks much more personal than store-bought items. They are great for wearing to a casual lunch with friends, a summer party, or even when you are just lounging at home and want to feel a bit more dressed up. Each Crochet leftover yarn earring Pattern helps you turn a tiny leftover piece of string into a stunning fashion statement that everyone will notice.
Materials
-
Hoops: A pair of metal hoop earrings. The tutor suggests using hoops that have small stoppers or hooks at the ends to prevent the crochet stitches from sliding off [00:21].
-
Yarn: Small amounts of any fine-weight yarn or thread scraps (e.g., mercerized cotton) [00:11].
-
Hook: A crochet hook suitable for the yarn weight (typically 1.5mm to 2.5mm for earring threads).
-
Accessories: Scissors and a tapestry needle for weaving in the ends [03:07].
Step-by-Step Pattern
1. Covering the Hoop (Round 1)
-
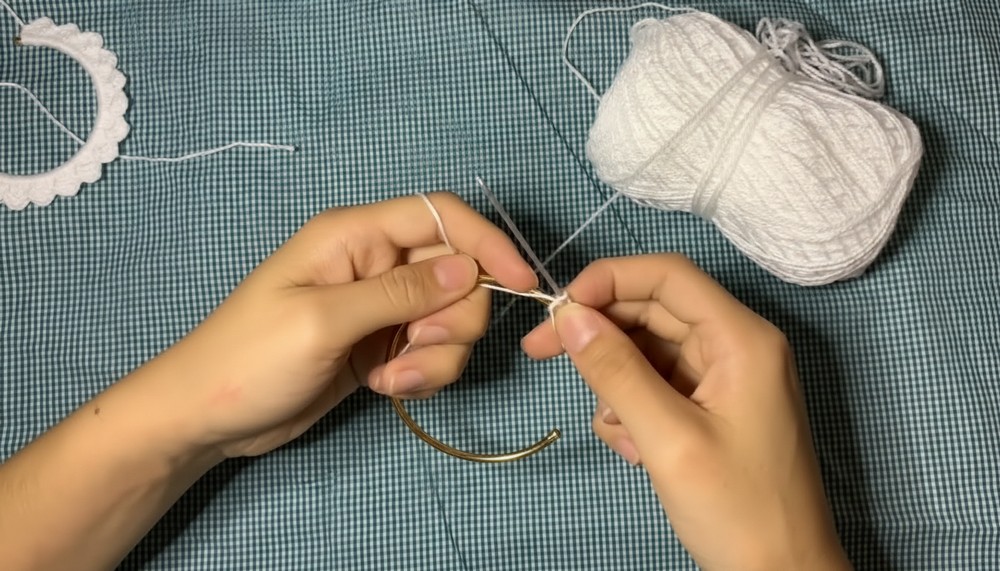
Preparation: Start with a slip knot on your hook.
-
Orientation Tip: To ensure the stitches face the correct way on both earrings, if you started one from the bottom, start the other from the top [00:33].
-
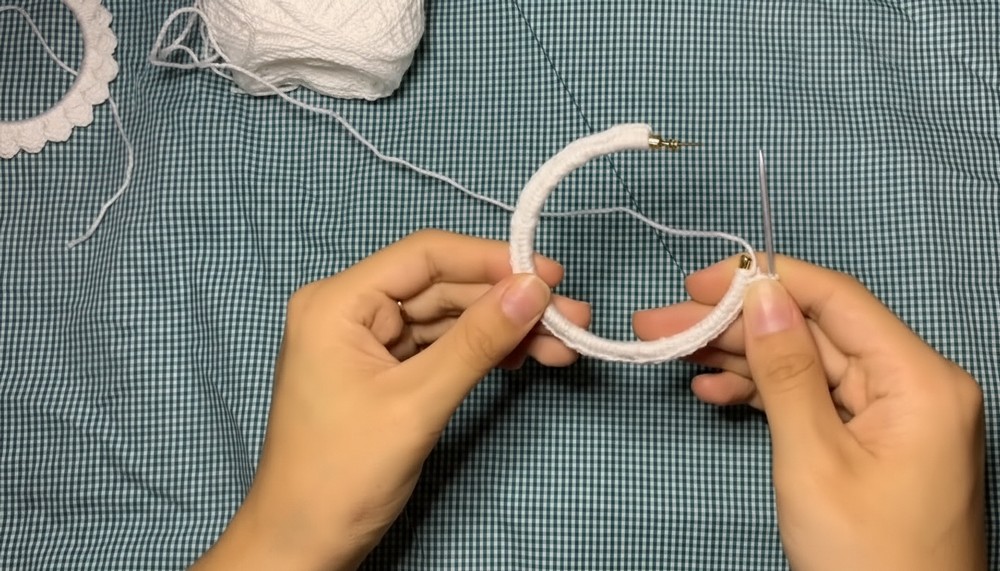
Single Crochet (sc): Insert the hook through the center of the hoop, pull up a loop, and work a single crochet [00:51].
-
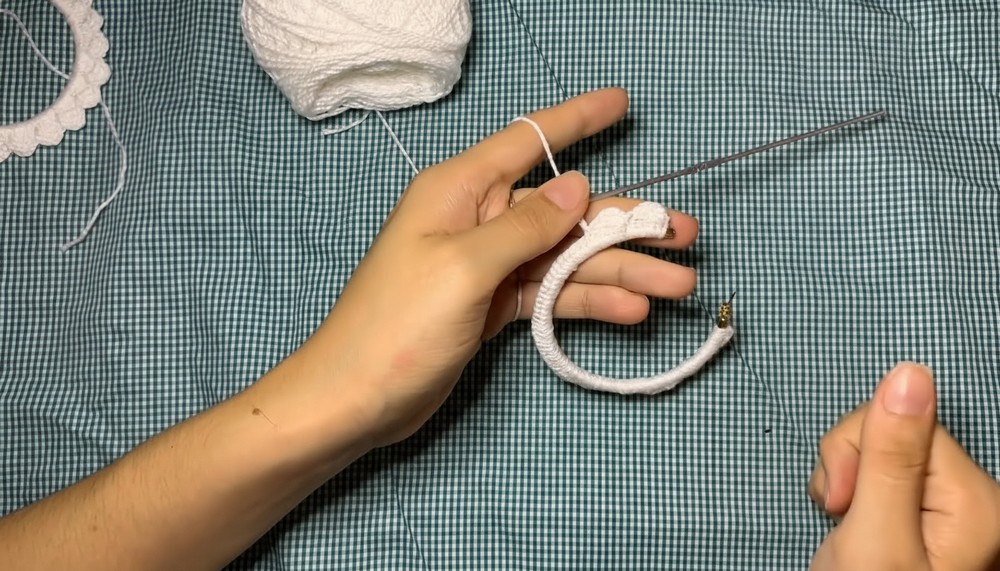
Filling the Hoop: Work single crochets around the entire circumference of the hoop. Make sure to pack the stitches tightly together so no metal is visible [01:23].
-
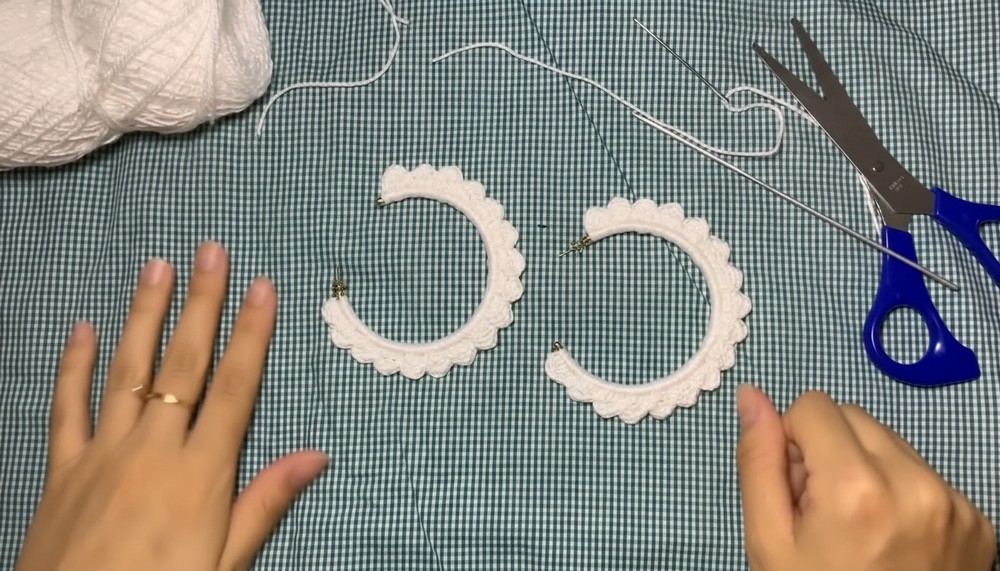
Counting: Try to keep the same number of single crochets on both earrings so the final scalloped pattern matches perfectly [02:21].
2. Scalloped Edge (Round 2)
-
Starting: Chain 3 (this counts as your first double crochet) [01:29].
-
Shell Stitch: Work 2 more double crochets (dc) into the same first base stitch (3 stitches total in the first stitch) [01:44].
-
Attaching: Skip 3 base stitches and work a slip stitch (sl st) into the 4th single crochet [01:54]. This creates the “scallop” or “tummy” effect [02:04].
-
Repeating: Chain 3, work 2 dc in the same stitch, skip 3 base stitches, and sl st into the 4th [02:11].
-
Finishing: Continue this pattern until you reach the end of the hoop. Join with a final slip stitch into the last available stitch [02:42].
3. Fastening Off
-
Securing: Work one extra chain for security, cut the yarn, and pull it through [02:47].
-
Hiding Ends: Use a tapestry needle to weave the thread tails through the existing stitches to hide them [03:07].
Special Features
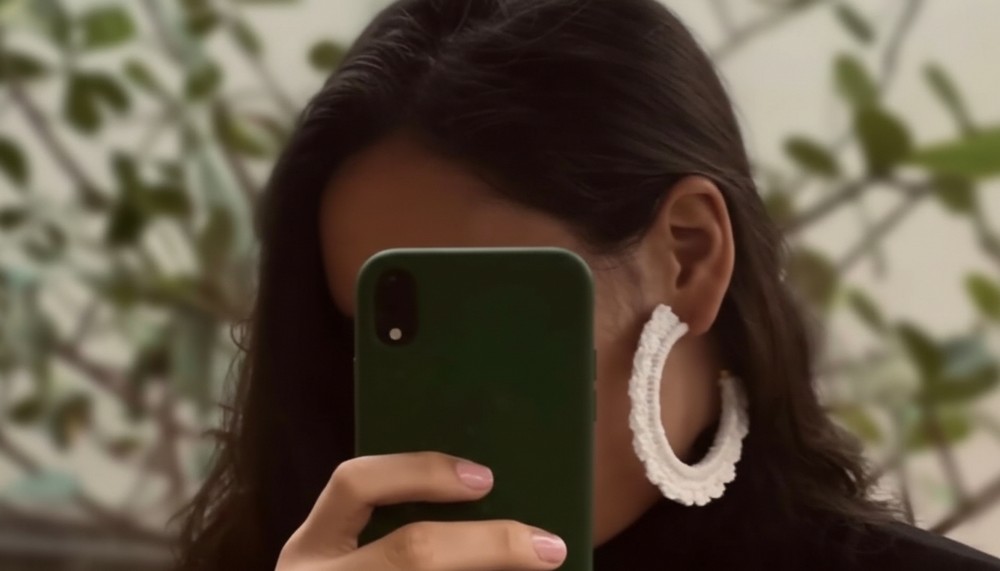
The design uses a simple shell increase that creates a wavy, ruffled edge around the hoop. It is lightweight and can be made in any color to match specific wardrobes.
Level of Difficulty
Very Easy. This is an entry-level project that only requires knowledge of single crochet, double crochet, and slip stitches.
Tutor Suggestions
If your hoops do not have “stoppers” at the ends to hold the yarn, the tutor suggests using a tiny drop of glue at the start and end of the crochet work to prevent the stitches from sliding off [00:26].
Uses
These earrings are excellent for personal use, small gifts, or as a low-cost, high-profit item for craft fairs and artisan shops.
Conclusion
Crochet Hoop Earrings are a brilliant example of how a few minutes of work and some leftover thread can create a fashionable and unique accessory. Then this project is incredibly versatile, allowing you to experiment with different yarn textures and colors to create a whole collection of custom jewelry.
Tip:
When weaving in your ends, avoid pulling too tight. Since earrings don’t undergo much physical stress or stretching, a light weaving through the stitches is enough to keep them secure without distorting the scalloped shape [03:16].