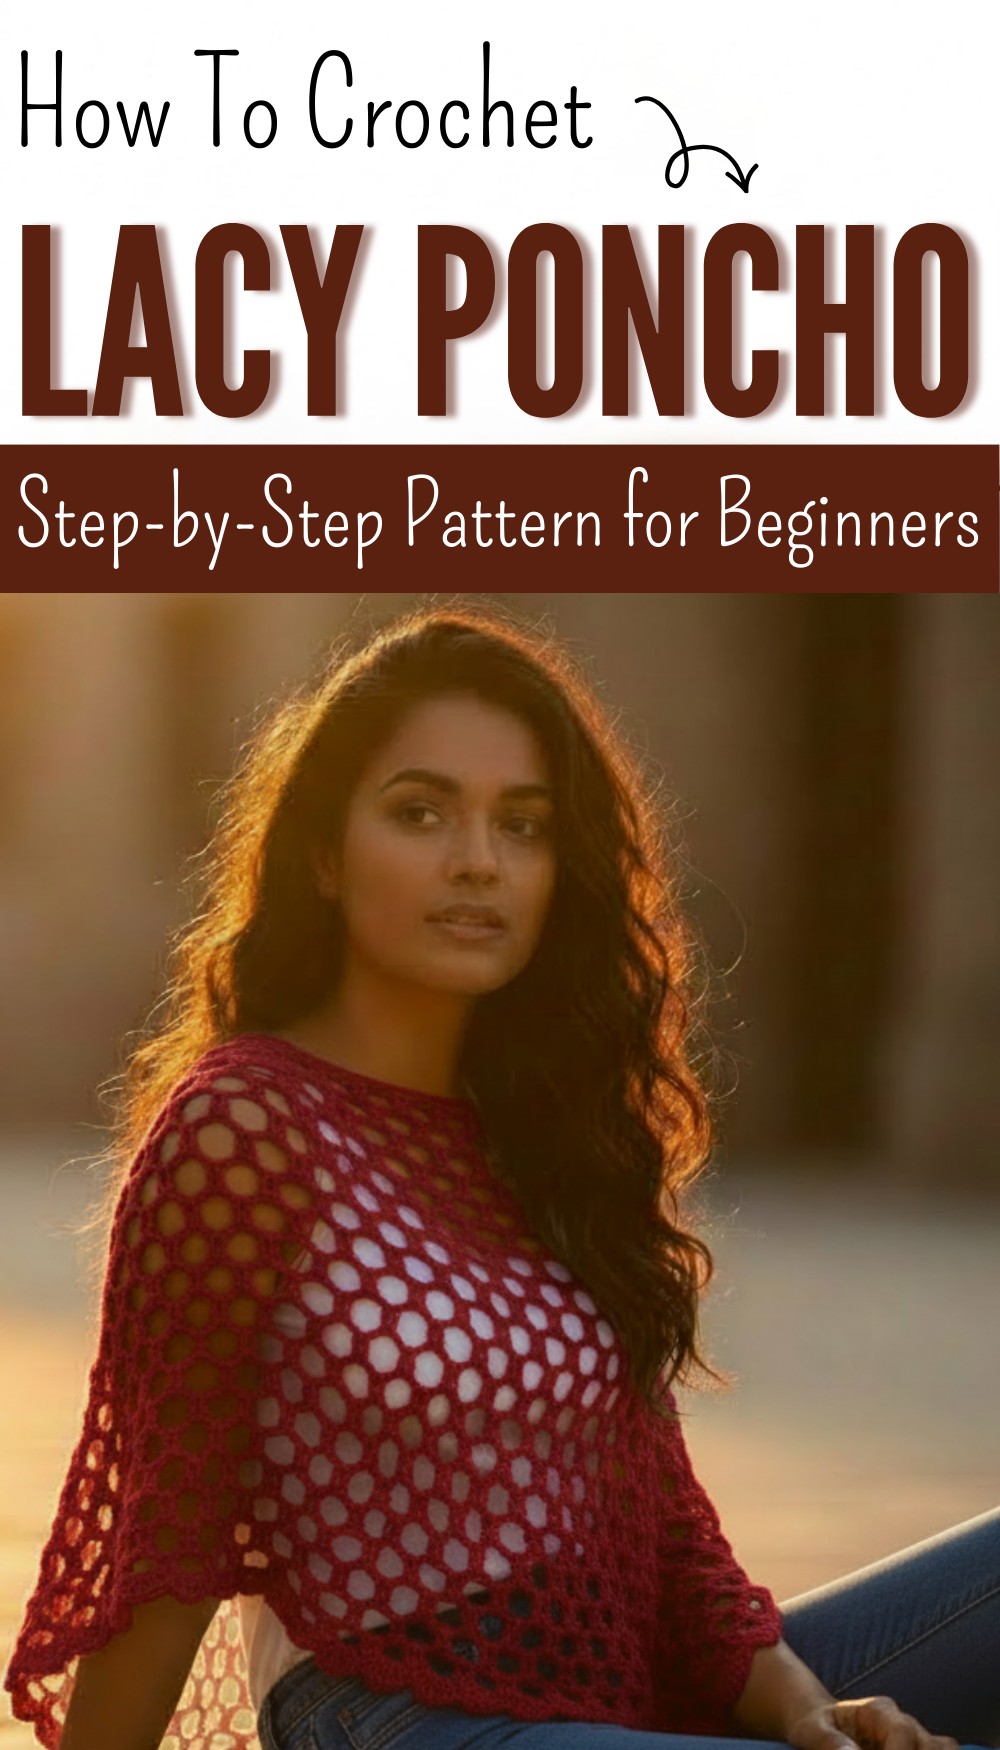
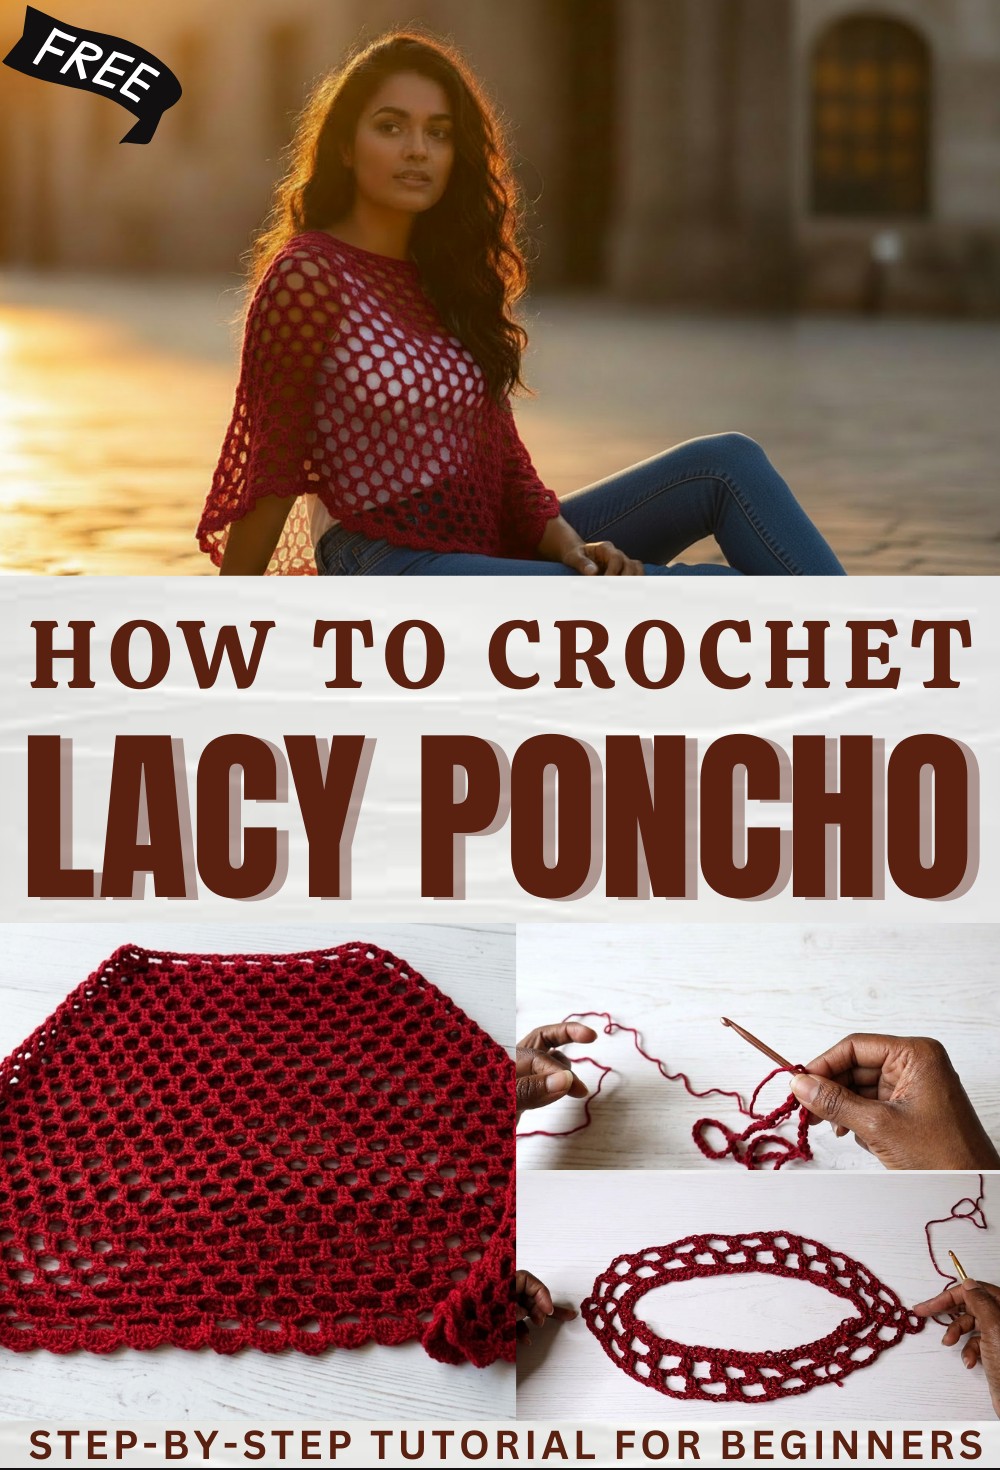
Fashionable Free Crochet Lacy Poncho Pattern for Casual Outfits
Style your summer outfits with a Free Crochet Lacy Poncho Pattern which provides a breezy layer for your clothes and feels very comfy always.
Have you ever wished for a pretty cover that feels light and soft on your skin? A crochet lacy poncho pattern can help you make a lovely piece with beautiful open designs that look like small flowers or waves. This special cover can be made with your favorite color to match any outfit and is perfect for keeping you just a little bit warm when there is a breeze. With the crochet lacy poncho pattern, you get a stylish item that can make simple clothes look extra nice.
Free Crochet Lacy Poncho Pattern with Airy, Feminine Style
The lacy shapes make people stop and look because the design is so eye-catching and different from anything you can buy in a store. It is easy to put on and take off and feels comfortable while you move around or sit outside. Wearing a handmade poncho brings a happy feeling, knowing you made something beautiful with your own hands.

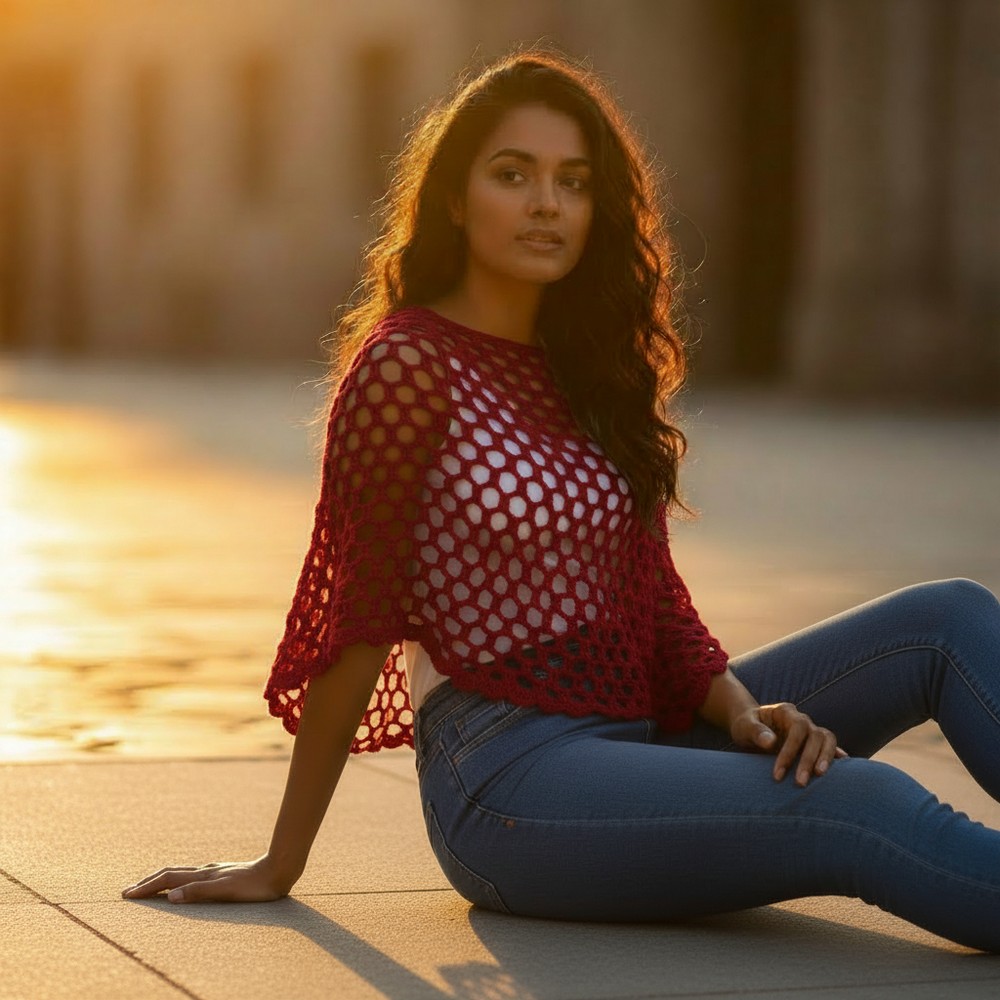
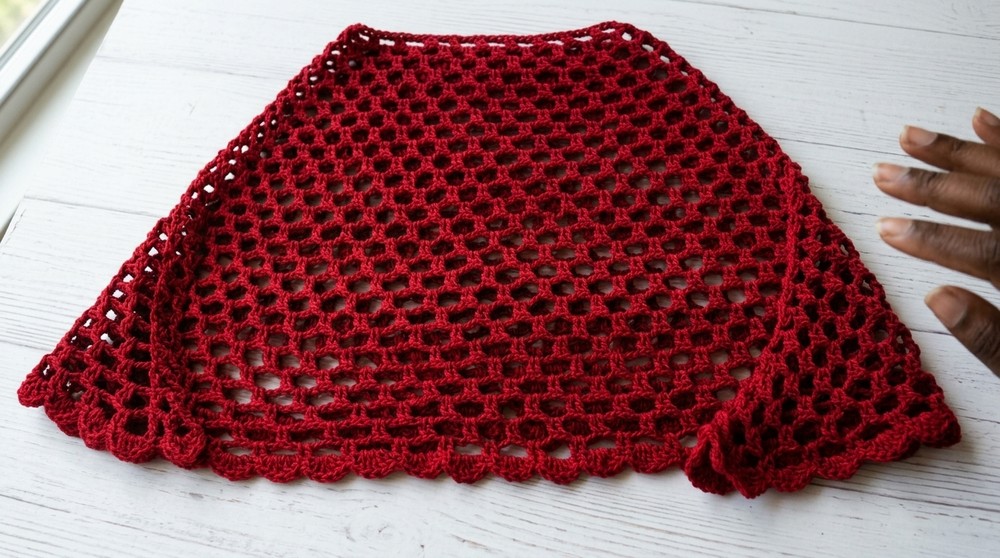
Lacy Mesh Poncho Crochet Pattern
Materials
- Yarn: #3 (DK/light worsted) cotton yarn
- Sample uses Yarn Bee Sugarwheel Cotton Sparkle, but any #3 yarn is suitable.
- Hook: G/6 (4.25 mm) crochet hook
- If unavailable, use 4.5 mm.
- Notions: Measuring tape, scissors, tapestry needle
- Optional: Blocking materials
Key Abbreviations (US Terms)
- ch = chain
- sc = single crochet
- dc = double crochet
- tr = triple (or treble) crochet
- sl st = slip stitch
- st(s) = stitch(es)
- rep = repeat
Special Notes
- Pattern fits small-medium; see end for customizing size and replacing scallop edging with fringe.
- Poncho is worked in the round, starting from the neckline.
- Two corners are created, forming a “point” for styling versatility.
- Each “space” refers to ch-4 space between double crochet groups.
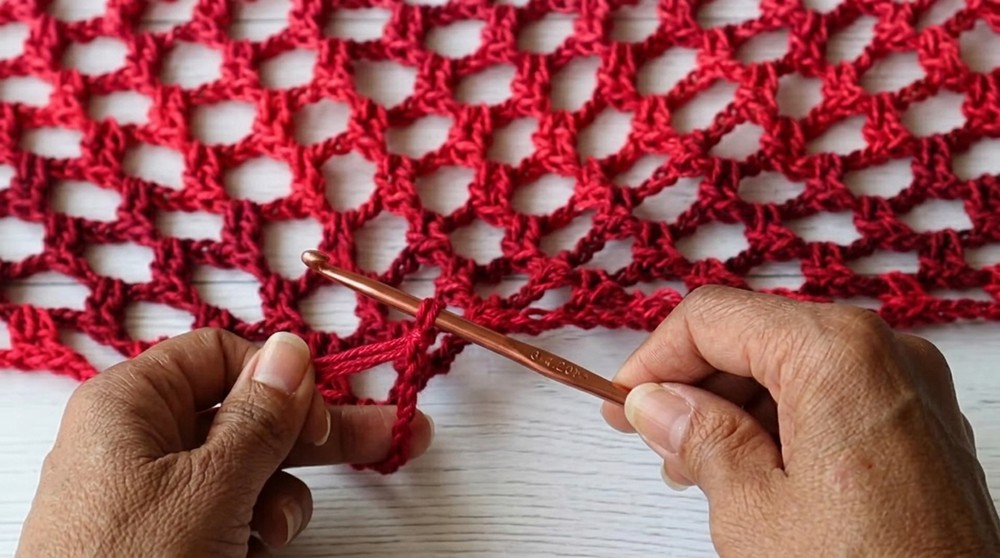
Pattern Instructions
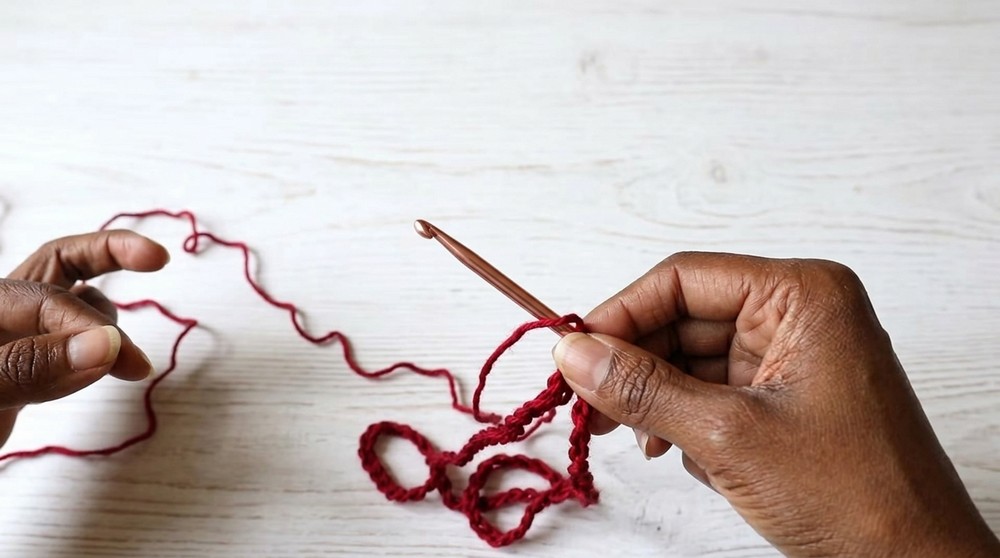
1. Foundation Chain
- Chain 80 (for small/medium; adjust as needed).
- Form Ring: Make sure the chain is straight. Sl st to the first ch to join, forming a ring.
2. Round 1 (Neckline)
- Ch 1, sc in same space.
- Sc in each ch around. You should have 80 sc.
- Sl st to the first sc to join.
3. Round 2 (Mesh Setup)
- Ch 1, dc in same space.
- Ch 4, dc in same space.
(Corner formed) - Ch 4.
- Skip 3 sts, 2 dc in next st. (Start mesh, not corner)
- Ch 4, skip 3 sts, 2 dc in next st. Rep until you have 9 large ch-4 spaces (not including corner spaces).
- After “9 spaces”, ch 4, skip 3, dc in next st (second corner).
- Ch 4, dc in same space (forms corner).
- Ch 4, skip 3, 2 dc in next st.
- Continue ch 4, skip 3, 2 dc in next st, until end of round.
- After last ch-4, you should have 3 sts left. Sl st into beginning corner space to join.
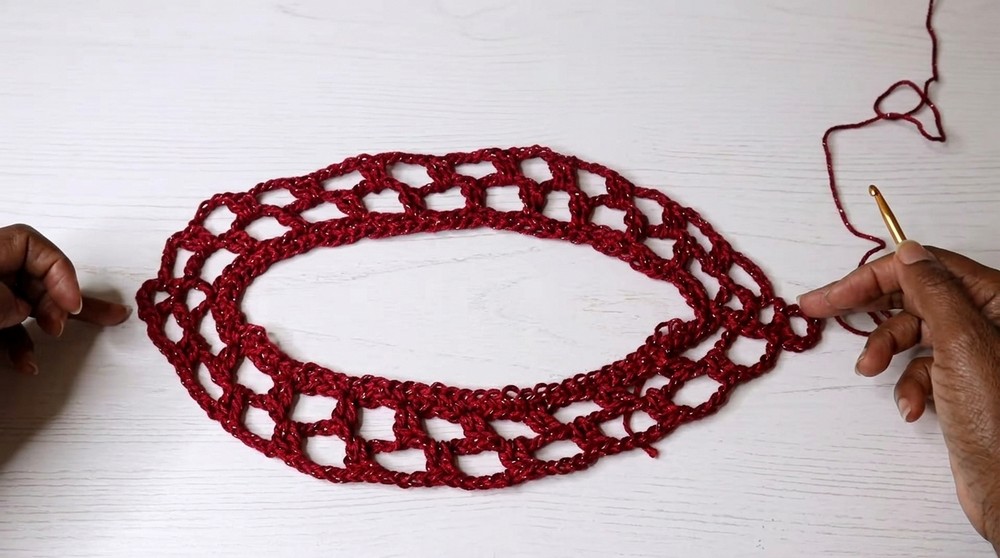
4. Subsequent Rounds (Mesh Body)
Repeat as follows:
- Ch 1, dc in corner space, ch 4, dc in same corner space (corner).
- Ch 4, 2 dc in next large space, ch 4, rep in each large space.
- When you reach next corner, dc, ch 4, dc in same corner space.
- Continue the pattern all the way around.
- At end of round, sl st to first dc of the corner to join.
Repeat these rounds until you have 26 rows or your desired length (approx. 18–19 in. from shoulder to bottom).
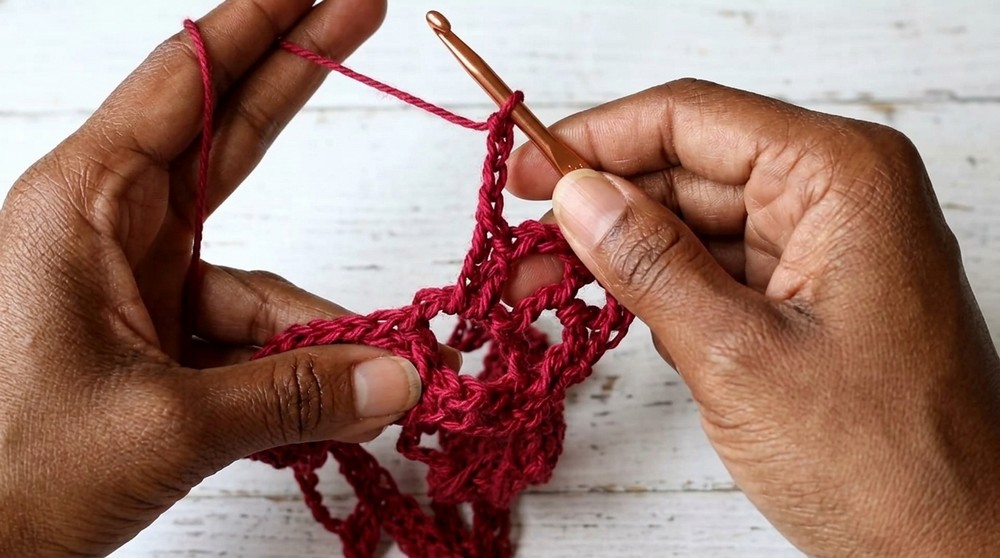
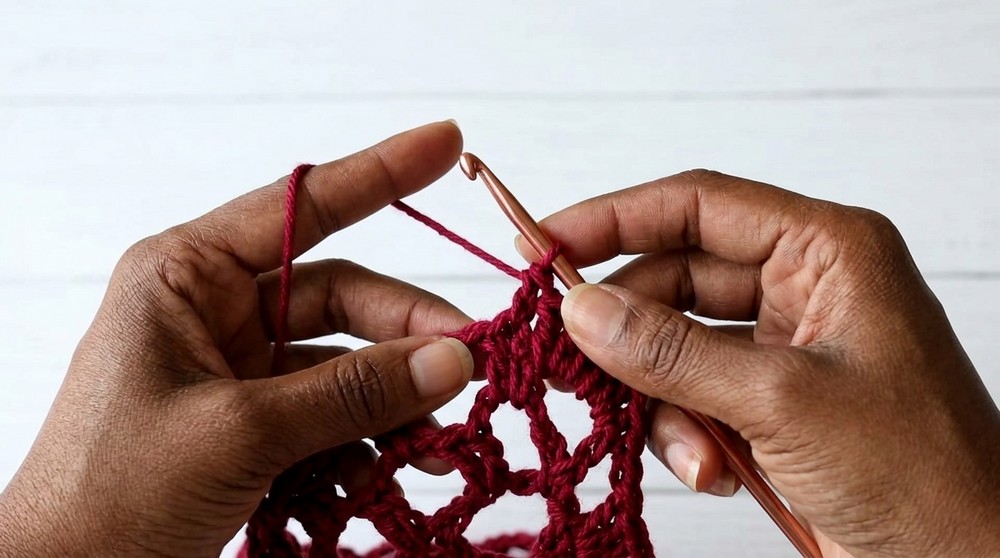
5. Scallop Edging (Optional)
After final mesh row:
- Sl st into the first big space (work 3 sl sts to reach it; into chain, chain, and top of dc).
- Ch 3 (counts as first dc).
- Scallop: In the large space, dc, tr, 2 dc.
- In the space between double crochets below, sc.
- Rep scallop (2 dc, 1 tr, 2 dc) in each large space, sc between double crochet groups.
- At corner, sc in corner space.
- When back to starting corner, after last scallop, sc in corner space.
- Ch 1, leave a tail, fasten off, and weave in ends.
6. Fringe Variation (Optional)
To replace scallop edging with fringe:
- Cut two strands of yarn to desired length.
- Fold in half.
- Insert hook from back under edging, pull fold through to form loop.
- Pull yarn ends through loop, tighten.
- Add fringe in each large space around edge.
Conclusion
Your Lacy Mesh Poncho is complete! This versatile piece can be worn as a classic poncho (point at bottom), over a top, or as a beach cover-up. It works up quickly and adapts well to different styling choices.
Pattern Correction & Tips
- Correction: Ensure counts of “large spaces” (ch-4 spaces) match corners and are evenly distributed.
- Tip 1: Keep chain untwisted before joining.
- Tip 2: For larger sizes, increase foundation chain in multiples of desired width; ensure corners are placed symmetrically.
- Tip 3: Add scallop or fringe after final row for a custom look.
- Tip 4: Cotton yarn is excellent for summer and easy care.
- Tip 5: Block your poncho for best drape, especially if working in cotton.