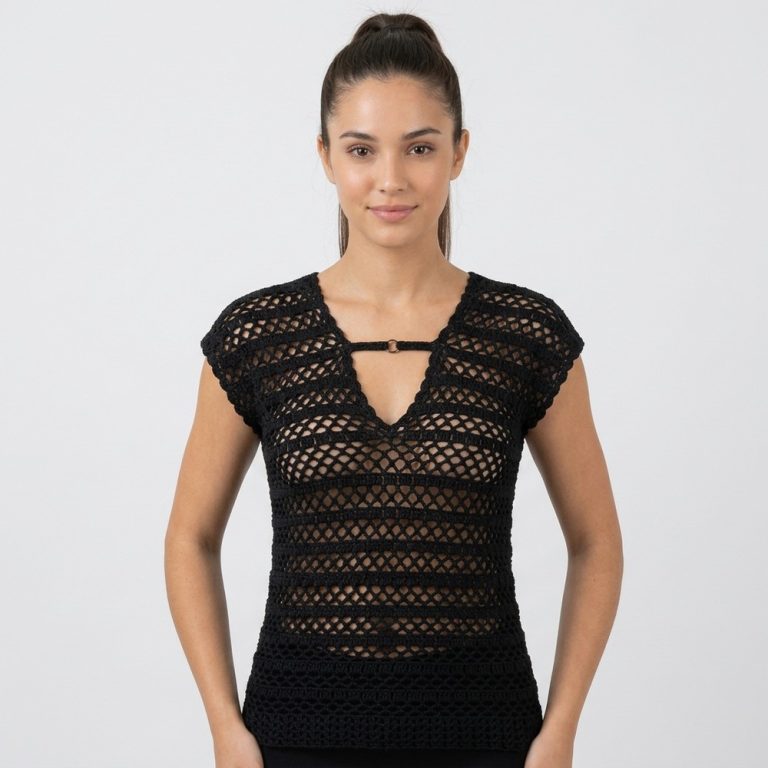
Versatile Crochet Crop Top Pattern For Easy Styling
Switch up style with this Free Crochet Crop Top Pattern that’s offers a flattering shape, airy feel, and trendy appeal for casual wear.
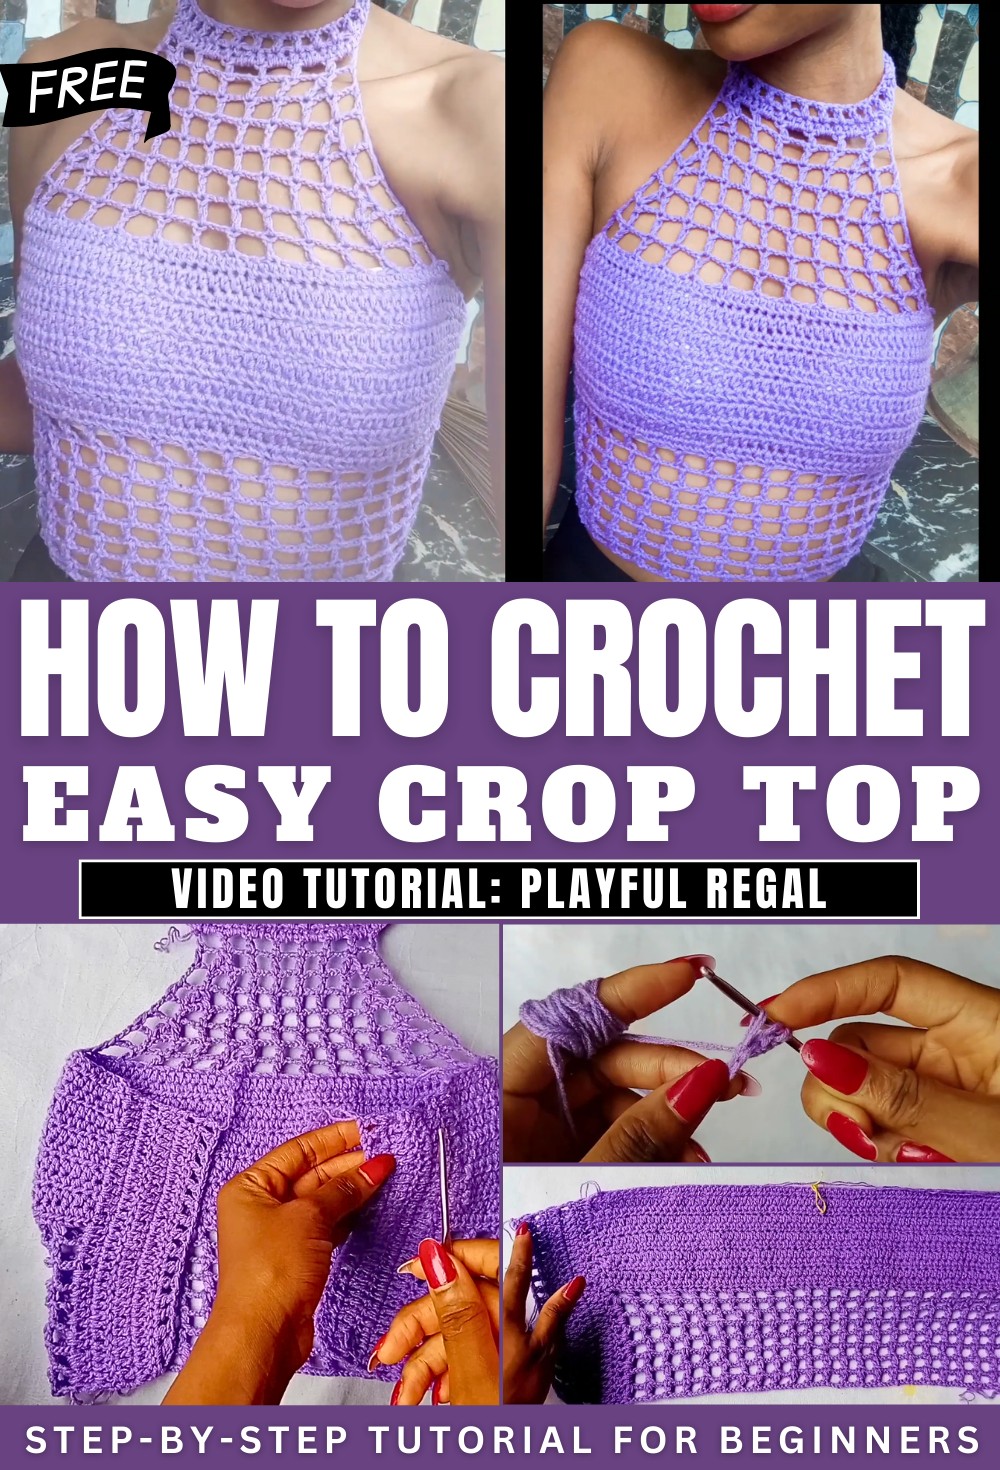
Sleek Crochet Crop Top Pattern With Trend Energy
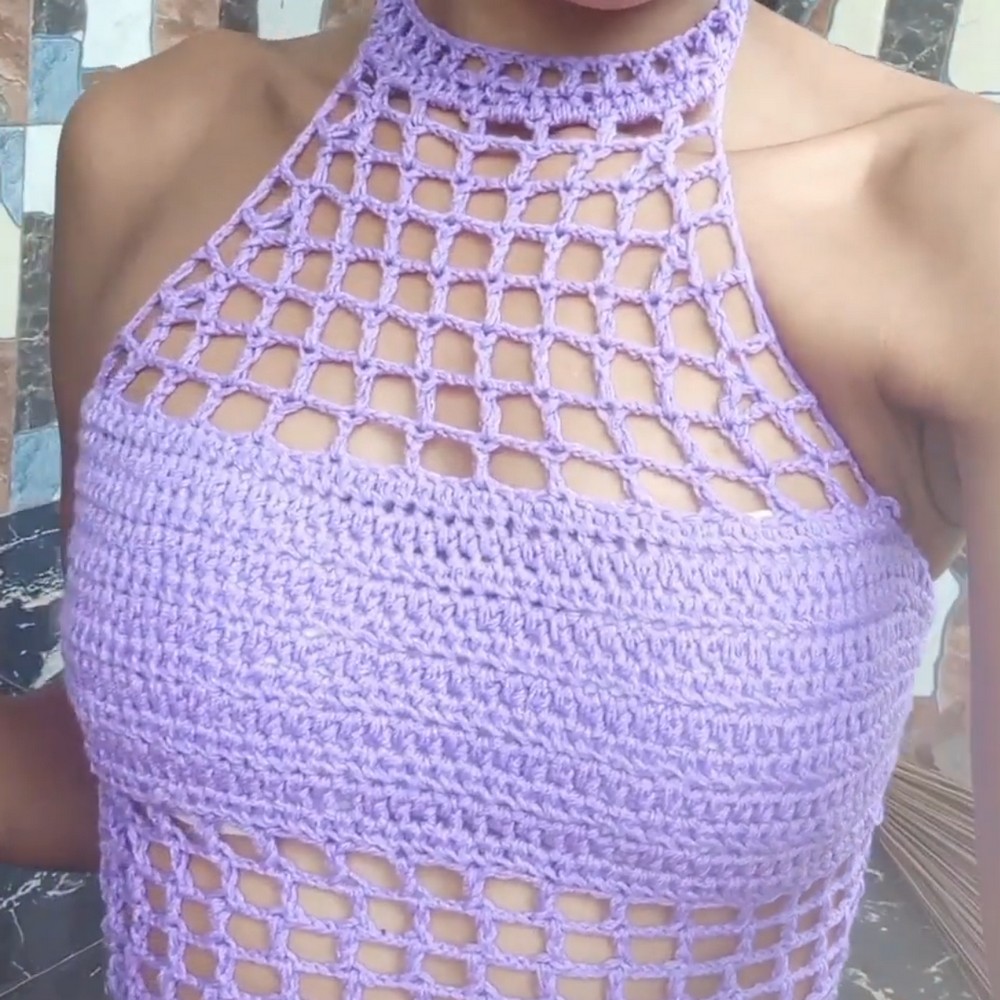
Modern styling and a flattering silhouette make this design a favorite choice for everyday fashion. The cropped length highlights the waist beautifully, creating a balanced look that works well with high-rise jeans, skirts, or layered outfits. The Crochet Crop Top Pattern offers comfort and flexibility, making it suitable for warm days, casual outings, and relaxed gatherings. Its breathable stitch layout helps maintain ease of wear while keeping the appearance neat and stylish.
Key benefits is versatility, as the design adapts easily to different seasons with simple layering. Subtle texture adds depth without feeling heavy, giving the top a refined yet playful character. Color selection enhances its visual appeal, ranging from soft neutrals to vibrant shades that reflect personal style. The overall look feels clean, trendy, and timeless, allowing it to fit seamlessly into modern wardrobes. It presents a confident, wearable, and stylish option that balances comfort with fashionable charm for daily wear.
Materials Needed
-
Yarn: Size 3 (Light/DK) or Size 4 (Medium/Worsted) acrylic or cotton yarn.
-
Hook: 3.5 mm or 4.0 mm.
-
Tools: Tape measure, stitch markers, scissors, tapestry needle.
Pattern Details
-
Skill Level: Intermediate.
-
Sizing Formula: Bust measurement ÷ 2 + 2 inches. (Example: 34″ bust = 19″ foundation).
-
Stitch Guide: * hdc: half double crochet.
-
dc: double crochet.
-
dc2tog (decrease): Yarn over, insert hook, pull up loop, yarn over, pull through 2. Yarn over, insert hook into next stitch, pull up loop, yarn over, pull through 2. Yarn over, pull through all 3 loops.
-
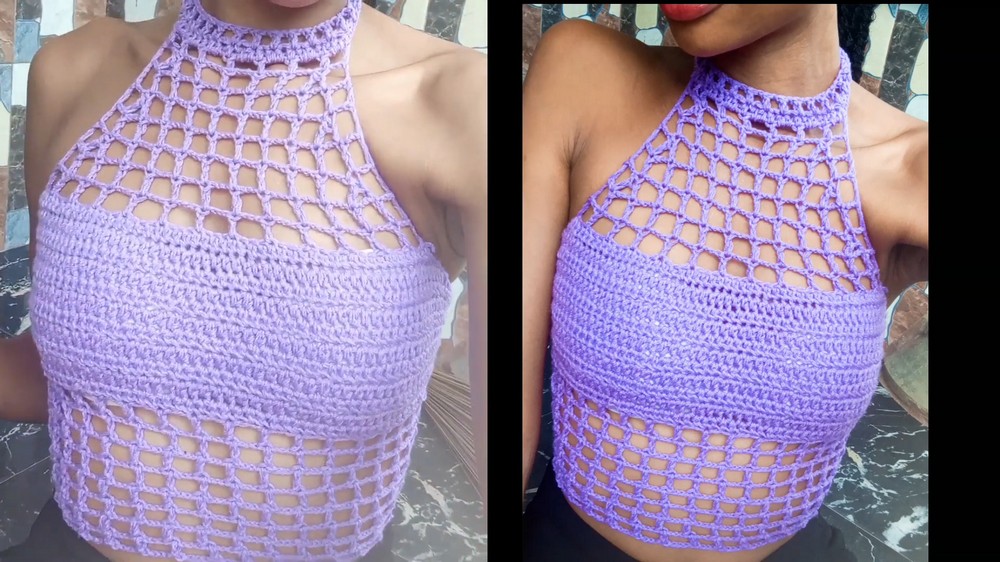
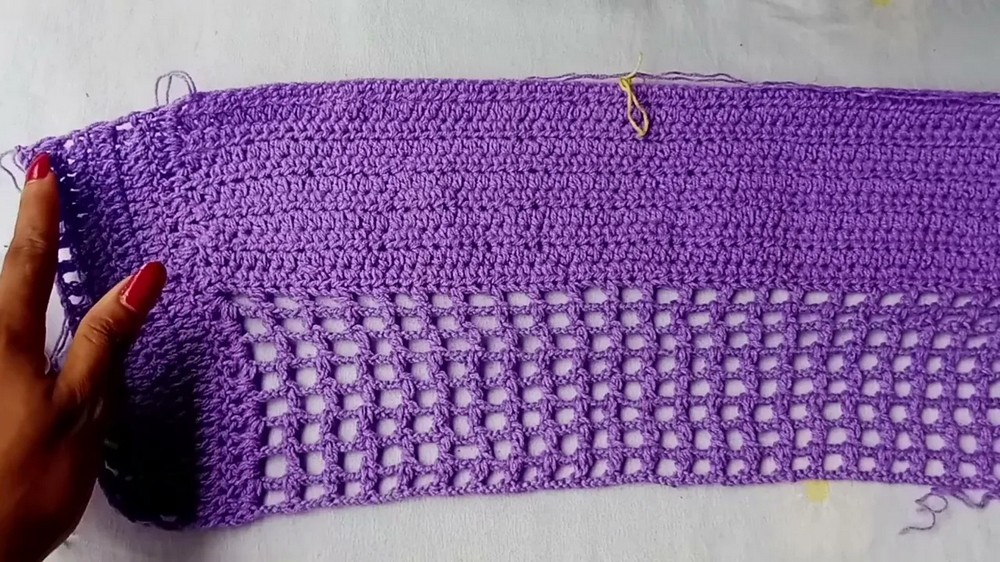
Phase 1: The Bust Section (Solid)
-
Foundation: Chain a length that stretches to your calculated figure (e.g., 70 chains for 19 inches).
-
Row 1: Work 1 hdc in the 3rd chain from hook and in every chain across.
-
Rows 2–11: Chain 1, turn. Work 1 hdc in every stitch across.
-
Height Tip: Stop at 4″ for A-cup, 5″ for B-cup, 6″ for C-cup, and 7″ for D-cup.
-

Phase 2: The Midriff (Mesh)
-
Row 1: Chain 6 (counts as 1 dc + ch 3), turn. Skip 2 stitches, 1 dc in the next. Chain 3, skip 2, 1 dc. Repeat across.
-
Row 2: Chain 6, turn. 1 dc in the next dc stitch. Chain 3, 1 dc in next dc. Repeat across.
-
Growth: Repeat Row 2 until mesh measures approx. 4 inches (about 8 rows).

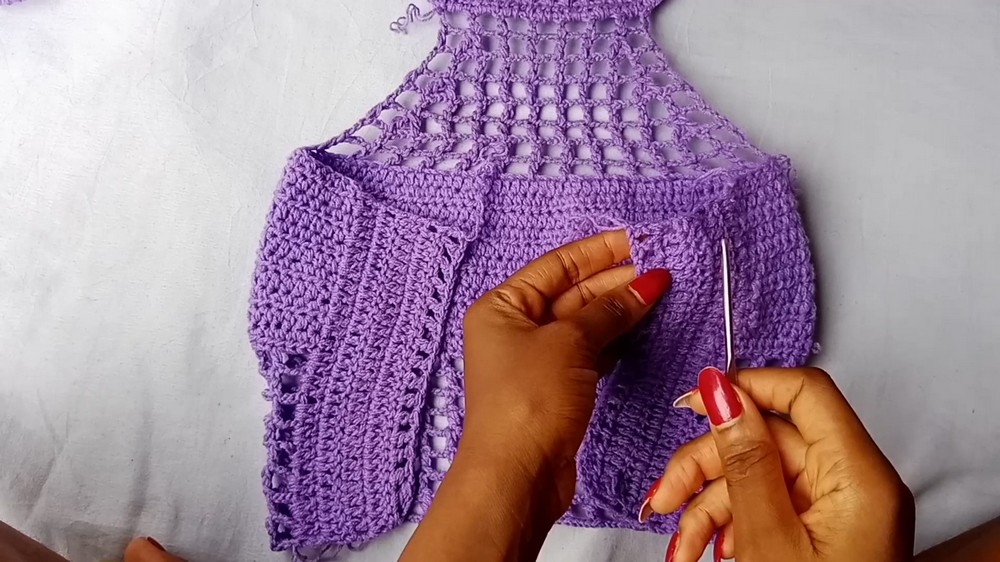
Phase 3: Side Panels (Back Closure)
Complete these steps for both the left and right side edges.
-
Row 1: Attach yarn to the side mesh corner. Chain 3. Work 2 dc in every mesh space and 1 dc in every hdc row end.
-
Rows 2–4: Chain 3, turn. Work 1 dc in every stitch across.
-
Row 5 (Eyelet Row): Chain 4, turn. Skip 1, 1 dc. Chain 1, skip 1, 1 dc. Repeat across to create lacing holes.
-
Finish: Fasten off. Repeat for the other side.
Phase 4: The Halter Bib
-
Marking: Find the center of the top edge. Measure 6.5 inches (Small) or 7.5 inches (Medium/Large) outward from the center and mark both sides.
-
Mesh Setup: Attach yarn at the marker. Chain 6. Skip 3, 1 dc. Repeat across to the other marker.
-
Row 3 (Decrease): Chain 6, turn. Work a dc2tog over the first two dc stitches. Mesh across until 3 stitches remain. dc2tog. End with a ch-3 and 1 dc in the turning chain.
-
Growth: Alternate “No Decrease” rows and “Decrease” rows for 8 rows total.
Phase 5: Straps and Finishing
-
Neck Ties: At the top corners of the halter bib, chain 100. Work 1 hdc back down the chain.
-
Top Border: Without cutting, continue working hdc across the top edge of the bib and down the second strap.
-
Final Mesh Row: Work one row of (ch 1, skip 1, 1 dc) across the top for a decorative finish.
-
Back Lacing: Chain 200. Criss-cross the tie through the side panel eyelets to close the back.
Conclusion
Finishing this top provides you with a custom-engineered summer garment that showcases your precision in shaping. By mastering the balance between the solid bust support and the airy mesh midriff, you’ve created a boutique-quality piece. Once you lace up the back and secure your neck ties, your handmade crop top is ready for the beach.
Pro Tip: If your mesh sections feel too loose, try using a hook one size smaller for those rows to keep the stitches crisp and defined.