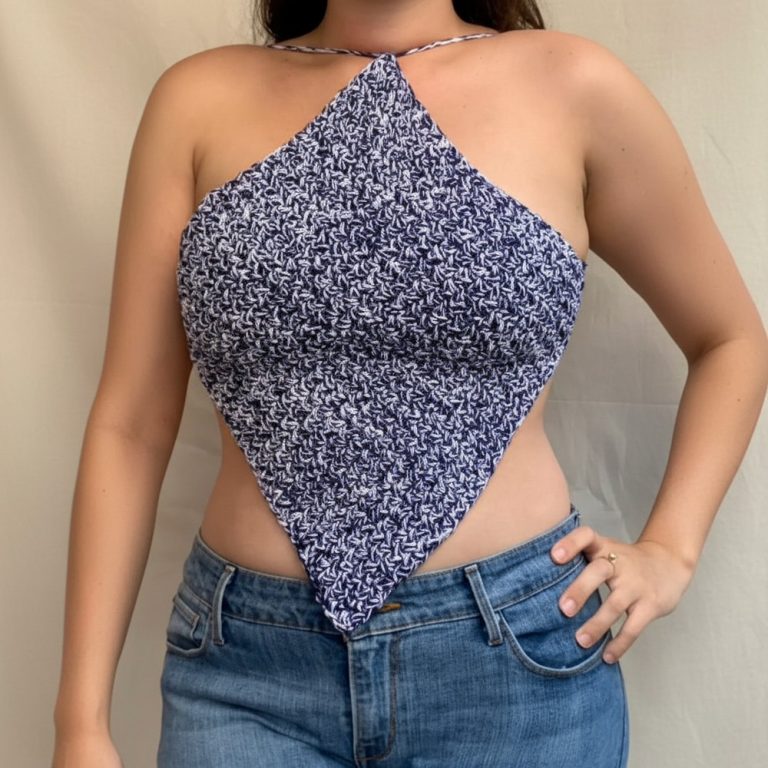
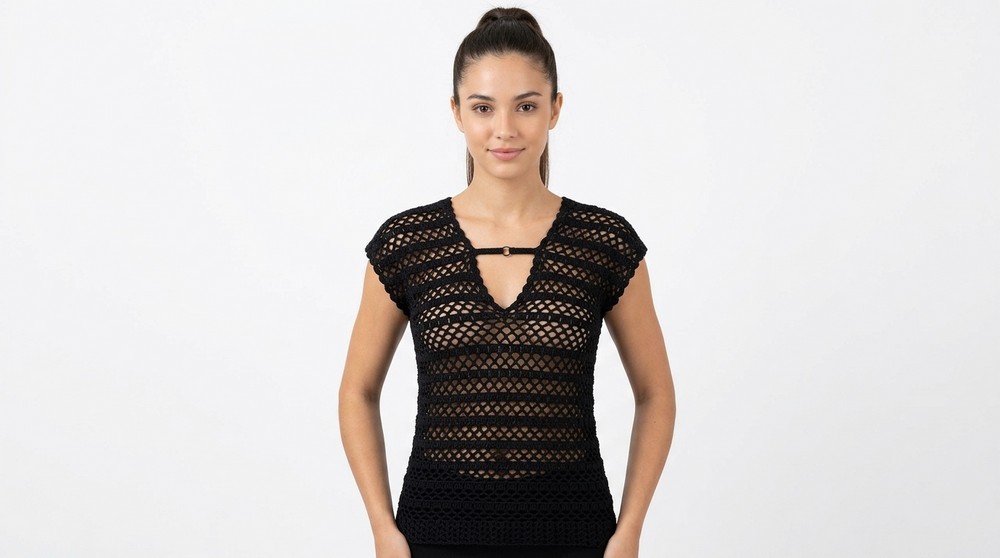
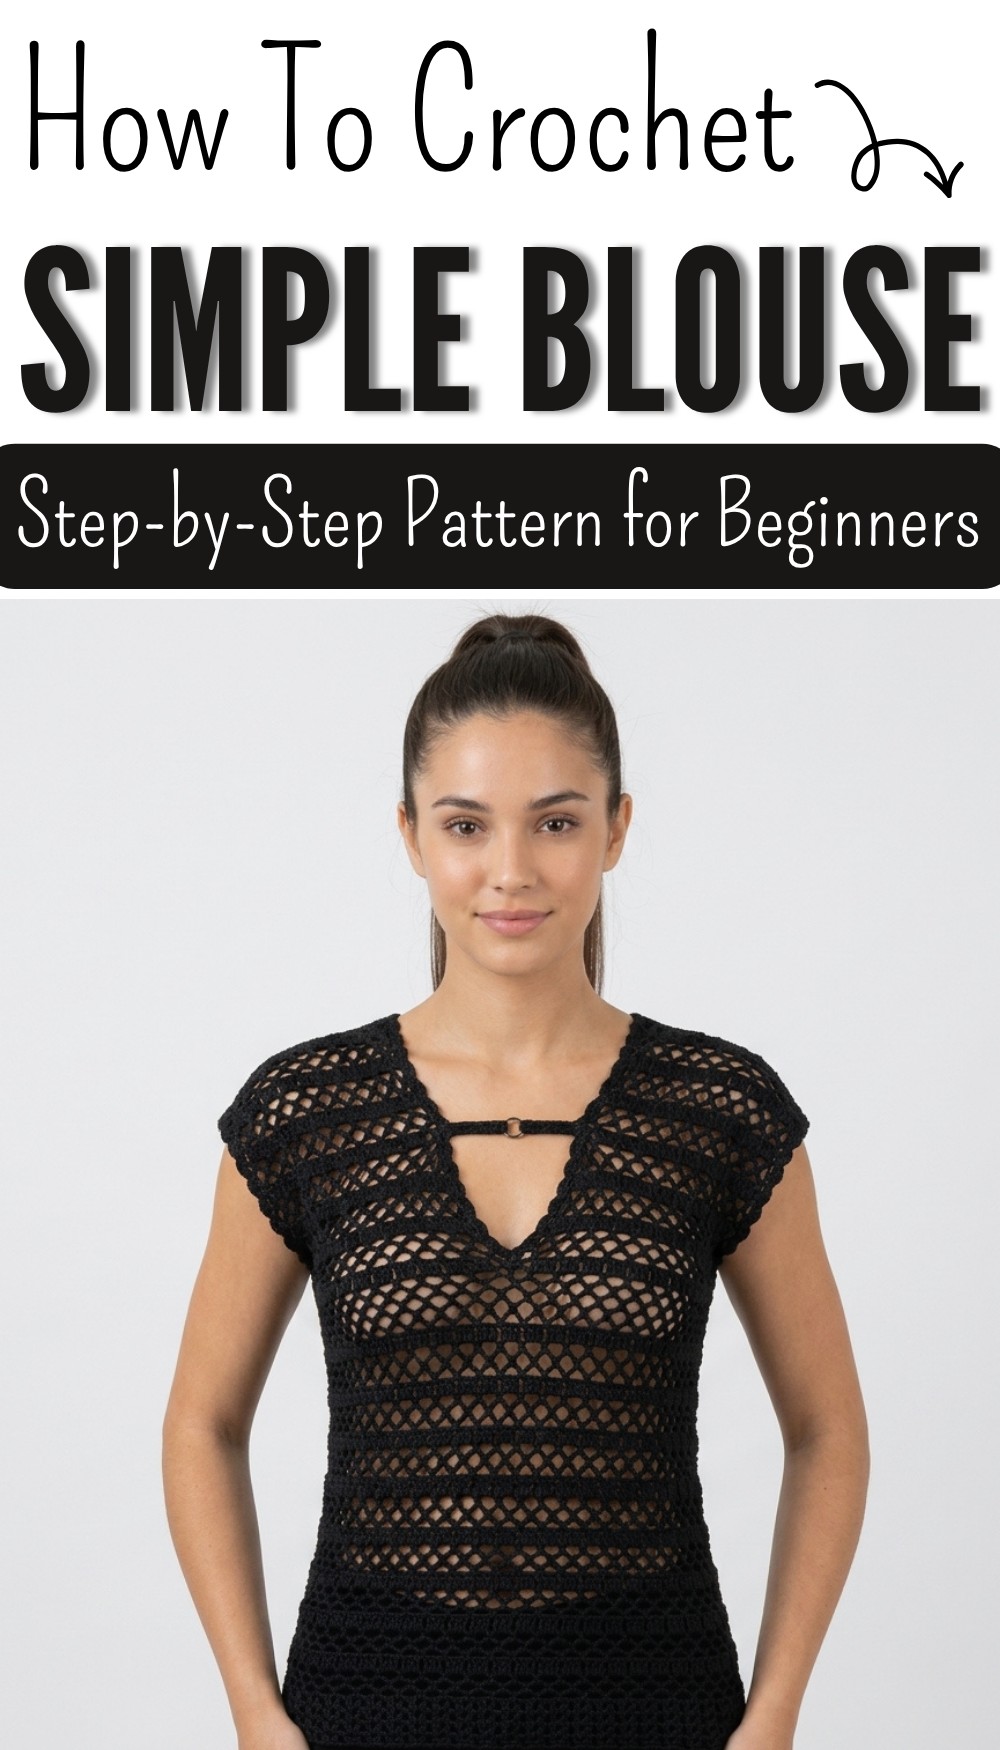
Crochet Blouse Free Pattern for Everyday Wear
Dress with ease using this free crochet blouse pattern that offers a light adds graceful texture and suits both casual and special outings.
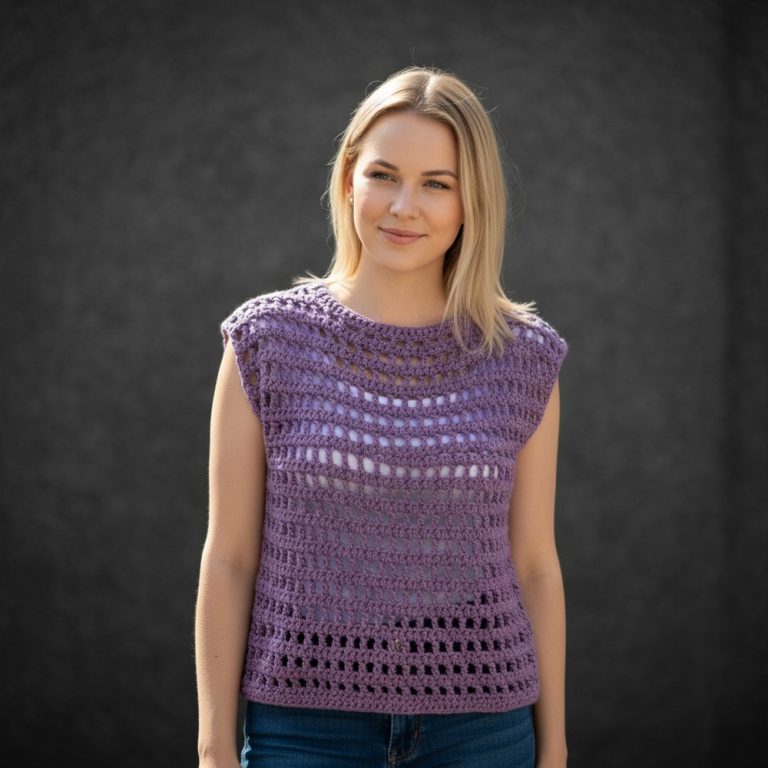
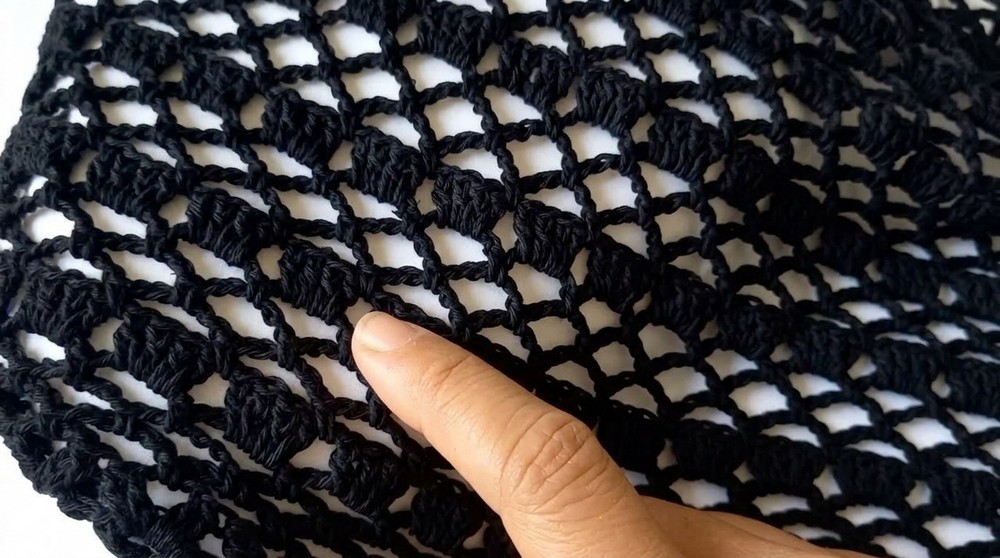
The Crochet Blouse pattern helps shape a light and airy blouse that sits comfortably and looks stylish with its simple and clean structure. Its open texture allows air to pass through, making it suitable for warm days and relaxed moments. The shape forms smoothly from top to bottom, giving a balanced and well fitted appearance that feels easy on the body.
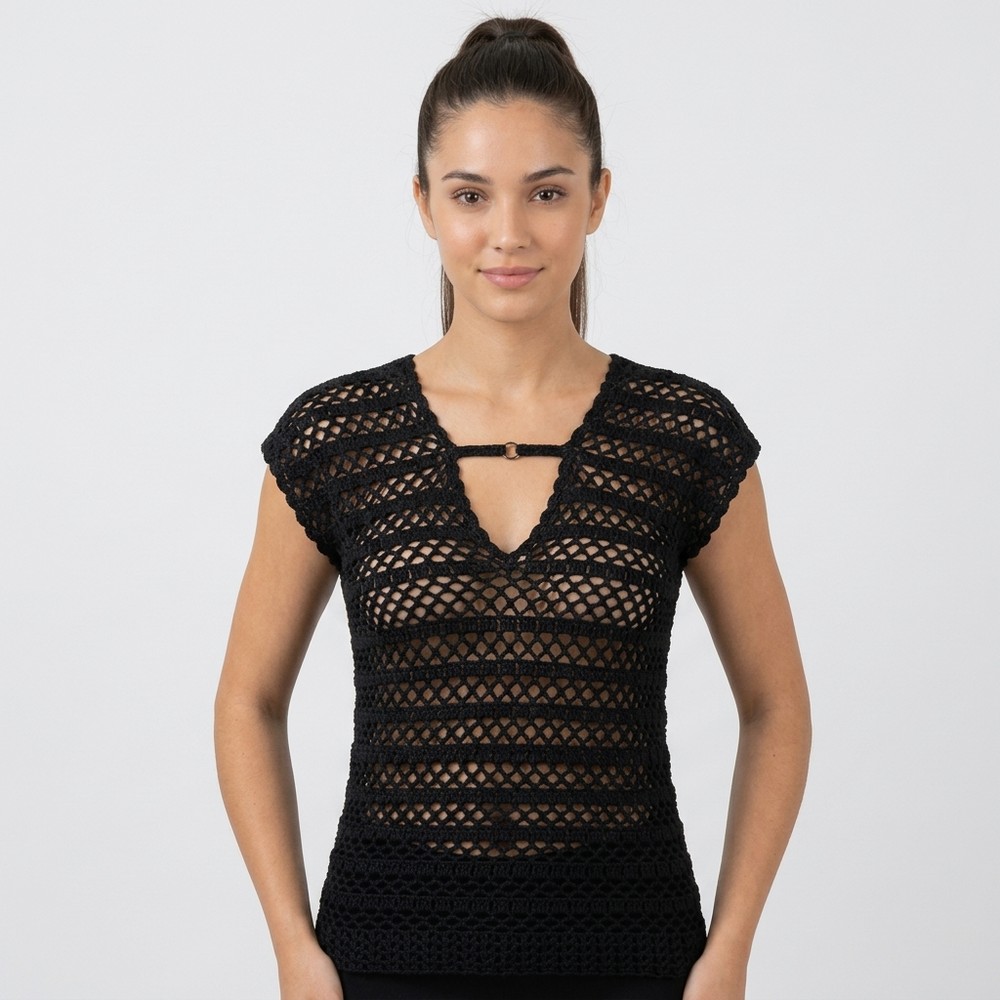
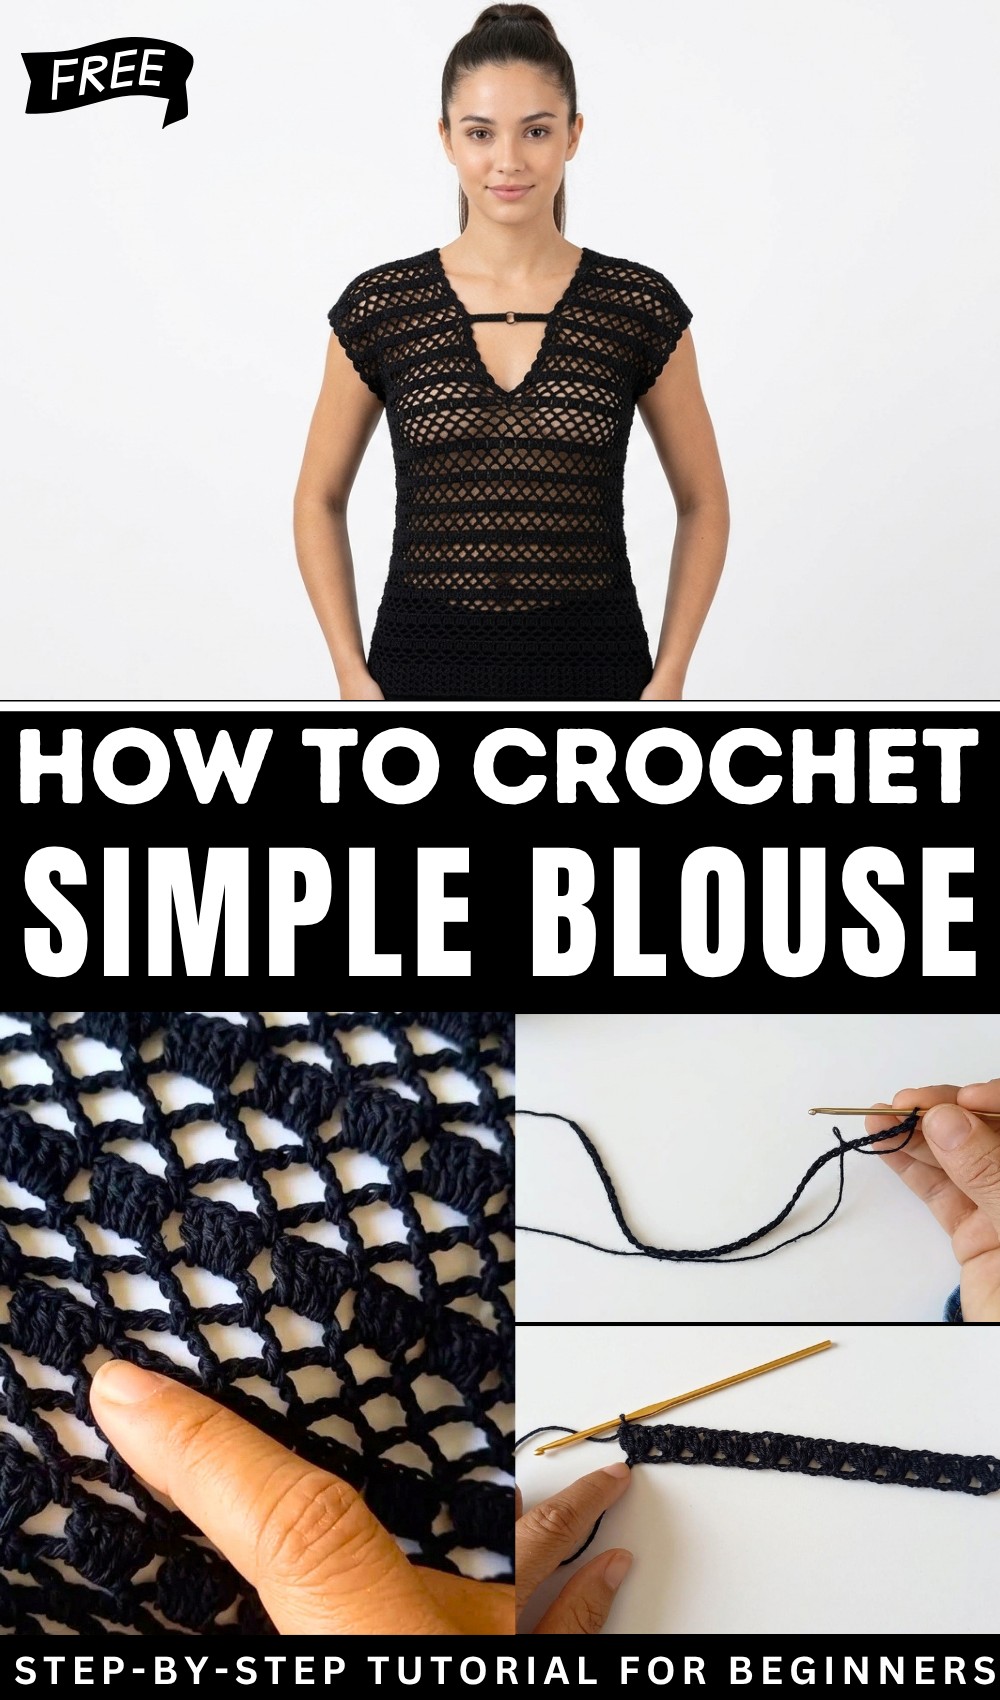
Simple Crochet Blouse with This Free Guide
It can be paired with skirts, trousers, or simple outfits to give a fresh and neat style. The guide shown is clear and easy to understand so anyone can complete it without confusion. The finished blouse looks graceful and modern, offering comfort along with a pleasing appearance. It adds beauty, confidence, and a calm charm, turning simple material into a wearable piece that feels light, elegant, and perfect for everyday style.
Basic Crochet Blouse Pattern
Materials
- Yarn: Any yarn of your choice (Sample used: Fio Fiure, a light weight yarn)
- Hook: 2.5 mm (or hook suited to your yarn and desired fabric)
- Scissors
- Measuring tape
- Yarn needle (for finishing)
Key Abbreviations (US Terms)
- ch = chain
- sc = single crochet
- dc = double crochet
- sl st = slip stitch
- sk = skip
- st(s) = stitch(es)
Special Notes
- The pattern is worked in the round.
- Foundation chains must be a multiple of 4 for proper stitch alignment.
- Always measure your starting chain against your bust (or compare it to a favorite t-shirt) to adjust sizing.
- The stitch pattern alternates between a decorative “fan” round and open chain rounds.
- The border can be made wider by adding more repeats of the pattern.
Step-by-Step Pattern
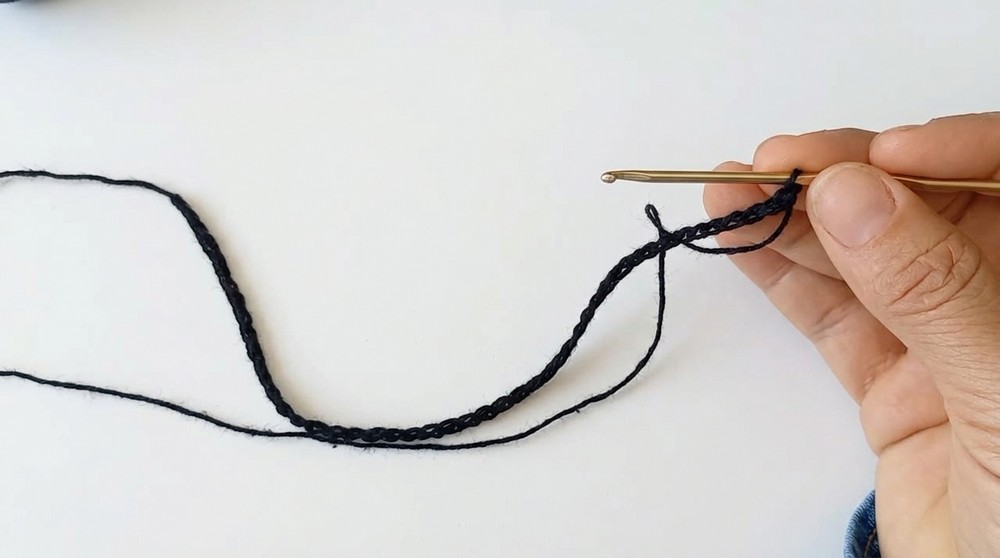
1. Foundation
- Make a chain in multiples of 4 to fit your desired circumference.
Ensure the chain is slightly loose for comfort. Test-fitting is encouraged. - After making the chain, do not join to work in the round.
Work the first row flat and join after completing it.
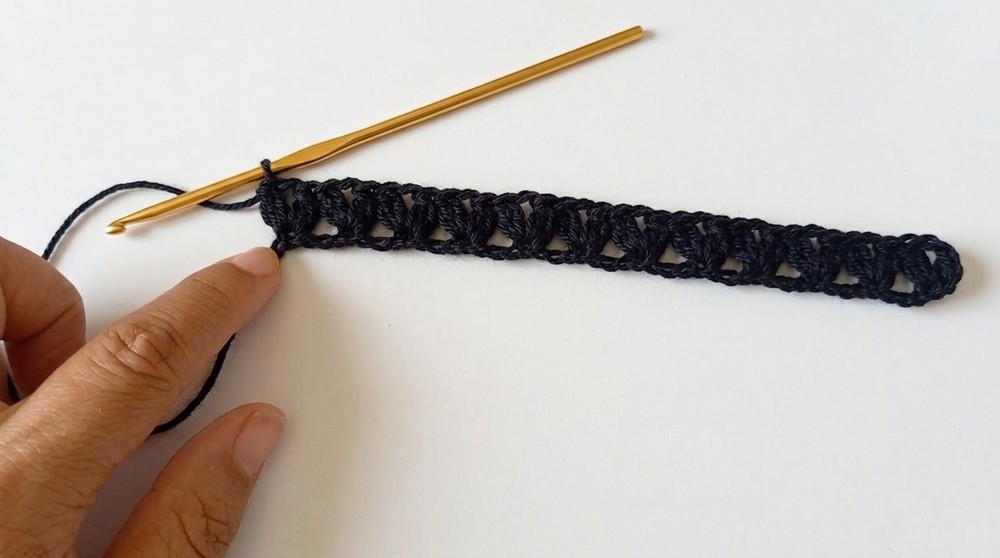
2. Pattern Stitch (“Fan” Stitch)
Row 1: Fan Stitch
- Begin with 2 ch (acts as turning chain).
- [Yarn over, insert hook in chain, draw up a loop, pull through 2 loops leaving 2 on hook], yarn over, insert hook in same chain, draw up a loop, pull through 2 loops (leaving 3 loops on hook), yarn over and pull through all remaining loops.
- Ch 2, repeat the above sequence in the same stitch (making a cluster).
- Sk 3 ch, in the 4th ch repeat the same cluster as above:
- (Yarn over, insert hook, pull up a loop, pull through 2 loops leaving 2; yarn over, insert, pull up a loop, pull through 2, yarn over, pull through all remaining loops), ch 2, repeat in same space, sk 3 ch, cluster in 4th ch, continue across.
- At the end, you should have 3 chains remaining; if not, recheck stitch count (multiple of four required).
- Finish the row and then join for working in the round.
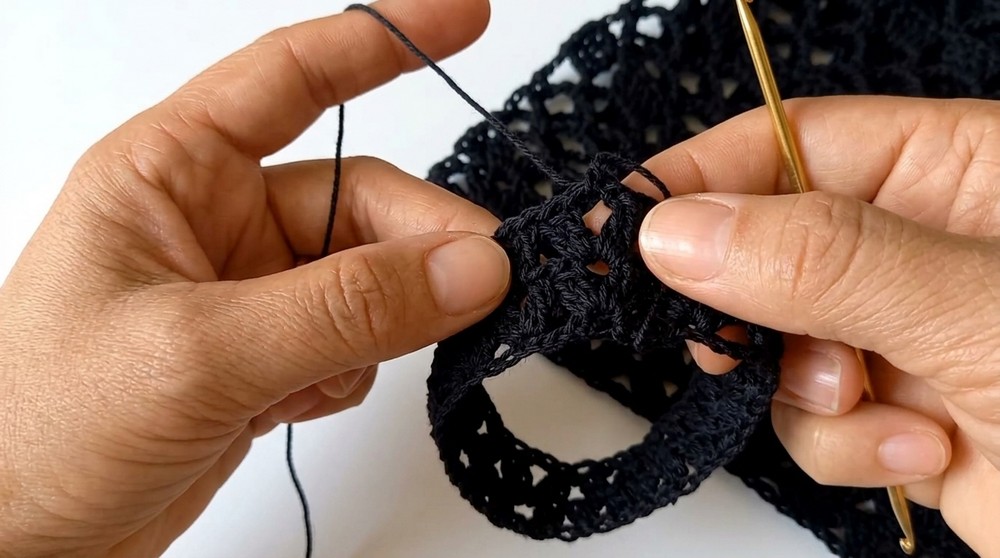
3. Subsequent Rows
- At the beginning of each new row:
- Insert hook in the nearest space, sc.
- Ch 2 (as turning chain).
- In the same space, work the cluster stitch:
- Yarn over, insert in space, pull up a loop, pull through 2, leave 2; yarn over, insert, pull up a loop, pull through 2, yarn over, pull through all.
- Ch 2, work cluster in same space.
- Repeat sequence: sk next space, cluster in following space, around.
- Continue pattern as above for desired length/border depth.
For border, work 4–6 rows for a wider edge, or as preferred.
4. Open Chain Rows
- After your border rows, begin open chain rounds:
- Sc in space, ch 5, skip to next space, sc, ch 5, repeat around.
- At end of row, sl st to first sc, then walk (sl st) to the center of the next space.
- Repeat open chain round as desired (usually 2–3 rounds).
5. Alternating Pattern
- Alternate pattern so it forms:
3 rounds of open chain row, 1 round of fan stitch row, repeat until reaching desired blouse length. - Try on, or measure until the piece covers the bust area and provides desired coverage.
6. Finishing
- After reaching desired length and coverage, finish off yarn.
- Weave in all loose ends.
- For assembling and construction (side and shoulder seams), refer to subsequent finishing instructions.
Conclusion
This design produces a versatile, airy blouse suitable for layering. The alternating rounds of fan stitch and chain spaces create an attractive, textured fabric that works well with any yarn. Measuring your foundation chain against the bust ensures customized fit.
Pattern Correction & Tips
Correction:
- Ensure the initial chain count is a multiple of 4.
- At the end of fan stitch rounds, always check there are 3 unworked chains for stitch alignment.
Tips:
- Try on as you crochet, or lay piece over a t-shirt for fit.
- Vary border depth for different looks—4–6 rounds creates a dramatic hem.
- Tension control is important for an even, breathable fabric.
- For a neater finish, move to the center of spaces via slip stitches before starting new rows.