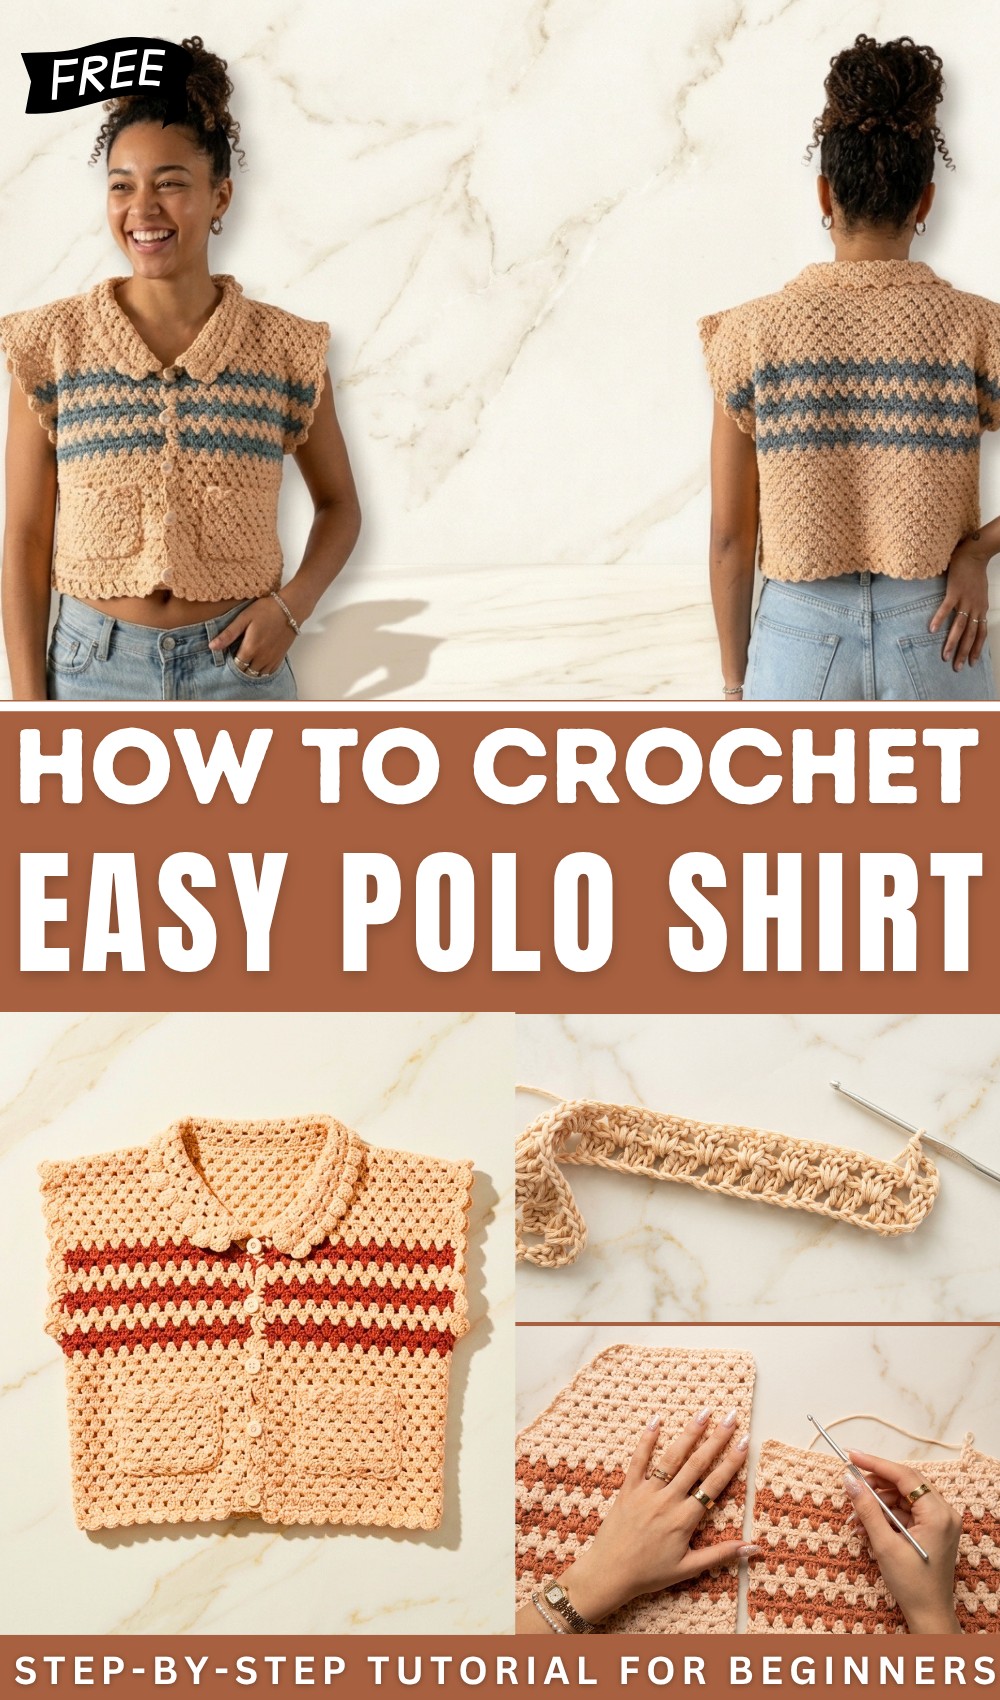
Free Crochet Pattern for Stylish Polo Shirt
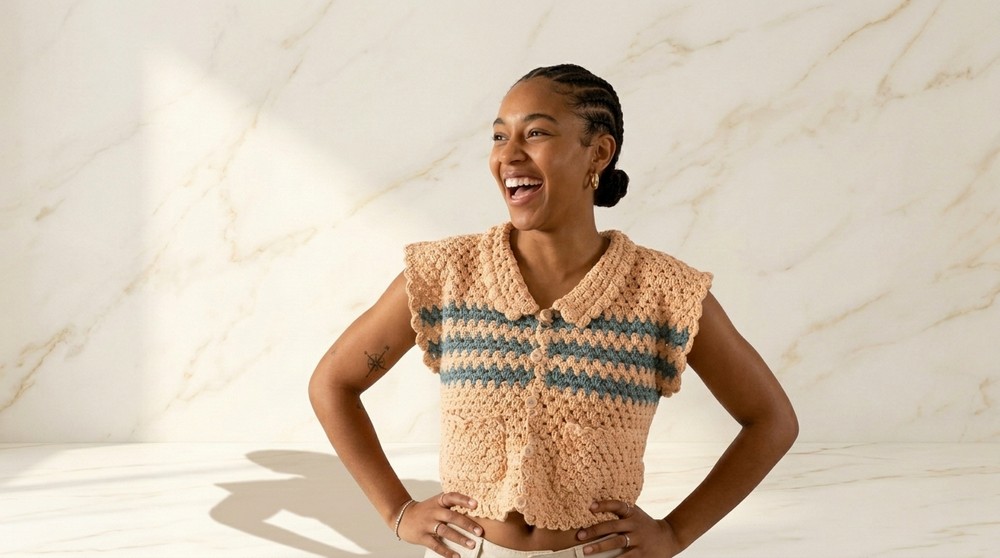
Step into comfort with this free crochet polo shirt pattern that offers breathable feel adds smart texture and casual or semi formal wear.
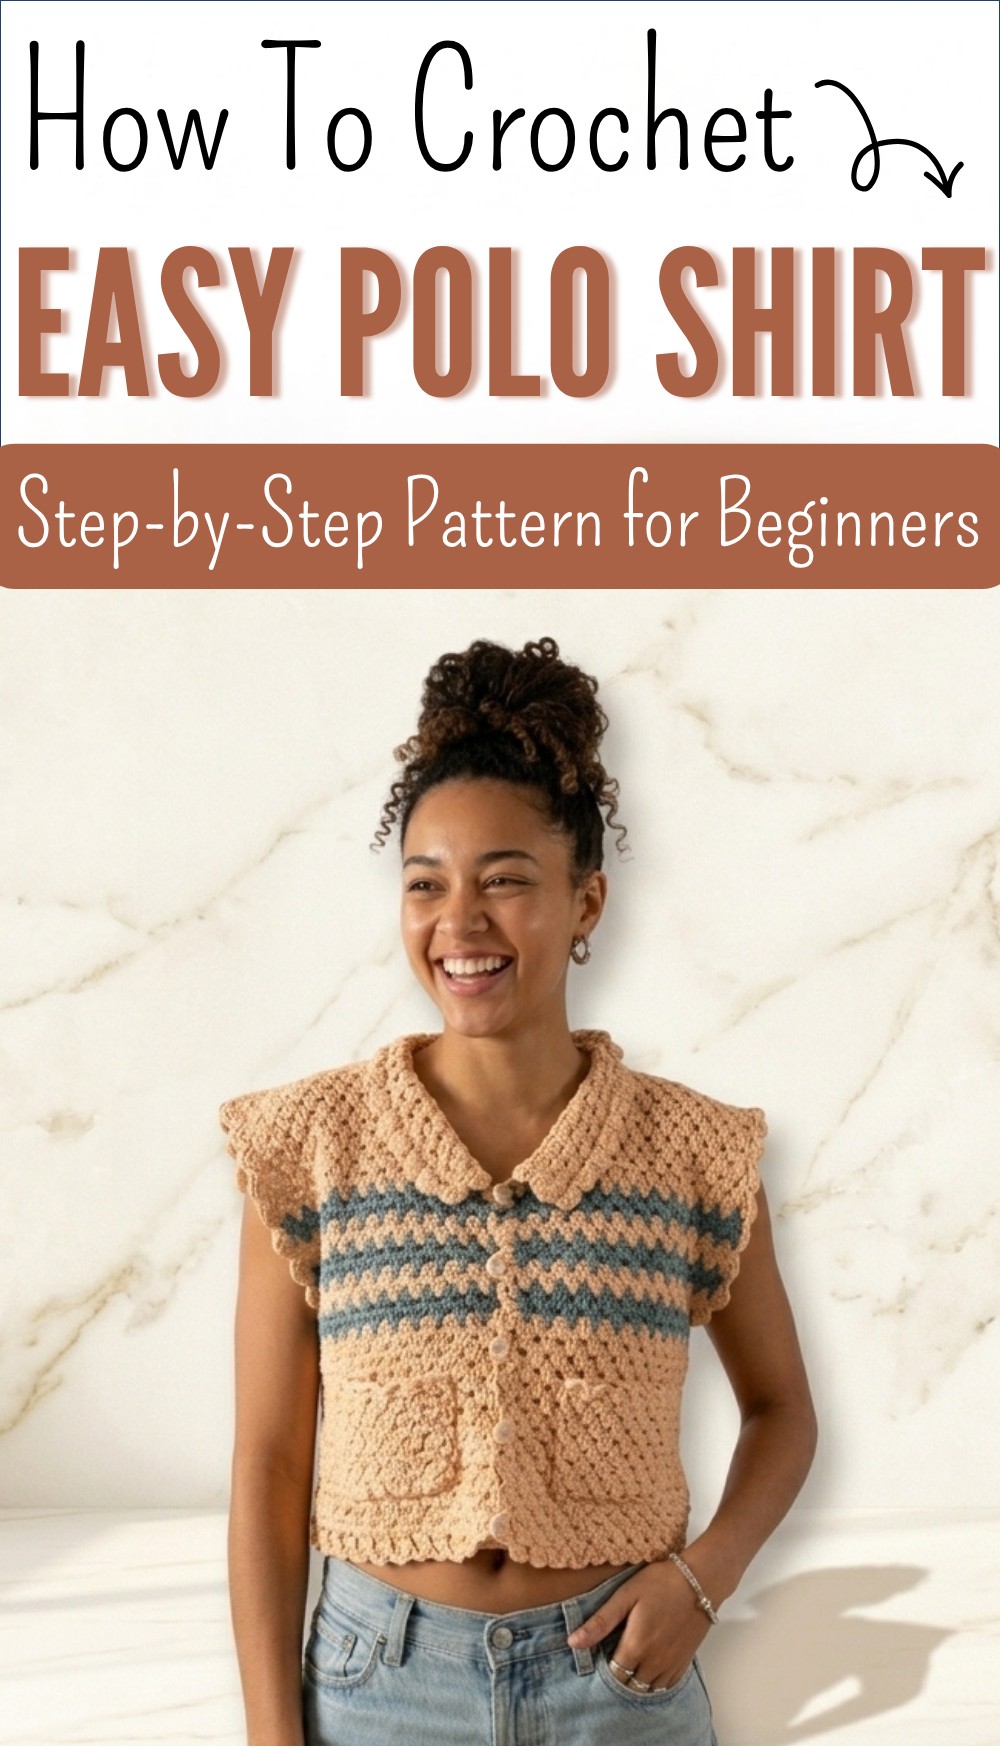
Crochet a Chic Polo Shirt Free Pattern for Everyday Style
It can be matched with skirts, trousers, or casual outfits for a balanced and fresh look. The steps are clear and easy to understand so anyone can complete it without confusion or stress. The finished shirt looks neat and well shaped, giving a smart and pleasant appearance. It offers comfort, beauty, and confidence, turning simple material into a useful piece that feels light, stylish, and perfect for daily fashion needs.
Free Polish Shirt Crochet Pattern
Materials
- Yarn:
- Main color: Medium weight (approximately 150m/50g) cotton yarn
- Stripe & details color: Contrasting medium weight cotton yarn
- Sample uses Byelina Ocean Drop yarn.
- Amount Needed:
- Main: Approx. 3 balls (for both front pieces), 2 or more for back (see Tips)
- Stripes/Details: 1 ball (or as needed)
- Hook: 3.5 mm (US E/4 or F/5)
- Notions:
- Tapestry needle (for sewing & weaving ends)
- Scissors
- Sewing needle and thread (or sewing machine) for pockets/buttons
- Buttons (optional, as many as you like)
- Stitch marker
- Measuring tape
- Blocking tools (optional)
- Hot glue (optional, for pockets if not sewing)
Key Abbreviations (US Terms)
| Abbrev. | Meaning |
|---|---|
| ch | chain |
| st(s) | stitch(es) |
| dc | double crochet |
| hdc | half double crochet |
| sl st | slip stitch |
| sk | skip |
| rep | repeat |
| RS/WS | right/wrong side |
Special Notes
- Gauge customization: To adjust the shirt width, change starting chains in multiples of 3.
- Standing Stitch: At the start of every new row, ch 3 and turn.
- Stripe placement: Customizable; sample pattern gives specific rows.
- For color changes, finish the last dc with the new color.
- Use a stitch marker to keep track of row ends/beginnings, especially for decreases.
- Pattern is written to fit an oversized Small/Medium; see sizing tips for custom fit.
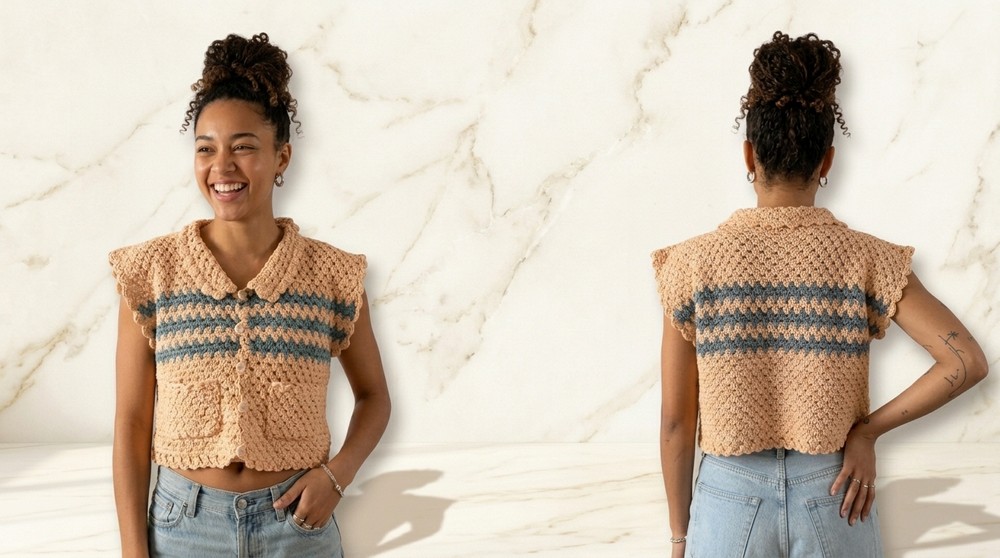
Construction Overview
- Worked in flat panels: 2 front pieces and 1 back piece; pockets added, then joined; collar and edges finished in the round.
- Primary stitch pattern: Granny-style clusters (sets of 3 dc).
- Details and edgings: Optional, but add texture and polish.
INSTRUCTIONS
1. FRONT PIECES (Make 2)
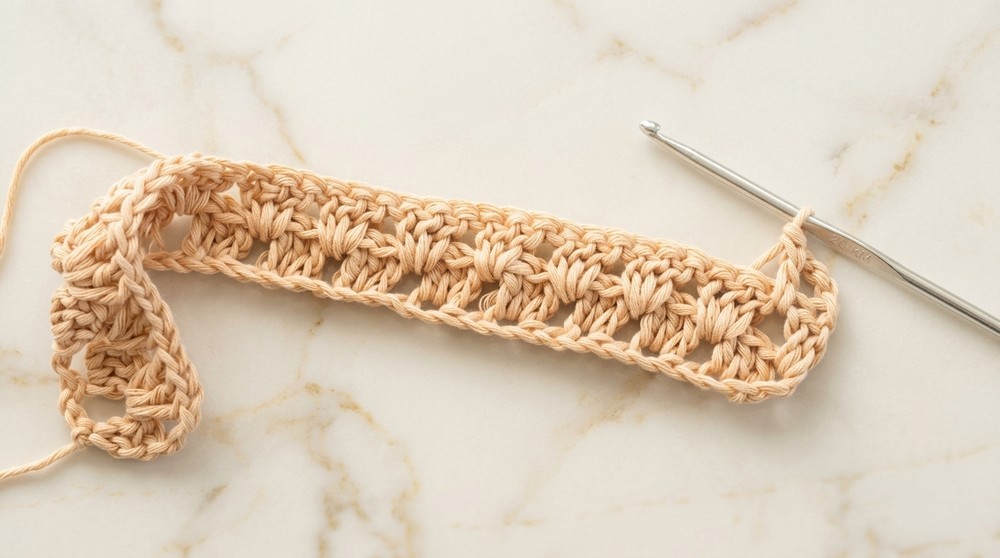
Foundation Chain
- Ch 41 (for S/M/Oversized fit; see Tips for adjustments).
- To alter width: Start with any multiple of 3 + 2 (for the edge). Make sure to write down your chain count for the other panels!
- Row 1:
- Sk first 5 ch (counts as edge and turning), 3 dc in 6th ch from hook.
- [Sk 2 ch, 3 dc in next ch]; rep across.
- In final ch: only 2 dc.
- Ch 3, turn (Standing Stitch/turning chain always counts as first dc of next row).
Main Body
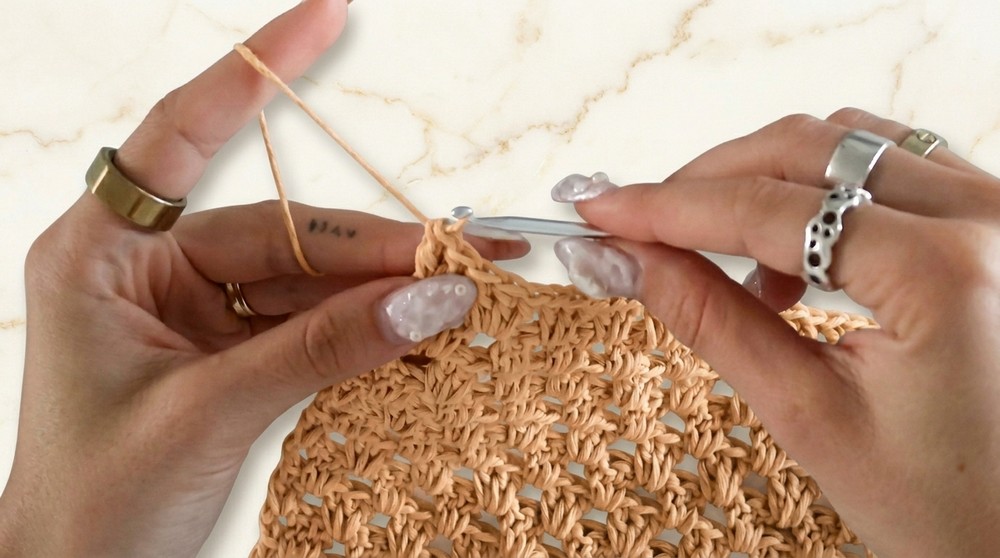
Granny Cluster Stripe Pattern
- Row 2:
- 3 dc in space between last 2 sets from previous row (insert hook under the full gap, not in a stitch).
- Rep across to end, always ending with 2 dc in last space (for a clean edge).
- Rows 3–16:
- Rep Row 2 in established pattern with main color.
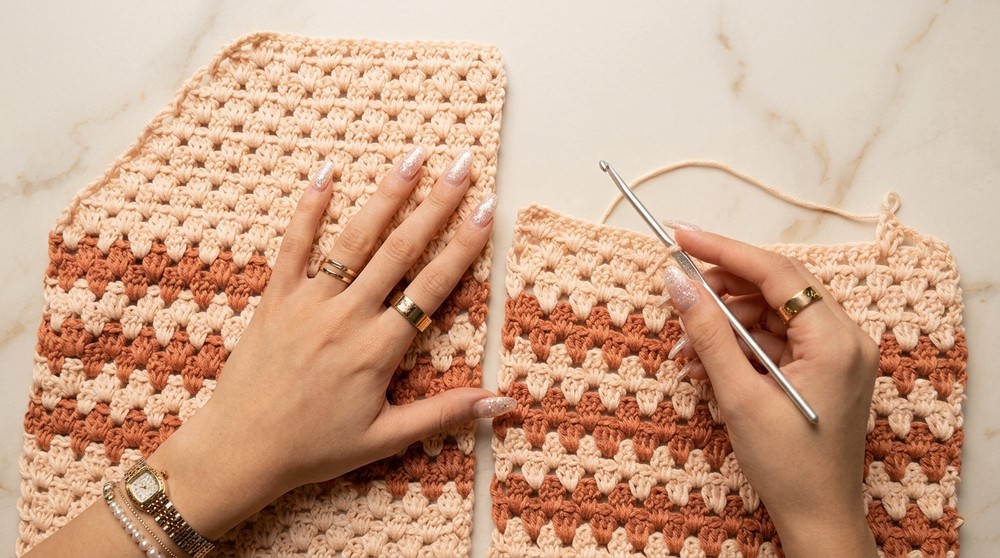
- Colorwork:
- At end of Row 16, change to stripe/contrast color: finish last dc with new color.
- Stripe sequence (as in sample):
- 2 rows contrast, 2 rows main, 2 rows contrast, 2 rows main, 2 rows contrast.
- (Total: Row 17–26. Adjust for your own placement/length.)
- Rows 27–28:
- Continue in main color, maintaining stitch pattern.
Shaping the Neckline (Decreases)
- Begin decreasing for 10–11 rows:
- Decrease Row (Right side):
- After turning, instead of placing 3 dc in first space, sk 1st space; start with the next cluster in the second space.
- Continue pattern; at row end, finish with only 1 dc (not 2).
- Straight edge (other side):
- On return rows, do not decrease; start/finish as before (2 dc at the edge).
- Alternate decrease rows at neck as described for V-neck shaping.
- Repeat until you have 10–11 decrease rows or desired V-neck length.
2. BACK PIECE
- Ch 80 (for S/M/Oversized; adjust per your custom front width; see Tips).
- If you added X chains per front, total up both and add to back piece’s foundation chain!
- Row 1:
- Sk 5 ch, 3 dc in 6th ch from hook.
- [Sk 2 ch, 3 dc in next ch]; rep across.
- 2 dc in last ch.
- Rows 2–to desired length:
- Rep stitch pattern as for front piece.
- No decreases; work a straight rectangle.
- Match length and color sequence of fronts.
- Fasten off, weave in ends.
3. POCKETS (Make 2, Optional)
- Ch 23.
- Row 1:
- Sk 5 ch, 3 dc in 6th ch from hook.
- [Sk 2 ch, 3 dc in next ch] across.
- Last ch: 2 dc.
- Rows 2–8 (or desired height):
- 3 dc in each space between clusters, as established.
- Each row ends with 2 dc only.
- Fasten off, weave ends.
Pocket Detail Row (Top)
- Turn after last row.
- In 1st dc: hdc.
- In next st: 3 dc in same st.
- In next st: hdc.
- Sl st in larger space (between clusters) to secure.
- Rep this pattern (hdc, 3 dc, hdc, sl st) across pocket edge as desired.
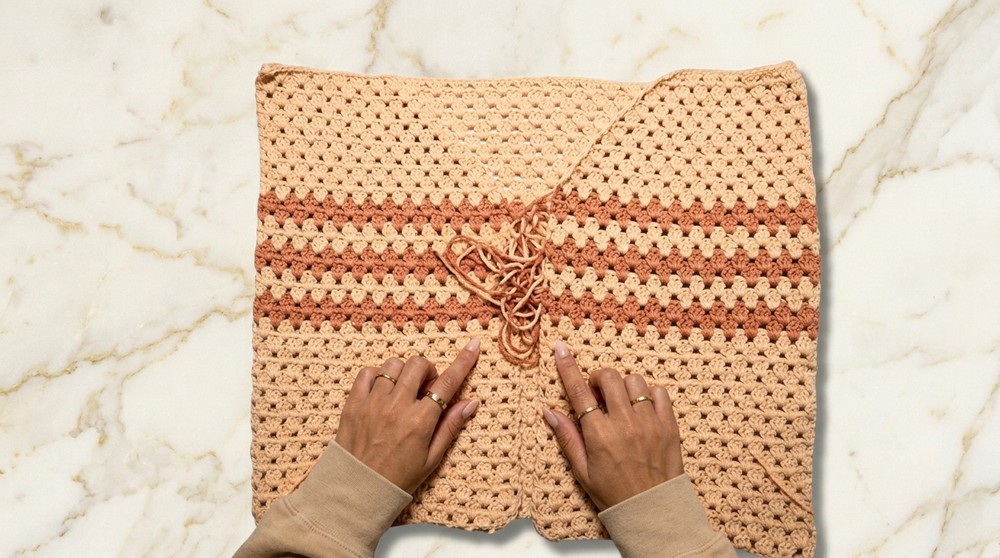
4. JOINING
- Place front panels over back with RS out.
- Align clusters and seam up sides using stitch of your choice (sl st, whipstitch, or as shown: sl st through inside V loops of both panels).
- Seam up shoulders just to start of neckline shaping for arm opening.
- Attach pockets with sewing needle/thread, or hot glue/machine as preferred.
5. COLLAR & EDGINGS
- Attach yarn at base of one neckline front, ch 2 (acts as first dc), 2 dc in this gap.
- Work 3 dc in every gap around the neckline and back, following original pattern, until you reach the start point.
- Rows 2–4: Work as for body, around the collar in the round or in rows (flip each time), per your preference.
- End with a contrast detail row if desired (see pocket details).
- Optional: Add rows/scallops/contrast edges to other parts (front edges, sleeves) following the same process.
6. BUTTON BAND & OTHER DETAILS
- Sew on buttons where desired, either directly through gaps in clusters or in textured detail rows.
- Add extra borders or edgings around armholes for a cap-sleeve effect.
- Block your shirt for best drape and correct shape.
Pattern Correction
- Foundation chains must match across halves and back for proper fit.
- Always end rows with only 2 dc (not 3) for balanced edges.
- Maintain decreases only at neckline edge to shape V-neck.
Tips
- Sizing: Adjust starting chains in multiples of 3 for each panel; always write down your changes for all matching pieces.
- Fit check: Try panels as you go; add stripes, rows, or decrease rows as needed for your fit.
- Details: Pocket/scallop rows create visual interest and serve as a button band alternative.
- Finishing: Tidy up by weaving in all ends and blocking for the smoothest finish.
- Optional closures: Add a zipper, hook and eye, or chains for ties instead of, or in addition to, buttons.
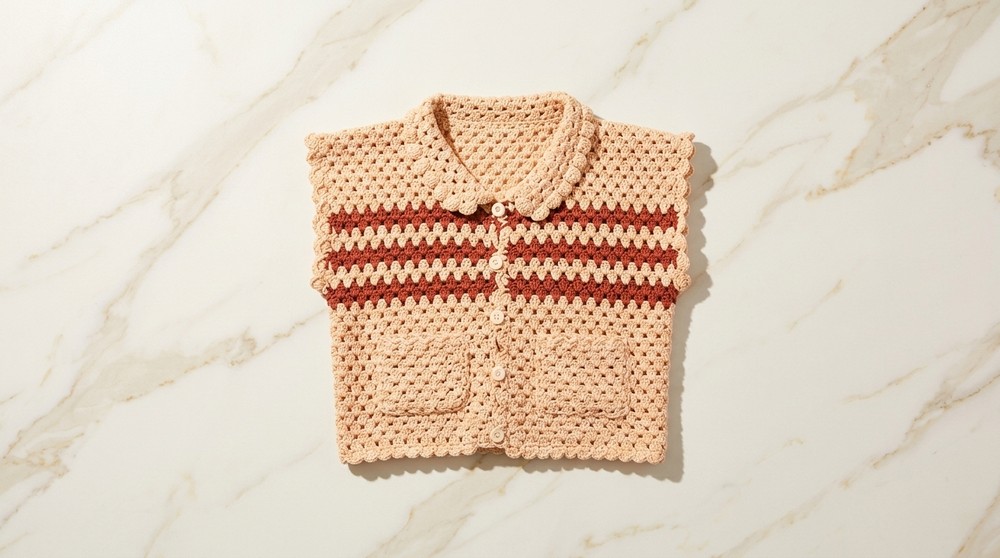
Conclusion
You’ve now completed your own stylish, oversized Polish shirt—a modern take on the classic crochet polo! This project is fully adjustable, playful, and ideal for layering or statement dressing.