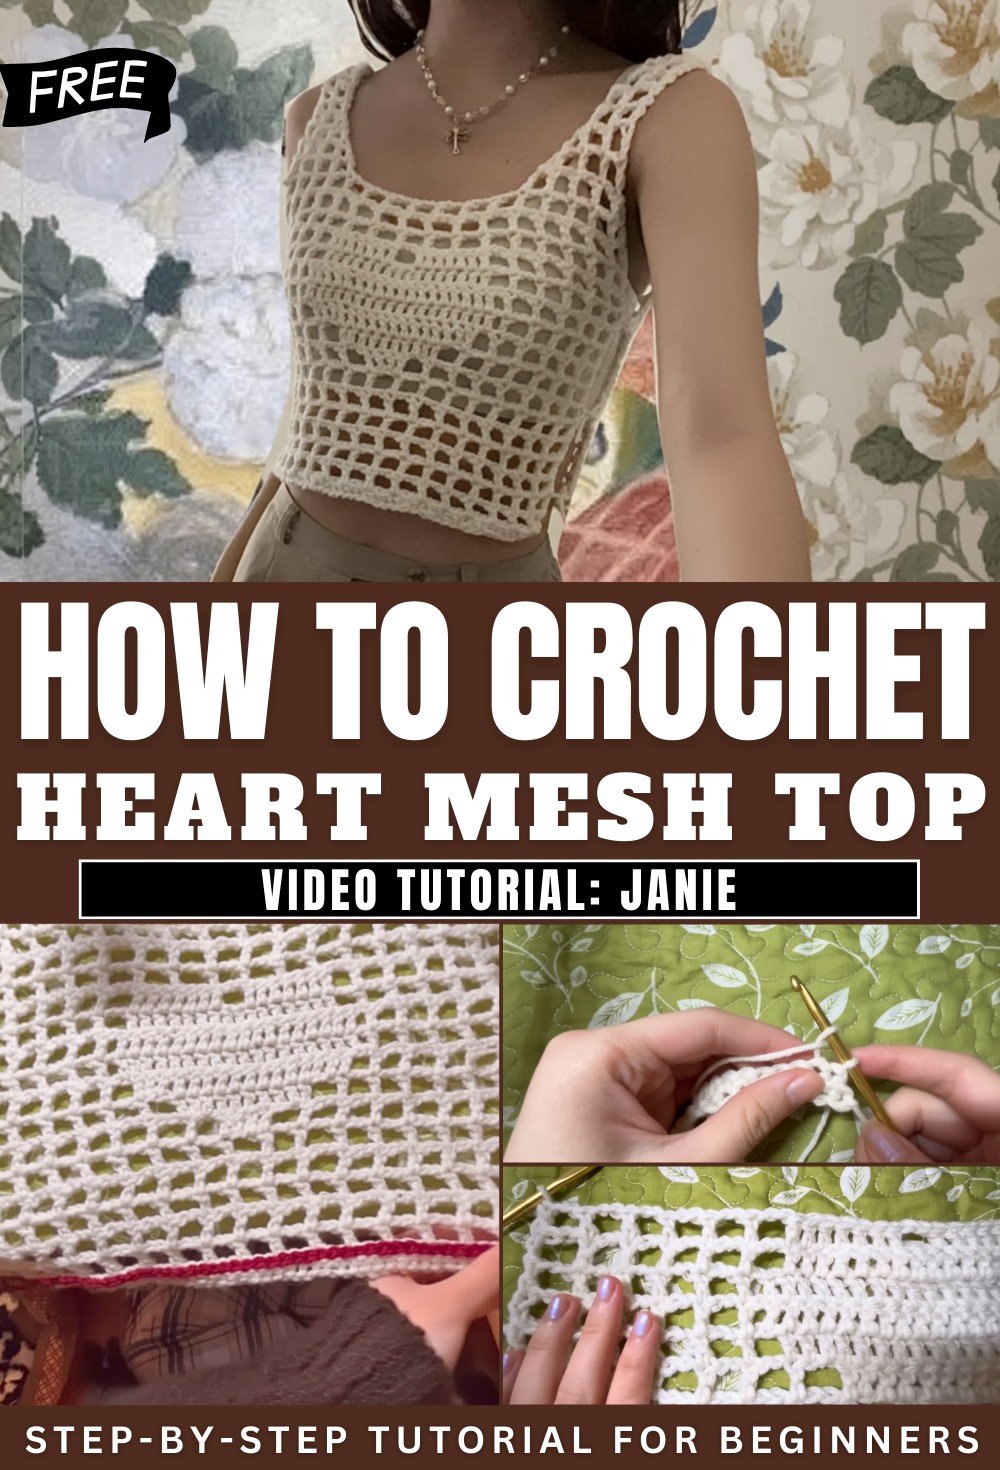
Fresh Crochet Mesh Top Pattern Ideal for Seasonal Fashion
Slip into effortless style with this Free Crochet Mesh Top Pattern for airy comfort flattering fit and chic warm weather vibes every day.
Unique Crochet Mesh Top Pattern Perfect for Summer Styling
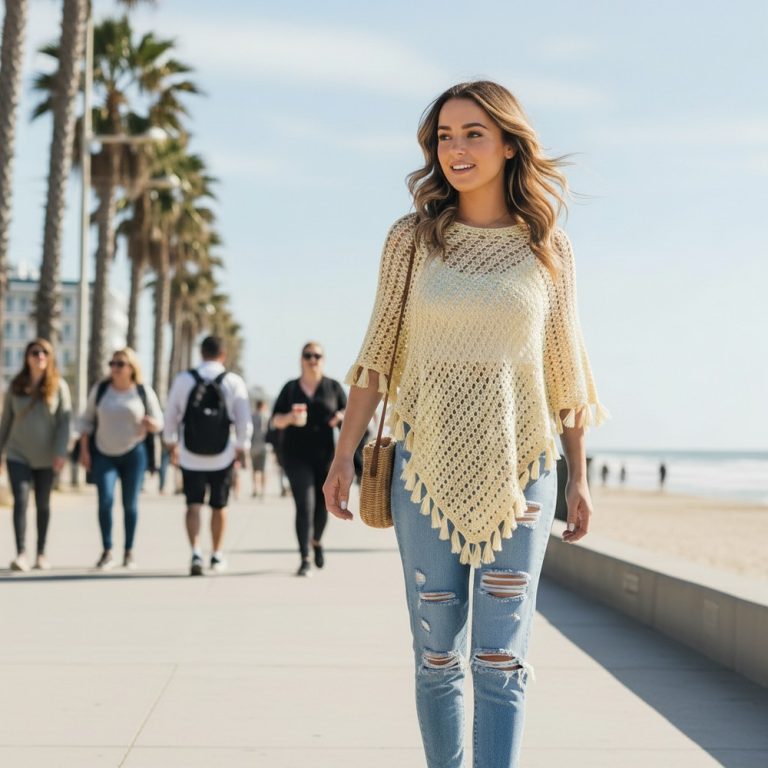
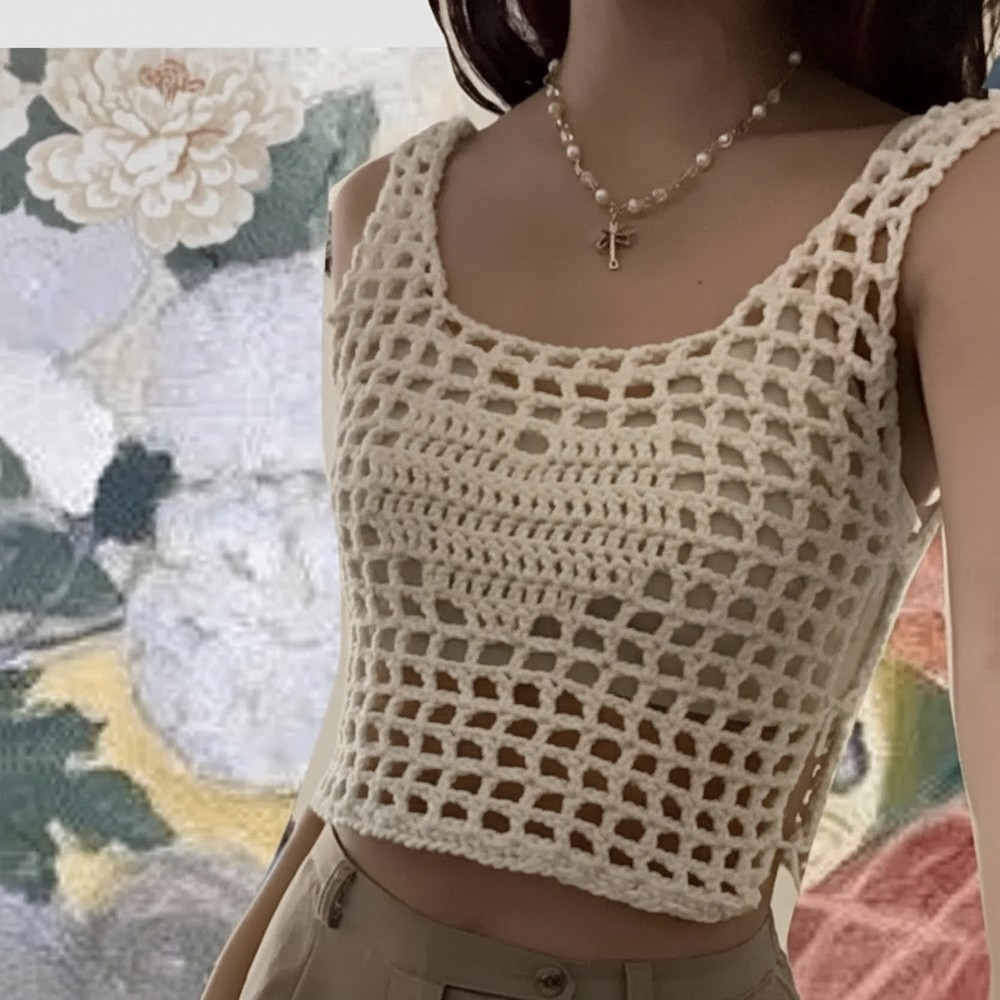
Effortless elegance meets everyday comfort in a piece that is both stylish and versatile. The Crochet Mesh Top Pattern features open, airy stitches that keep it breathable and perfect for warm-weather wear, casual layering, or beach-ready outfits. Its delicate texture adds visual interest without overwhelming the overall look, creating a flattering silhouette for all body types. The lightweight structure ensures freedom of movement while maintaining a polished, put-together appearance.
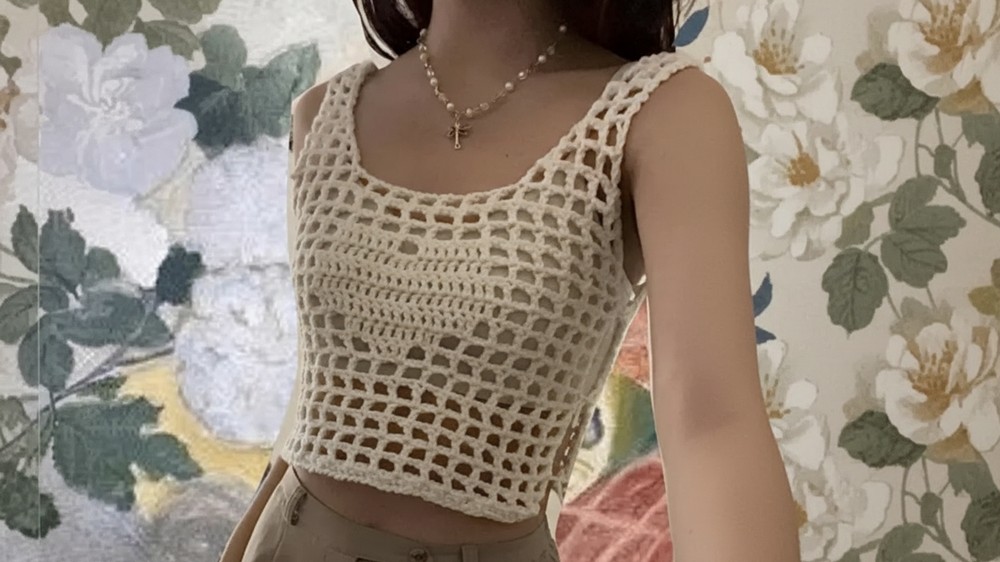
This pattern adapts beautifully to different styling choices, pairing seamlessly with skirts, shorts, or high-waisted jeans for a chic and modern vibe. Beyond its aesthetic charm, it offers practical benefits like quick drying and easy layering, making it ideal for transitional seasons. With the opportunity to experiment with yarn colors and textures, this design becomes a personal and fashionable wardrobe staple. It brings together comfort, versatility, and style in one effortlessly elegant garment.
Special Features
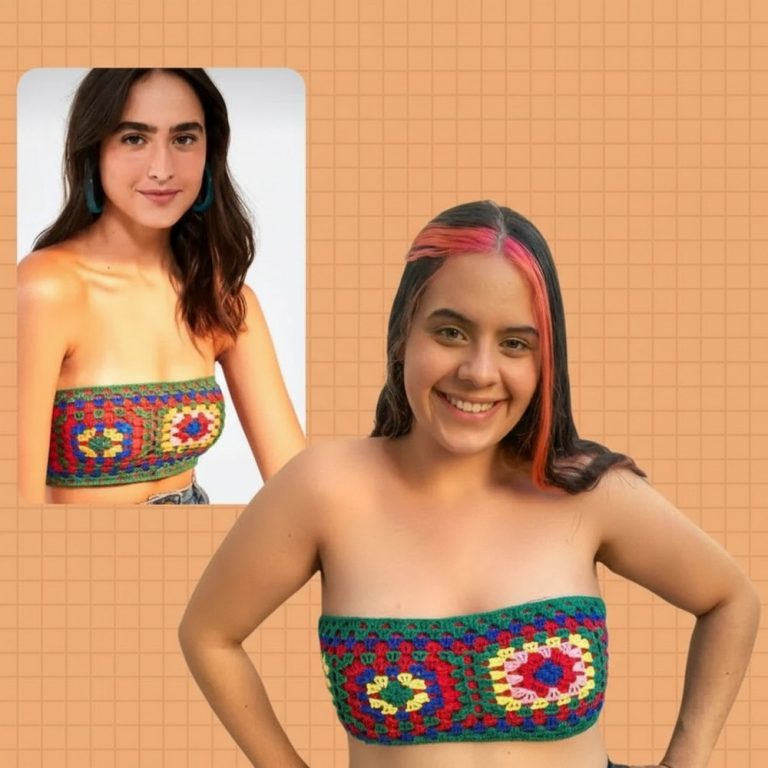
- Statement Heart Motif: Vibrant and visible in the mesh.
- Adjustable Fit: Tied sides for easy modifications.
- Customizable Length: Adjust the mesh rows for the ideal crop.
- Optional Details: Add contrasting slip stitch trim or sew on a small heart patch.
Level of Difficulty
Confident Beginner to Intermediate: If you know how to chain, single crochet, and double crochet, you can make this top. Counting and following the grid for the heart are the main challenges.
Tutor’s Suggestions
- Lay out your piece and check alignment as you go, ensuring your heart design stays centered.
- If your gauge is off, adjust your starting chain in multiples of the mesh squares.
- Try on the panel as you go and adjust the number of rows for your perfect fit.
Uses
- Great for casual summer wear, layering, or as a festival piece.
- Makes a thoughtful, trendy handmade gift.
Materials
- Worsted weight (category 4) yarn (one main color, plus a small amount of contrast if desired)
- 5mm crochet hook
- Scissors
- Yarn needle
Step-by-step Pattern
Front Panel
1. Foundation Chain & Single Crochet Row
- Make a slip knot.
- Chain 53.
- Starting in the 2nd chain from hook, single crochet in each chain across (52 sc).
- Turn.
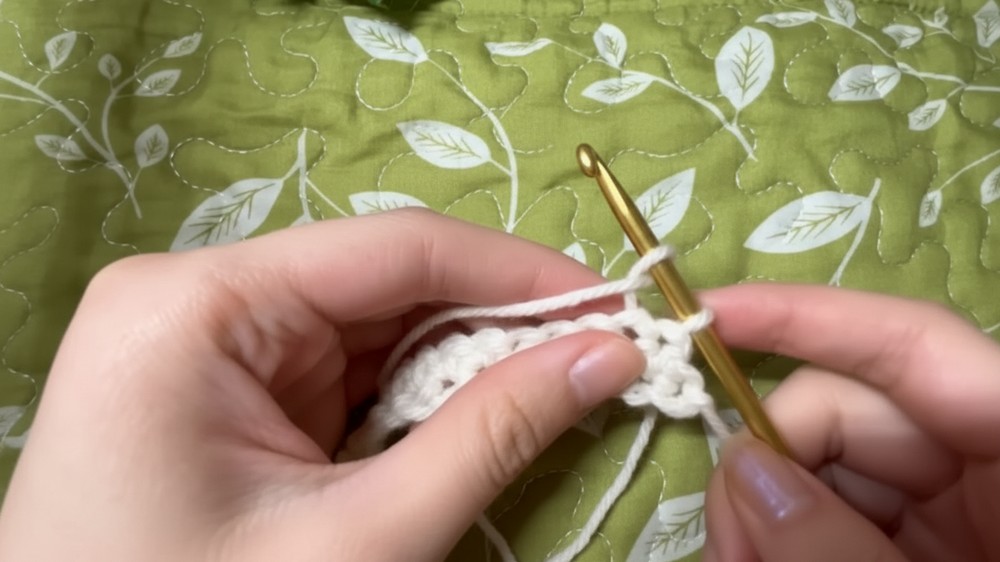
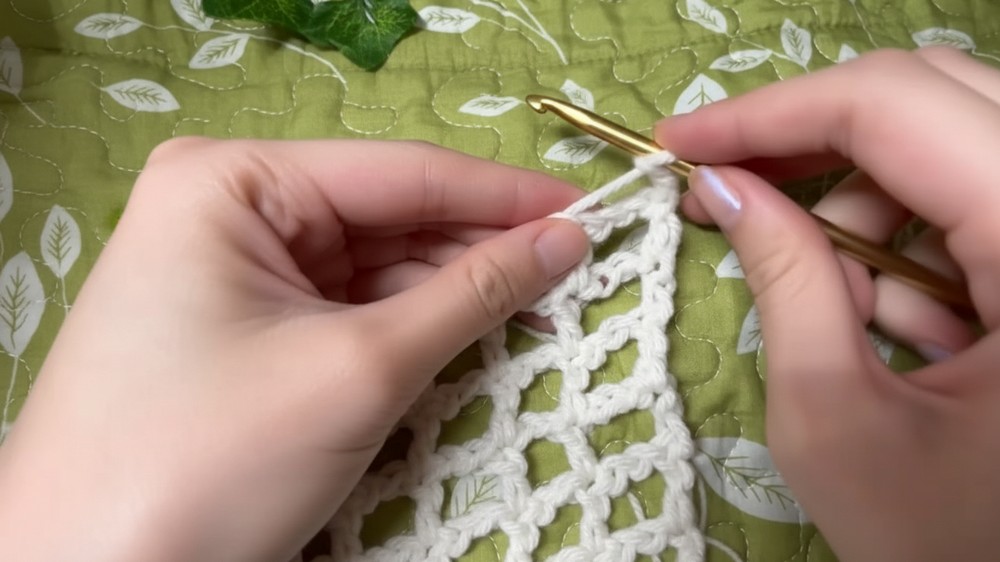
2. Mesh Rows (Rows 1–6)
- For each mesh row:
- Start: Chain 5 (acts as 1 double crochet plus ch-2 space).
- Skip 2 stitches, double crochet (dc) in the next.
- [Repeat]: Chain 2, skip 2, dc in the next stitch. Continue until the end.
- Each row = 17 mesh “squares” (if foundation not changed).
- Repeat for a total of 6 rows (or 5 for a cropped style).
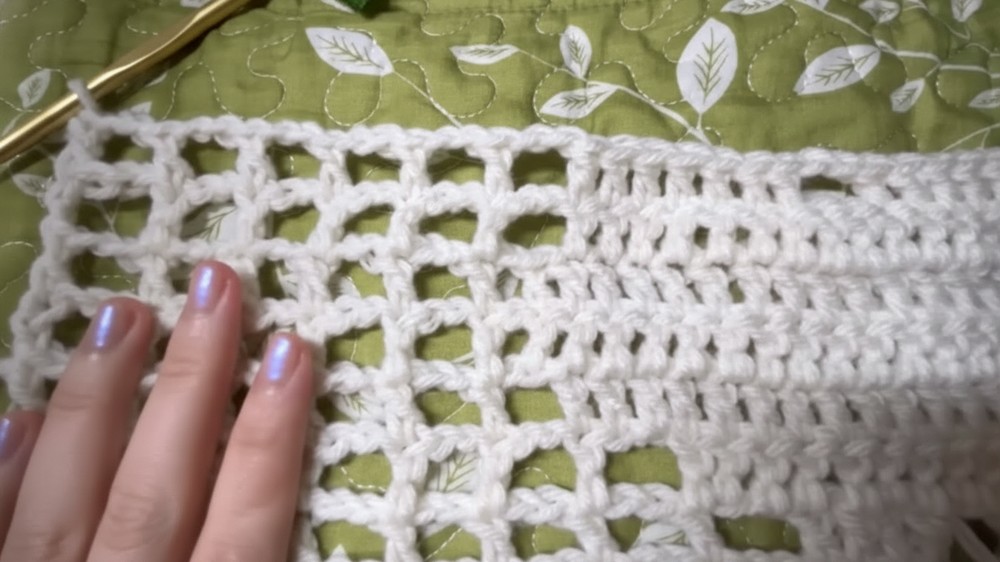
3. Heart Motif (Rows 7–13)
Row 7:
- Chain 5, skip 2, dc in next. Create 8 mesh squares as before.
- In square 9, fill in: Place 2 dc in the previous row’s ch-2 space, 1 dc in the “pillar” (dc of previous row), 2 dc in next ch-2 space (5 dc total—this fills a mesh square completely).
- Complete the rest as mesh squares.
Row 8:
- Begin as before but make 7 mesh squares, then fill in 3 consecutive squares (9 dcs: 2 in each ch-2 space and 1 in each pillar). Finish with mesh squares.
Row 9:
- Begin with 6 mesh squares, then fill in 5 consecutive squares (15 dcs), finish with mesh squares.
Row 10–11:
- Start with 5 mesh squares. For row 10, fill in half a square by chaining 1, skip 1, dc in next; then fill in 6 mesh squares’ worth (18 dcs); finish last half-square as at start.
- Row 11: same as row 10.
Row 12:
- Make 6 mesh squares, fill in 5 squares (15 dcs), make 6 mesh squares.
Row 13:
- Make 6 mesh squares, fill in 2 squares (6 dcs), chain 2, skip 2 for the small gap in the heart, fill in 2 squares (7 dcs), finish with 6 mesh squares.
(Check video or a chart for heart placement; the written instructions describe the overall sequence.)
4. Finishing Mesh Rows (Rows 14–16)
- Continue mesh stitch rows for 3 more rows, just as before (ch 5 to start, ch 2 between dcs).
Straps (Each Strap Done Separately On Each End)
See the updated video for visuals if needed.
- From where you left off, chain 2, skip 2, dc (first mesh square).
- Chain 2, skip 2, dc (second square).
- Chain 2, skip 2, dc (third square).
- Then: Chain 1, skip 2, dc for sloping edge.
- Turn, ch 2, skip 1, dc; repeat for 3 mesh squares.
- Repeat rows with sloping at start/end as shown until desired length (10 rows suggested, but hold up to your body as you go).
- Repeat the strap making for the other top edge, tying on new yarn if needed.
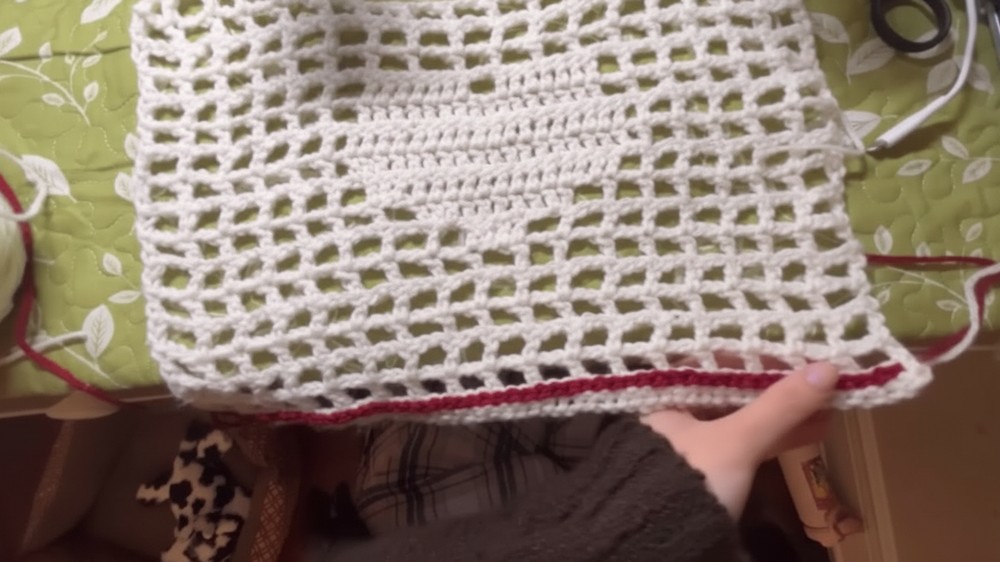
(Optional) Embellishments
- Add contrasting slip stitches along the bottom edge by slip stitching with a contrasting color.
- Crochet or sew on a separate little heart applique for extra detail.
Back Panel
- Work exactly like the front panel through the mesh section, excluding the heart filling steps:
- Chain 53 and single crochet 52 for the base.
- Mesh stitch for 16 rows (ch 5 to start each row, ch 2 between dcs, for 17 mesh squares per row).
- Make two straps in the same manner.
Assembly
- Place front and back panels together, aligning the straps.
- Sew or crochet the shoulder seams together (at the ends of each strap).
- Cut six pieces of yarn, about 6 inches long each.
- Tie the sides at approximately the 3rd, 7th, and 12th row from the bottom up on both sides.
- Weave in all ends.
Conclusion
You made the Heart Mesh Top! It’s light, airy, and features an adorable focal heart. Adjust the side ties and straps for your perfect fit. Show off your work for summer or festival outfits, or give it as a sweet, personal gift!
Final Tip
Keep your stitches consistent in tension. For visual clarity, lay your work flat after mesh and motif rows—adjust if your heart isn’t centered, since this ensures your mesh stays gridded and the heart looks crisp.