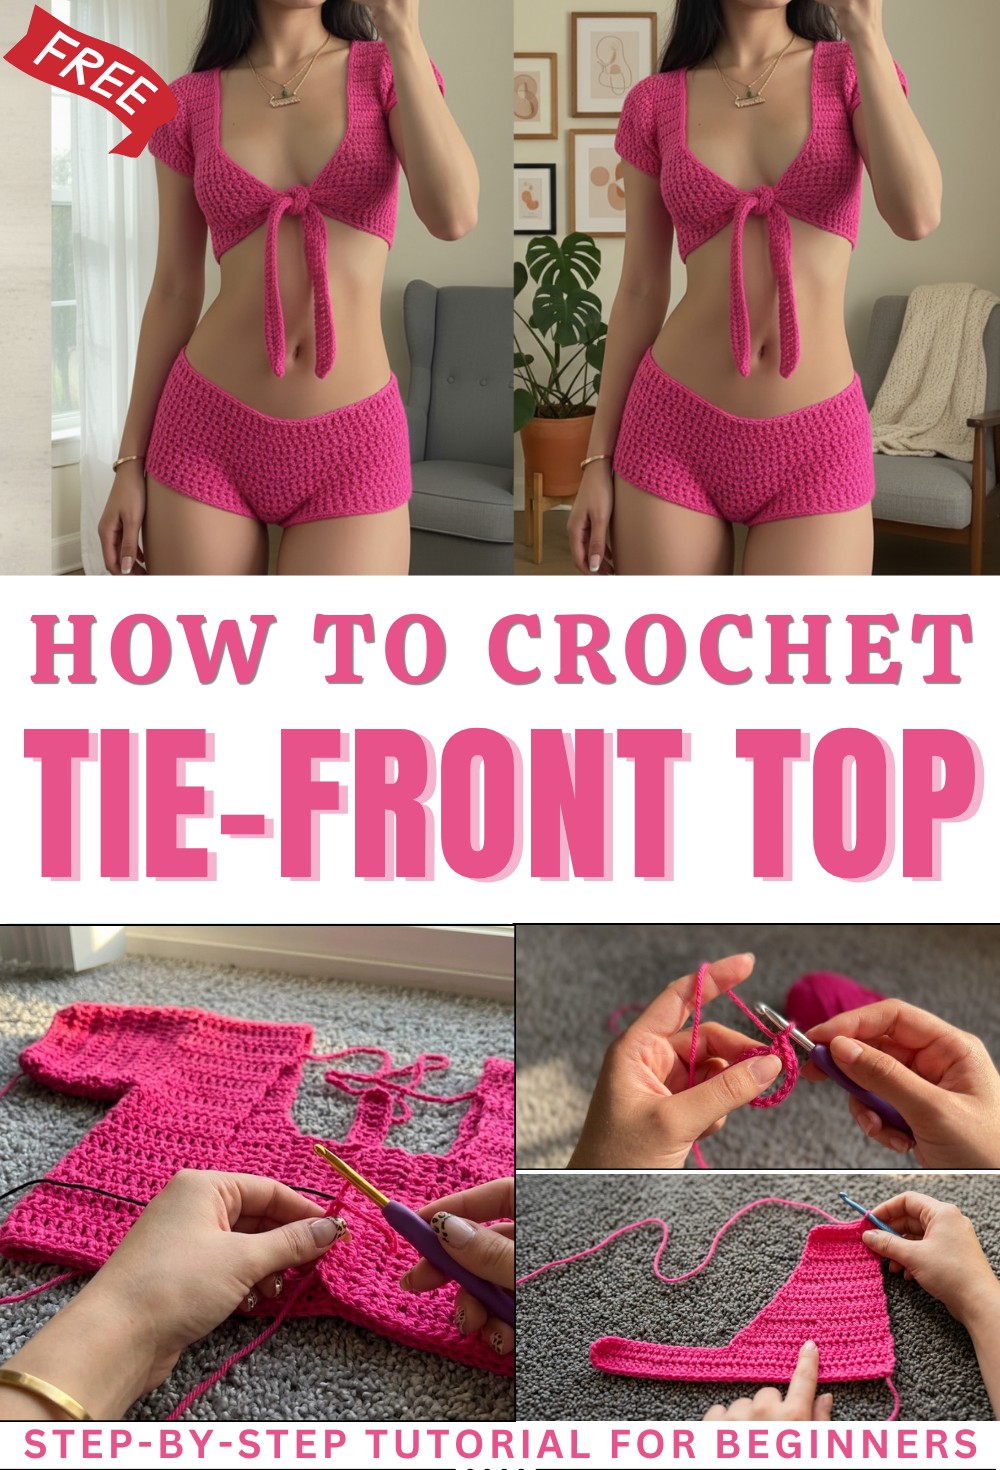
Tie-Front Top Crochet Free Pattern for Everyday Style

Slip into effortless style with a free crochet tie-front top pattern, that is simple to follow and perfect for adding charm to every outfit.
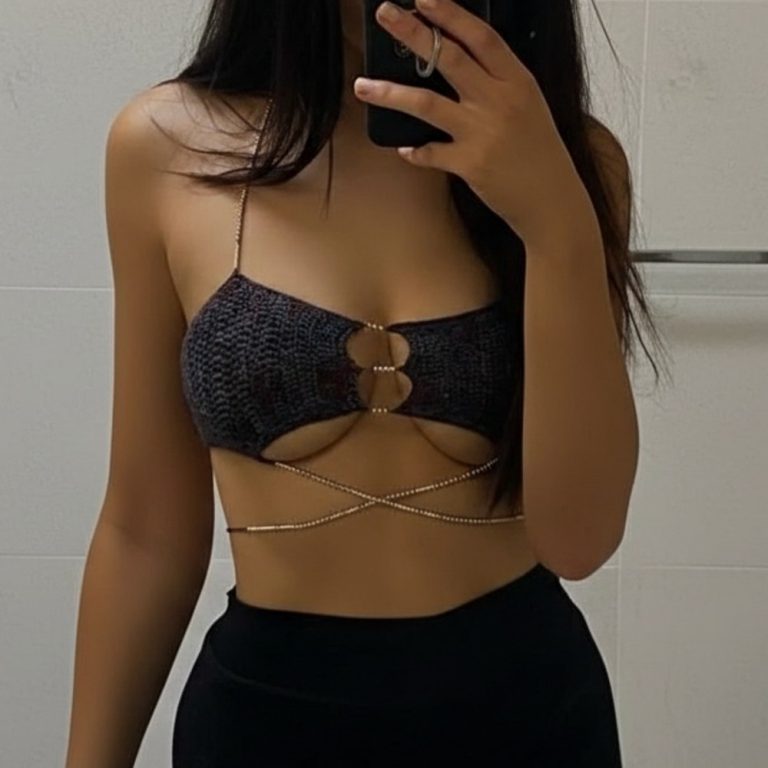
A gentle touch of style can make anyone feel special as yarn glides through steady hands and a lovely fabric forms. Flowing with easy lines and sweet ties, these tops bring both beauty and comfort to anyone’s day, making every outfit shine. The crochet tie-front top pattern lets you enjoy a new look and adjust the top to fit you just right—loose or snug, how you like best. Charming bow details across the front add playful grace and make your clothing stand out in a charming way.
Free Pattern: Cute Crochet Tie-Front Top for Warmer Days
This pattern fits every season, perfect on its own in warm weather or draped over another piece when it gets cool. Simple steps guide you from start to finish, even for those just learning, and soon a favorite top is ready to wear. Making your own means every top is unique, as special as the person wearing it.

Crochet Tie – Front Top Pattern
Materials
- Yarn: Size 2 (Fine/Sport) weight yarn (approx. 250g for size XS; adjust amount and yarn weight as desired)
- Hook: 5.5 mm or 5 mm crochet hook (for extra meshiness, use 5.5 mm)
- Optional: 4 mm hook and size 1/baby yarn for scalloped edging
- Yarn Needle: For seaming and weaving in ends
- Scissors
- Measuring Tape: For custom sizing

Key Abbreviations
- ch = chain
- dc = double crochet
- sc = single crochet
- sl st = slip stitch
- st(s) = stitch(es)
- dec = decrease (using dc2tog)
Special Notes
- The length of your starting foundation double crochets determines the tie front width; adjust to preference.
- Try on your work as you go, especially after seaming and sleeve decreases, to customize fit.
- All rows are worked flat, joining and seaming are explained, finishing with optional decorative details.
- Pattern is for size XS as per video; adjust numbers for larger sizes as needed.
Instructions
1. Tie Front Panel (Make 2 Panels; Main and Right or Left)
Foundation:
- With 5 mm or 5.5 mm hook, make a slip knot.
- Foundation Double Crochet (fdc) 42 (or desired number for your width).
- To fdc: Ch 3, yo, insert into first ch, yo, pull up a loop (3 loops on hook), yo, pull through 1 (starting ch), yo, pull through 2, yo, pull through 2. For each new st: yo, insert into base of previous st, yo, pull up a loop, yo, pull through 1, yo, pull through 2, yo, pull through 2.
- Note: For larger/smaller sizes, adjust fdc count for desired tie front width.

Row 1:
- Ch 2, turn. Dc in each st across. (42 dc)
Row 2:
- Ch 2, turn. Dc in each st across. (42 dc)
- This is the tie front.
Row 3:
- Ch 2, turn. Dc in next 22 sts (for XS; adjust for bigger sizes by holding up the panel to your body and working to desired coverage width).
- Rest of row is left unworked.
2. Create the V-Shape (Decreasing for the Bust Slope)
Decrease Rows:
Row 4:
- Ch 2, turn. Dc2tog in first 2 sts (dec made; see below for how-to).
- Dc in each st across (ending on last st).
- Dc2tog (double crochet decrease):
- Yo, insert in first st, yo, draw up loop, yo, draw through 2 (2 loops on hook), yo, insert in next st, yo, draw up loop, yo, draw through 2, yo, draw through all 3 loops on hook.
- Dc2tog (double crochet decrease):
Row 5 (Decrease at end):
- Ch 2, turn. Dc in each st across until 2 sts remain. Dc2tog over last 2 sts on the same side as previous dec.
Repeat Rows 4 and 5
- Always decrease on the same side (the side that will become the V/neck opening).
- Continue until 12 sts remain (for size XS).
3. Straight Shoulder Panel
- From here, work even (no increases/decreases):
- Ch 2, turn. Dc in each st across.
- Repeat for 35 rows (for XS), or until your shoulder panel length fits you.
4. Seaming for Armhole
- Fold the panel in half at the shoulder.
- With right sides together, insert hook into the foundation side and slip stitch to secure.
- Ch 1.
- Seam up the side with sc:
- Insert hook through both sides (row ends), yo, pull through both and complete sc.
- Repeat for each row end up the side for approx. 13 rows (or until desired armhole depth).
- Try on and adjust if needed.
5. Sleeve (Worked in Rounds from Armhole Opening)
Round 1:
- Ch 2, dc evenly around armhole opening, working 1 dc in each row end and space between rows (44 dc counted for size XS).
- Sl st to first dc to join.
Round 2:
- Ch 2, turn, dc in each dc around (44 dc).
- Sl st to join, ch 2, turn.
Shaping Sleeve Cap (Decreasing):
- On next round: dc2tog in first 2 sts, dc to last 2 sts, dc2tog in last 2 sts. (2 decreases/round)
- Ch 2, turn, repeat decrease round for a total of 6 decrease rounds.
- Try on before fastening off.
- Adjust length/fit as desired (add more rounds for long sleeve, or fewer for cap sleeve).
- Fasten off and weave ends.
6. Repeat for Second Panel
- Make a second identical panel.
- Important: When seaming for the second panel, seam the opposite edge so both seams are on the inside when worn.
7. Back Panel Assembly
- Attach yarn to bottom back corner.
- Ch 2.
- Work 2 dc into each row end (across side of panel) for your desired width (suggested: 8–9 rows).
- Ch 2, turn, dc across; continue until the back section comfortably reaches to join the other body panel.
- Seam this back panel to the corresponding side on the other panel, slip stitching and then working 2 sc per row up the side for a neat seam.
- Try on prior to fastening off for length/width adjustments.
8. Straps (Optional but Recommended)
- Attach yarn ~10 rows from the back panel’s join line at shoulder.
- Ch for desired strap length (sample: 13″ / about 30–35 ch).
- Fasten off and repeat on the other side.
9. Scallop Edge (Optional)
- With smaller hook and thinner yarn, attach yarn at any point on the back.
- Ch 2, skip one dc row, 5 dc into next dc row, skip one row and sl st into the next.
- Repeat: [Skip one row, 5 dc into next row, skip one row, sl st], etc., all around desired edge.
10. Finishing
- Weave in all ends.
- Try on and adjust seams/straps as needed.
- Block for a professional finish, if desired.

Conclusion
This beginner-friendly tie front top features foundation double crochet for an elastic mesh, a simple V-neck shaping, easy seams, and optional decorative edging. The pattern is highly adaptable for fit and style, from cropped to full length, and with any sleeve preference.
Corrections & Tips
Corrections:
- Always decrease on the same edge of the panel for smooth V shaping.
- When sewing seams, ensure both are on the inside for comfort and appearance.
Tips:
- Try on as you go to adjust fit, especially around the bust, shoulder, and armhole.
- For a longer tie front, increase fdc at the start.
- Use a looser stitch tension for extra meshiness, or use a larger hook with finer yarn.