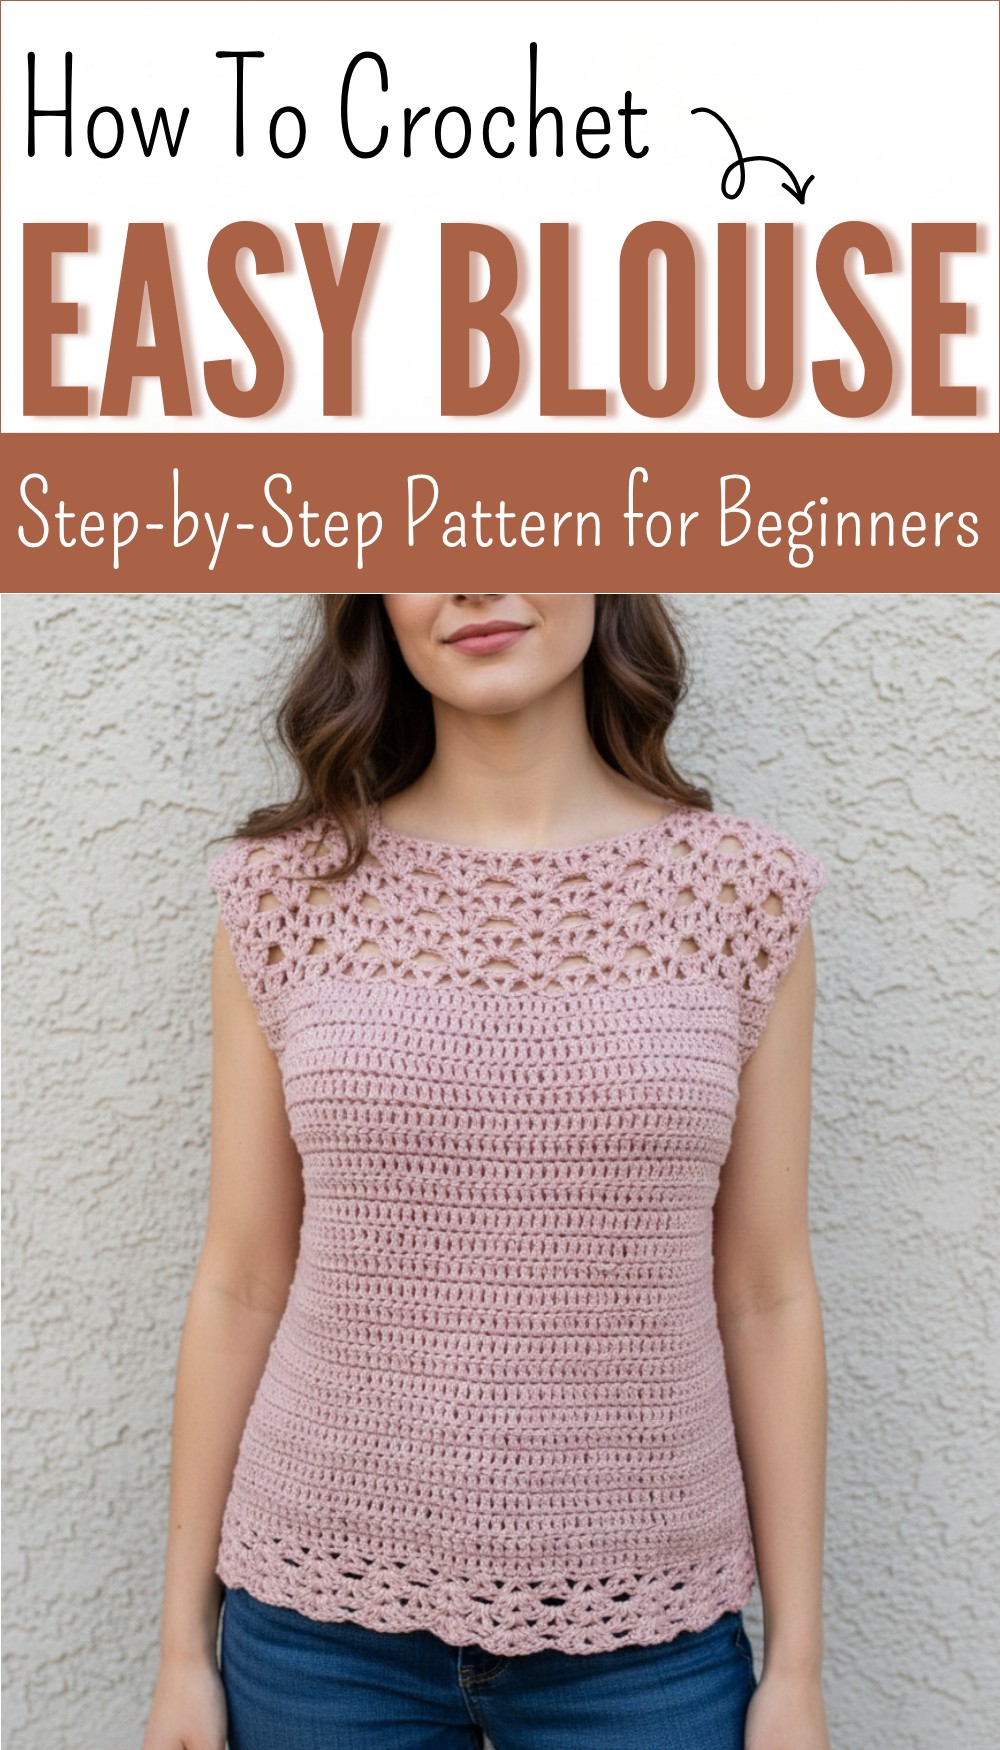
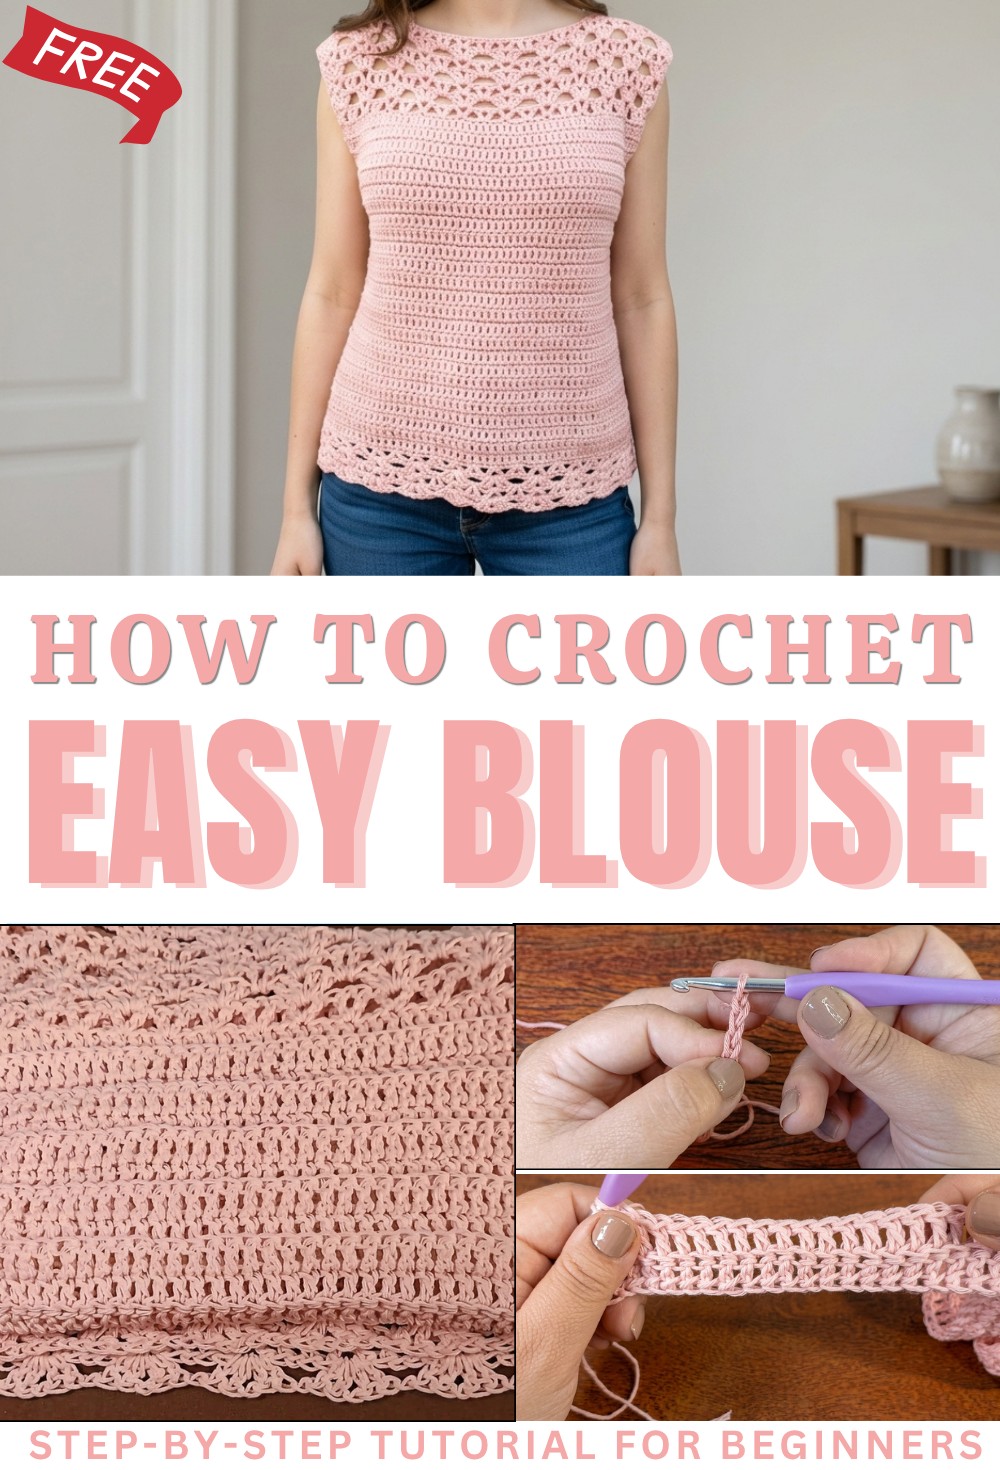
Free Crochet Blouse Pattern for Special Events and More
Warm up your wardrobe with this free crochet blouse pattern that blends style & comfort while making it simple to express your unique flair.
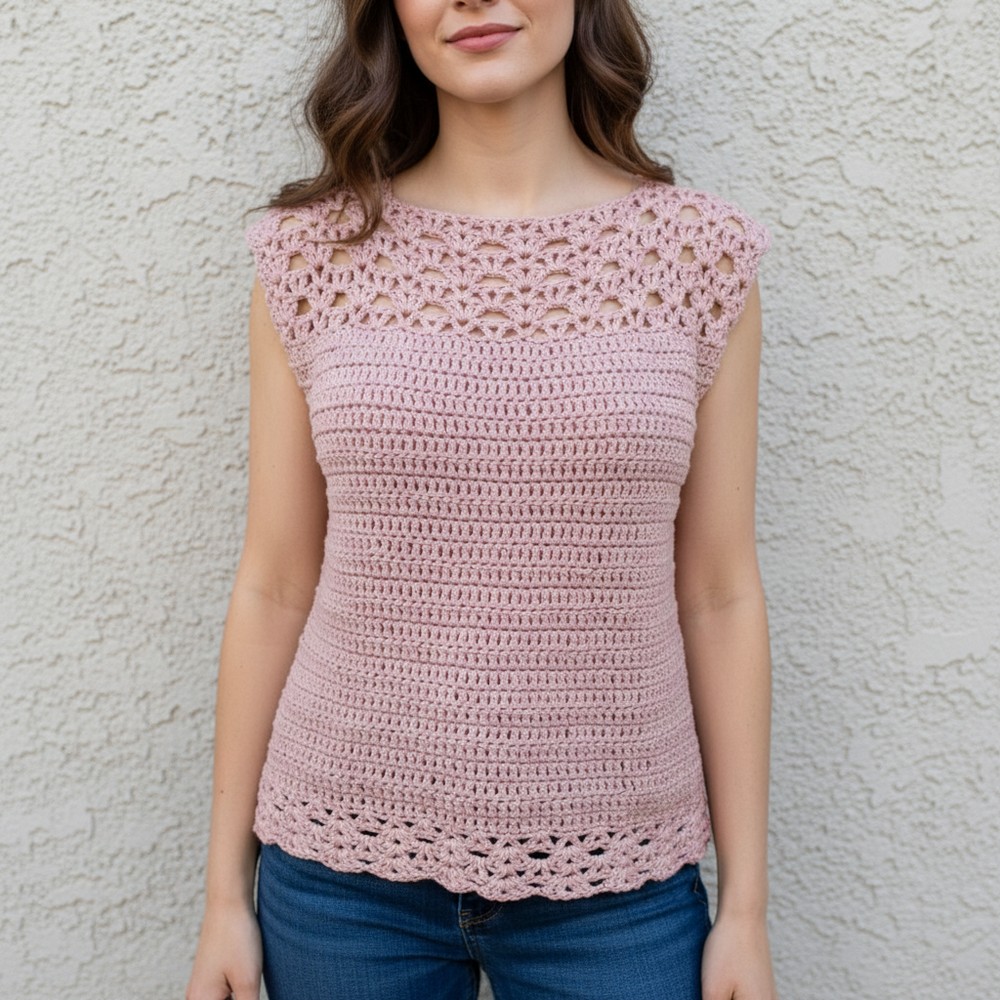
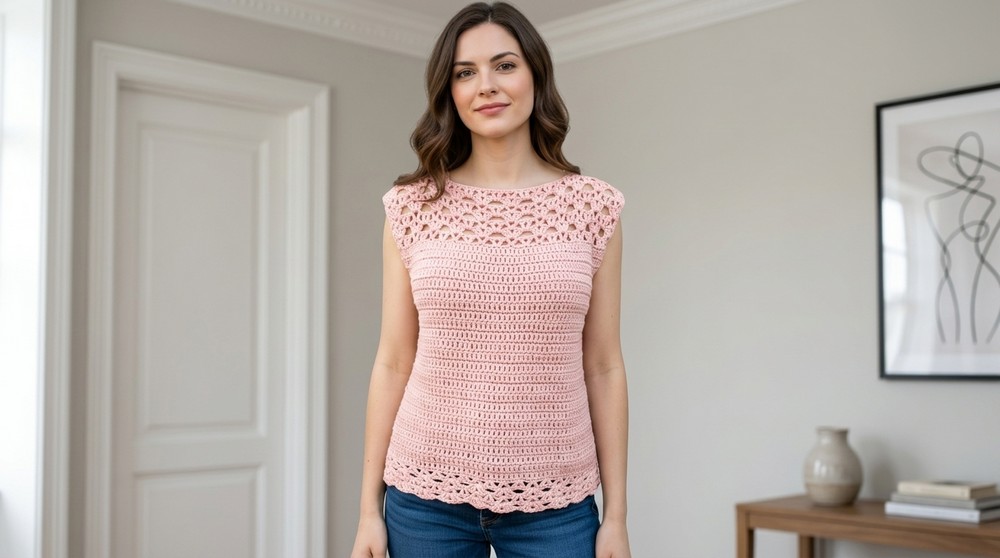
A beautiful top stands out with its soft yarn and gentle stitches, creating a unique handmade style anyone can enjoy. Delicate openwork details and flowing shapes give a crochet blouse pattern an elegant touch, making it lovely for both warm days and adding layers when the weather turns cool. This blouse offers comfort thanks to its lightweight feel and can be made in any color or size for the perfect fit.
Cozy Free Crochet Blouse Pattern You’ll Love to Wear All Year
Not only is it a joy to wear, but it’s also easy to create, even for someone just starting out. With simple tools and yarn, the finished blouse becomes a special piece that can be worn on ordinary days or for festive moments. Stylish, comfortable, and full of personal charm, this crochet blouse truly adds something special to every outfit.
Crochet Blouse Pattern Step by Step
Materials
- Yarn: 230g cotton yarn, medium thickness (approx. 1.5mm strand)
- Hook: 5mm crochet hook
- Notions: Scissors, tapestry needle, two stitch markers, measuring tape
Key Abbreviations
- ch: chain
- dc: double crochet
- hdc: half double crochet
- sl st: slip stitch
- sts: stitches
- sk: skip
- rep: repeat
Special Notes
- Sizing: The pattern is sized for XS (bust 32″, width 17″), but adjustable: measure your bust and shoulders, and add/subtract stitches and rows as needed.
- Starting Rows: Blouse is constructed in two rectangular panels, joined at shoulders and sides.
- Fancy Stitch: The lace pattern is worked in multiples of 6 + 5, adjust accordingly for desired fit.
Pattern Steps
A. Foundation Panel
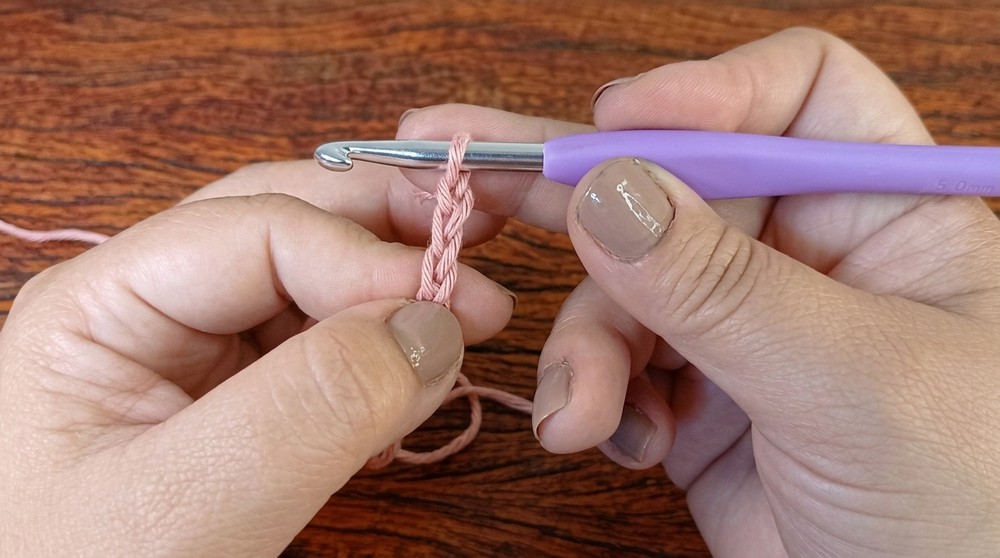
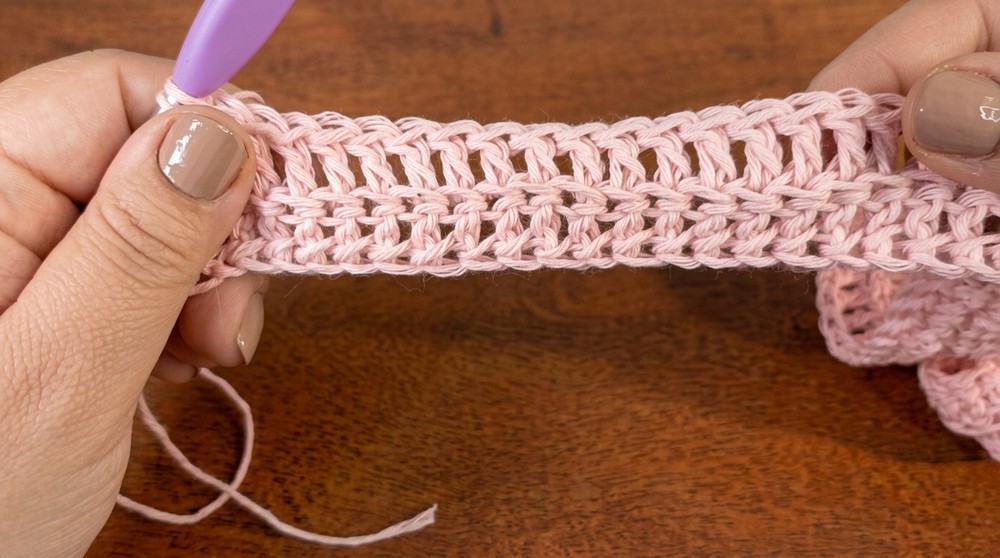
1. Foundation Row – Double Crochet Without Base Chain
- Make a slip knot.
- Ch 4. (First ch is foundation for first dc; next three ch replace first dc.)
- Yarn over, insert hook into the first chain, yarn over, pull up loop (three loops on hook).
- Yarn over, pull through first loop (creates mini-chain/foundation for next stitch).
- Yarn over, pull through two loops, yarn over, pull through last two loops (dc complete).
- Rep previous steps to create 65 dc, or desired width; keep in mind fancy stitch uses multiples of 6 + 5 for best results.
Tip: Count carefully and maintain even tension for a clean edge.
2. Ribbed Double Crochet Section
- Turn work.
- For first dc: Either false dc (pull up loop to dc height, yarn over, insert hook through back loop only of previous row st, yarn over, pull through, yarn over, pull through two, rep for next).
- Work 25 rows of dc, always taking the back loop only for a ribbed effect. End each row by working into back loop of turning ch.
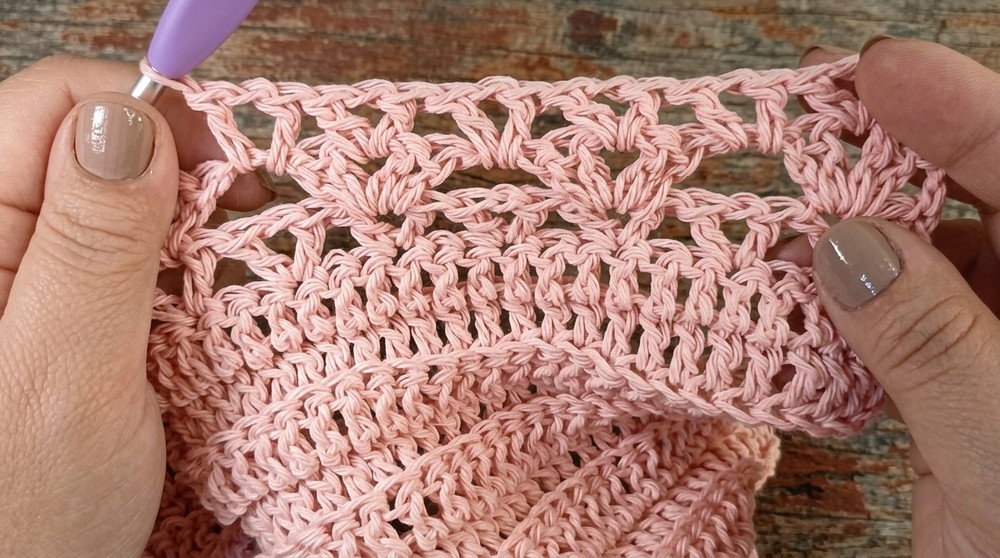
B. Lace Openwork Stitch (Fancy Stitch)
3. First Lace Section (Top Edge – Neckline & Shoulders)
- Row 1:
- False dc or ch 3 (counts as dc).
- Sk 2, in next st, dc, ch 1, dc in same st; rep across. End last group with dc in final stitch.
- Row 2:
- False dc or ch 3.
- In ch-1 space of previous group, work 2 dc, ch 1, 2 dc.
- Ch 1, sk to next group, rep across.
- End with dc in last stitch.
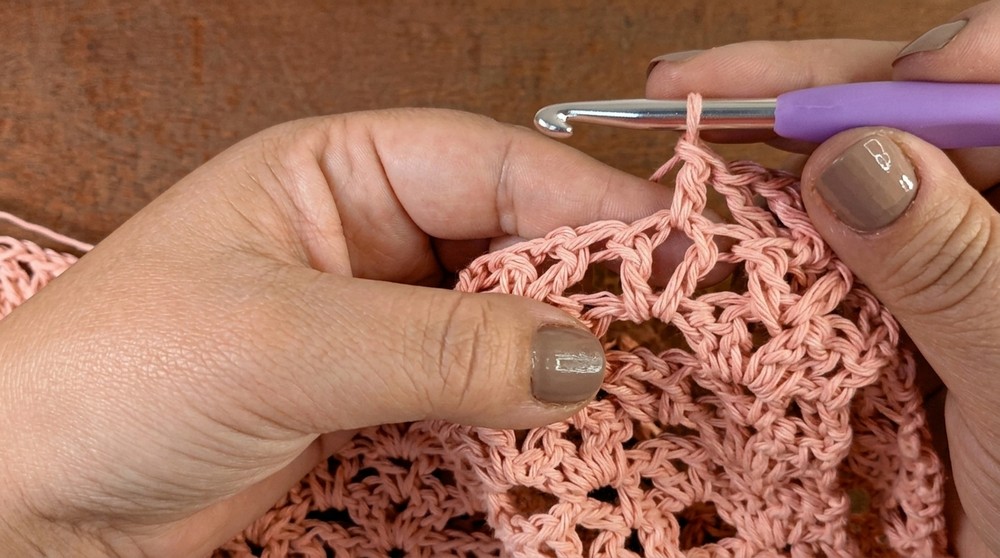
- Row 3:
- False dc or ch 3.
- In ch-1 space, dc, ch 1, dc.
- In ch between groups, dc, ch 1, dc, wrapping the chain.
- Rep across. End with dc.
- Rows 4-7:
- Alternate between Row 2 and 3 for total of seven rows or 9 cm.
Tip: Place stitch markers to track repeat sections and ensure symmetry.
4. Second Lace Section (Lower Edge/Borders)
- Return to foundation edge, join yarn with a standing dc.
- Rep lace pattern from previous section for 4 rows (more if desired for deeper border).
- Fasten off; hide ends with tapestry needle.
C. Panel Assembly
5. Make Second Panel
- Repeat all steps above for second panel.
D. Joining
6. Shoulder Join
- Place panels right sides together.
- Use stitch markers to count five lace groups for shoulder seam (approx. 10cm).
- With hook, join panels by working dc into groups of both panels:
- Front panel: dc into group
- Back panel: dc into same group
- Rep for five groups; fasten off and weave in ends.
- Repeat for second shoulder.
Tip: Always align lace groups to maintain seamless join.
7. Side Seams
- Turn garment inside out. Mark armhole opening: leave approx. 7″ (19cm) from shoulder for sleeves using stitch marker.
- With tapestry needle, sew side seams from marker to bottom edge, using mattress stitch, joining rib rows precisely.
- Fasten off, weave in ends.
Tip: Match rib row ridges for invisible seam.
Finishing
- Hide all ends securely inside garment with tapestry needle.
- Block blouse to desired measurements for best drape.
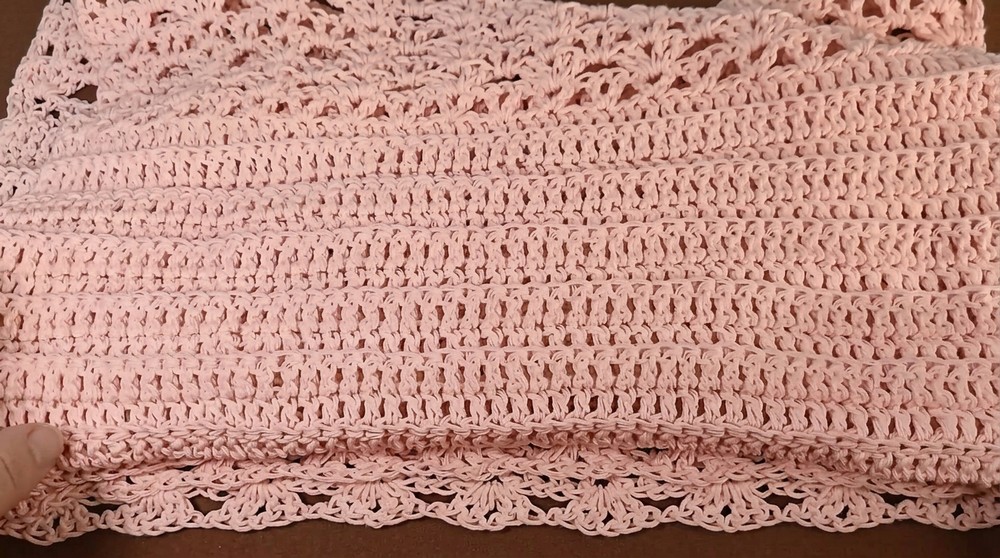
Conclusion
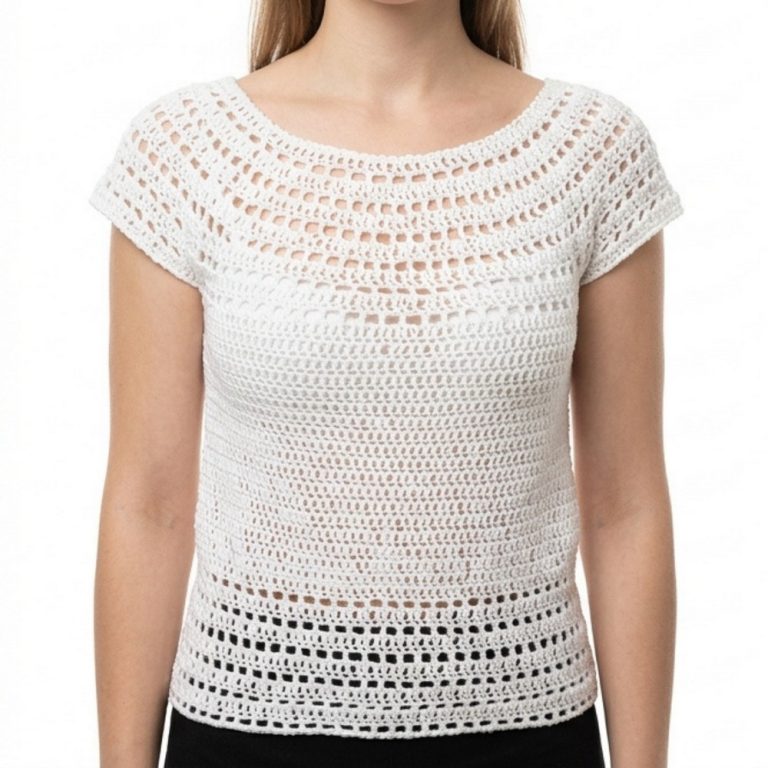
You have completed a beautiful, breathable blouse featuring ribbing and lace panels. The openwork stitch provides elegance, comfort, and versatility suitable for any occasion.
Pattern Correction & Tips
Correction: If your stitch count does not align with the lace pattern, frog (undo) to the foundation row, ensure correct multiples of 6 + 5, and adjust.
Tips:
- Use stitch markers throughout for easier join and symmetry.
- Block finished panels for neat appearance.
- For a larger blouse, adjust the dc counts and number of rows; measure as you go.