Cheerful Crochet Chicken Noodle Soup Hat Pattern For Fun Days
Warm up smiles with this Free Crochet Chicken Noodle Soup Hat Pattern bringing cozy humor, comfy fit, and a foodie twist for fun time.

Quirky Crochet Chicken Noodle Soup Hat Pattern For Instant Laughs
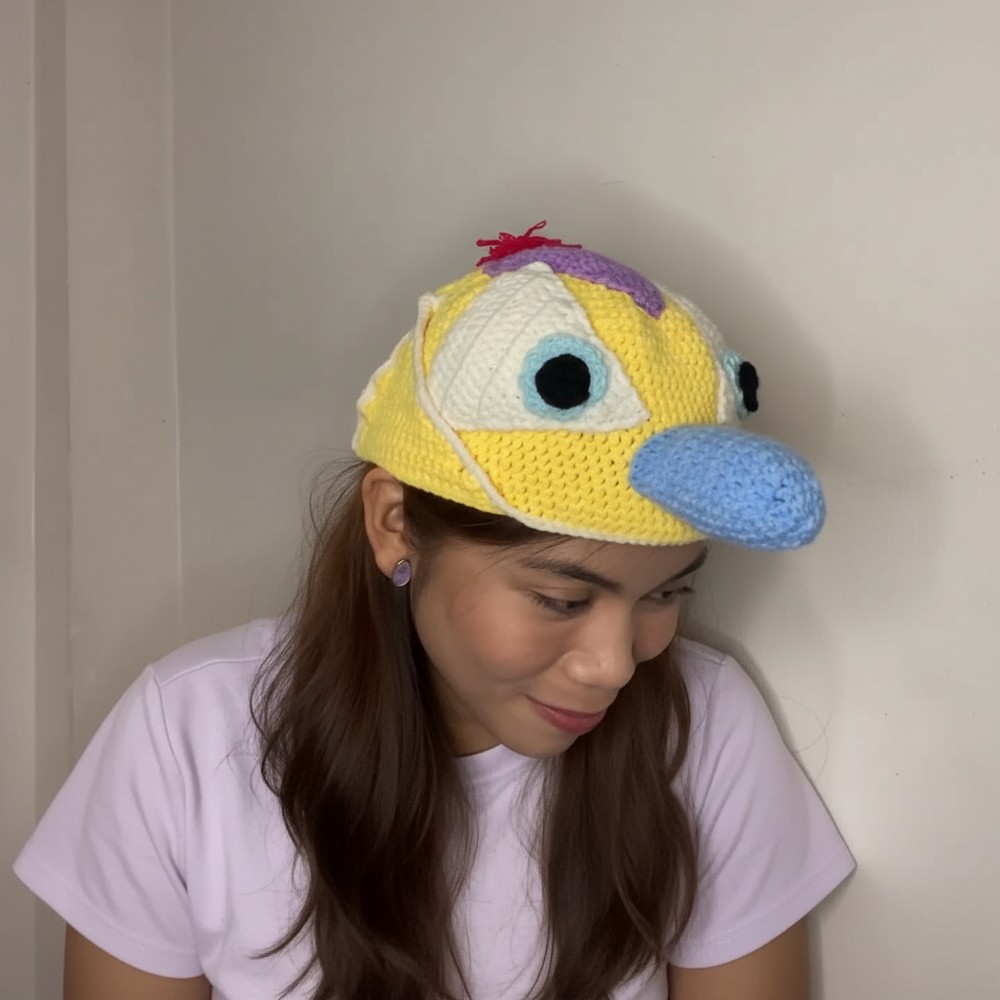
Whimsical style and cozy warmth come together in a unique hat that instantly grabs attention. The Crochet Chicken Noodle Soup Hat Pattern showcases fun details, like noodle-inspired textures and colorful shapes that remind you of tasty soup ingredients. This delightful accessory is perfect for bringing extra smiles during cool weather, themed events, or playful family photos. Its soft, snuggly yarn creates a comfortable fit, making it great for everyday wear and long outings.

Easy instructions make the pattern approachable, so both beginners and experienced crocheters can enjoy making it. Bright colors and clever design allow for personal touches, letting everyone express their own twist on this cheerful hat. Whether you’re searching for a one-of-a-kind gift or a fun project to show off your personality, this hat adds a playful charm and cozy feel to any outfit, sparking joy with every stitch.
Materials Needed
-
Yarn: 5-ply Milk Cotton (Yellow, White, Purple, Black, Red, Light Blue, and Dark Blue).
-
Hook: 3.5 mm crochet hook.
-
Tools: Stitch markers, tapestry needle, stuffing (optional).
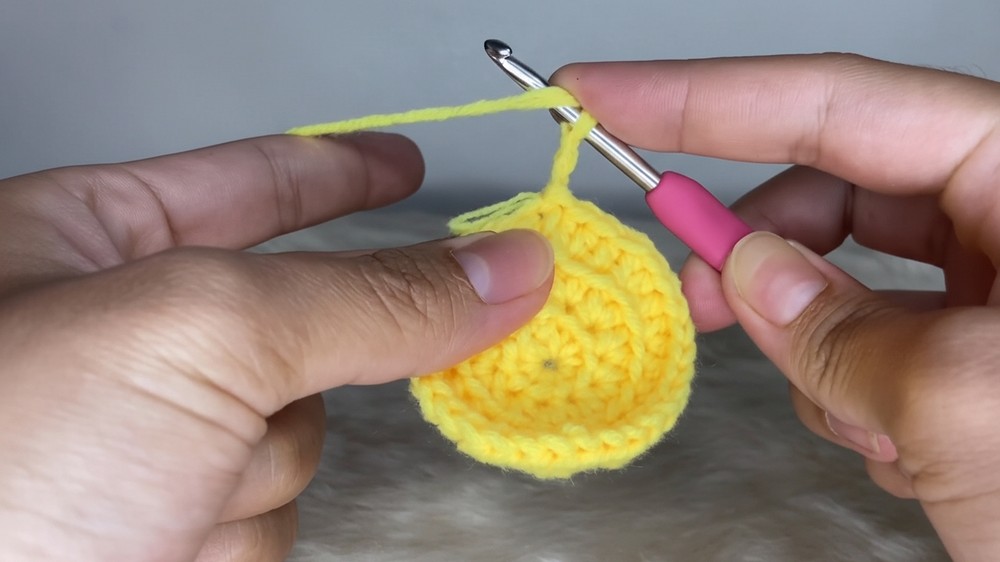
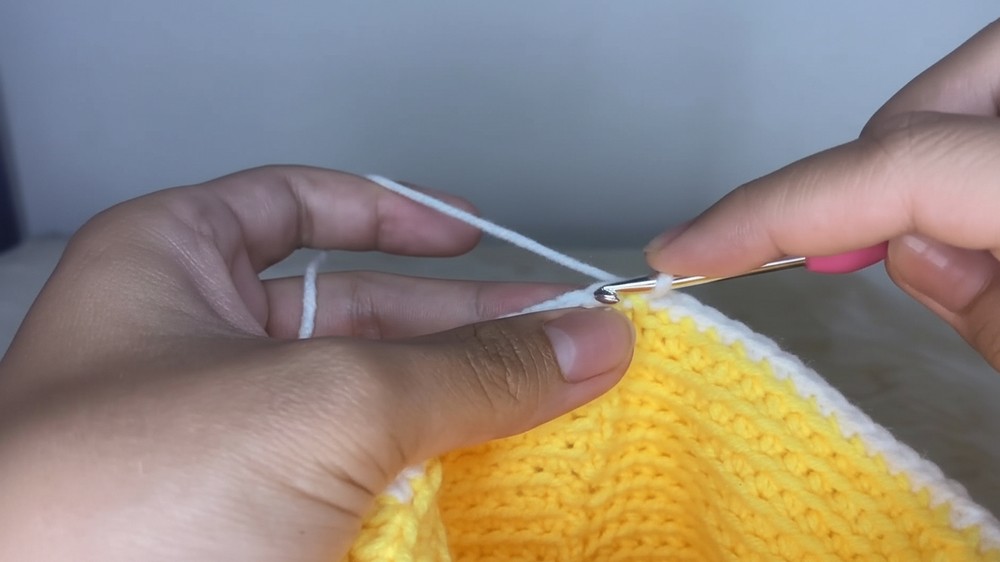
Part 1: The Main Hat Base
Worked in rounds using Half Double Crochet (hdc).
-
Round 1: Start with a Magic Ring. Ch 2 (doesn’t count as a stitch), work 10 hdc into the ring. sl st to join.
-
Round 2 (Increase): Ch 2 (counts as first hdc). 1 hdc in the same stitch. Work 2 hdc in every stitch around (20 hdc total). sl st to join.
-
Round 3 (Increase): Ch 2. 1 hdc in next st, 2 hdc in following st. Repeat from * around (30 hdc total). sl st to join.
-
Round 4 (Increase): Ch 2. hdc in next 2 sts, 2 hdc in next st. Repeat from * around (40 hdc total). sl st to join.
-
Round 5 (Increase): Ch 2. hdc in next 3 sts, 2 hdc in next st. Repeat from * around.
-
Rounds 6–10: Continue the increase pattern (adding one more plain hdc between increases each round) until Round 10. You should have 100 stitches.
-
Rounds 11–17: Ch 2. Work 1 hdc in every stitch around (no more increasing). Repeat until the hat reaches your desired length (approx. 17 rounds total).


Part 2: Ear Flaps & Edging
-
Sectioning: Using stitch markers, divide your 100 stitches: 26 for the front, 23 for each side (flaps), and 14 for the back.
-
The Flap: Attach yellow yarn. Work hdc across the 23 side stitches.
-
Decreasing: Ch 2, turn. Work an hdc decrease at the start and end of every row. Repeat until only 2 stitches remain. Fasten off.
-
White Border: Attach white yarn at the back marker. Work Single Crochet (sc) around the entire bottom edge of the hat and ear flaps. Work 4 sc in the very tip of each flap to round them out.

Part 3: The Appliques (Eyes, Beak, and Hair)
1. The Eyes (Make 2 sets)
-
Inner Pupil (Black): Magic ring, ch 2, 10 Double Crochet (dc). Join and fasten off.
-
Outer Eye (Light Blue): Magic ring, ch 2. Work 2 dc in every stitch around (20 dc).
-
Assembly: Sew the black circle onto the blue circle.
2. The Beak (Dark Blue)
-
Round 1: Magic ring, ch 2, 10 dc. Join.
-
Round 2: Ch 2. 1 dc, 2 dc in next. Repeat around (15 dc).
-
Round 3: Ch 2. 2 dc, 2 dc in next. Repeat around (20 dc).
-
Rounds 4–10: Work straight dc rounds until the beak is approx. 2 inches long. Stuff with fiberfill before sewing.

3. Triangles (Plumes)
-
White/Blue (Make 2): Chain 22. Work 11 rows of dc, decreasing at the edges of every row to form a triangle.
-
Purple (Make 1): Chain 18. Work 9 rows of dc with edge decreases.
Part 4: Final Assembly
-
Braids: Attach 4 long strands of colored yarn to each ear flap tip. Create a four-way braid and knot the end.
-
Hair: Wrap red yarn around fingers 10 times. Tie in the center and cut the loops. Sew this to the top of the purple triangle.
-
Placement: * Sew the Purple Triangle to the top center.
-
Sew the Beak to the front center.
-
Sew the Eyes on either side of the beak.
-
Sew the White Triangles behind the eyes.
-

Conclusion
Weave in all remaining ends. Your Chicken Noodle Soup hat is ready! This vibrant, playful design is a perfect tribute to J-Hope’s iconic concert look.