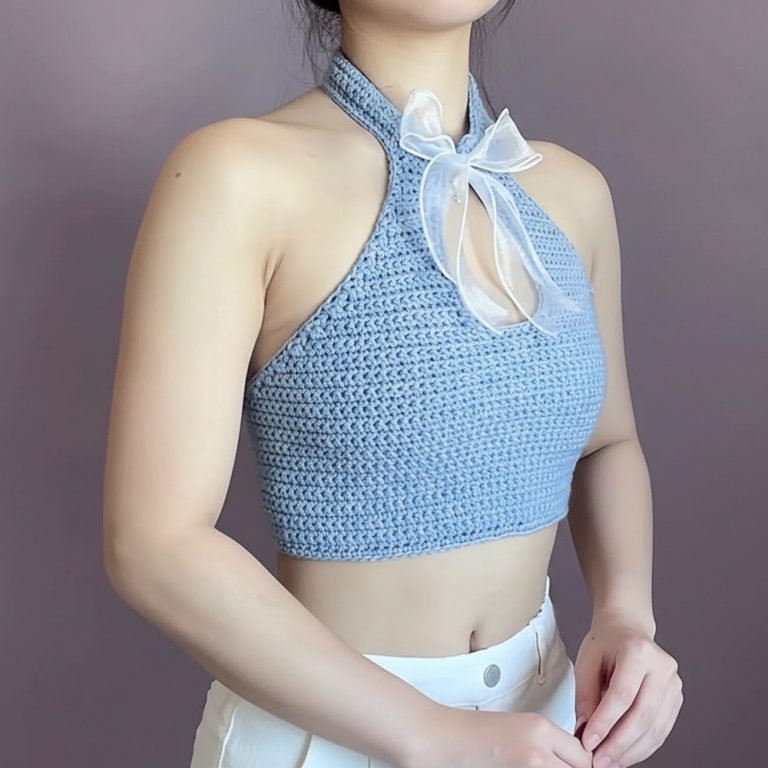
Fresh Crochet Peek-a-boo Shell Top Pattern For Fashion Lovers

Reveal subtle charm with this Free Crochet Peek-a-boo Shell Top Pattern featuring amazing shell texture and playful openings for modern wear.
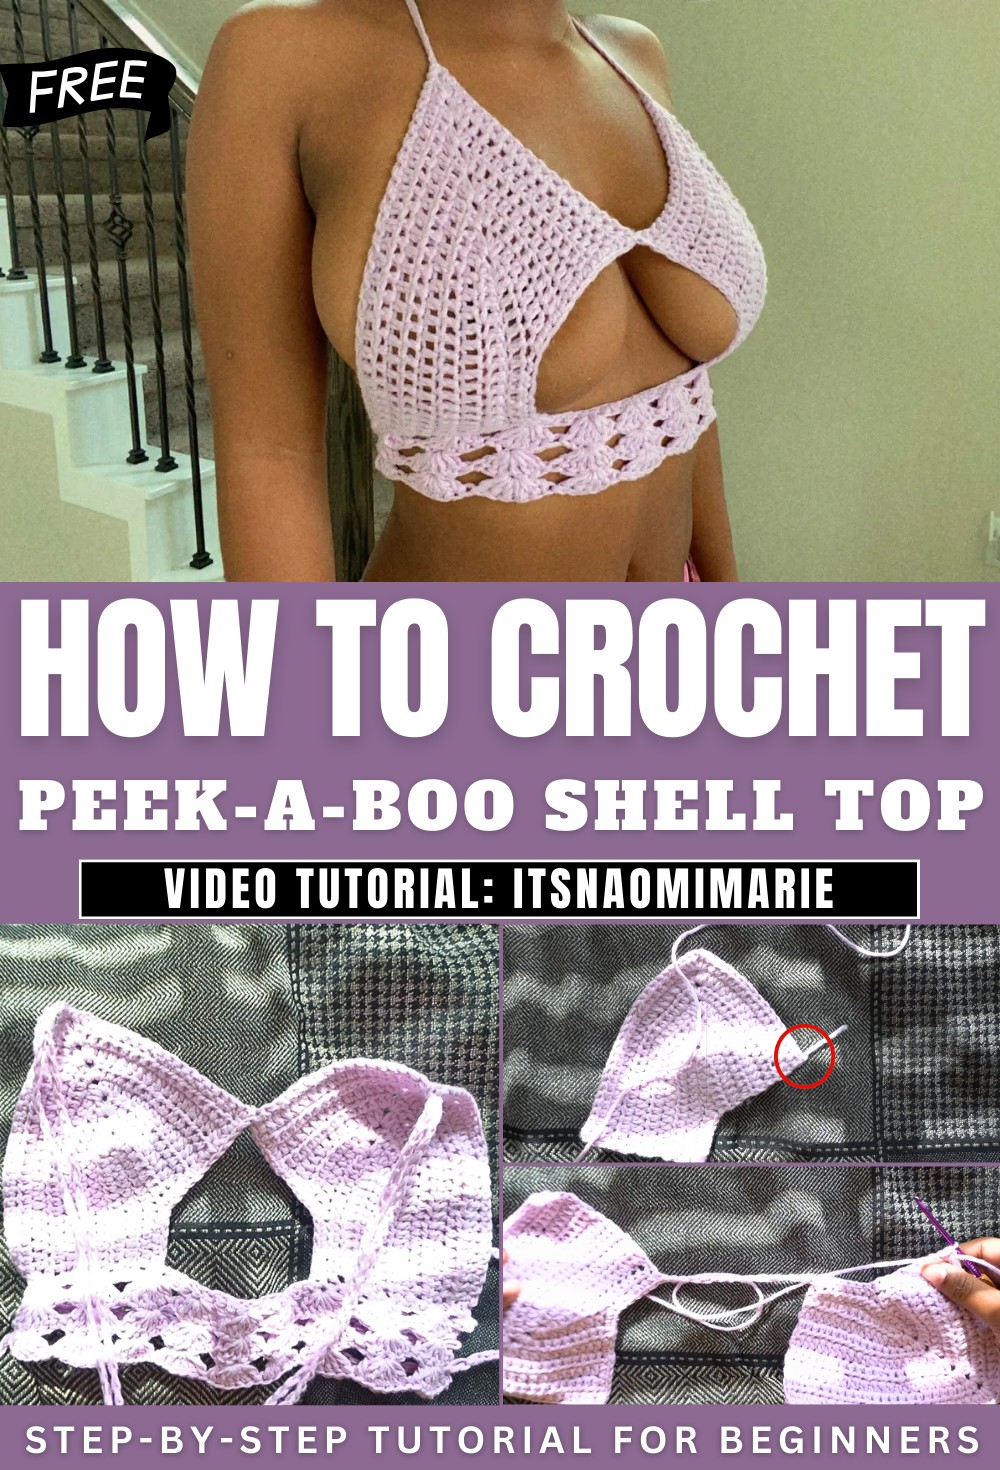
Artful Crochet Peek-a-boo Shell Top Pattern With Textured Beauty
Soft shells and playful peek-a-boo spaces make the Crochet Peek-a-boo Shell Top Pattern both charming and stylish. This lovely top has small open areas between shell stitches, offering just the right amount of skin for a fresh and fun look. Light and airy, it’s perfect for hot days and helps you stay cool and comfortable. Layer it over a tank top for a casual outing, combine it with jeans or a skirt for a lunch date, or add some pretty accessories for a dressier look—it’s that versatile.
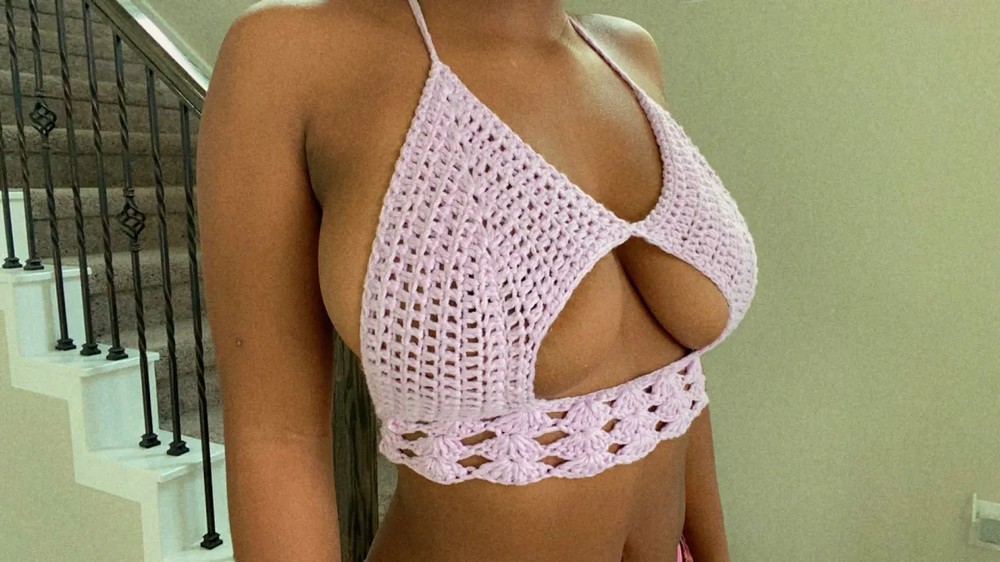
The pattern is simple to adjust, so it can fit different body shapes nicely. Its classic shape means it never goes out of style, and the peek-a-boo design adds a unique touch to any outfit. This top is a great choice for anyone who wants an easy, cheerful, and stylish addition to their everyday wardrobe.
Materials Needed
-
Yarn: Size 4 (Medium Weight/Worsted) cotton or acrylic yarn.
-
Hook: 3.50 mm crochet hook.
-
Tools: Tapestry needle, scissors, and a measuring tape.
Part 1: The Bra Cups (Make 2)
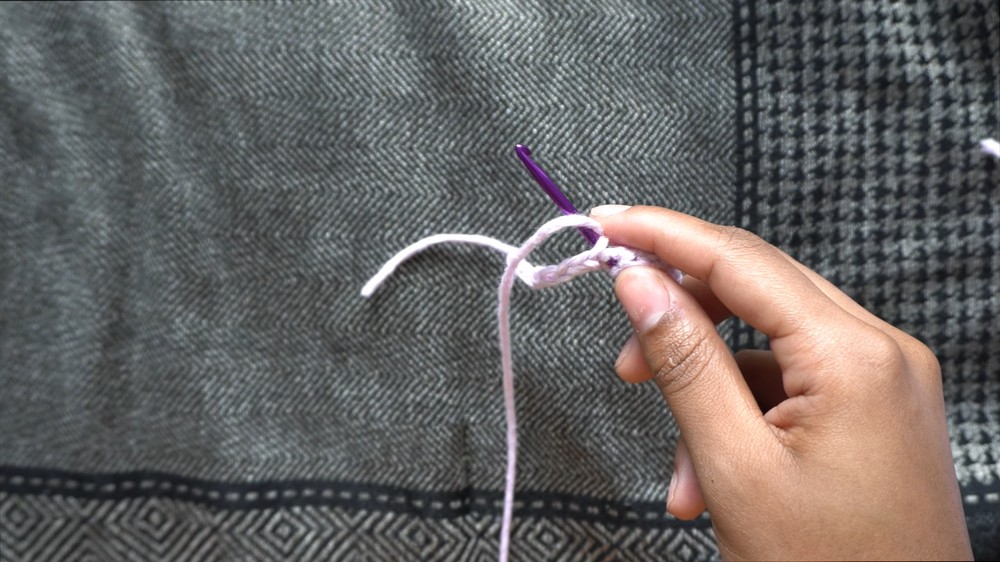
Foundation & Row 1
-
Foundation: Create a slip knot and chain 14 (for a B-cup). For other sizes, chain until the length reaches from your underbust to your nipple.
-
Base: Half-double crochet (hdc) into the 3rd chain from the hook and in each chain across until you reach the last chain.
-
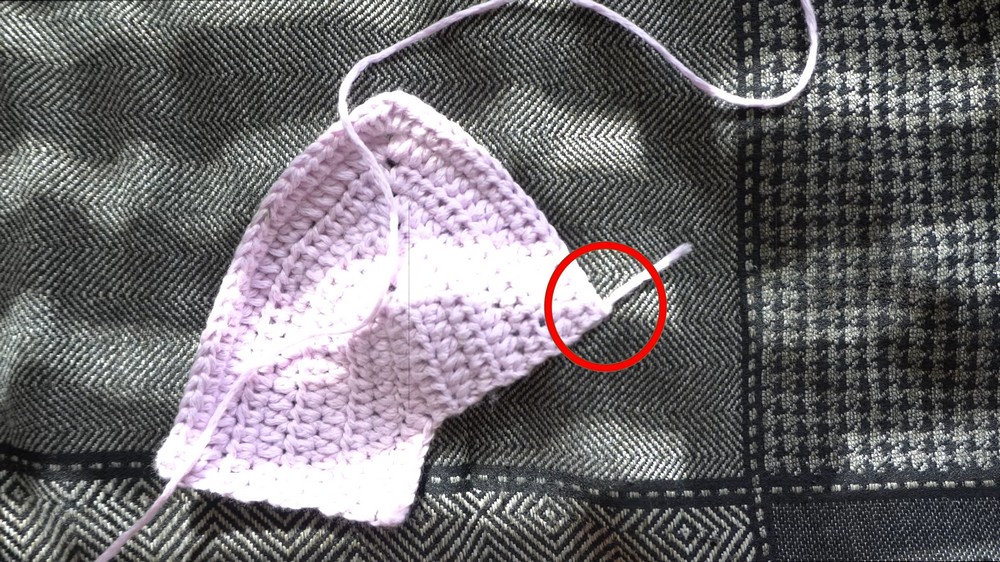
The Peak: In the very last chain, work: 2 hdc, ch 1, 2 hdc. This creates the point for the top of the cup.
-
Opposite Side: Work 1 hdc in each stitch down the other side of your foundation chain.
Row 2 & Growth
-
Row 2: Chain 2 and turn. Work 1 hdc in each stitch until you reach the ch-1 peak space.
-
Peak Increase: In the ch-1 space, work: 2 hdc, ch 1, 2 hdc.
-
Finish Row: Work 1 hdc in each remaining stitch to the end.
-
Repeat: Repeat the Row 2 pattern for a total of 8 rows (or until you reach your desired coverage).
-
Note: Fasten off the first cup. Do NOT fasten off the second cup.
-
Part 2: Joining and Borders
-
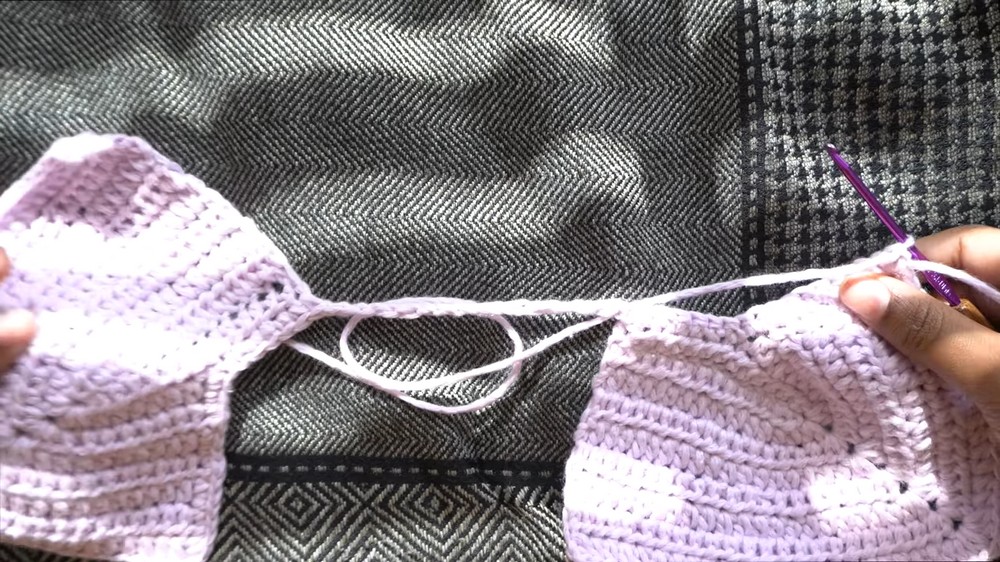
Connect Bottoms: From your second cup, chain 1. Work single crochets (sc) evenly down the inner side of the cup to the bottom corner.
-
Middle Bridge: Chain 15 (the “peekaboo” gap) and join to the bottom corner of the first cup with an sc.
-
The Trim: Work sc around the entire outer edge of the joined cups.
-
Tip: At every sharp corner, chain 2 to help the work turn smoothly.
-
-
Finish: Slip stitch to your starting point, fasten off, and weave in ends.
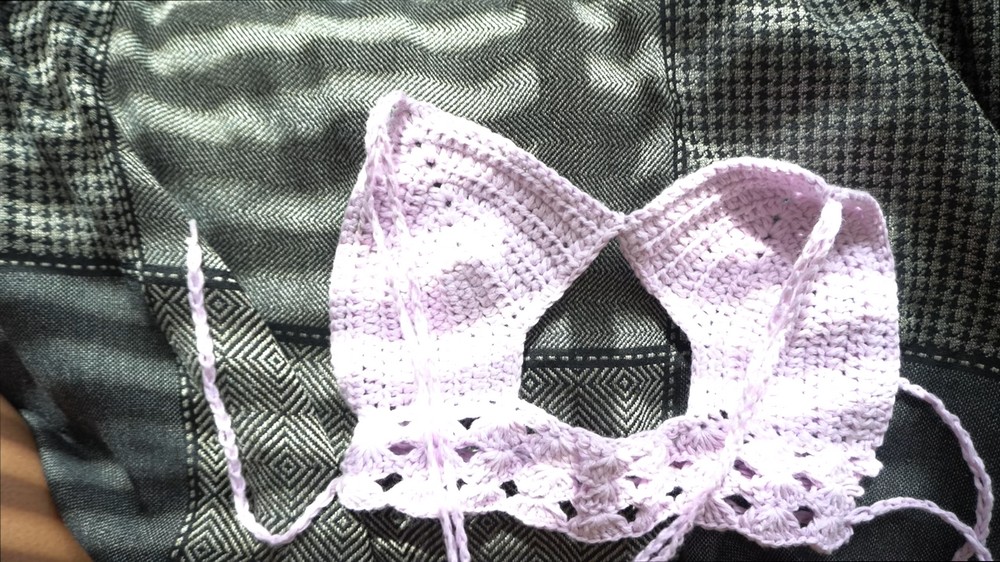
Part 3: The Decorative Shell Bottom
-
Attach: Reattach yarn to the bottom outer corner of the top.
-
Row 1: * Chain 3, skip 3 spaces.
-
Work 6 hdc into the 4th space.
-
Skip 3 spaces and repeat across.
-
End: Finish with 1 double crochet (dc) in the last stitch.
-
-
Growth: Chain 3 and repeat the shell pattern for 3–4 rows. Add more rows if you prefer a longer top.
Part 4: Straps & Assembly
-
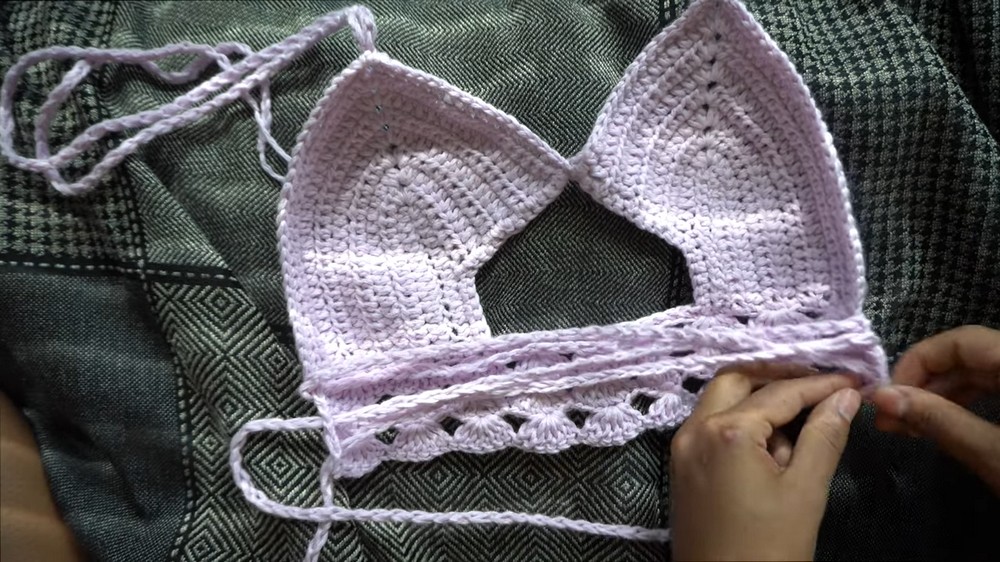
Shoulder Straps: Create two chains of 200. Loop them through the ch-1 peak spaces at the top of each cup and secure with a knot.
-
Back Tie: Create one long chain of 250–300. Lace this through the back corners of the top in a criss-cross pattern (like a corset).
Conclusion
Finishing this peekaboo top provides you with a custom, high-end summer garment that perfectly balances support and style. By mastering the shell increase at the base, you’ve created a unique 3D texture that sets this piece apart from basic bralettes. Once you weave in your final ends and adjust the back lacing, your top is ready for the sun.