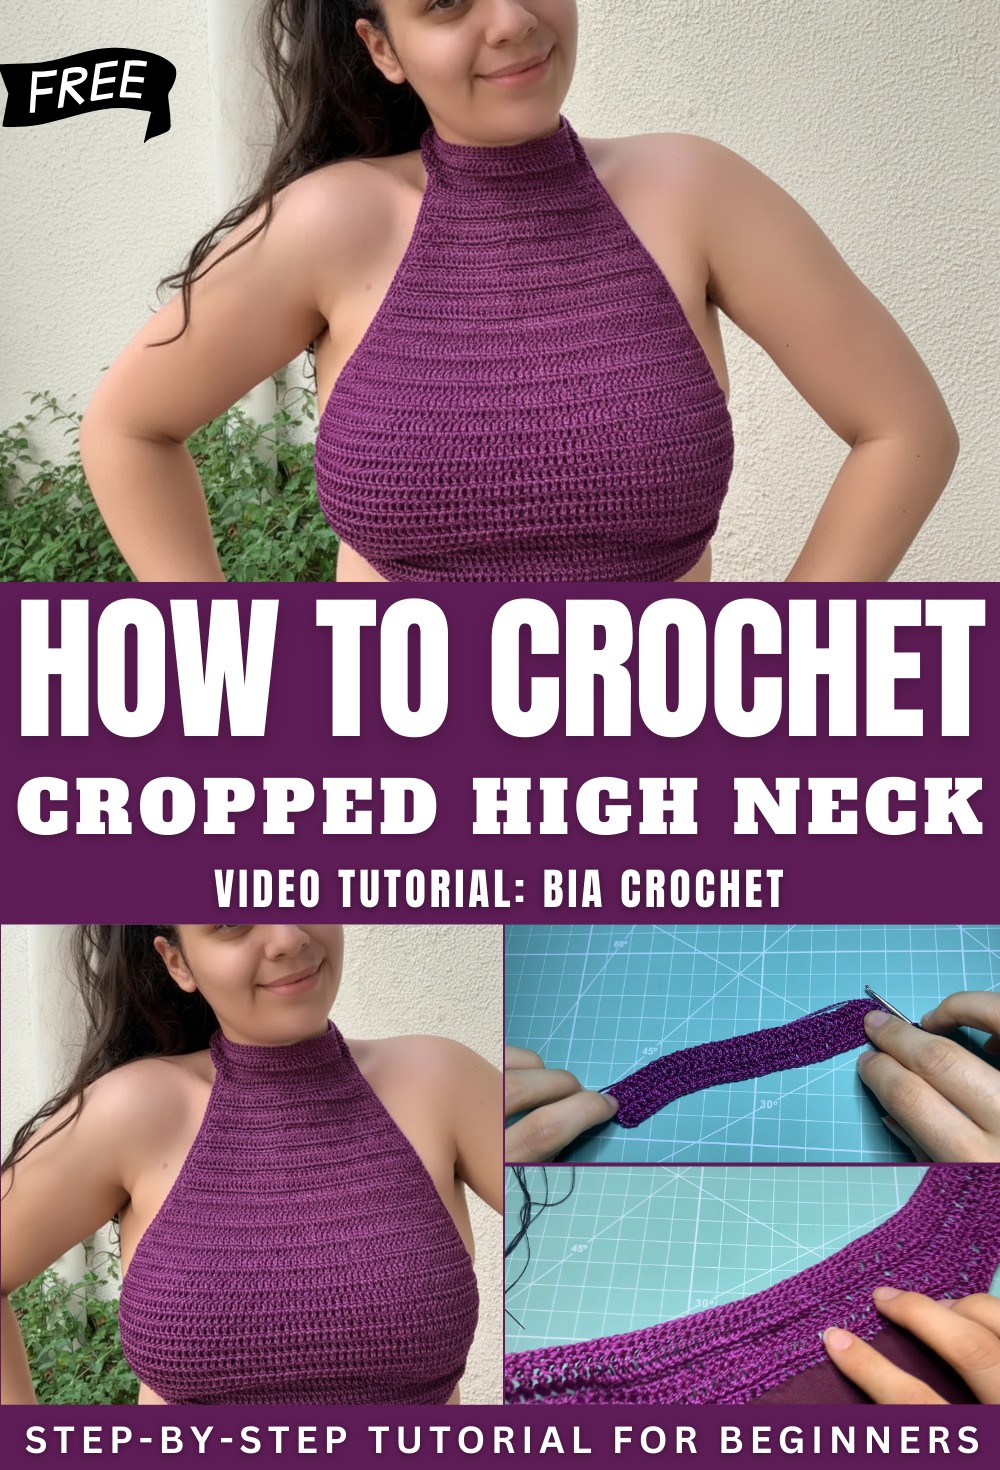
Sunny Crochet Cropped High Neck Pattern For Holiday Trips
Celebrate your flair with this sassy crochet cropped high neck tutorial, giving you a posh vibe and a playful project that feels absolutely fantastic to wear.
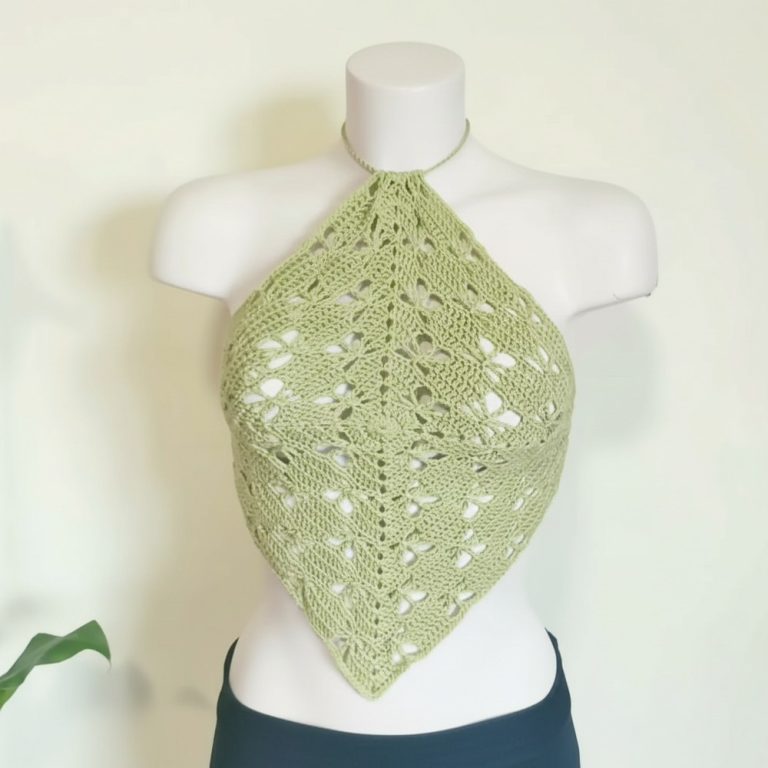
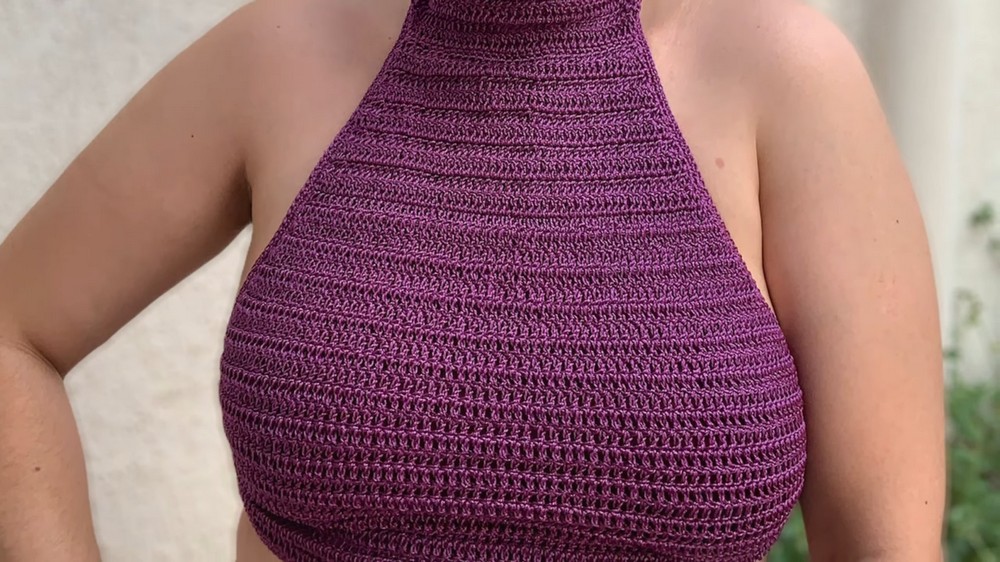
A high-profile silhouette brings a sophisticated edge to handmade fashion, blending comfort with a modern aesthetic. This Crochet Cropped high neck Pattern provides a structured yet flexible fit that flatters various body types while offering extra coverage. By choosing this style, you gain a versatile staple that bridges the gap between casual loungewear and polished street style.
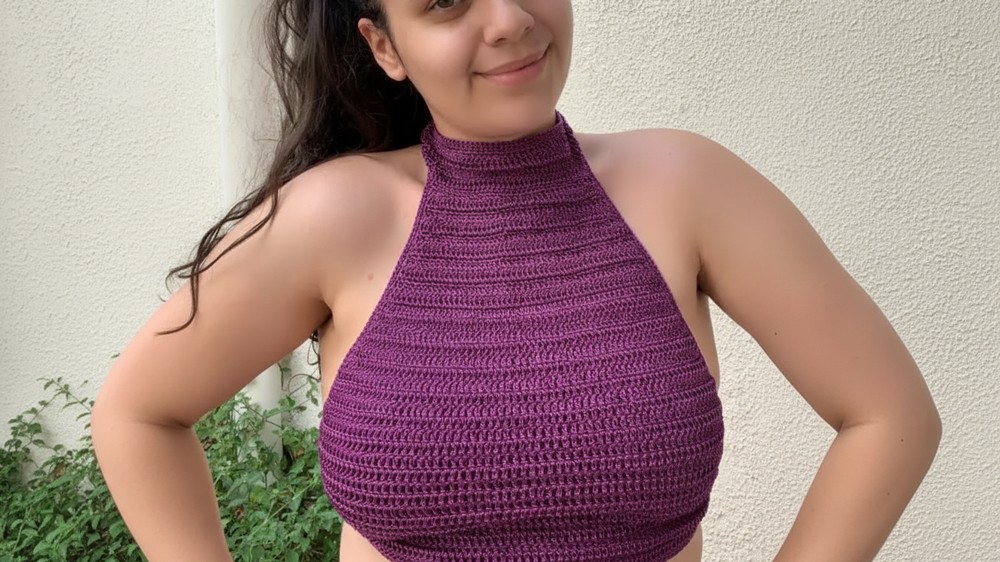
Chic Crochet Cropped High Neck Pattern For A Modern Look
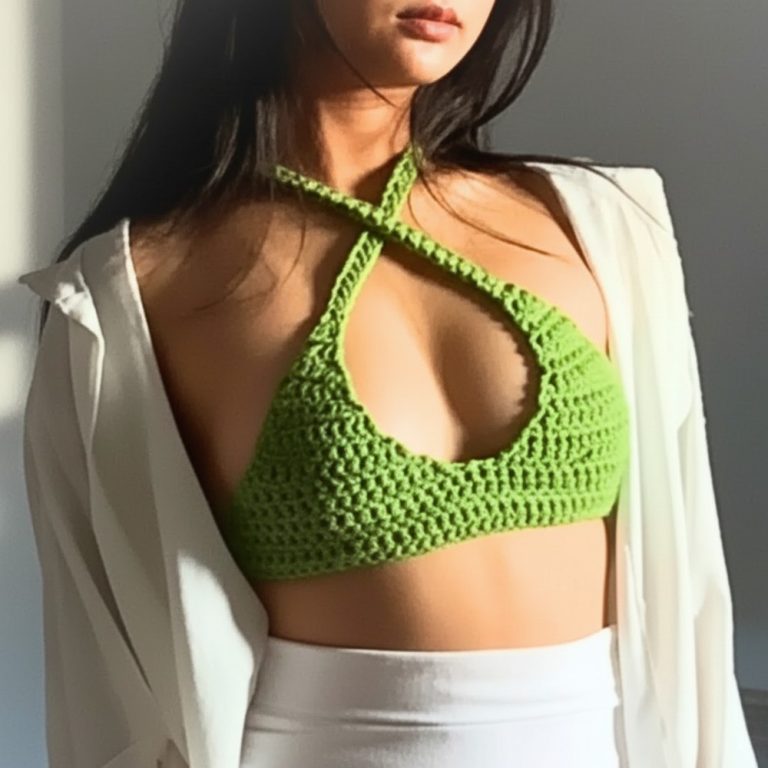
The elegance of this piece lies in its clean lines and the way the stitches frame the face. It is an ideal choice for outdoor concerts, city walks, or even a creative office environment. Ultimately, the Crochet Cropped high neck Pattern turns a simple ball of yarn into a bold fashion statement that is both practical and stunning.
Key Advantages
-
Layering Potential: The sleek neckline makes it a perfect base under blazers or denim jackets.
-
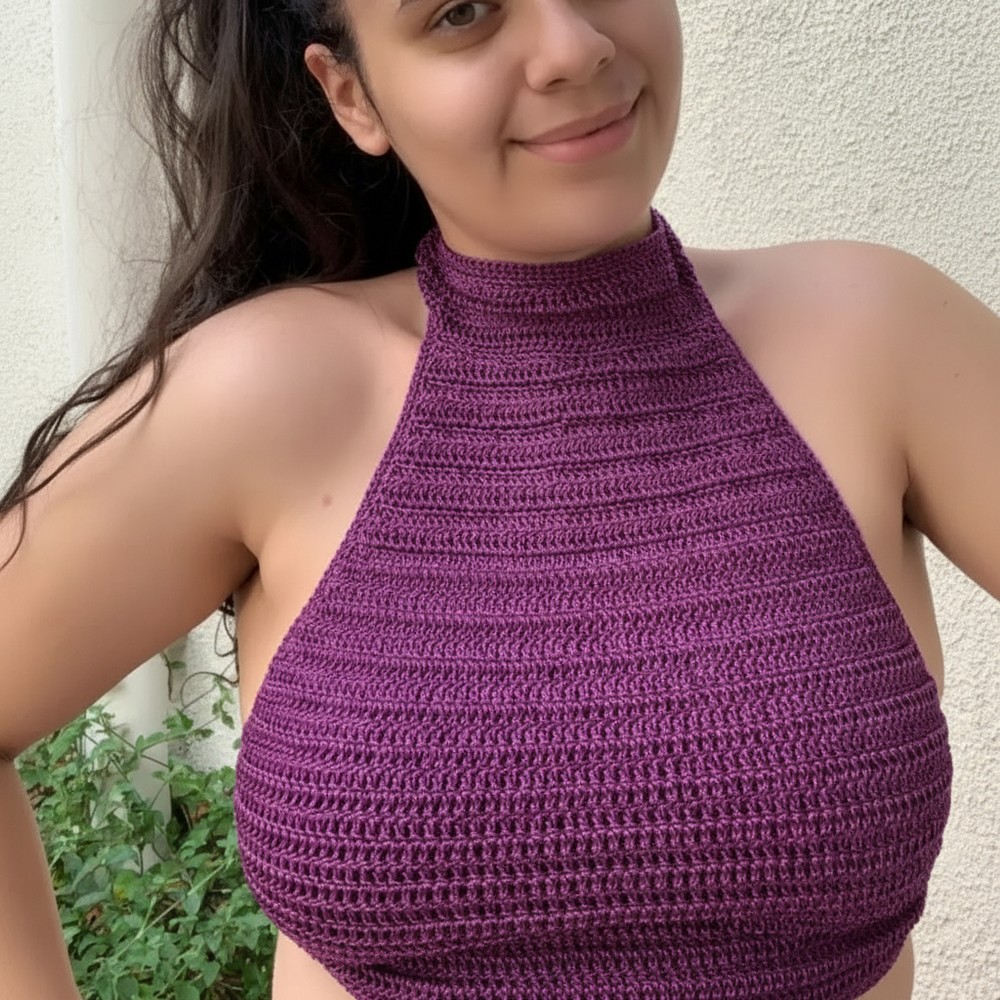
Structural Integrity: The high-neck design offers better support and stays in place during movement.
-
Custom Fit: You can easily adjust the length or neck height to match your specific comfort level.
Materials
-
Yarn: “Raíssa” yarn (polypropylene) or “Anne” yarn (mercerized cotton) as a substitute [00:10].
-
Hook: 2.0 mm crochet hook [01:07].
-
Accessories: 2 buttons for the collar closure [20:44], tapestry needle, scissors, and a lighter (if using polypropylene yarn to seal ends) [01:15].
Pattern: The Bodice (Front Panel)
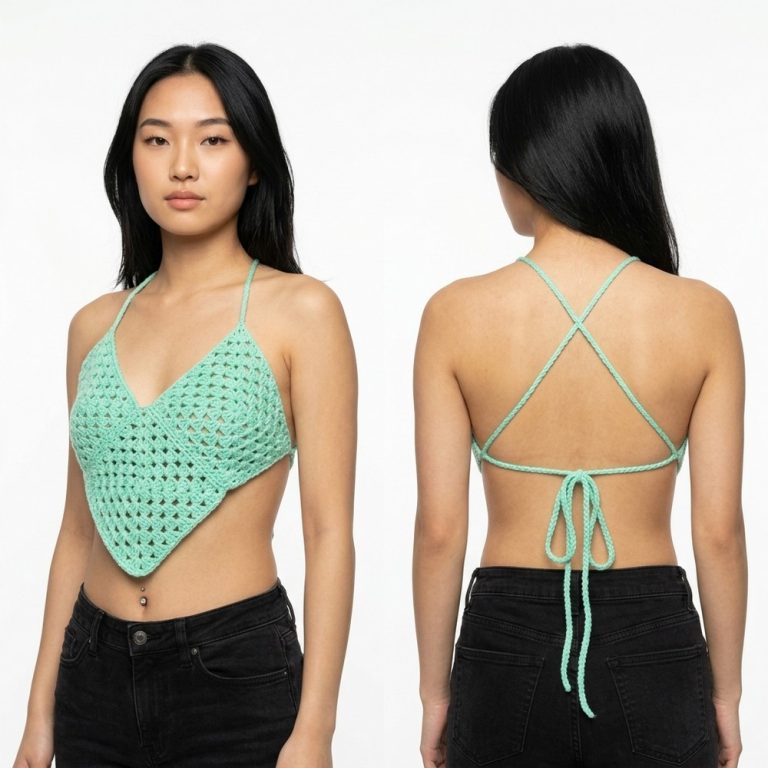
The front is worked from the bottom up in rows, increasing at the edges to create a triangular/diagonal growth.
-
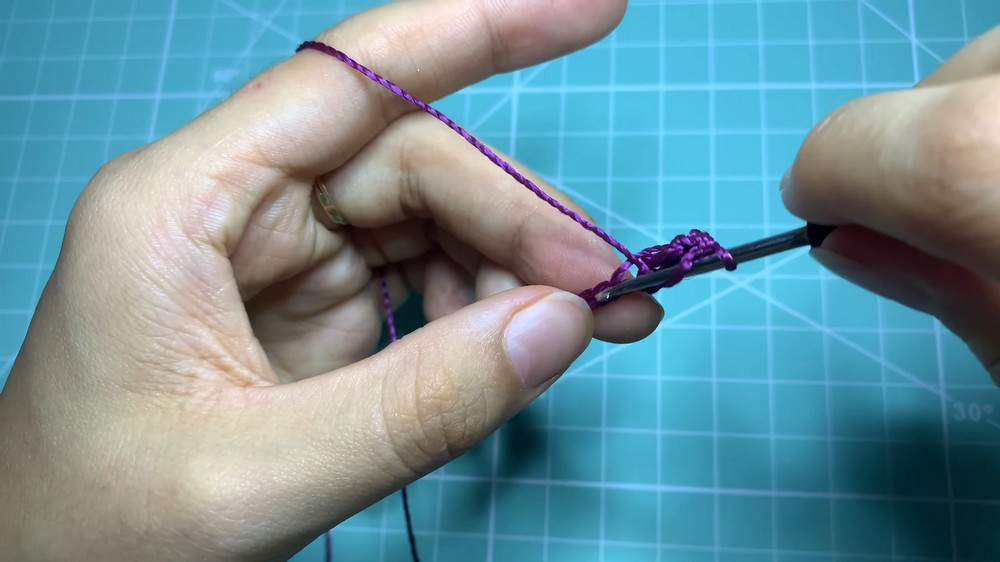
Foundation: Start with 35 chains (size L example uses 37 chains) [01:22].
-
Row 1: Ch 3 (counts as 1st dc), work one double crochet (dc) in each chain across [01:55].
-
Row 2 (Increases): Ch 3, work 1 dc in the first stitch (increase made). Work dc across until the second-to-last stitch. Work 2 dc in the second-to-last stitch (increase), and 1 dc in the final stitch [02:42].
-
Growth: Continue alternating dc rows with increases at the beginning and near the end of every row until you reach the desired height. The tutor completed 37 rows for a size L [05:04].
Pattern: The High Neck Collar
-
Setup: At the top edge of the front panel, work 24 chains for the left neck strap [05:23].
-
Top Edge: Work single crochets (sc) across the top of the bodice until you reach the other corner [06:05].
-
Right Strap: Work another 24 chains [06:19].
-
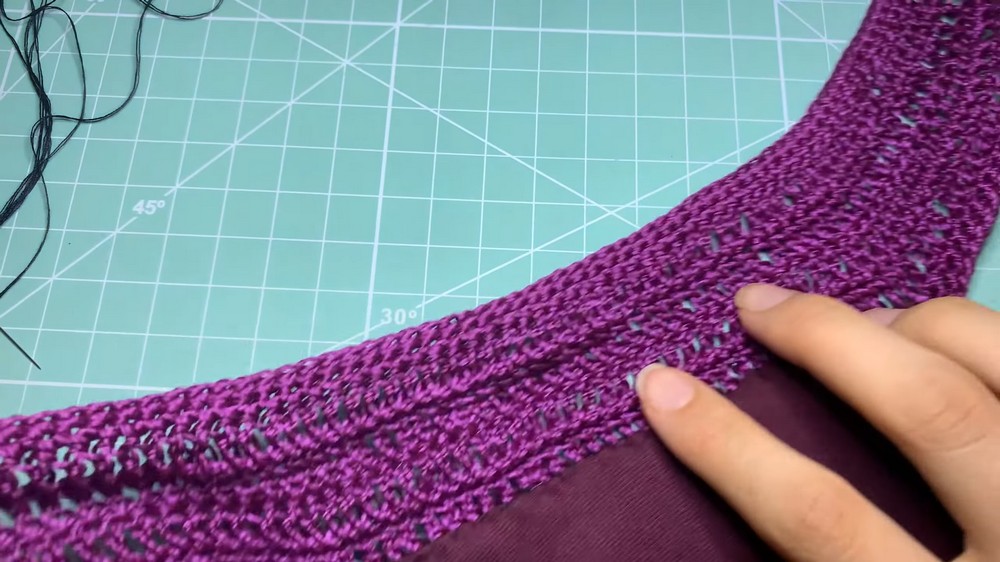
Collar Body: * Work one row of dc across the entire chain-sc-chain length [06:33].
-
Continue for 3 total rows of dc without increases to create a solid band [07:43].
-
-
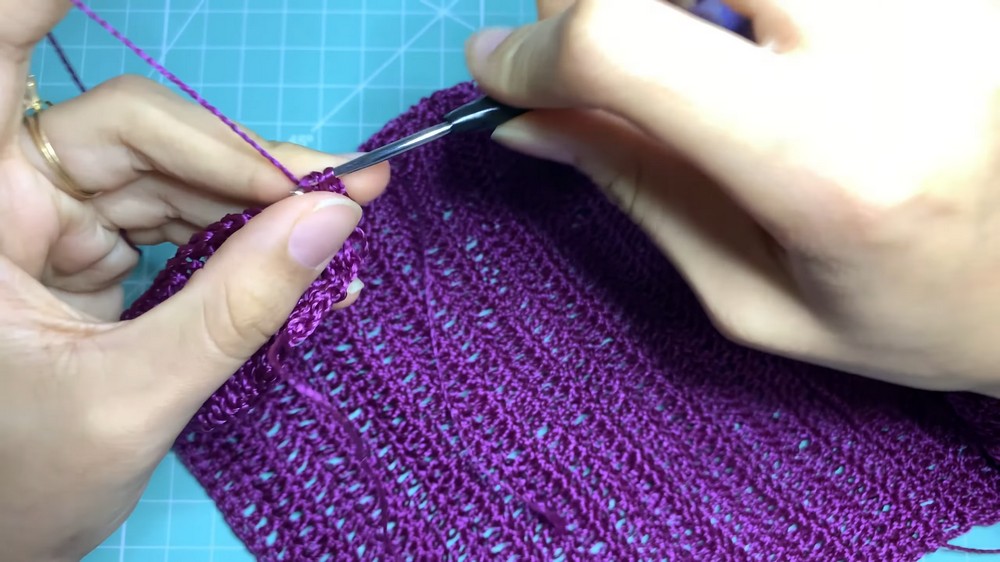
Finishing: Work one round of sc around the entire piece for a clean edge [08:17].
Pattern: Back Lacing and Closures
-
Back Tie: * Start with 4 chains, then 3 dc in the first chain [08:42].
-
Lacing Loops:
-
Collar Buttons: Sew two buttons onto the end of the collar band. The stitches of the collar serve as natural buttonholes [21:46].
Finishing Touches
-
Lining: The tutor recommends adding a fabric lining for comfort and opacity [23:24].
-
Sealing: If using polypropylene yarn, carefully melt the trimmed ends with a lighter to prevent unraveling [01:15].
Conclusion
The High-Neck Halter Cropped Top is a rewarding project that produces a high-fashion look with very accessible techniques. Whether you choose the shiny finish of polypropylene or the classic feel of cotton, this top is sure to be a standout addition to any handmade wardrobe.
Pro Tip: If you choose to use polypropylene yarn, keep a lighter nearby. Because the yarn is synthetic, you can carefully melt and press the trimmed ends into the back of the work to ensure they never unravel! [01:15]