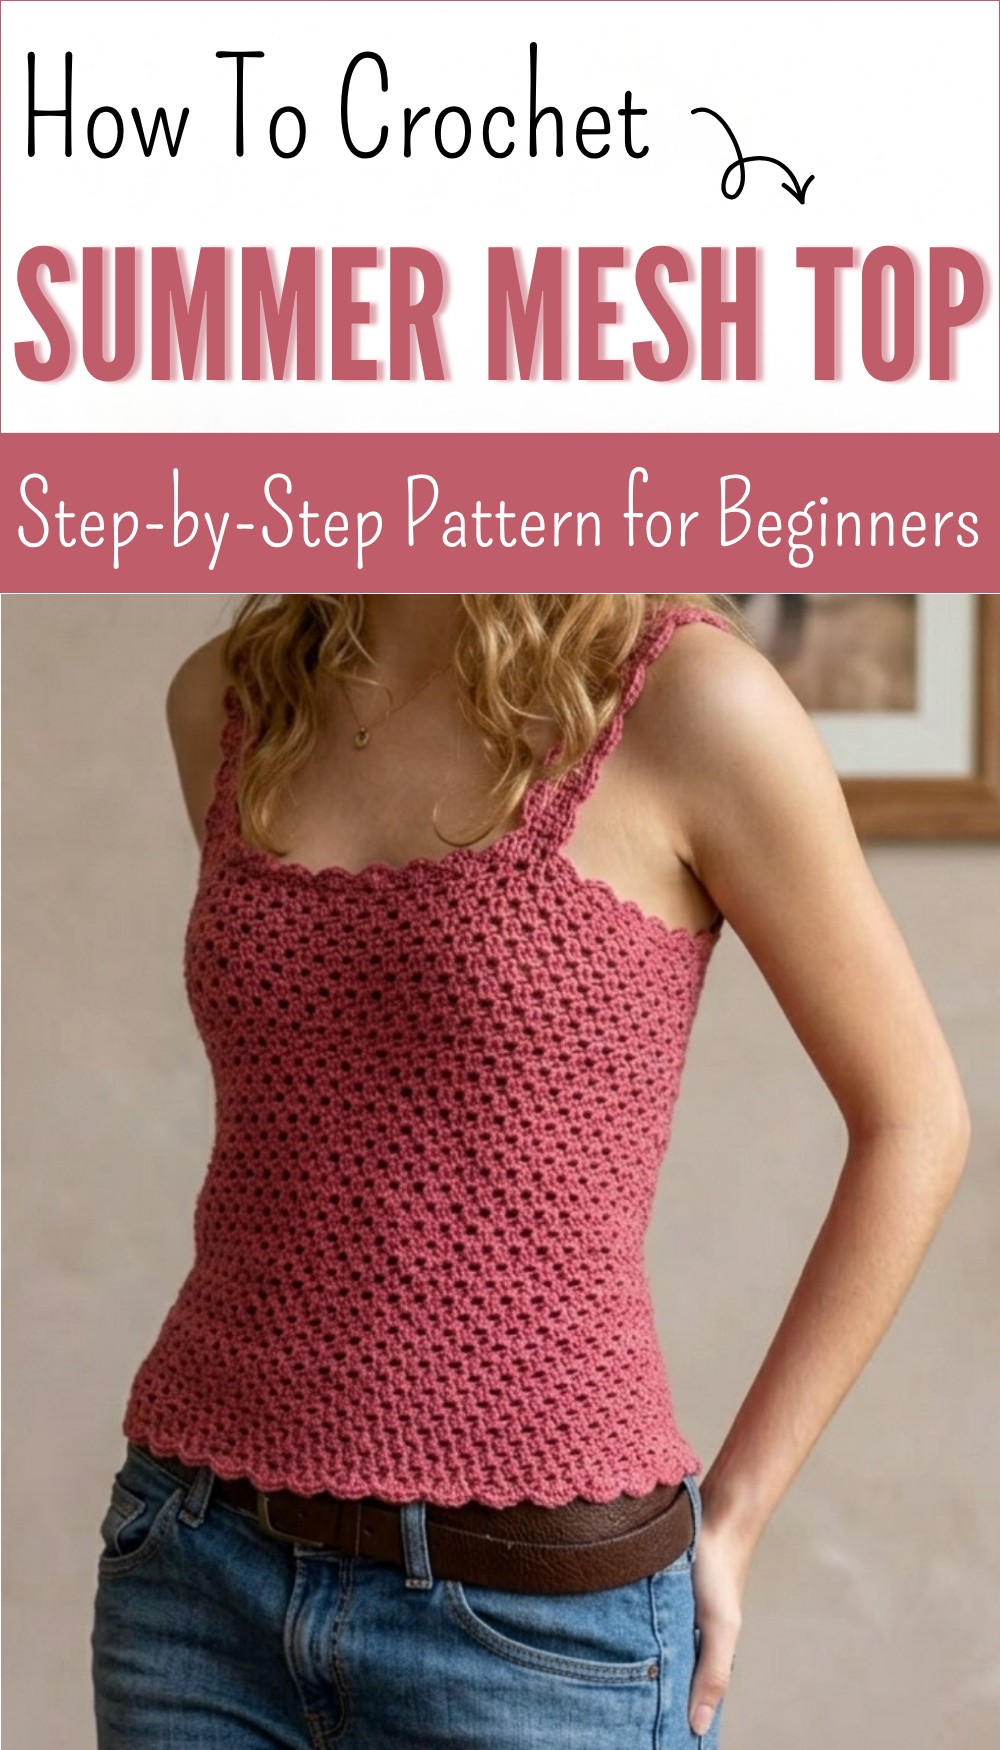
Summer Free Crochet Mesh Top Pattern Step by Step
Style your summer with a free crochet mesh top pattern that is beginner-friendly beautiful and perfect for layering on warm days or nights.
Imagine wearing something as light as a breeze and as pretty as a summer day—this is the charm of a mesh crochet top. Soft and airy, this top is made with big open stitches that create a lacy look perfect for hot days or layering over your favorite outfit. With a crochet mesh top pattern, you don’t need to be an expert; just simple repeating stitches turn into a beautiful design that lets your skin breathe.
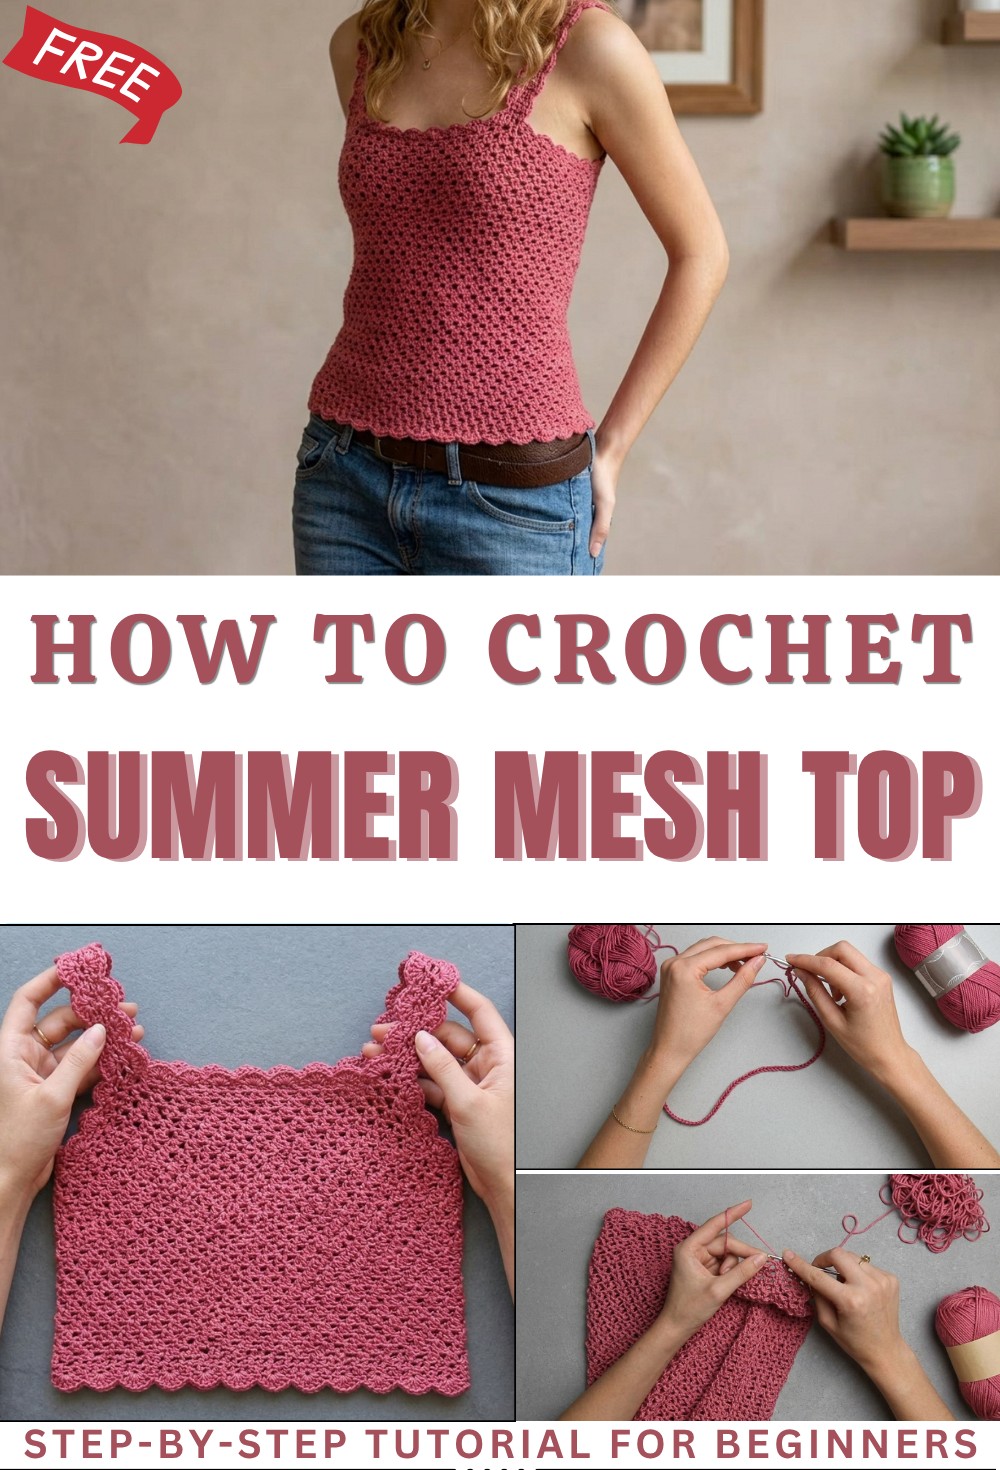
Must-Try Free Crochet Mesh Top Pattern for Handmade Style
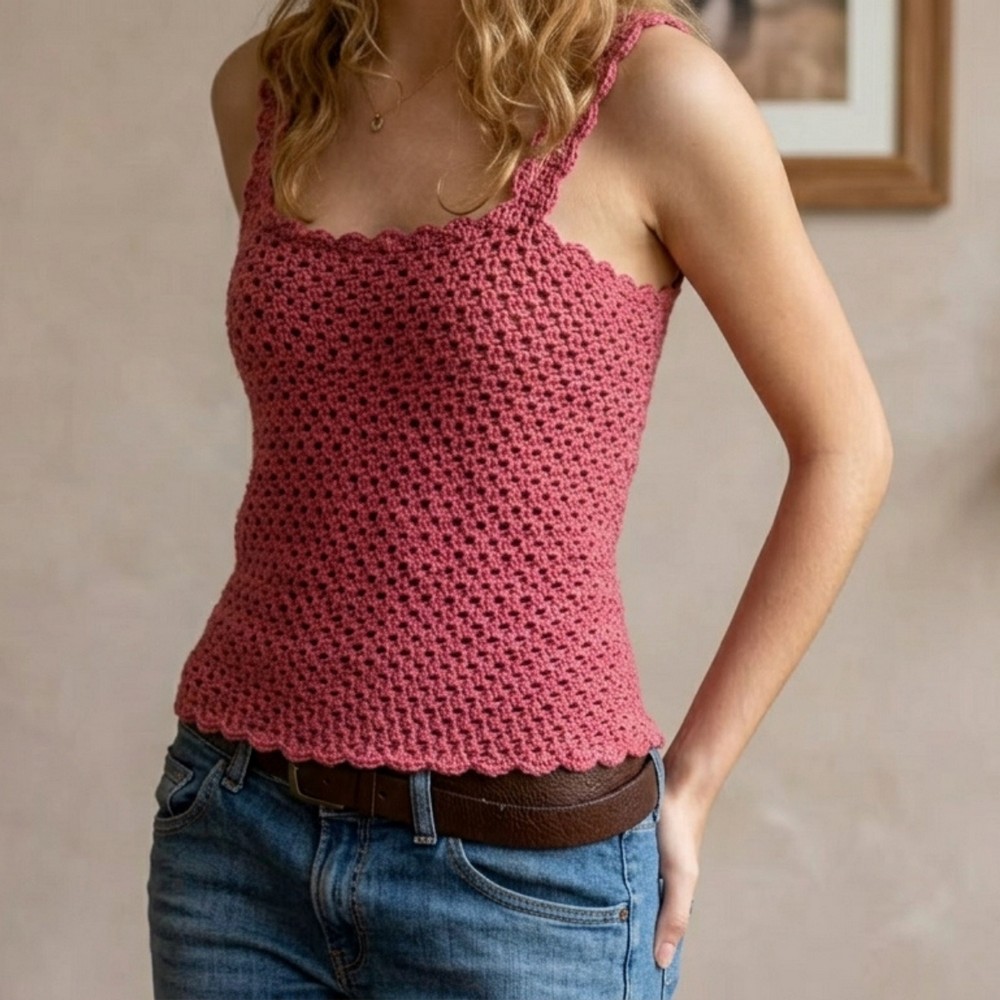
This top can be worn to the beach, for a walk in the park, or even at parties, adding a touch of handmade style wherever you go. One of the best things about this pattern is how each piece can be made in any color or size, making it special just for you. Lightweight and stretchable, it is easy to wash, quick to dry, and always comfortable, making it a great choice for every wardrobe.
Crochet Mesh Summer Top Pattern
Materials
- Yarn: Loops & Threads Silky Soft.
- Amount: Approximately 1.5 skeins (adjust based on size and fit)
- Hook Size: 3.75 mm crochet hook (yarn recommends 4 mm; 3.75 mm used in sample)
- Optional: Stitch marker, measuring tape, scissors, safety pins, yarn needle for weaving in ends
Key Abbreviations (US Terms)
| Abbreviation | Meaning |
|---|---|
| ch | chain |
| sc | single crochet |
| dc | double crochet |
| sl st | slip stitch |
| rep | repeat |
| sk | skip |
| st | stitch |
Special Notes
- Pattern is custom-sized to fit your measurements; adjust chains for circumference and rows for desired length.
- The main body uses the V stitch. Edging and straps use a scallop stitch.
- Straps and edging are worked after the main body is complete.
- Recommended to try the garment on and adjust strap placement and length as desired.
- The pattern is worked in the round.
Stitches Used
V Stitch
- V-Stitch: [dc, ch 1, dc] into the same st
Scallop Stitch
- Scallop: [5 dc] into the same st
Pattern
1. Main Body
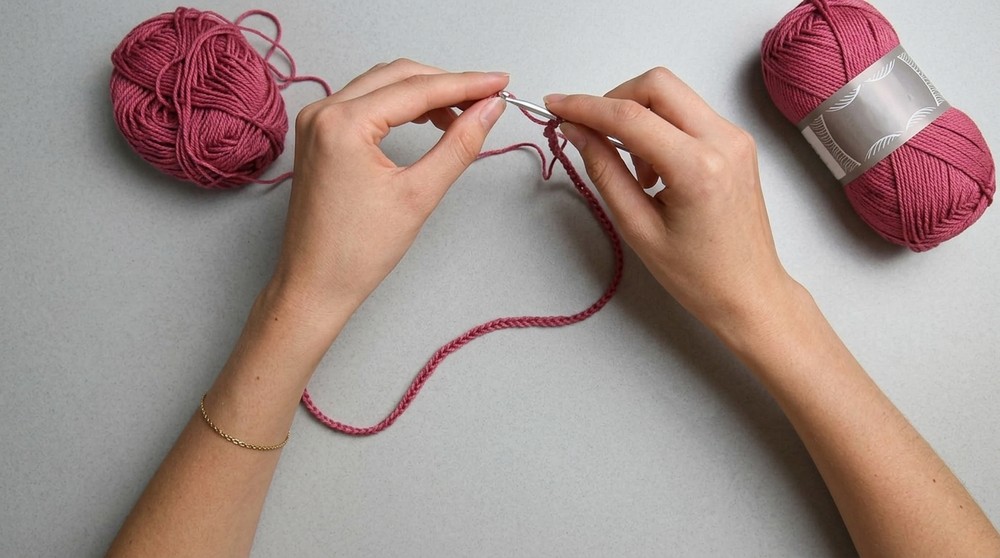
Step 1: Foundation Chain
- Make a slip knot.
- Ch the circumference of your chest for desired fit (sample: 155 chains).
- Check fit: wrap chain around chest; allow 3″ extra for easy wear.
Step 2: Join in the Round
- Ensure chain isn’t twisted.
- Join to first ch with a sl st to form a circle.
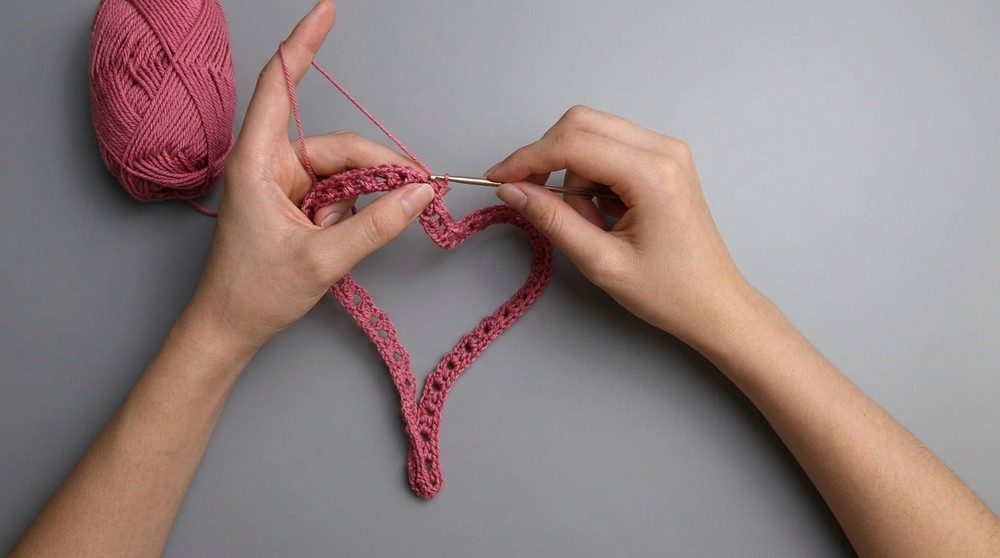
Step 3: Begin V Stitch Pattern
- Ch 2 (counts as first dc).
- Dc into same st as sl st.
- [V Stitch Step]:
- Sk 2 sts, in next st:
- Dc, ch 1, dc (all into same st = V stitch).
- Rep from * to end of round.
- Sk 2 sts, in next st:
Step 4: End of Round
- When you return to the starting point, join with a sl st to the second ch of beginning ch-2.
Step 5: Subsequent Rounds
- Ch 2.
- Repeat the V stitch sequence around:
- Dc, ch 1, dc into each ch-1 space from the previous round’s V stitch.
- Continue in the round, joining each round with a sl st.
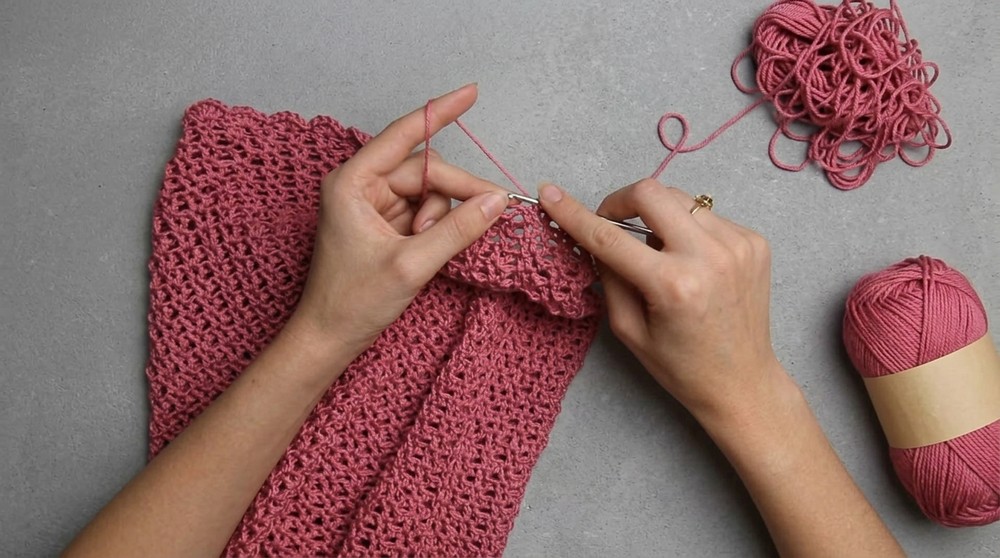
Step 6: Continue Pattern
- Repeat until reach desired length.
- Example: 6–7 hours of crocheting, or until top covers desired torso length.
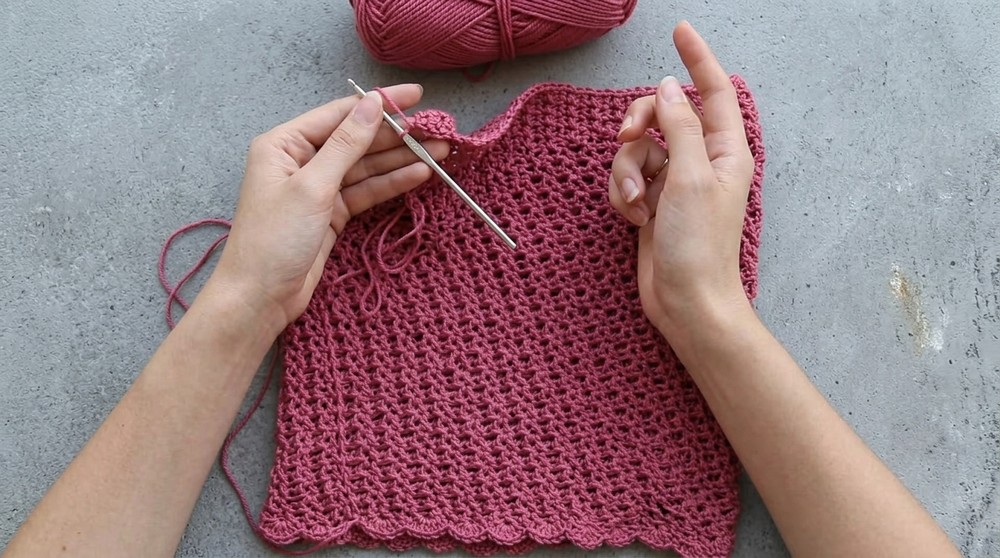
2. Scallop Edge (Bottom)
Step 1: Start Edging
- After finishing the last V stitch round, join yarn at start of round.
Step 2: Begin Scallop Pattern
- Ch 1.
- Sc in next st.
- Sk 1 st, then 5 dc in the next st (this forms a scallop).
- Sk 1 st, sc in next st.
- Repeat the scallop pattern all around the bottom edge.
Step 3: Finish Edging
- Join with sl st to first sc at round’s start.
- Fasten off and cut yarn, leaving tail to weave in.
3. Straps
Step 1: Mark Strap Placement
- Try on top. Use safety pins to mark desired front and back strap positions.
- Ensure equal stitch count between marked points on front and back.
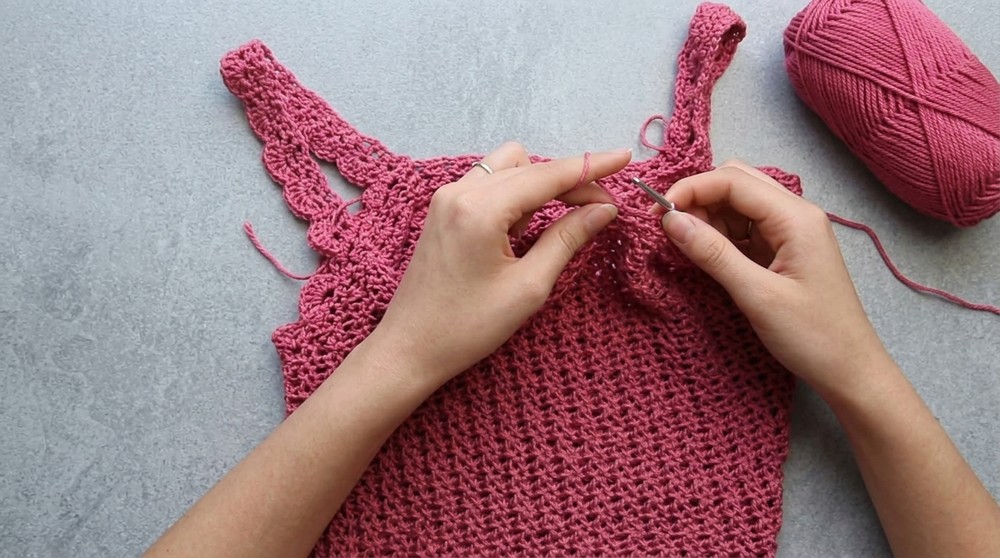
Step 2: Crochet Straps
- Join yarn at marked front stitch with slip knot.
- Ch 2.
- Begin the V stitch pattern:
- Dc into same st, sk 2 sts, dc, ch 1, dc into 3rd st (V stitch).
- Turn work, ch 2, dc, ch 1, dc into each ch-1 space of previous row.
- Continue until strap is desired length.
- Try top on to test strap length.
Step 3: Attach Strap to Back
- Flip strap so right sides face each other.
- Sc along the edge to attach the strap to the marked back stitch.
- Weave in end.
Step 4: Repeat for Second Strap
- Repeat process to create and attach the second strap.
4. Strap & Body Edging
Step 1: Scallop Edging on Straps & Body
- Join yarn at the base of a strap (inside the top).
- Work the scallop stitch pattern (as in Step 2):
- Sk 1, sc in next st, sk 1, 5 dc in next st, repeat along straps and edge of top.
- Continue along front strap, body edge, back strap, and back edge.
- Join with sl st, fasten off, and weave in all ends.
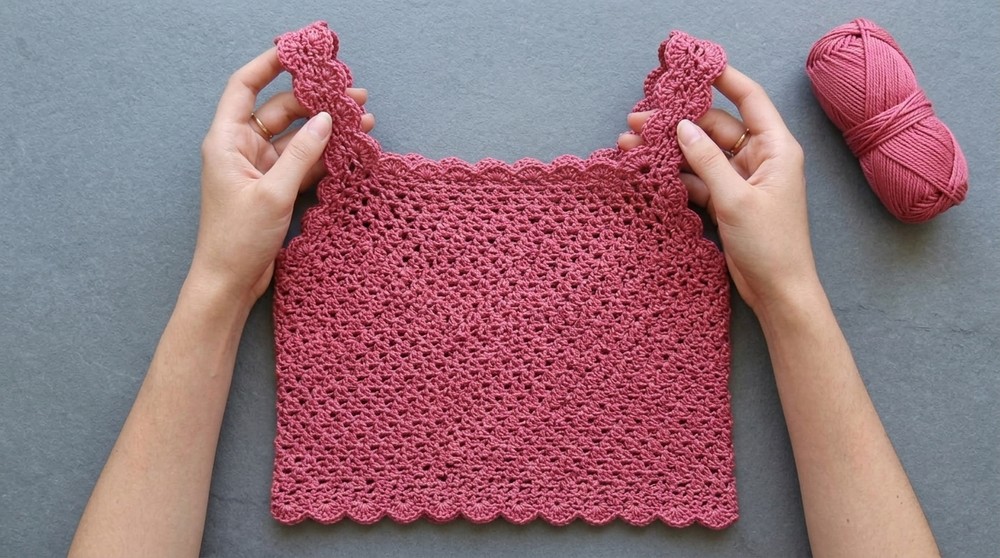
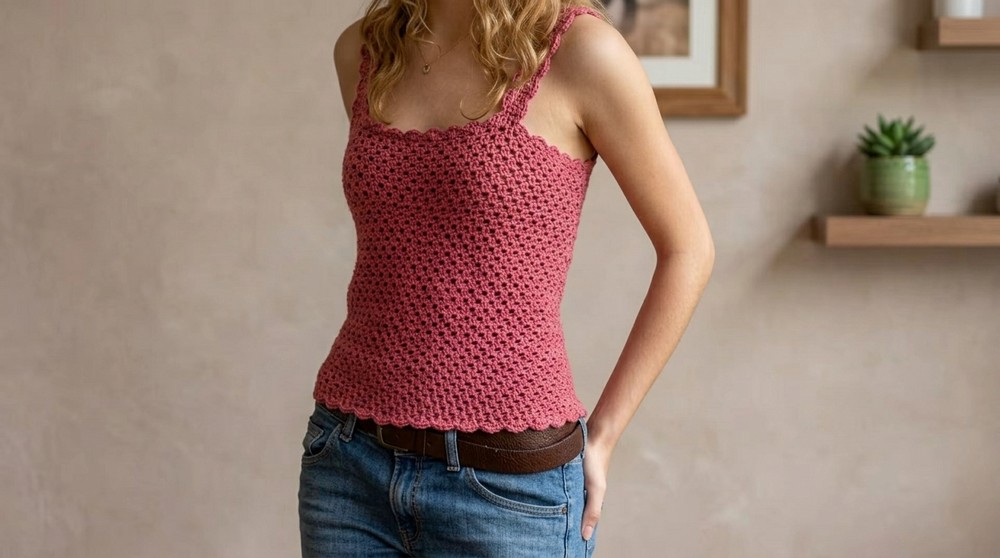
Conclusion
The mesh summer top is now complete, featuring a relaxed fit, V stitches, and scalloped edges. The straps are worked seamlessly into the design and easily adjustable to your preferred length and placement.
Pattern Correction & Tips
- Correction: Begin V stitches in the ch-1 spaces for all rounds following the first, not in the base chain stitches.
- Tip: Use stitch markers for strap placement and keep track of stitch counts for symmetry.
- Tip: The foundation chain should be loose enough to fit over your head but not gap at the bust.
- Tip: Working over the foundation chain is the hardest part; proceed slowly and check for twists before joining.