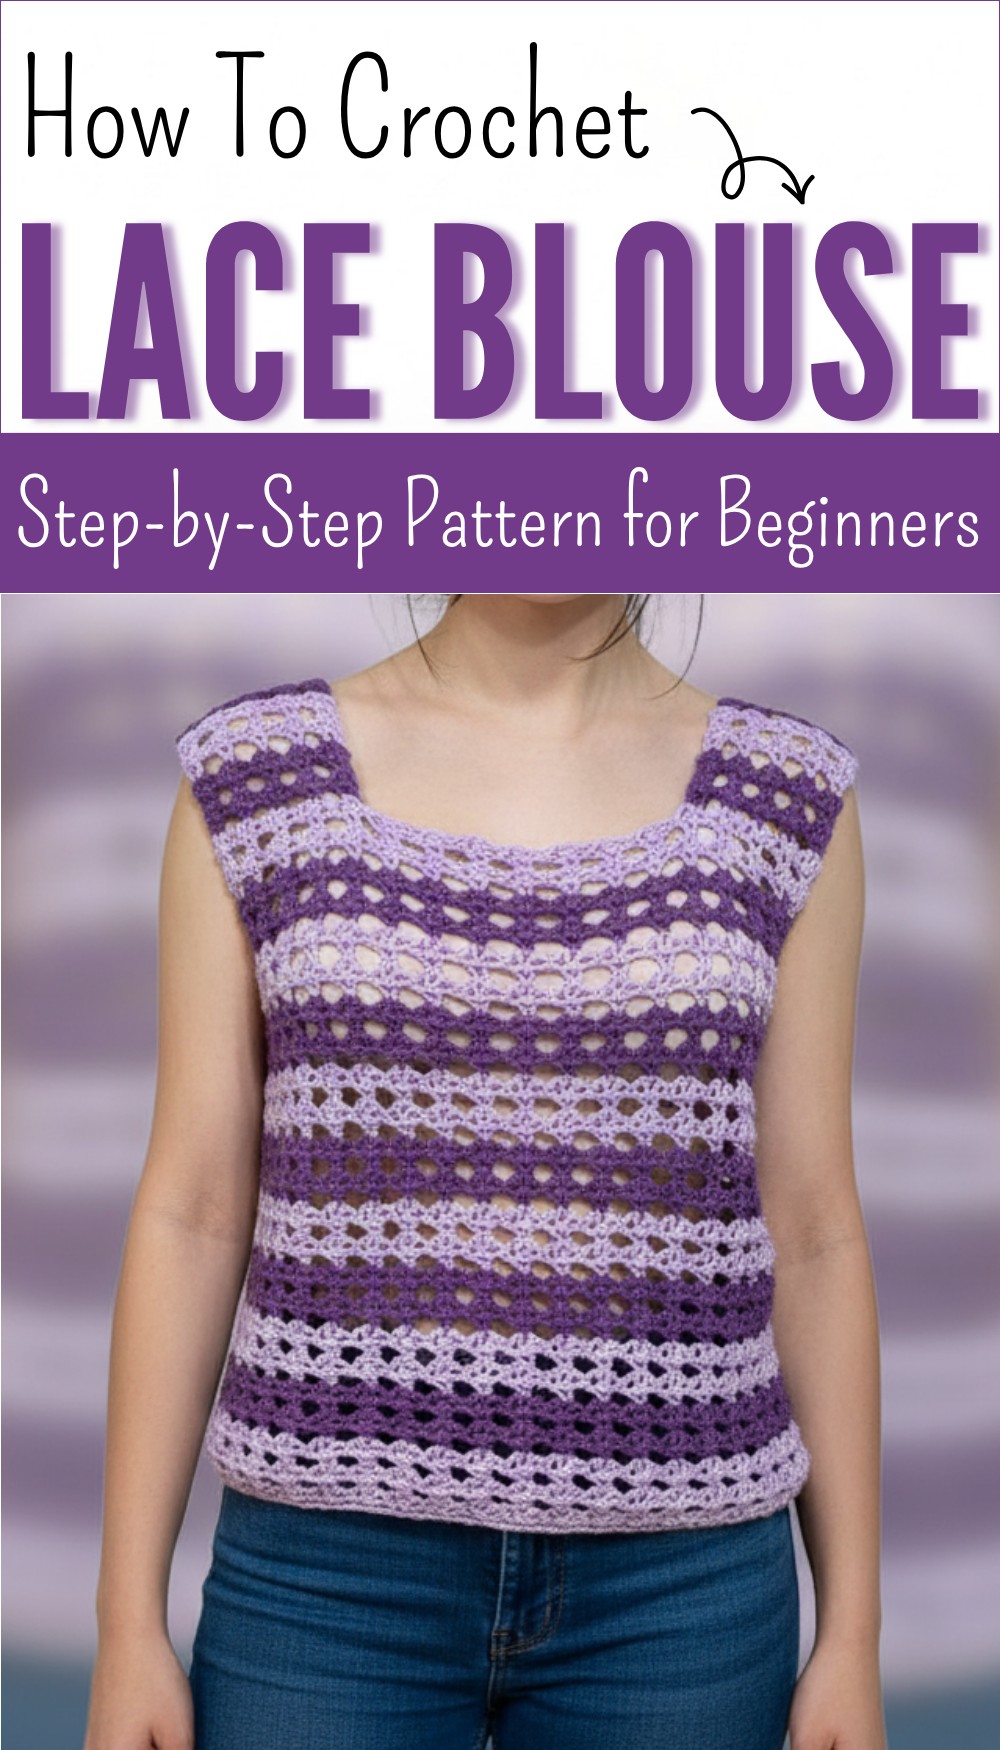
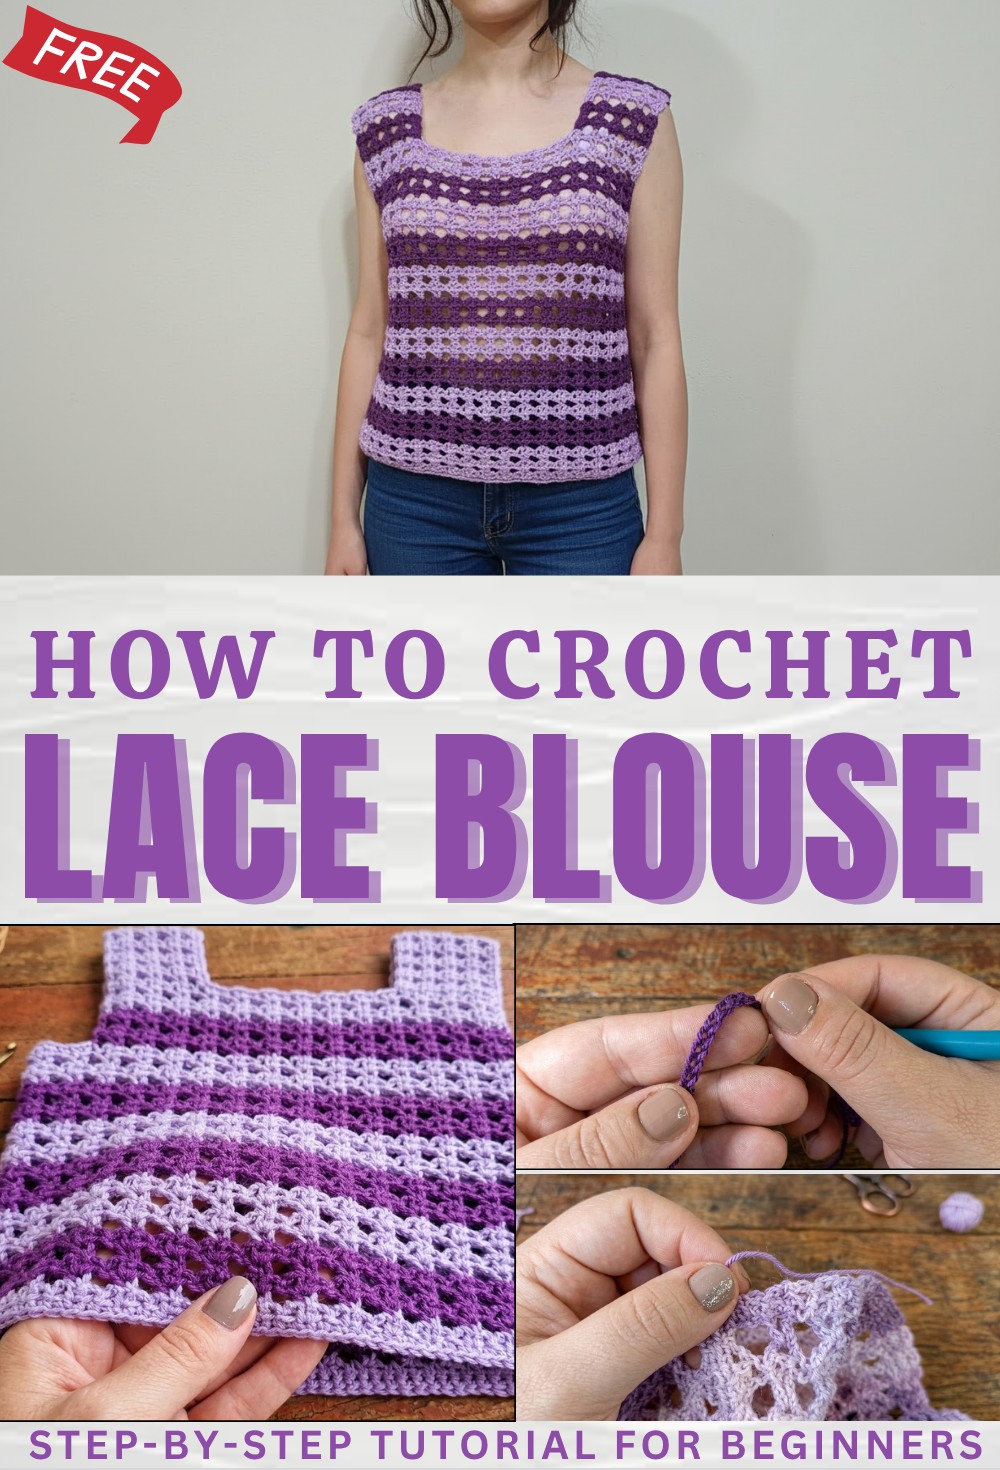
Free Crochet Lace Blouse Pattern for Effortless Summer Style
Admire free crochet lace blouse pattern for a lightweight top that brings effortless beauty and stylish comfort to your everyday wardrobe.
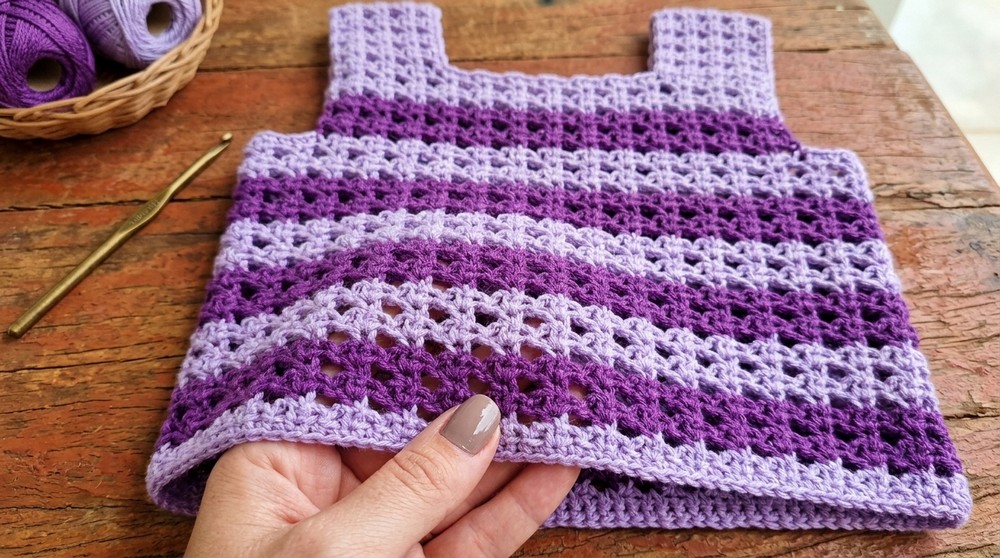
Ever wondered how something so simple can look so elegant and make you feel confident every time you wear it? That’s the beauty found in a crochet lace blouse pattern, where each loop and open space comes together to create a blouse that feels light on your body and gentle on the skin. The fancy design makes any plain outfit look classy, and the blouse works great for sunny days or layered on cooler evenings.
Simple Free Crochet Lace Blouse Pattern for Everyday Elegance
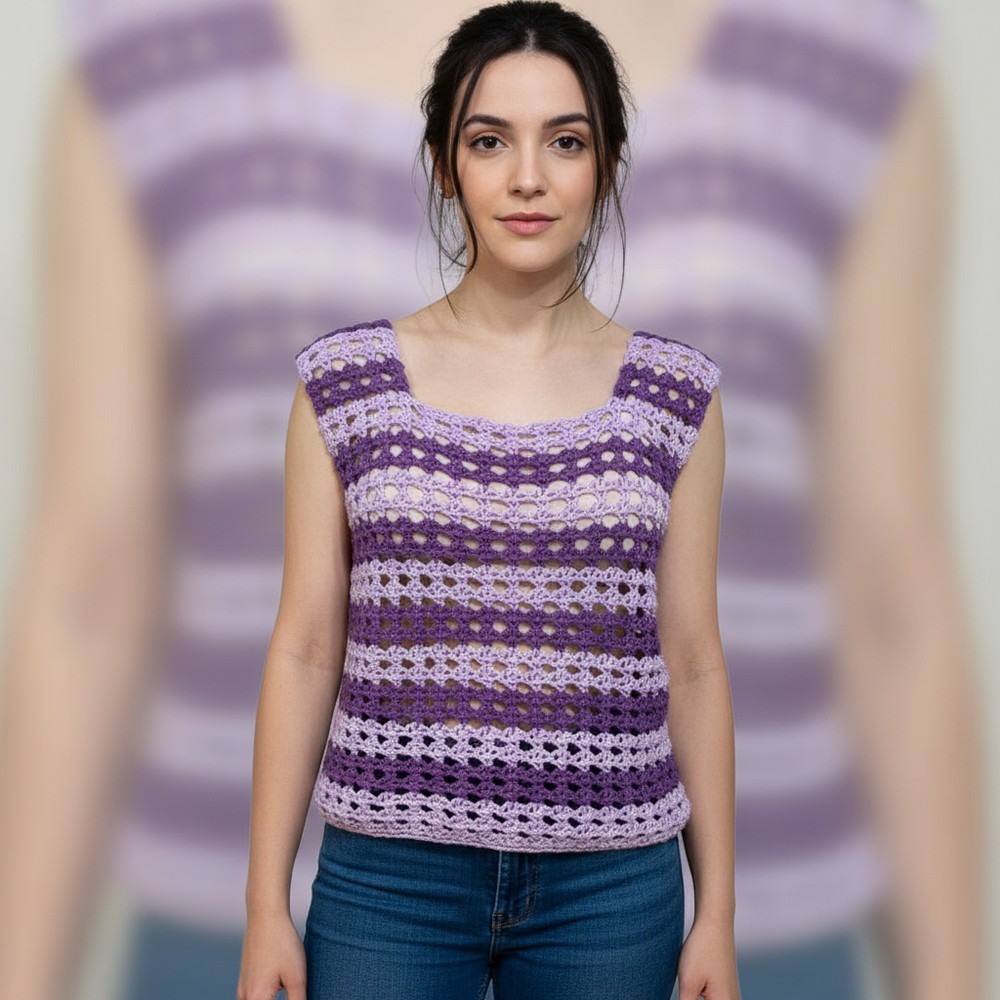
This style stands out not just for its pretty look but also for the way it moves and fits just right, making it comfortable for everyone. With a crochet lace blouse pattern, you can enjoy a piece of clothing that’s both easy to care for and special to wear on any occasion. Bright pattern and handmade flair turn every blouse into a favorite, making each moment a little more beautiful and fun.

Crochet Lace Blouse Pattern
Materials
- Yarn: 170g fine (lightweight) yarn, approximately 1 mm thick.
- Hook: Size US D/3 (3 mm) crochet hook
- Notions: Scissors, tape measure, tapestry needle
- Optional: Stitch markers for side/shoulder seams
Key Abbreviations (US Terms)
| Abbreviation | Term |
|---|---|
| ch | chain |
| dc | double crochet |
| hdc | half double crochet |
| st | stitch |
| sp | space |
| sl st | slip stitch |
| rep | repeat |
| RS | right side |
| WS | wrong side |
Special Notes
- The blouse is worked in two identical flat panels (front and back), seamed at sides and shoulders.
- The stitch pattern requires a multiple of 4 + 3.
- Adjust foundation chains and rows to fit your measurements and fit preference; instructions given for size Small with guidance for adaptation.
- For colorblock/stripes, change yarn every 4 or 6 rows as desired.
Measurements for Small Size Referenced
- Bottom width per panel: 45 cm (17.75”)
- Height to armhole: 30 cm (11.8”)
- Armhole depth: 18 cm (7”)
- Shoulder width: 10 cm (4”)
- Neckline width: 18 cm (7”)
- Length/height from armhole to shoulder: 18–20 cm (7–8”)
To resize:
- Measure around widest bust point.
- Divide by 2 for one panel.
- Add 5 cm (2”) ease.
- Follow all schematic measurements, increasing rows or stitches as needed.
Instructions
1. Make Panels (make 2, Front and Back)
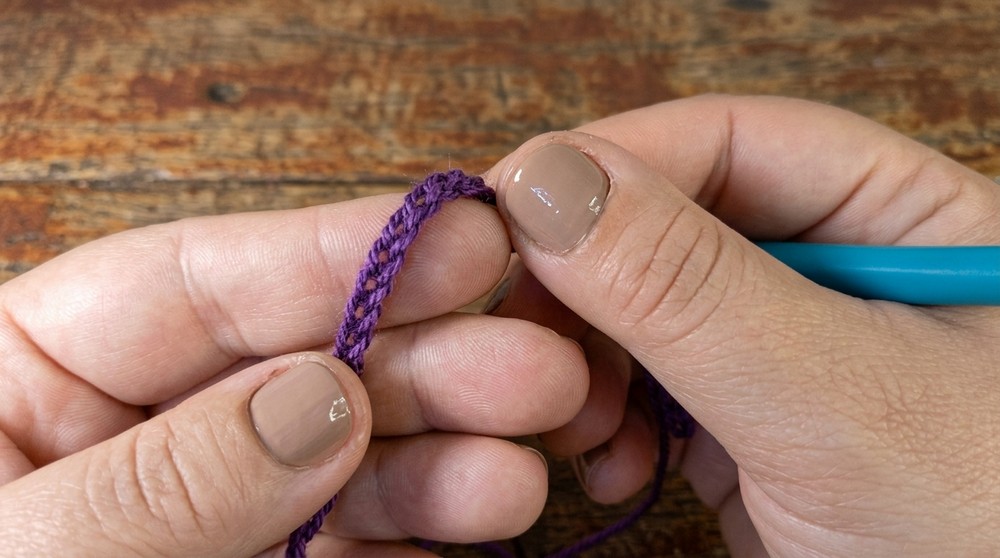
1.1. Foundation Chain
- Measure: Determine panel width (see notes). Sample: 45 cm = 87 chains.
- Ch a multiple of 4, then add 3 more ch. (e.g., 4 × 21 = 84, + 3 = 87 ch).
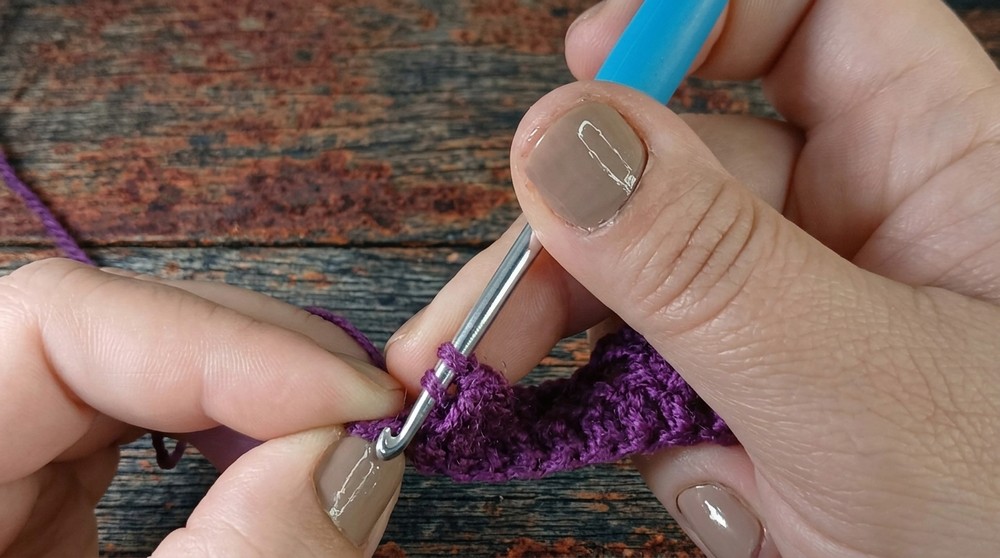
1.2. Row 1: Foundation Row
- Ch 3 (counts as dc here and throughout).
- Working into the back bump/little “belly” of each ch for a neat edge:
- Dc in 5th ch from hook.
- Continue to dc in each ch to end. (87 dc for sample).
- Turn.
1.3. Row 2: Setup Row for Openwork Pattern
- Ch 3 (counts as first dc),
- Dc in next st,
- Ch 1, dc in same st,
- Ch 2,
- Skip next st,
- Hdc in next st,
- Ch 2,
- Skip next st,
- Dc in next st, ch 1, dc in same st,
- Rep between ** ** across, ending with ch 2, skip next st, dc in last st.
- Turn.
1.4. Row 3: Second Openwork Row
- Ch 3 (counts as first dc),
- Work (dc, ch 1, dc) in the next ch-1 sp between dcs,
- Ch 3,
- Skip all sts/chains until next (dc, ch 1, dc) group, into ch-1 sp, (dc, ch 1, dc),
- Repeat: [ch 3, (dc, ch 1, dc) in next ch-1 sp] to end,
- At row end, dc in turning ch.
- Turn.
1.5. Row 4: Third Openwork Row
- Ch 3 (counts as dc),
- (Dc, ch 1, dc) in next ch-1 sp,
- Ch 2,
- In next ch-3 sp, hdc (wrap around the chains), ch 2,
- Repeat across,
- At row end, finish with dc in last st.
- Turn.
REPEAT Rows 3 and 4, alternating:
- Continue working these two rows (openwork) until you have 30 cm (approx 42–44 rows; adjust as needed for your size).
- For stripes, change colors as desired (always change on a dc row for consistency).
2. Armhole Shaping (Straight Armhole)
- To begin shaping: When body measures desired height to armhole (30 cm for sample), continue pattern but **do not work first and last motif (skip one full repeat at each armhole edge for a gentle shaping).
- Tip: For best fit, use slip stitch to move yarn to new starting point without breaking yarn, or fasten off and rejoin.
- Continue in openwork pattern for 8 more rows (about 6 cm), ensuring both armhole sides are even.
3. Shoulder and Neckline Shaping
For each shoulder:
- Work openwork pattern for 5 repeats at shoulder edge, ending when total length from armhole is 18–20 cm.
- Fasten off.

For neckline:
- Skip center motifs (matches neckline width, 18 cm for sample).
- Attach yarn and work from each side for shoulder, as for opposite side.
- Fasten off.
4. Seam Shoulders and Sides
4.1. Shoulder Seams
- With panels RS together, use tapestry needle and matching yarn.
- Sew through the inner loops (for neat finish).
- Align stripes/colors as needed.
- Secure with small knots, weave in ends.
4.2. Side Seams
- With RS together, sew up side seams to bottom of armhole shaping.
- For striped panels, change yarn color as you pass through each stripe for a perfect finish.
- Knot ends as shown, then weave ends in the matching color areas.
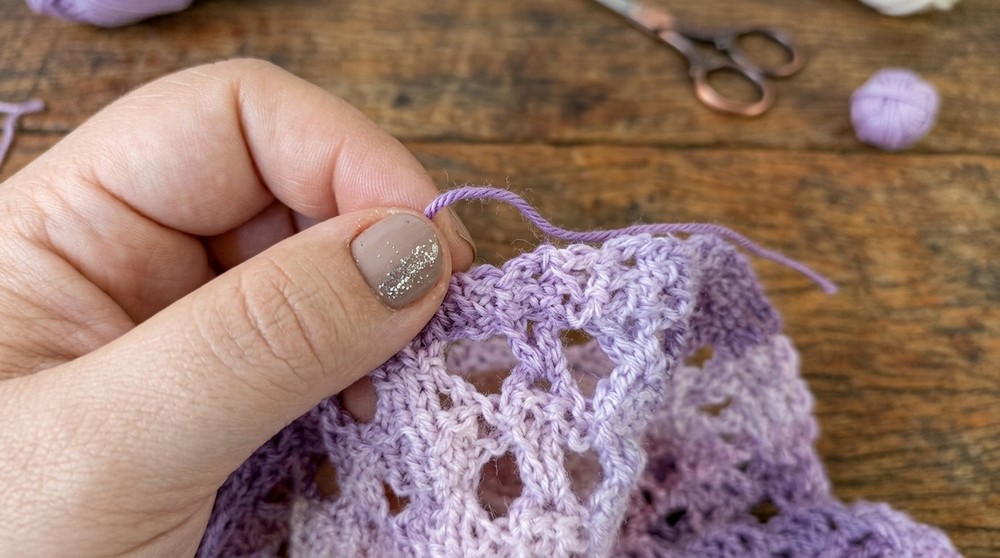
5. Finishing Touches
- Weave in all loose ends securely with a tapestry needle, hiding them within stitches of the same color for best appearance.
- Gently steam or block assembled blouse to relax the stitches and even out seams.
Corrections and Tips
- Correction: Always check final row counts for both panels to ensure they match before seaming.
- If your foundation edge is tighter/looser than top edge, redo foundation using a larger hook or loosely crochet; block to shape if needed.
- Keep your gauge consistent, especially at color changes.
- When joining stripes, always sew with the color of that section for invisibility.
Conclusion
Congratulations! You’ve made a beautifully draped, airy openwork blouse, perfect for layering year round. The easy two-panel construction, simple shaping, and clear seamwork make this project accessible even for adventurous beginners. With just a few adjustment points, you can tailor this top to any size, any yarn, and any striping effect you like. Wear your finished blouse with pride and enjoy its handmade charm!
Tip:
For a neat professional look, always block your crochet pieces before and after assembly. It relaxes stitches and makes seaming much easier.