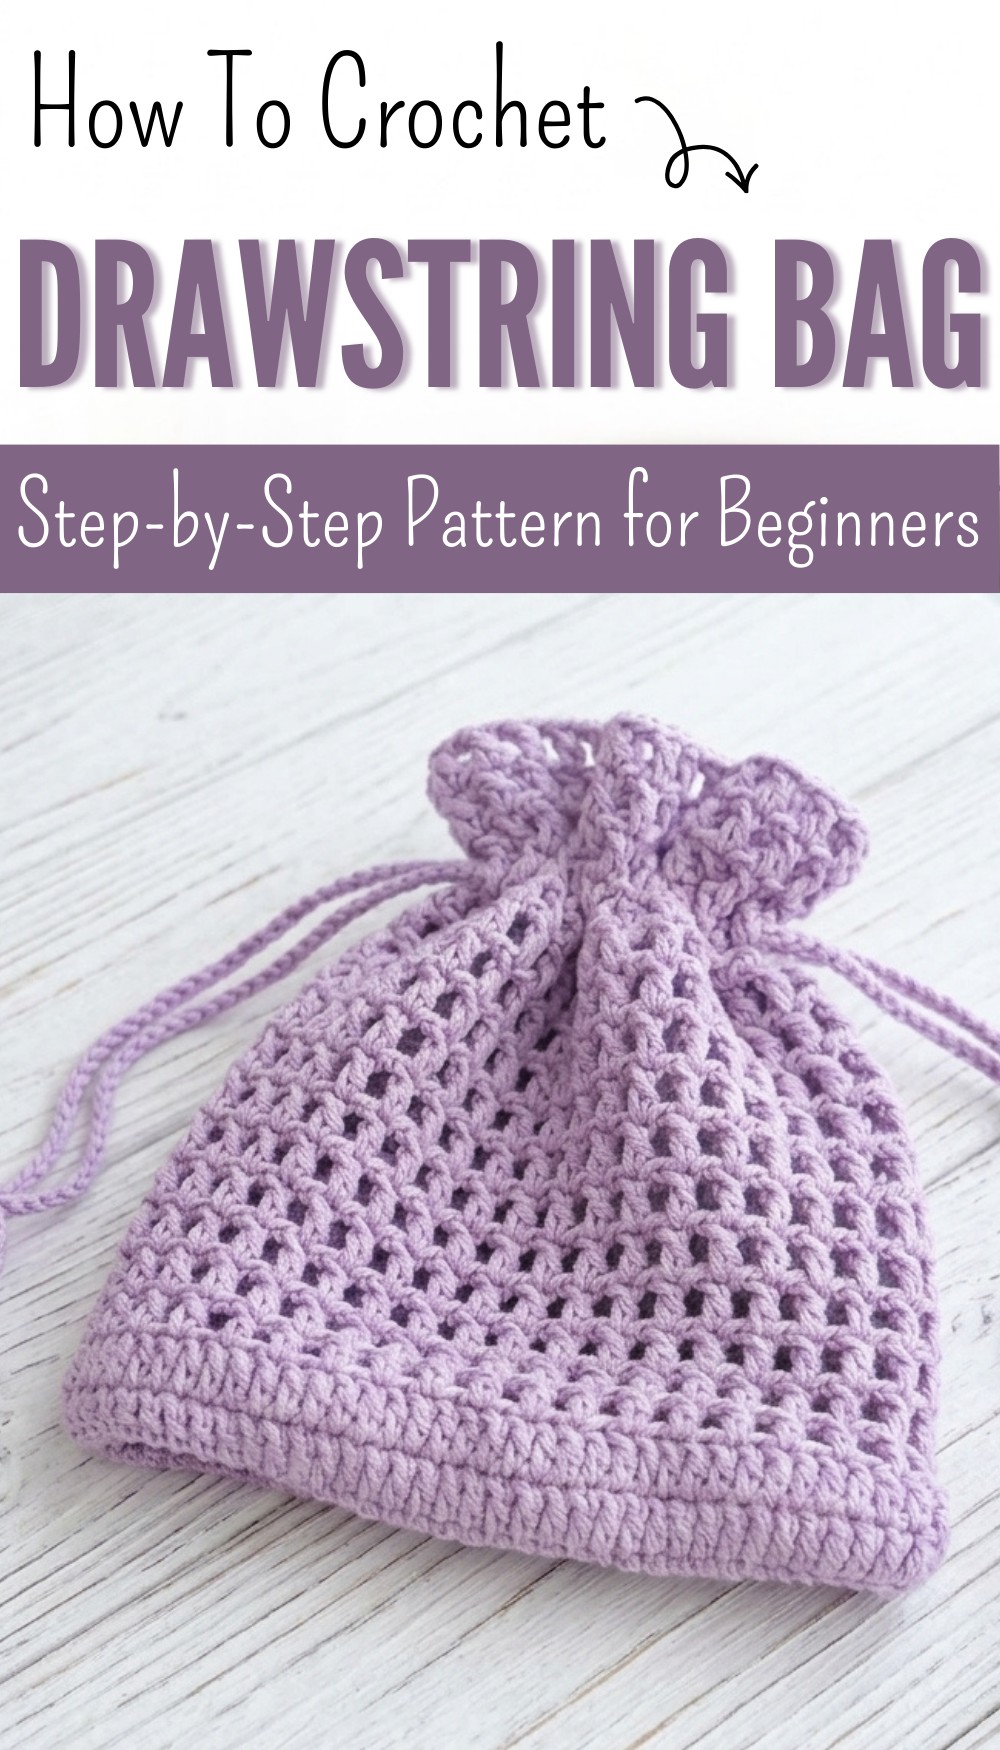
Free Crochet Drawstring Pouch Pattern for Stylish Storage
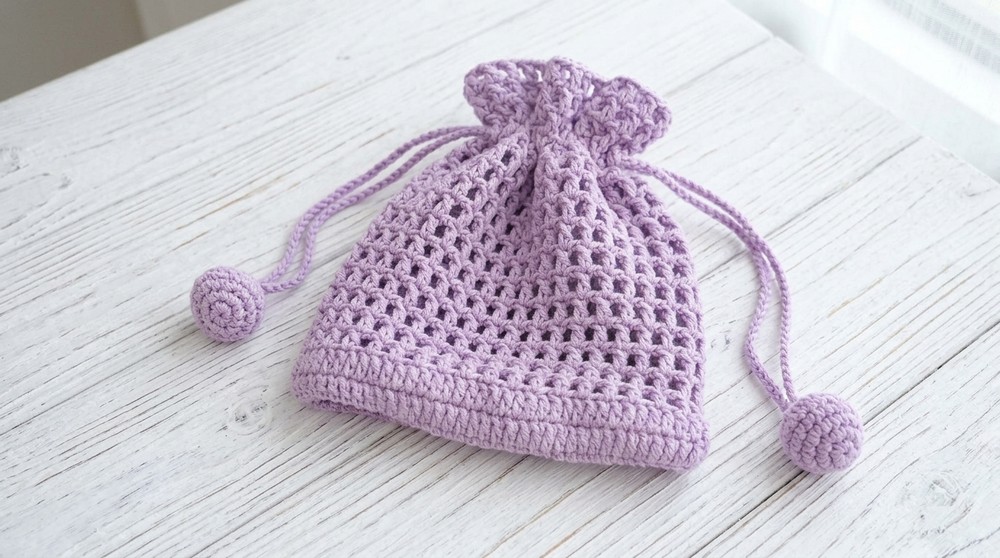
Experience the charm of a free crochet drawstring pouch pattern, for storing small treasures and adding a personal touch to your essentials.
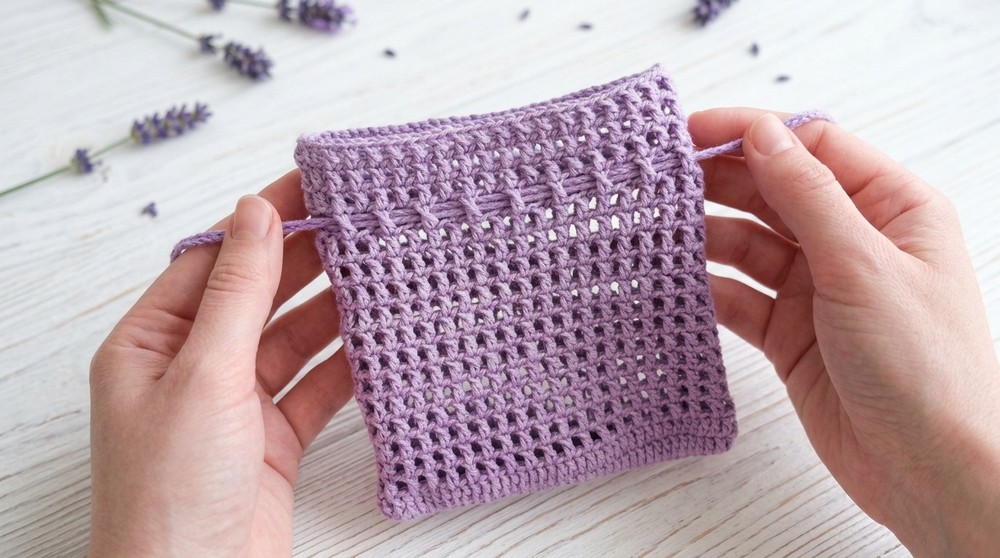
This pouch stands out with its cheerful colors and neat, sturdy design, bringing both beauty and practicality to everyday life. The simple yet functional drawstring closure provides easy access while keeping everything safely contained inside. Adaptable to various needs, it’s perfect for organizing small personal items, tidying up essentials, or offering as a thoughtful handmade gift.
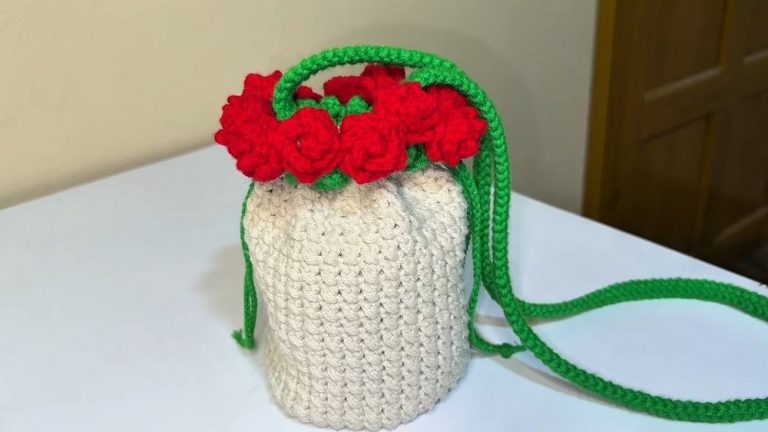
Modern Free Crochet Drawstring Pouch Pattern You’ll Love
The streamlined shape remains elegant and compact, while the customizable size means it suits a variety of preferences and purposes—whether for travel, daily routines, or special occasions. With its reliable closure, there’s no worry about anything spilling out or getting lost. The handmade style adds a unique touch, giving each pouch character and charm. Whether used at home, tucked into a bag, or gifted to a friend, this pouch is both a delightful and practical addition to anyone’s collection.
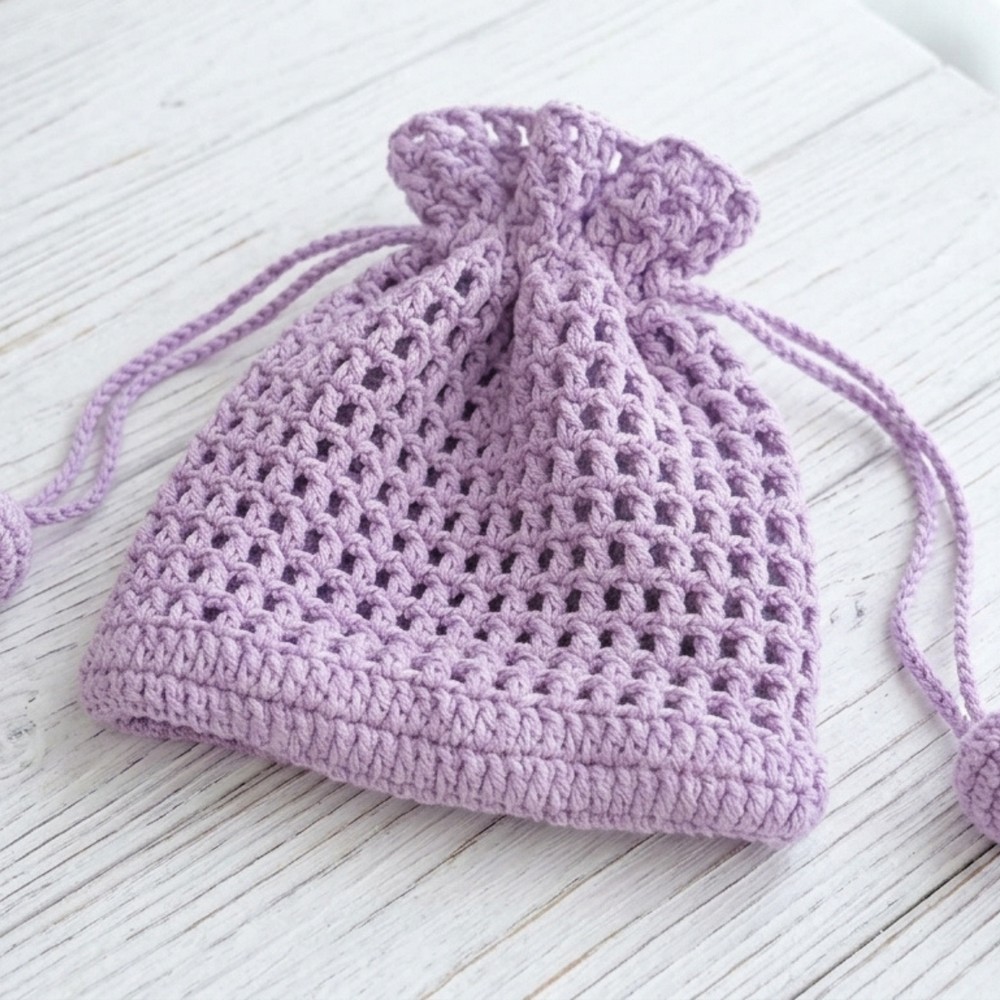
Crochet Mini Drawstring Pouch Pattern
Materials
- Yarn: Four ply milk cotton yarn (or similar soft worsted weight yarn)
- Hook: US B/1 (2.5 mm) crochet hook
- Notions:
- Scissors
- Yarn needle (for weaving ends and attaching balls)
- Stuffing for balls (optional: fiberfill, cotton, scrap yarn)
- Stitch marker (optional)
- Measuring tape
Key Abbreviations (US Terms)
| Abbreviation | Meaning |
|---|---|
| ch | chain |
| sl st | slip stitch |
| sc | single crochet |
| dc | double crochet |
| st | stitch |
| rep | repeat |
Special Notes
- The pouch is worked in the round, starting with a foundation chain.
- The decorative balls are amigurumi-style and attached to the drawstrings.
- Adjust yarn, chain count, or hook size for a custom fit.
- Use a softer yarn for more flexible pouches.
Finished Size
- Sample: Approximately 42 stitches wide; rounds as directed yield a mini pouch suitable for daily essentials.
Pattern Instructions
1. Pouch Base & Body
Foundation
- Ch 42.
- Row 1:
- Starting in the 3rd ch from hook, dc in this ch.
- Dc in each ch across (40 dc).
- Do NOT turn; instead, rotate work to the other side of the foundation chain.
- Row 1 (continued):
- On opposite side, dc into foundation ch (same as first dc), then continue dc in each ch across — 40 dc.
- You should now have 80 dc in the round.

Body Rounds
- Rnd 2:
- Ch 2 (counts as first dc).
- Dc in each stitch around (80 dc).
- Join with sl st to first dc.
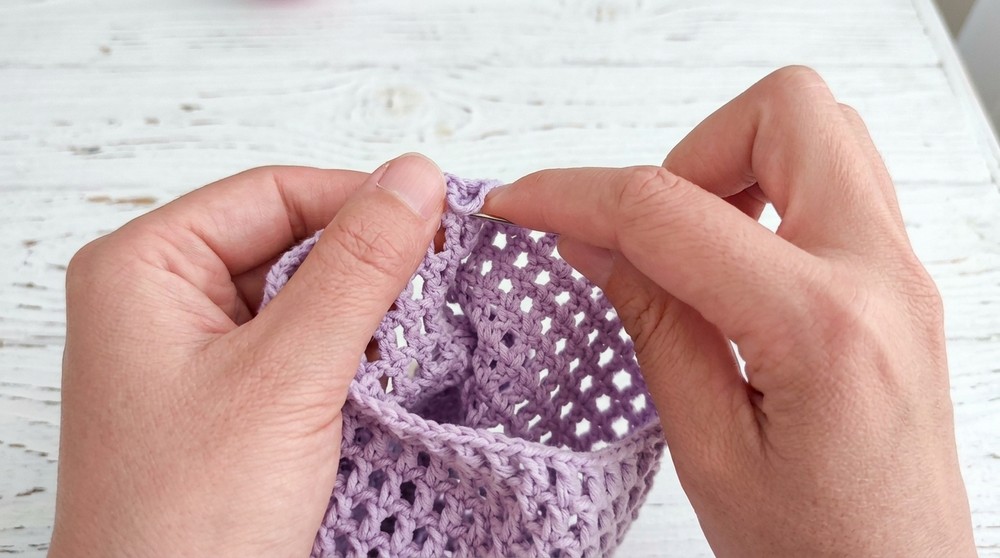
- Rnd 3:
- Ch 4 (counts as dc + ch-1).
- Skip 1 st, dc in next st, ch 1, skip 1 st, dc in next st, ch 1, repeat across (creates mesh/eyelet round).
- Repeat this sequence 20 times; total sets for the round: 20 (dc, ch 1) groups.
- Join with sl st to 3rd ch of starting ch-4.
- Rnd 4:
- Ch 4 (counts as dc + ch-1).
- Dc in dc of previous round, ch 1.
- Continue mesh pattern: in each dc, make dc, ch 1; repeat for 20 sets.
- Join with sl st to starting chain.
- Rnds 5–20:
- Rep Rnd 4 mesh pattern, continuing dc in dc, ch 1 in between, for remaining rounds (total 20 rounds).
- Join each round with sl st to starting chain.
- Finish pouch body:
- Ch 1, fasten off. Weave in yarn tail with yarn needle.
2. Drawstring
- Drawstring (make 2):
- Ch 110 (adjust length for your preference).
- Fasten off, weave in the yarn tail.
3. Decorative Balls (make 2)
Ball Instructions:
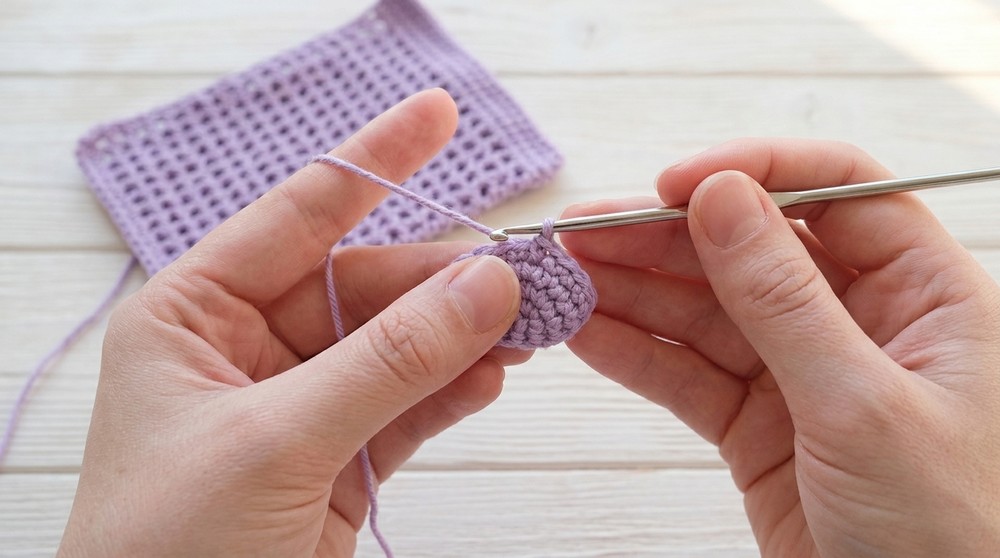
- Rnd 1:
- Begin with a magic ring.
- Ch 1, sc 6 in ring.
- Pull tight, join with sl st.
- Rnd 2:
- Ch 1, 2 sc in each st around (12 sc).
- Join with sl st.
- Rnd 3:
- Ch 1, (sc in next st, 2 sc in next st) rep 6 times (18 sc).
- Join with sl st.
- Rnds 4–5:
- Ch 1, sc in each st around (18 sc).
- Join with sl st.
- Rnd 6:
- Ch 1, (sc in next st, sc2tog) rep 6 times (12 sc).
(sc2tog = single crochet two stitches together; decrease) - Join with sl st.
- Ch 1, (sc in next st, sc2tog) rep 6 times (12 sc).
- Rnd 7:
- Ch 1, (sc2tog) rep 6 times (6 sc remains).
- Join with sl st.
- Stuff ball with fiberfill (or similar).
- Fasten off leaving a tail. Use yarn needle to sew closed remaining stitches.
4. Assembly
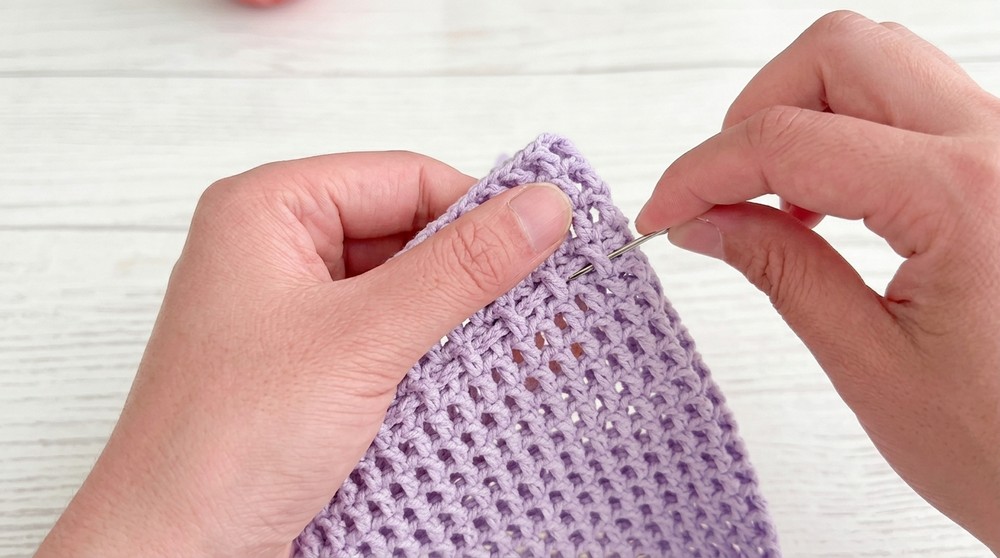
- Weave both drawstrings through the mesh round (Rnd 4 or your preferred round).
- Thread decorative ball onto end of each drawstring, sew securely.
- Pull drawstrings to close pouch.
- Attach balls either, leaving tails inside for neatness.
Corrections & Tips
- Pattern Correction: If you lose stitch count after the base, carefully count each round to ensure you maintain 80 sts (or your count).
- Do not skip mesh eyelets if you want proper drawstring holes.
- Drawstring Tip: Weaving both drawstrings in opposite directions gives easy opening and closing.
- Ball Tip: Stuff balls before closing for a fuller look; you can adjust increasing/decreasing rounds for desired fullness.
- Keep stitches loose for softer, more flexible pouch.
- Beginner note: If new to magic ring or working in the round, practice before starting the balls.
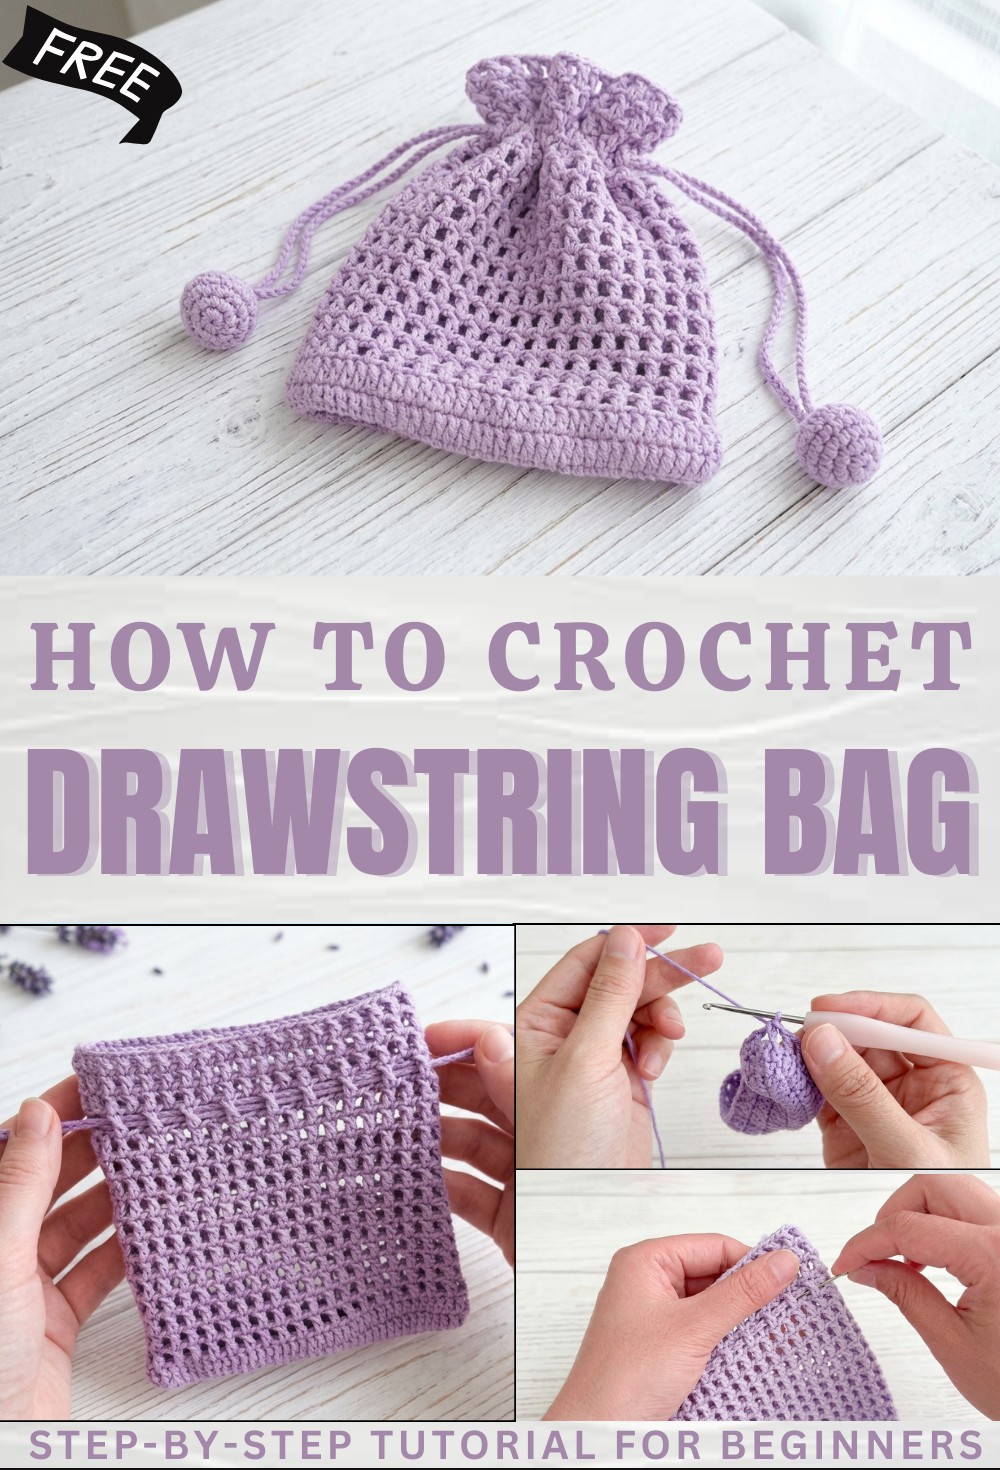
Conclusion
This mini crochet drawstring pouch is stylish, practical, and easy for beginners to complete. The mesh stitch creates flexible structure and handy eyelets for the drawstring, while the decorative balls add a whimsical touch. Customize color, size, or add embellishments to make it personal. Perfect for daily essentials or gifting!