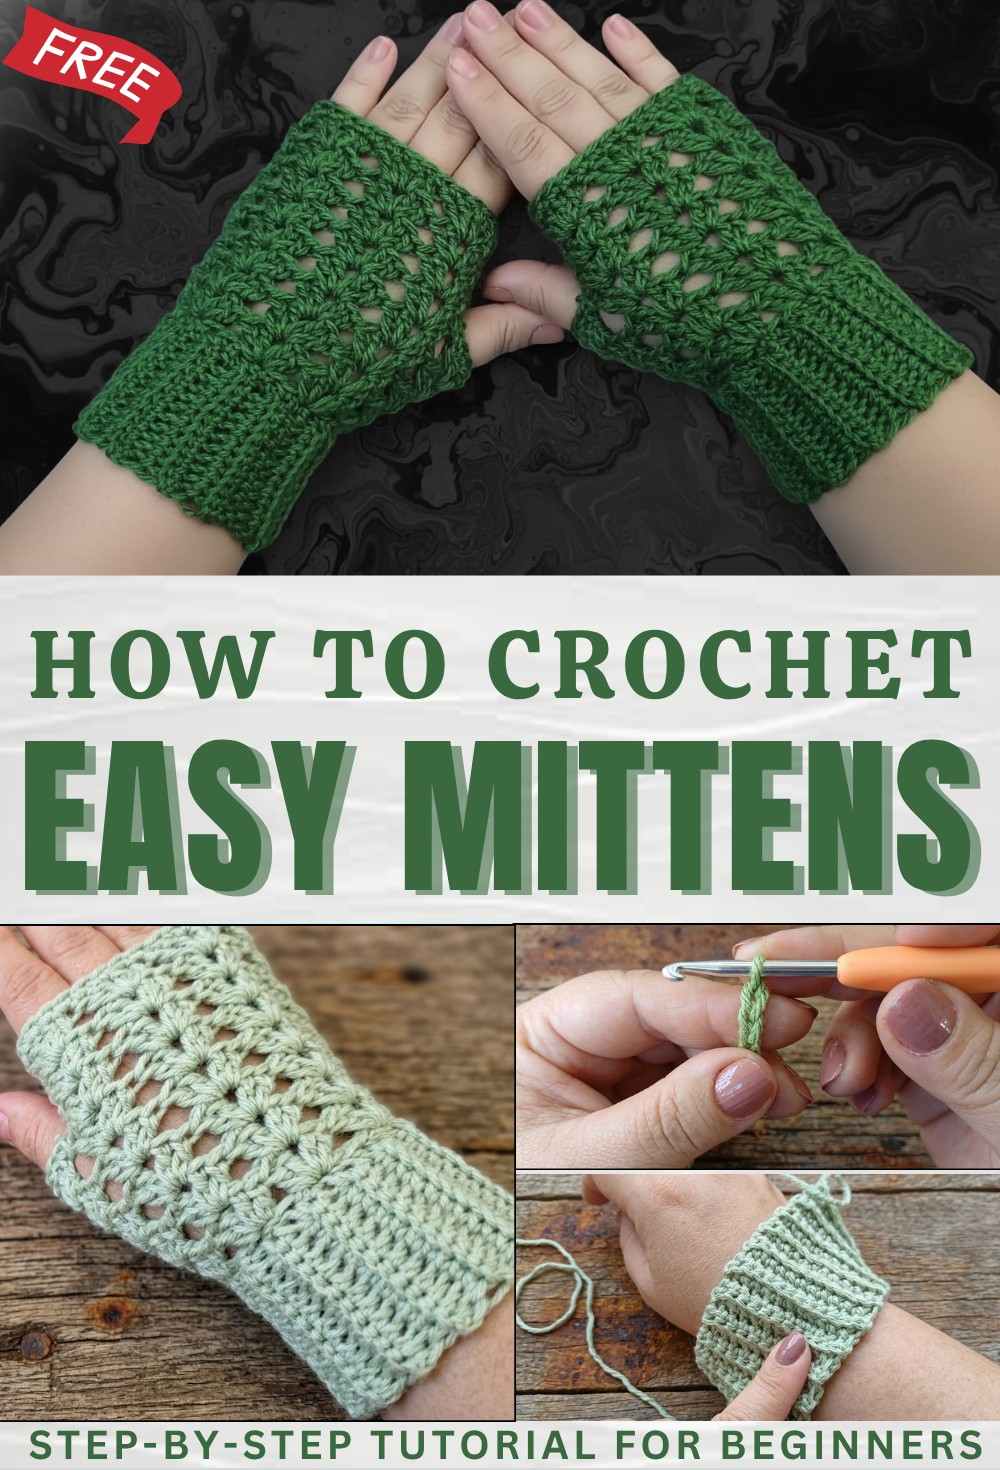
Stylish Free Crochet Mittens Pattern Perfect For Winter Days
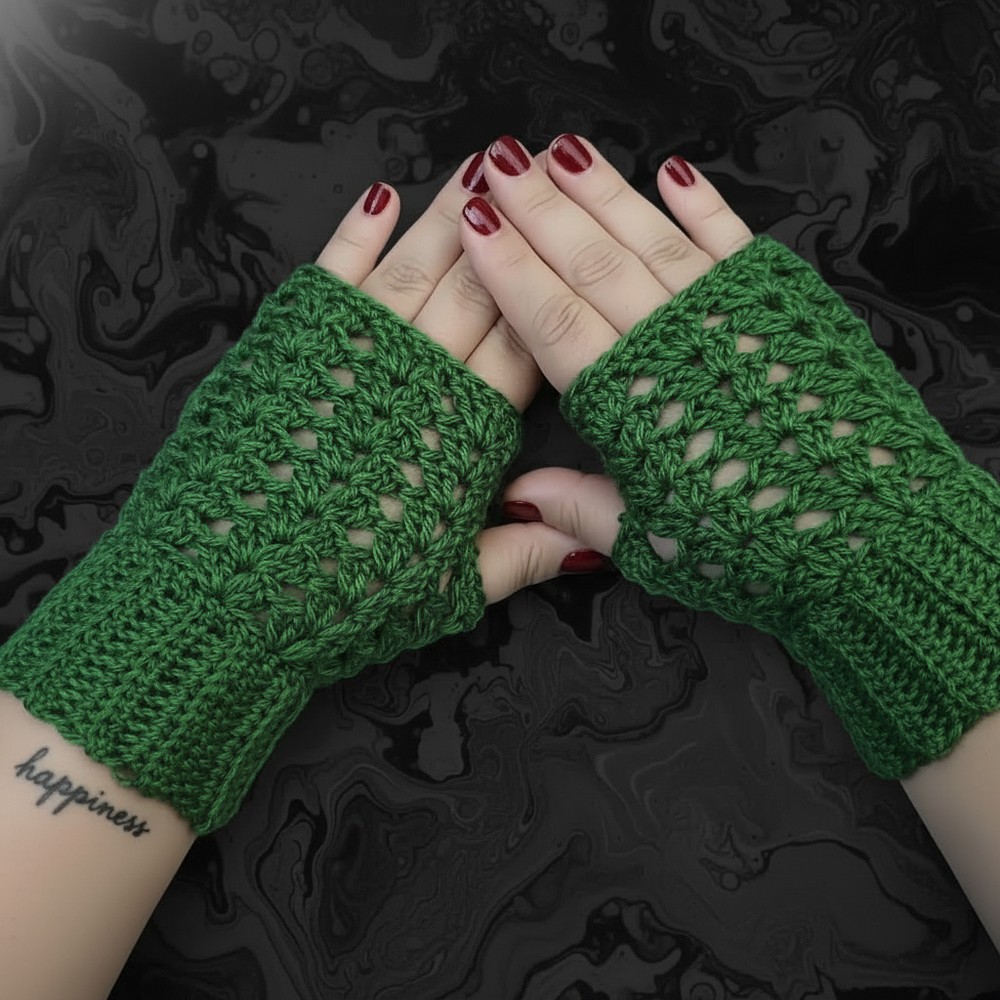
Stay cozy with this Free Crochet Mittens Pattern that offers a snug fit soft comfort and a cute look for cold days and everyday winter wear.
You can make them for yourself or as a thoughtful gift for loved ones. They are strong long lasting and can be washed and used again and again. The beauty of handmade design adds a special charm that machine made items cannot give. Simple to follow and fun to make this pattern brings both comfort and joy into your life.
Crochet Fancy Stitch Mittens Pattern
Materials List
- Yarn: 38g of yarn, approx. 2 mm strand thickness (fingering to sport weight recommended)
- Hook: 4 mm crochet hook
- Tapestry needle (for seaming and weaving in ends)
- Scissors
- Stitch marker (optional, for the first and last stitch in rows)
Finished Measurements
- Total length: 16 cm
- Width (hand section): 9–10.5 cm
- Width (cuff): 8–8.5 cm
- Adjustable by changing starting chains or row counts.
Key Abbreviations (US Terms)
| Abbreviation | Meaning |
|---|---|
| ch | chain |
| sc | single crochet |
| hdc | half double crochet |
| dc | double crochet |
| sl st | slip stitch |
| st(s) | stitch(es) |
| BLO | back loop only |
| FO | fasten off |
Special Notes
- Work all cuff stitches in back loop only (BLO) for elasticity.
- Seam the cuff flat, then work the hand section in rounds.
- Try on mittens at critical steps (after the cuff and before the thumb opening) to ensure a perfect fit.
- Adjust length or width by adding/subtracting stitches/chains.
Pattern Instructions
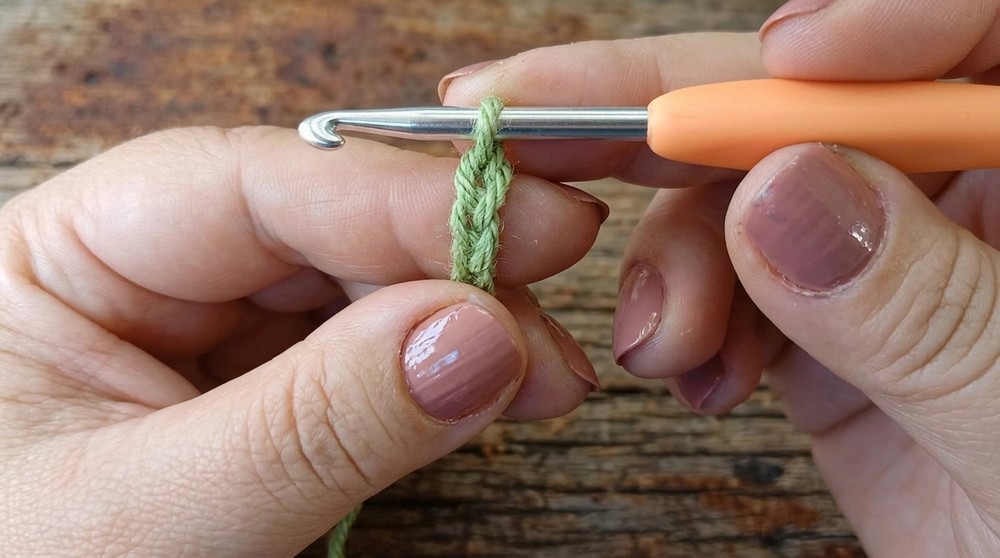
Cuff (Worked Flat)
- Ch 12.
- This determines cuff height; adjust as needed for shorter/longer cuff.
- Row 1:
- Ch 1 (does not count as a st), turn.
- Working in BLO: hdc in 2nd ch from hook and each ch across (12 sts).
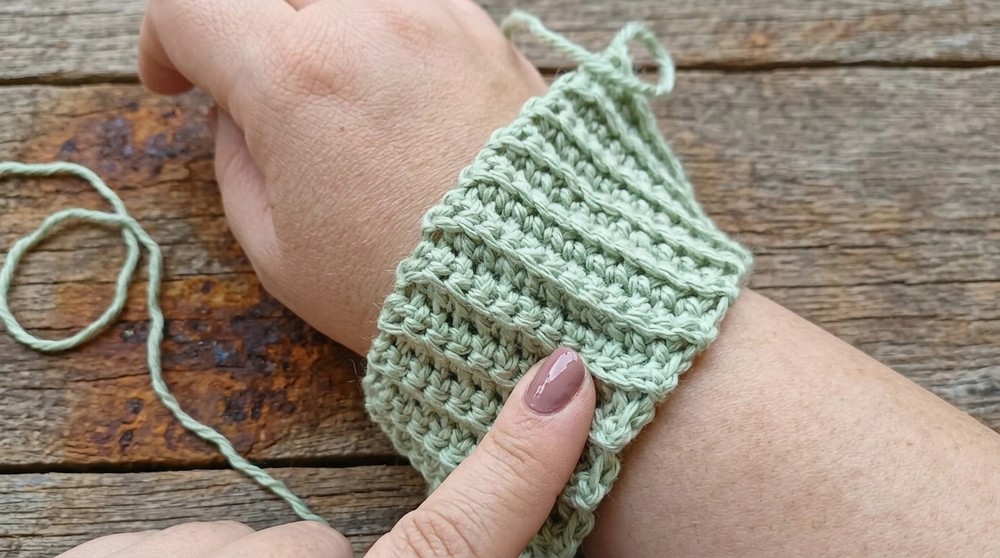
- Row 2:
- Ch 1, turn.
- hdc in BLO of each st across (12 sts).
- Repeat Row 2 until you have an even number of rows that fits comfortably around your wrist when slightly stretched.
- Sample: 28 rows (for approx. 8–8.5 cm when seamed).
- Try around your wrist before seaming for fit; add/subtract 2 rows at a time as needed.
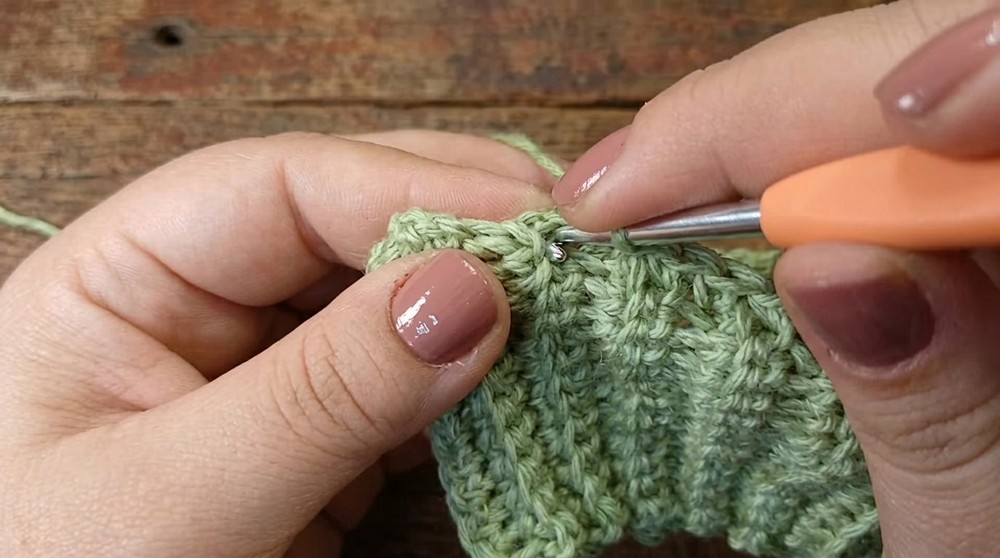
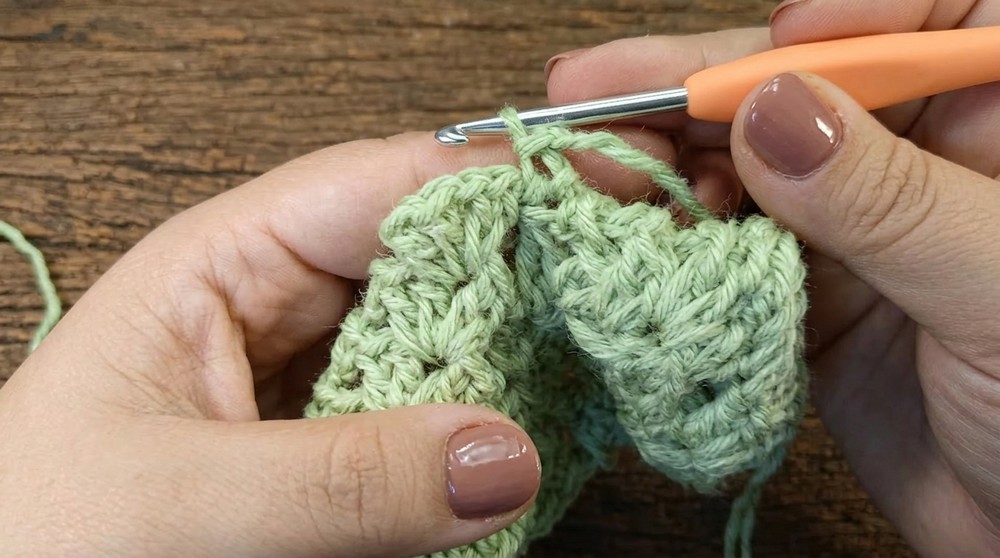
Seaming the Cuff
- Do not fasten off.
- Fold cuff in half (bring first row and last row together).
- Sl st seam:
- Ch 1, working through BLO of last row and both loops of foundation ch of first row:
- Sl st through corresponding stitches across (12 sl sts).
- Work loosely to maintain stretch.
- Turn cuff right side out.
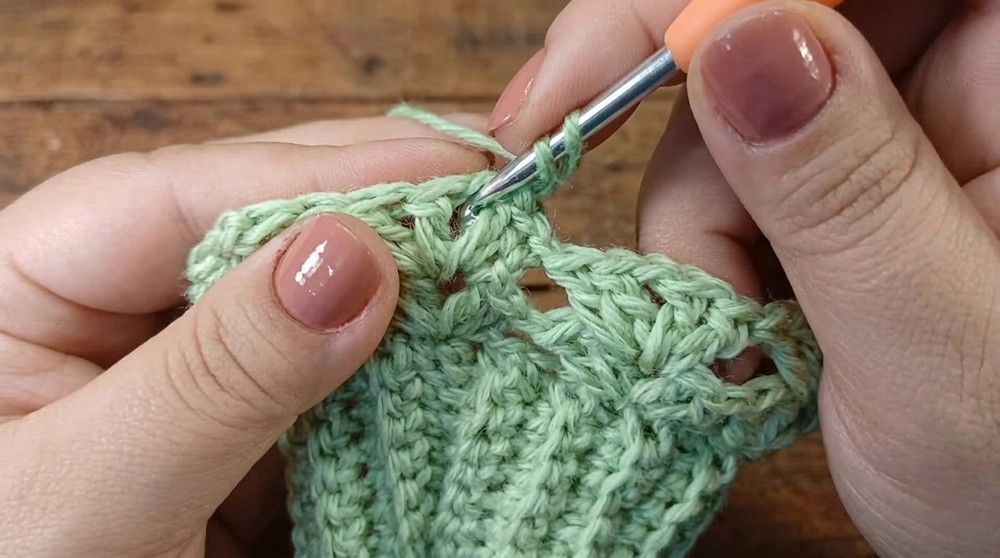
Hand Section (Worked in Rounds)
- Set-Up Round:
- Ch 1 (does not count as a st).
- Work 1 sc in each row-end around opening (place one stitch per row, 28 sts in sample).
- Join with sl st to first sc.
- Count your stitches to ensure they match your row count.
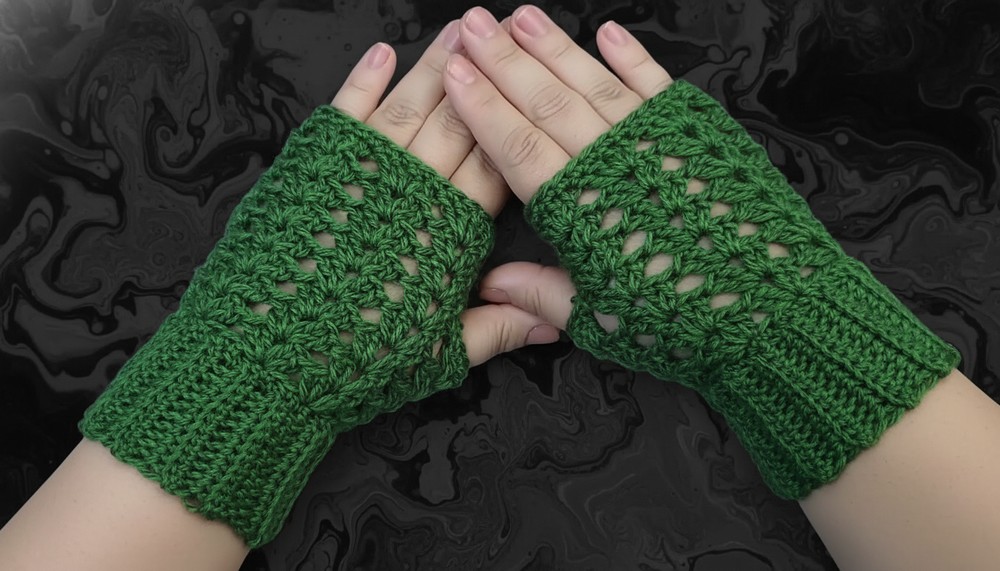
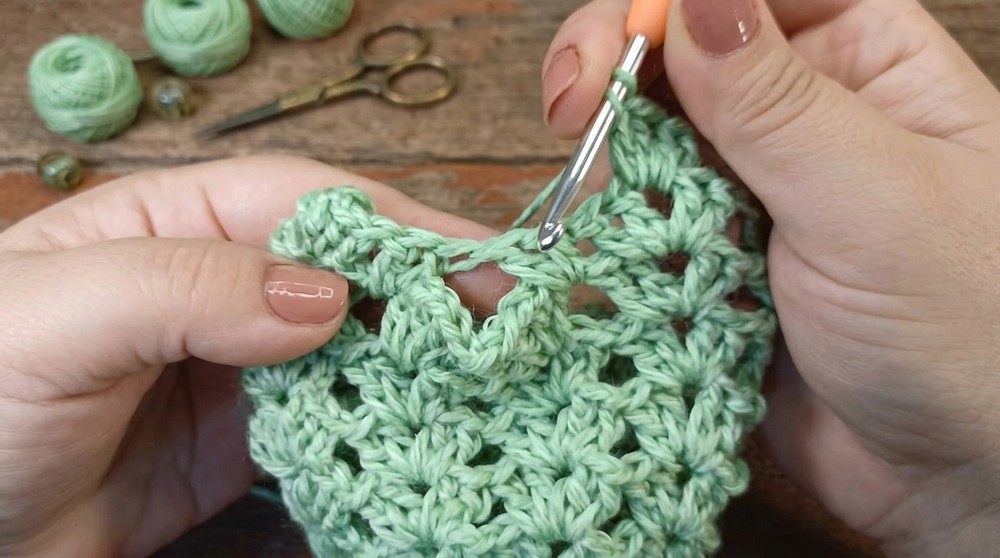
Fancy Stitch Section
Cluster Group Pattern:
- (2 dc, ch 1, 2 dc) in same stitch or space (“shell”)
- Skip 2 or 3 stitches between groups as needed for even fit.
Round 1:
- Begin group (shell):
- In first stitch (use preferred method for neat dc: “false dc” or ch 2–3), work:
- 2 dc, ch 1, 2 dc (all in same st/sp).
- In first stitch (use preferred method for neat dc: “false dc” or ch 2–3), work:
- Skip 2 or 3 sts (alternate as needed to evenly space groups).
- Repeat: (2 dc, ch 1, 2 dc) in next st; skip 2 or 3 sts around.
- Try to make 8 shells in total. Adjust skipped sts for your stitch count.
- At end, join with sl st to top of starting dc/ch.
Rnds 2–5:
- Move into next ch-1 space with sl st.
- (2 dc, ch 1, 2 dc) in each ch-1 space around.
- Join with sl st.
- Work until hand section covers from wrist to just past the knuckles (sample: 5 rounds).
Thumb Opening
- Work shells in ch-1 spaces until only two groups remain.
- Stop making shells across two adjacent ch-1 spaces (these become thumb opening).
- Instead:
- After last shell before thumb, ch 4, skip two shell spaces (thumb space), and continue shell pattern in next shell space.
- Join as usual.
- Try on mitten to ensure thumb fits comfortably. Adjust number of missed shell spaces as needed (1 or 3 for smaller/larger thumbs).
Hand Section Above Thumb
- Continue working in pattern (shell groups in each ch-1 space), including the ch-4 space formed for the thumb (place shell pattern in this chain space as well).
- Repeat for 2–3 rounds or until desired length to fingertip.
Finishing Edge (Optional):
- Work 1 hdc in each dc around the top edge, skipping all ch-1 spaces for a neat, non-stretchy edge.
- At end, FO.
Thumb Edge (Optional):
- Join yarn at base of thumb opening.
- Work sc or hdc evenly around edge, joining with sl st at end.
- FO, weave in end.
Finishing
- Weave in all ends securely, using tapestry needle and hiding them vertically and horizontally.
- Repeat entire process for second mitten.
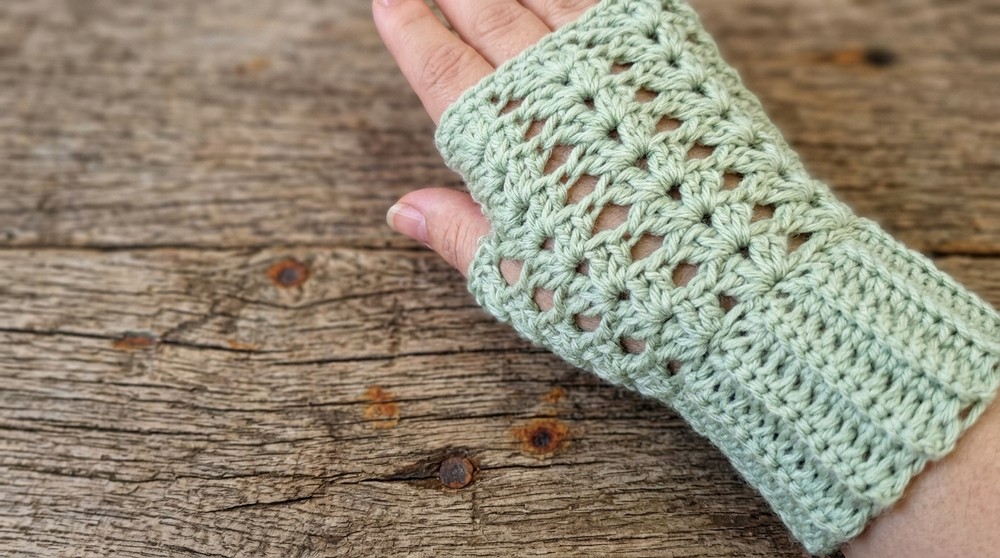
Conclusion
You have completed a pair of elegant, cozy mittens with a stretchy cuff and beautiful shell stitch pattern. Designed to use very little yarn, these mittens are an ideal quick gift or stash-buster project. The construction ensures a perfect fit and neat finish.
Pattern Corrections & Tips
- Gauge and fit: Always try on at the end of the cuff and before finishing the thumb opening. Mittens should fit snug but not tight.
- Thumb opening: Adjust width by changing number of skipped groups; always try on before final rounds.
- Edge finishing: Work border rounds loosely, especially around the thumb, to maintain comfort.
- Even group spacing: If your stitch total does not divide evenly for shells, alternate skipping 2 and 3 stitches for best fit.
- Seaming cuff: Keep sl sts loose for maximum stretch.