Sunready Crochet Bikini Top Pattern Perfect for Poolside Style
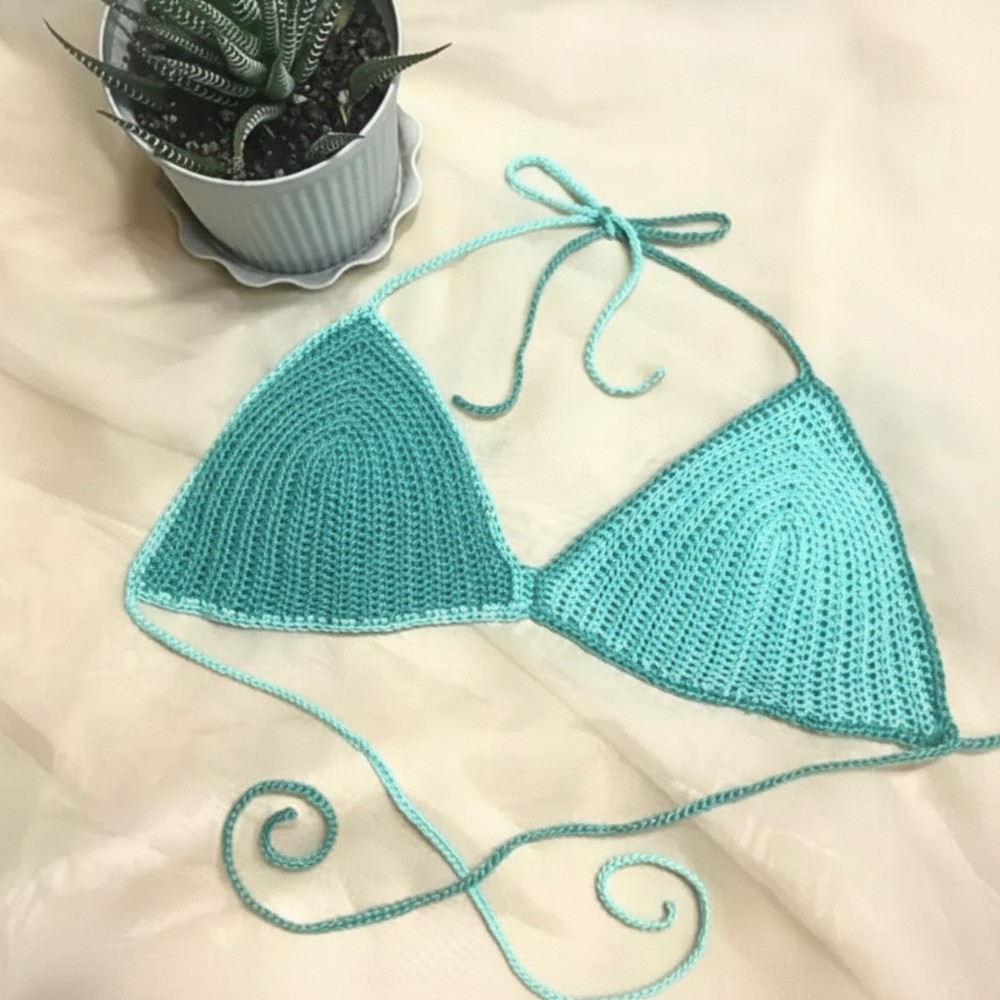
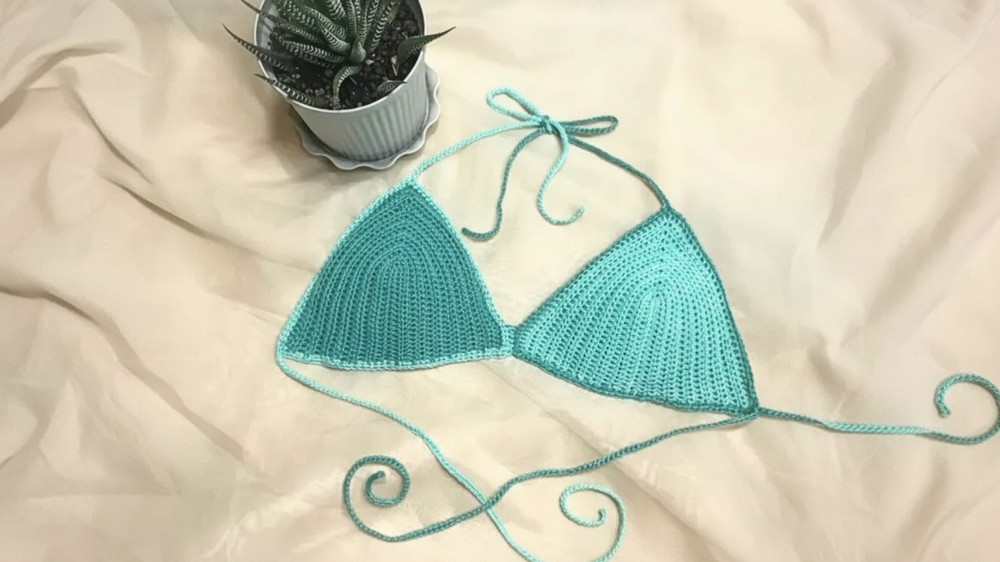
Slip into beach mode with this Crochet Bikini Top Pattern that’s perfect for pool days, seaside plans, comfy fits, and laid back summer vibes.
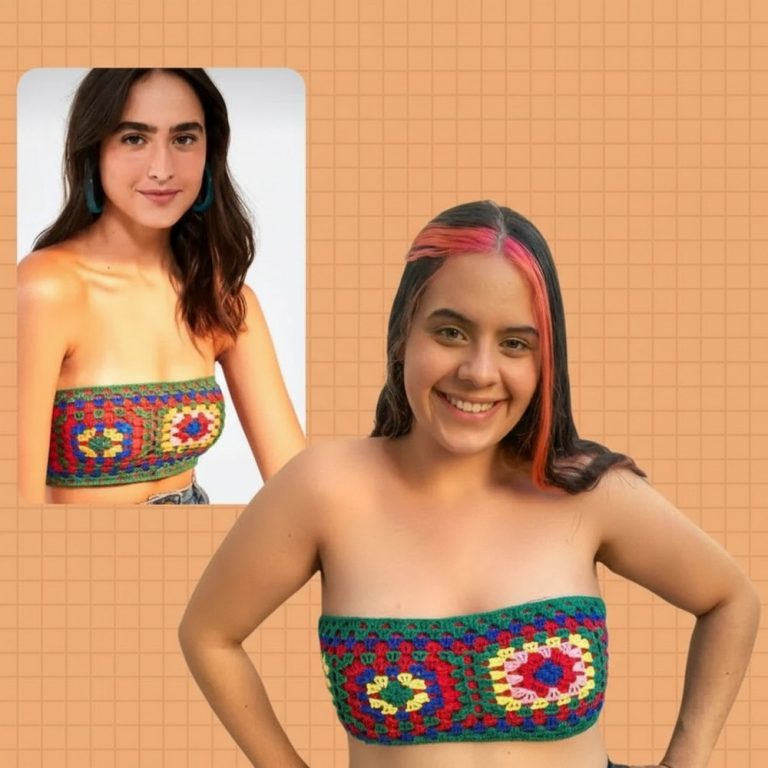
Summer Crochet Bikini Top Pattern Made for Seaside Days
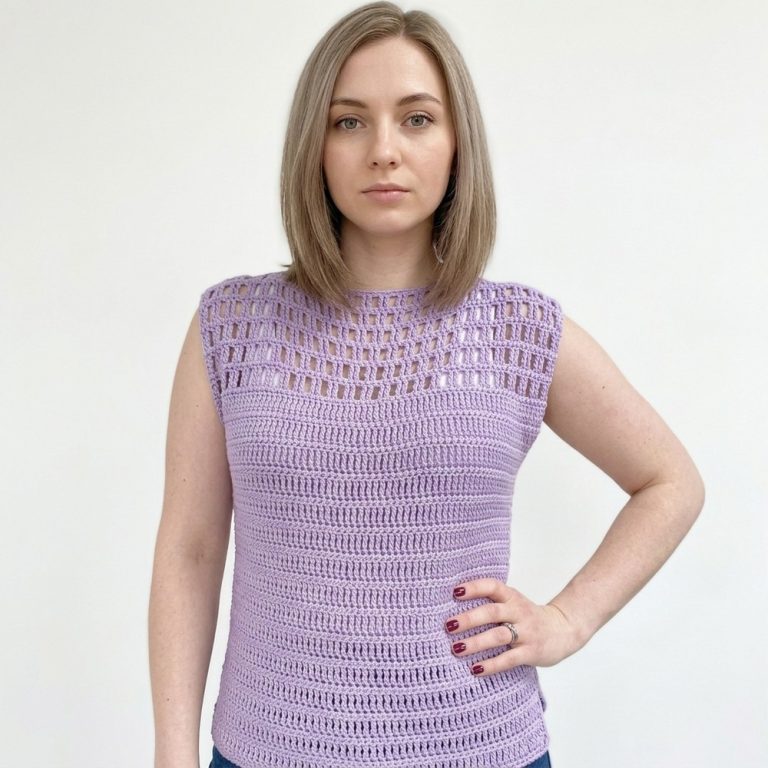
Modern beach style finds new expression in the intricate beauty and versatility of a crochet bikini top pattern. Featuring breathable yarns and supportive, elegant stitches, the design flatters the body while delivering comfort for both lounging poolside and enjoying active seaside adventures. Its adaptable structure makes it perfect for pairing with festival outfits, high-waisted bottoms, or as a statement piece under sheer layers.
The crochet bikini top pattern allows for full personalization—choose your favorite colors, adjust coverage, and modify the straps to suit individual preferences and body shapes. Intricate details and unique textures set each piece apart, offering a look that stands out amid ordinary swimwear. Present fashion enthusiasts appreciate the combination of style, practicality, and expressive design, making it a go-to choice for those seeking confidence and flair during summer activities. This pattern truly embodies effortless elegance and modern versatility.
Required Materials
-
Yarn: Poly-cotton yarn (breathable and low water absorption) [01:19].
-
Hook: 2.5mm crochet hook (or 2.0mm for a tighter stitch) [01:38].
-
Notions: Stitch markers, tape measure, darning needle, and scissors [01:08].
Pattern Instructions
1. Sizing and Measurement
-
Top-to-Bottom Method: Measure from just above your nipple to the bottom of your breast (e.g., 3 inches) [02:18].
-
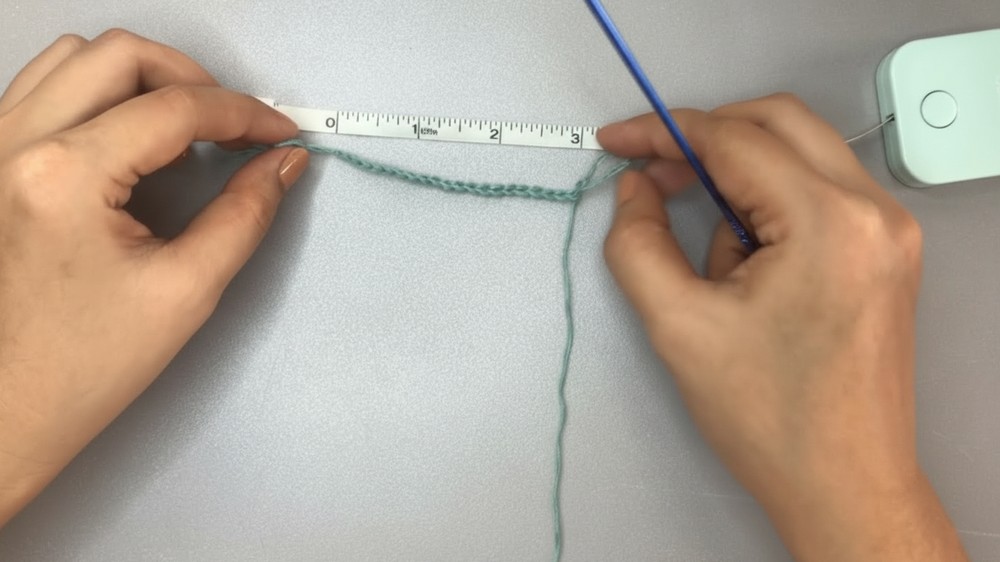
Foundation Chain: Create a slip knot and chain until the chain reaches your measured length (e.g., 20 chains for 3 inches). Stretch the chain slightly when measuring [03:37].
2. Constructing the Bra Cup (Make 2)
-
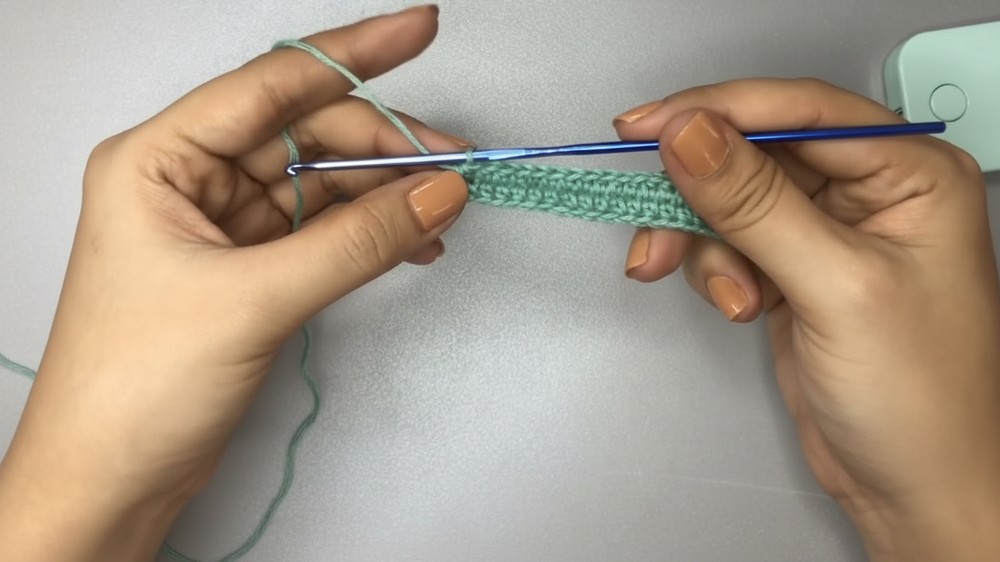
Round 1: Ch 1 (pillar). Work 1 half-double crochet (hdc) in every chain. In the final chain, work 5 hdc into the same loop to turn the corner. Place a stitch marker in the 3rd (middle) hdc. Work 1 hdc back down the other side of the foundation chain [05:44].
-
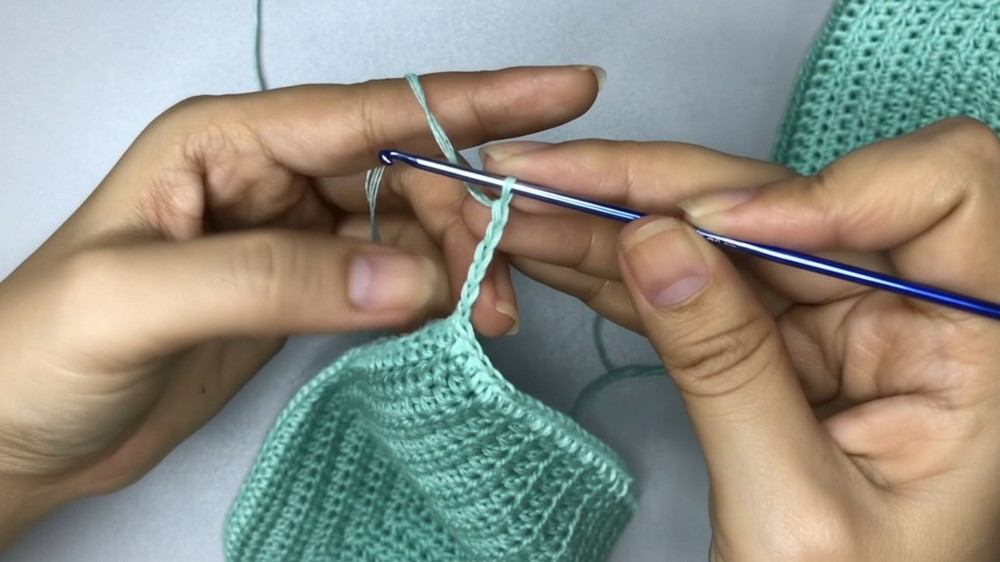
Round 2: Ch 1, turn. Work 1 hdc in every stitch until you reach the marked middle stitch. In the marked stitch, work 3 hdc. Move the stitch marker to the middle stitch of this new group. Work 1 hdc in the remaining stitches [09:56].
-
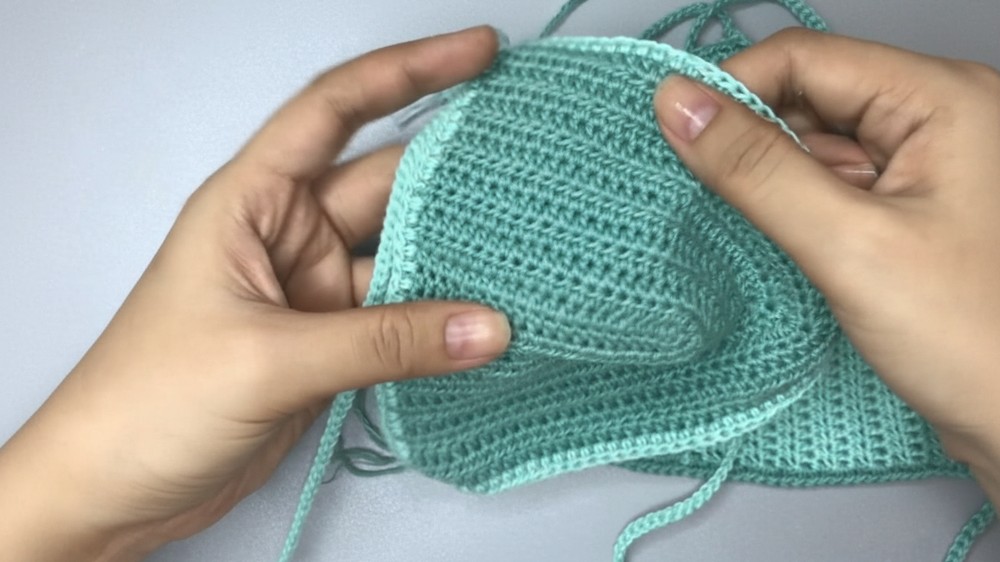
Subsequent Rounds: Repeat Round 2, always working 3 hdc into the marked top stitch. Continue until the cup reaches your desired width (e.g., 6 inches/15 rows for a 34B cup) [12:13].
-
Color Change: To switch colors, pull the new yarn through the final three loops of the last hdc of the row [13:24].
3. Straps and Ties
-
Upper (Neck) Tie: On the final row, when you reach the marked top stitch, work 1 hdc, then chain 120 (approx. 16–18 inches). Slip stitch back down the chain to thicken it. Work another hdc into the same top stitch to secure the tie, then finish the row [15:13].
-
Side (Back) Tie: After finishing the bottom edge of the cup with hdc, chain 150 (approx. 20 inches). Slip stitch back down the chain and secure it to the side of the cup [19:51].
Assembly and Finishing
-
Hiding Tails: Use a darning needle to weave yarn tails into stitches of the same color on the wrong side (inside) of the cup [23:29].
-
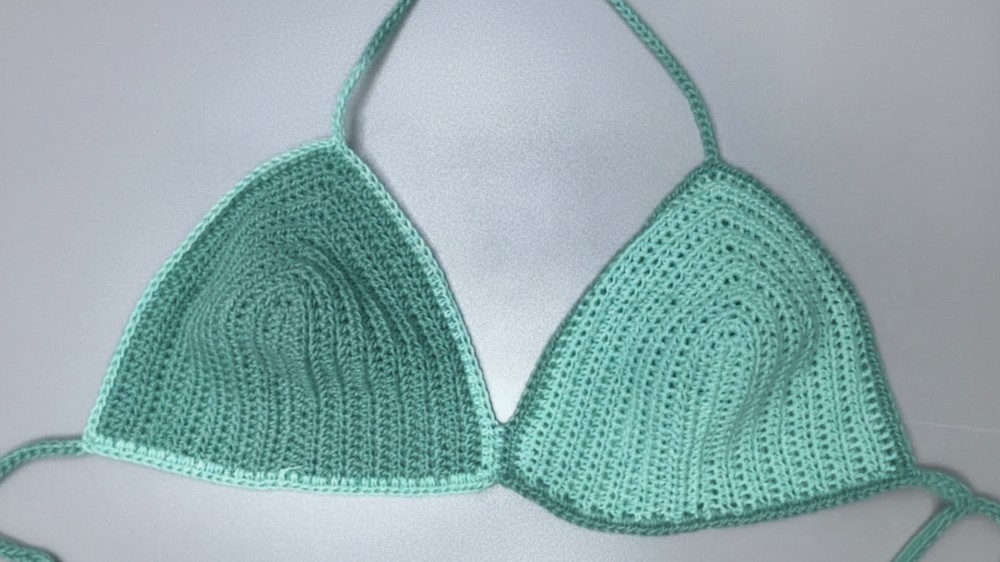
Joining Cups: Place both cups with wrong sides facing you. Align the bottom inner corners. Use a darning needle to stitch the two cups together (approx. 6 stitches). Stitch back over the same spot in a cross-pattern for extra strength [26:18].
-
Final Touch: Sew in bra pads if extra coverage is desired [28:04].
Project Details
-
Special Features: The design features a two-tone color change for a modern aesthetic and utilizes high-durability slip-stitched ties. The “made-to-measure” approach ensures a custom fit for any body type.
-
Level of Difficulty: Beginner. The project relies on fundamental stitches like the chain, slip stitch, and half-double crochet.
-
Tutor’s Suggestions: Use poly-cotton yarn for swimwear. It is breathable and, unlike 100% pure cotton, it doesn’t absorb excessive amounts of water, keeping the top lightweight while swimming. [01:19]
-
Uses: Perfect as a swim top, a summer bralette under a sheer shirt, or as part of a festival outfit.
-
Materials: * 4-strand poly-cotton yarn.
-
2.5mm crochet hook.
-
Stitch markers, tape measure, darning needle, and scissors. [01:08]
-
Conclusion
Finishing your crochet bikini top marks a successful entry into garment construction. By combining precise measurements with basic stitch patterns, you have created a custom piece of fashion that is both beautiful and functional. Once you weave in the final ends and secure the ties, your top is ready for the beach or the pool.
Pro Tip: When starting your foundation chain, stretch it slightly against the tape measure. Because crochet fabric naturally expands when wet, a slightly “tighter” dry fit will prevent the top from becoming too loose in the water.