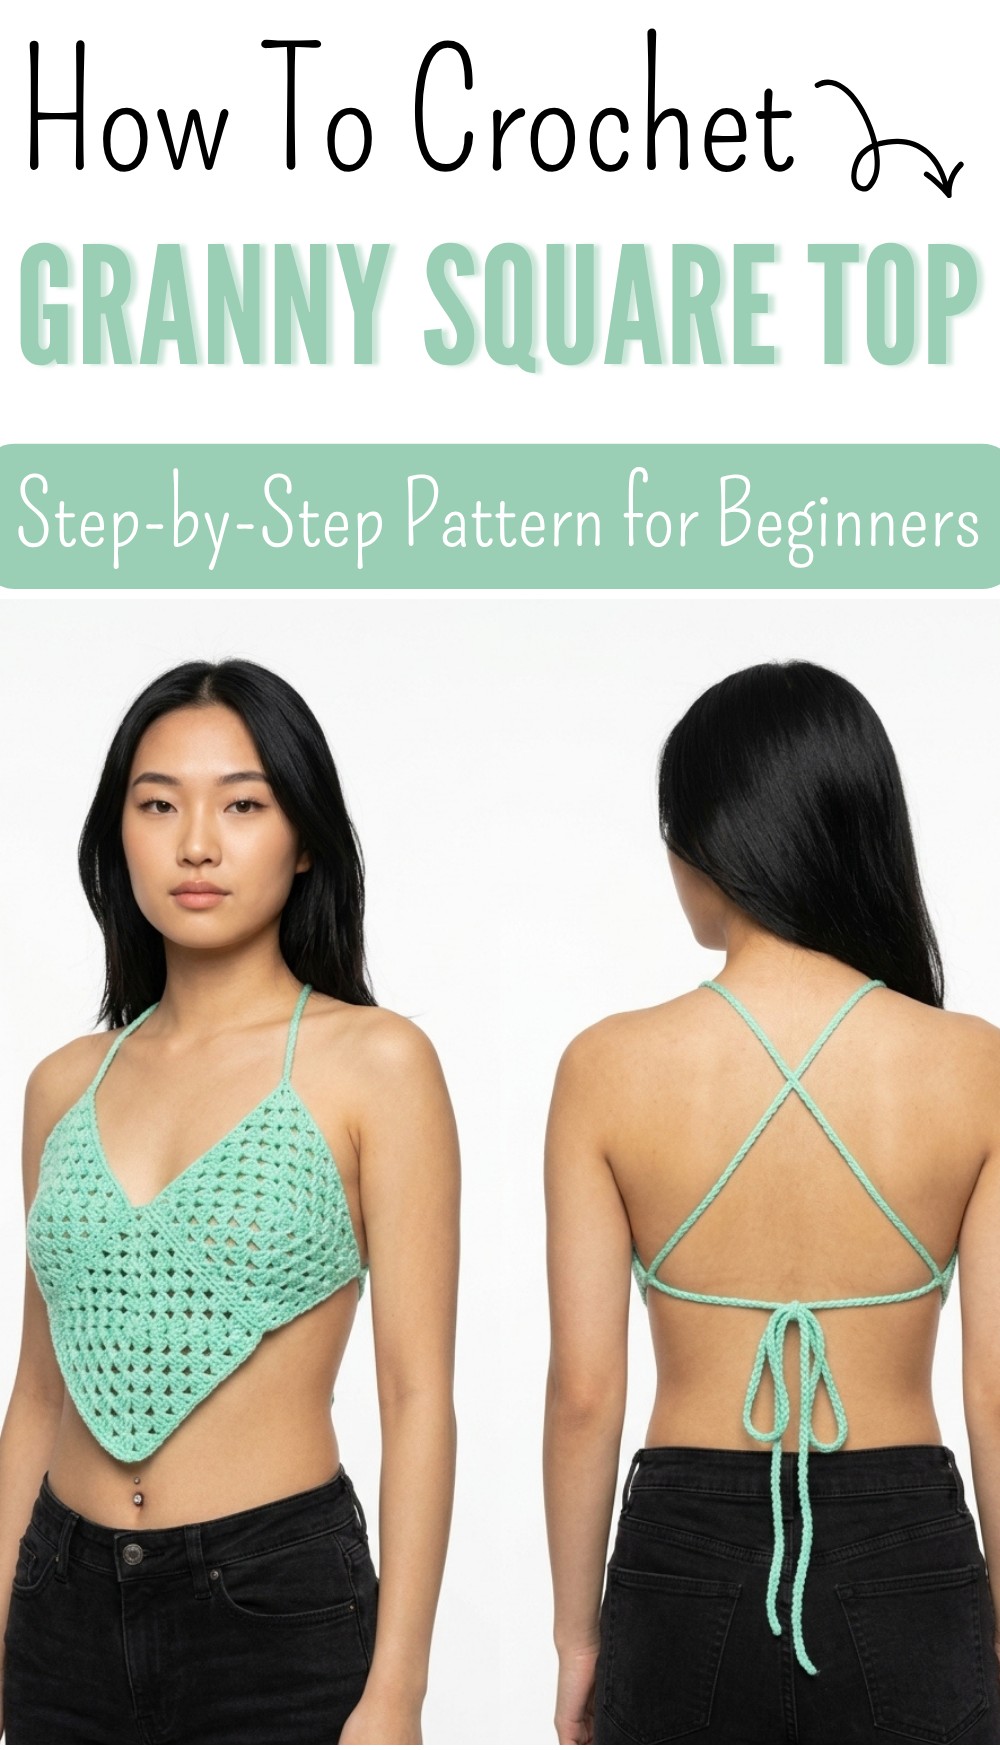
Crochet Triple Granny Square Top Pattern for Unique Square Design

Style your look easily with Free Crochet Triple Granny Square Top Pattern that shapes a breezy, trendy outfit perfect for warm days and relaxed comfort wear.
Ever wondered how simple yarn pieces can turn into a stylish and wearable outfit that feels light and comfortable all day? Soft shapes joined together slowly form a beautiful top that looks creative and feels easy on the skin. The Free Crochet Triple Granny Square Top pattern is a handmade design made from repeating square motifs that come together to create a trendy summer top with a relaxed and airy fit.
Crochet Triple Granny Square Top Pattern Free for Beach Wear
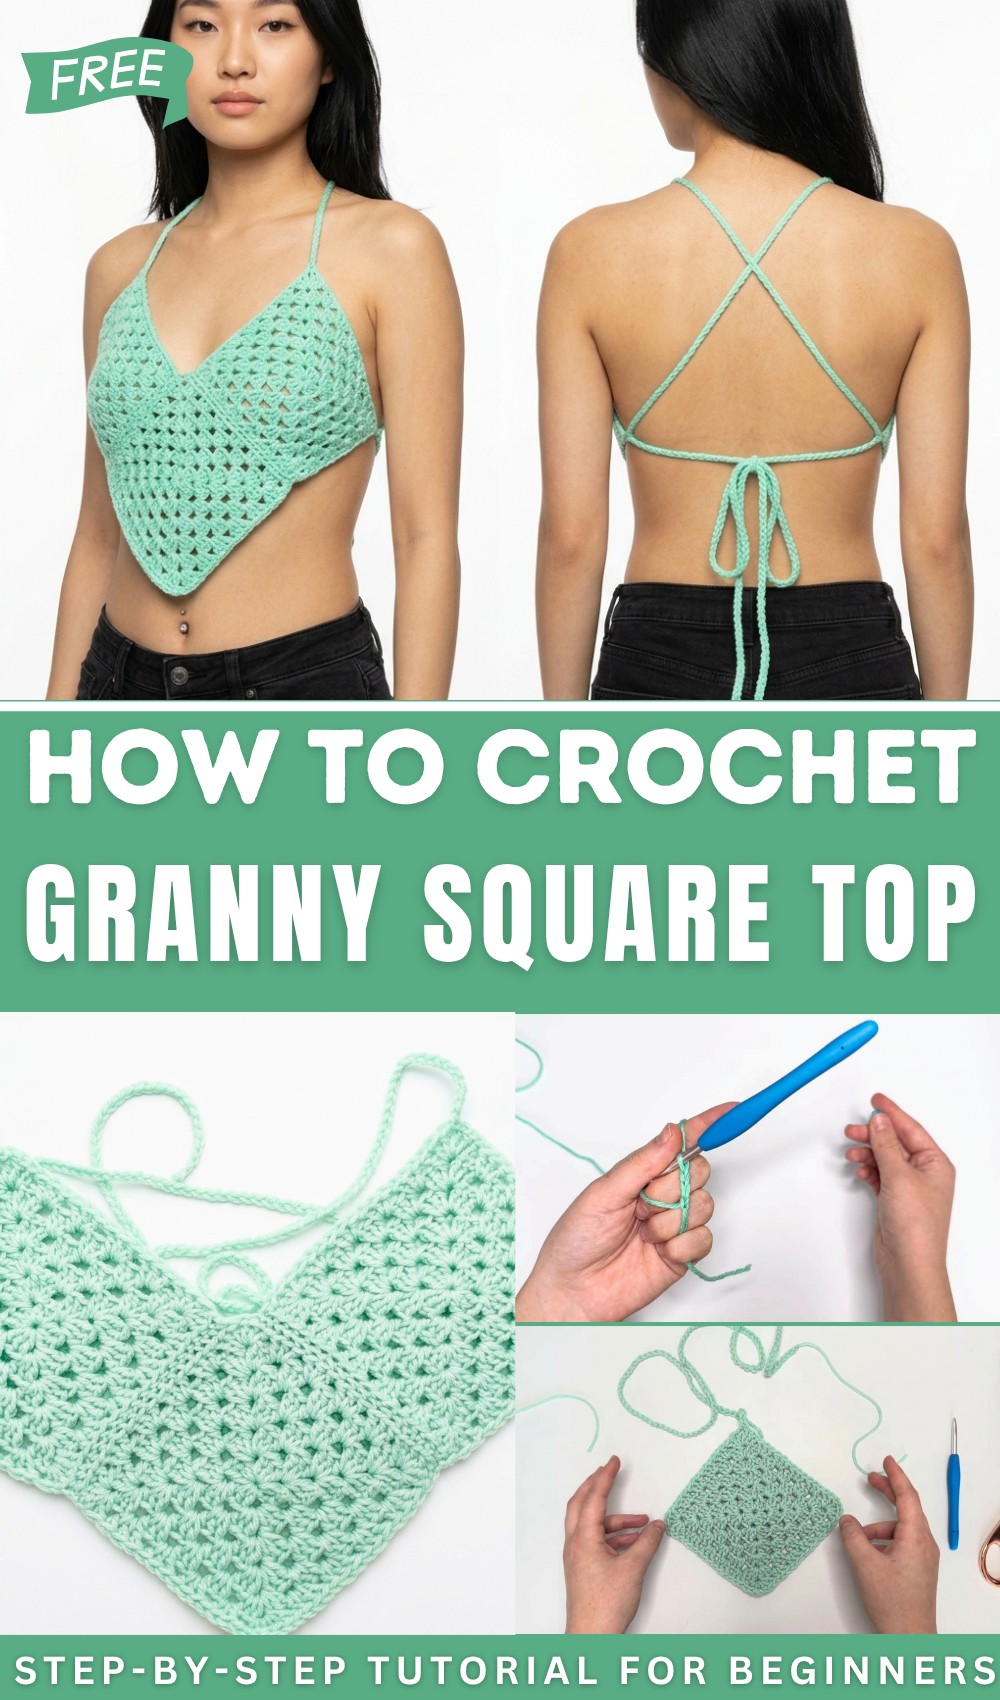
This Free Crochet Triple Granny Square Top pattern stands out because of its layered square design that gives a unique textured appearance across the whole piece. The look feels modern yet classic, making it suitable for casual outings, beach days, or simple home wear. Its open structure allows fresh air to pass through, keeping it comfortable during warm weather while still looking fashionable.
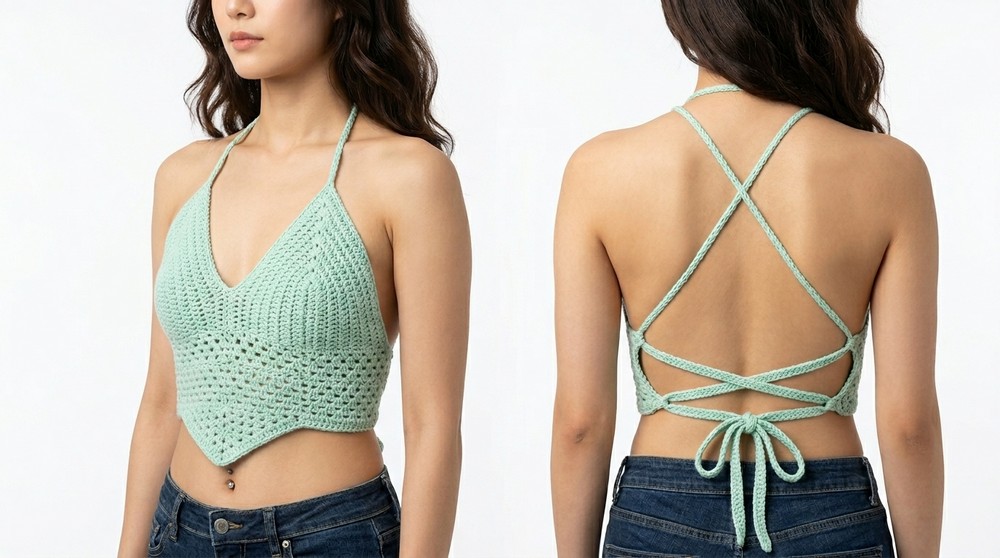
The balanced square arrangement creates a neat and eye-catching style that works well with different colors and yarn choices. Soft material makes it gentle on the body, while the handmade finish adds a personal and artistic touch. This top is loved for its light feel, stylish appearance, and easy pairing with everyday outfits, making it a charming clothing idea for any wardrobe.
Granny Square Top Crochet Pattern
Materials
- Yarn: Red Heart Super Saver, Worsted Weight (#4), Color: Light Gray. (Feel free to use any worsted-weight yarn.)
- Crochet Hook: 5mm (H-8) hook
- Notions:
- Scissors
- Yarn needle
- Stitch markers
Skill Level
Intermediate to Advanced
This project involves techniques such as the magic circle start, increasing in granny squares, combining squares using the mattress stitch, and strap assembly.
Key Abbreviations
- ch: Chain
- dc: Double crochet
- st: Stitch(es)
- sp: Space
- sl st: Slip stitch
- sk: Skip
- mc: Magic circle
Special Notes
- Magic Circle: This is used as the foundation for the granny squares. It’s recommended to pull the loop tight for a neat start.
- Granny Square Corners: Each corner consists of 3 dc, ch 1, 3 dc in the same chain space.
- Strap Length: The chain length depends on personal fit, but the tutorial suggests 150 ch as a guideline. Adjust as needed.
- Fit Adjustment: The granny squares should fit your bust and torso area – adjust the number of rows added to each square as needed.
Pattern
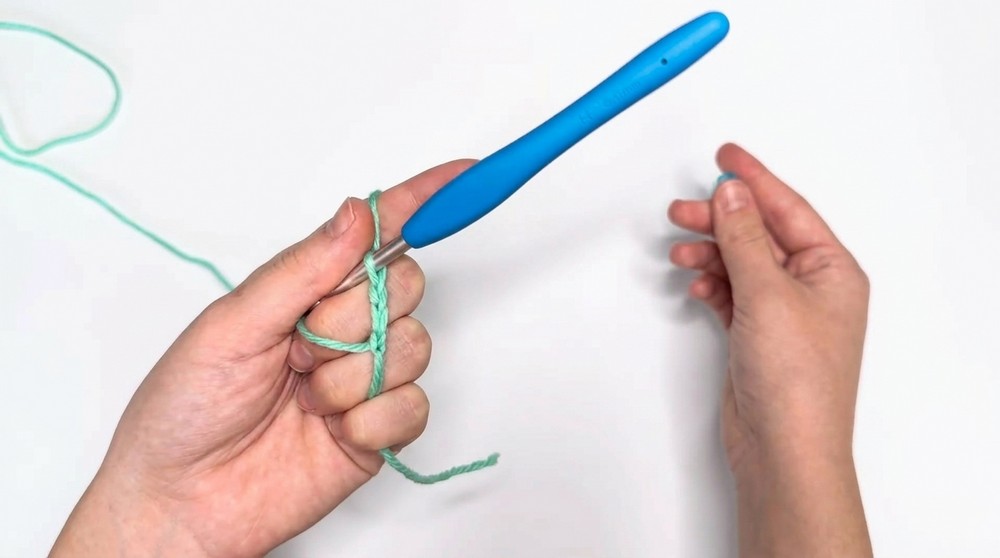
Step 1: Start with a Magic Circle
- Hold the tail of the yarn in the palm of your hand. Wrap the yarn over your two fingers to create an X.
- Insert your hook under the first yarn strand and pull up the second.
- Twist your hook toward you and chain 1.
- Continue crocheting into the circle as described in Step 2.
Step 2: Crochet the First Row of the Granny Square
- Magic Circle Foundation: Pull the tail to tighten it as needed.
- Work the following stitches into the magic circle:
- Ch 2 (counts as the first dc).
- Place a stitch marker in the second chain to identify it later.
- Work 2 dc into the circle.
- Ch 1.
- (3 dc, ch 1) repeat three more times into the circle.
- Close the magic circle tightly.
- Joining: Sl st into the second chain (where the stitch marker was placed).
- You should now have a square with 4 groups of 3 dc and 4 ch-1 spaces.
Step 3: Crochet the Second Row
- Begin with 3 sl sts to move to the corner space.
- Corners:
- Ch 2 (counts as dc).
- Work 2 dc, ch 1, and 3 dc into the same corner space.
- Side Spaces: Sk 3 dc, and work (3 dc, ch 1) into the next side space.
- Repeat Steps 2–3 around. Sl st to close the row, and move to the next corner space with 3 sl sts.
Step 4: Continue Adding Rows
- Repeat the granny-square pattern until the square is the desired size:
- Corners: (3 dc, ch 1, 3 dc)
- Sides: 3 dc in each ch-1 space between the corners.
- No chains between side clusters, only corners.
- Finish by securing and weaving in the ends.
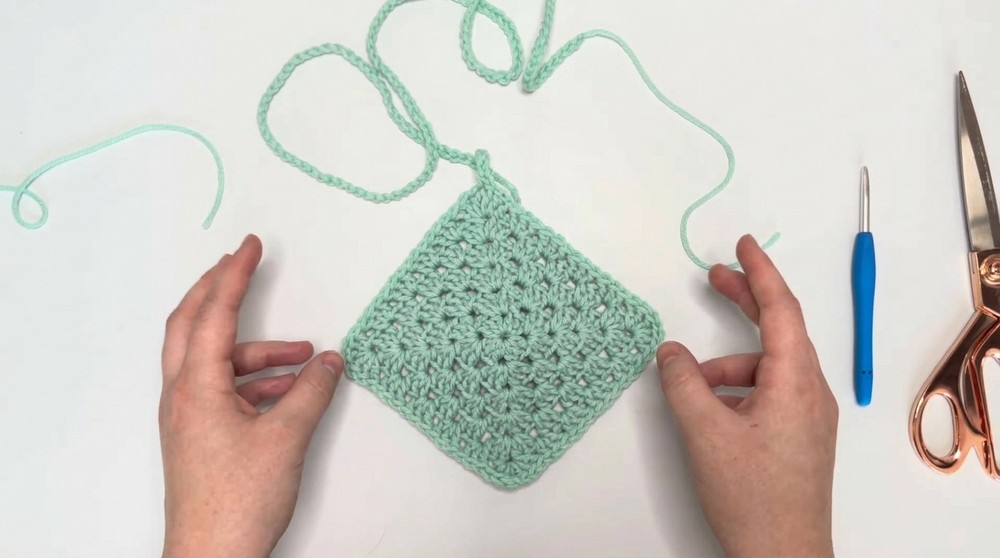
Step 5: Create Two Identical Granny Squares for Cups
- Crochet two granny squares that are large enough to cover each breast comfortably.
- Finish the cups after completing sufficient rows and leave a small tail to weave in later.
Step 6: Create the Torso Square
- Create a third granny square for the torso. This square should be the same size as needed to fit across the bottom of your bust area.
- Follow the same instructions for creating the basic granny square.
- Leave a long yarn tail for sewing.
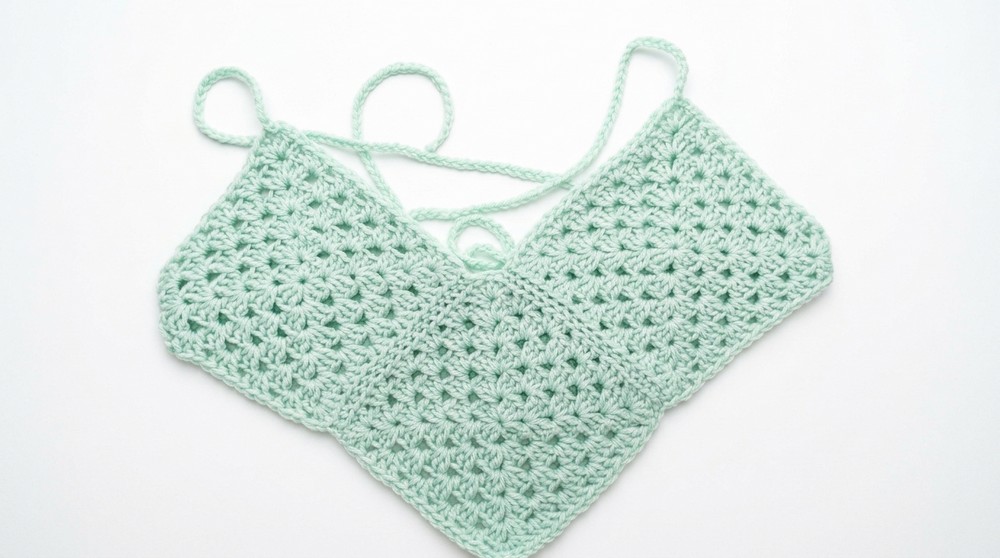
Step 7: Assemble the Granny Squares
- Position the Squares:
- Lay the torso square flat and align the cups above it. Ensure both straps (previously created) are at the top corners.
- All squares should face up for consistent assembly.
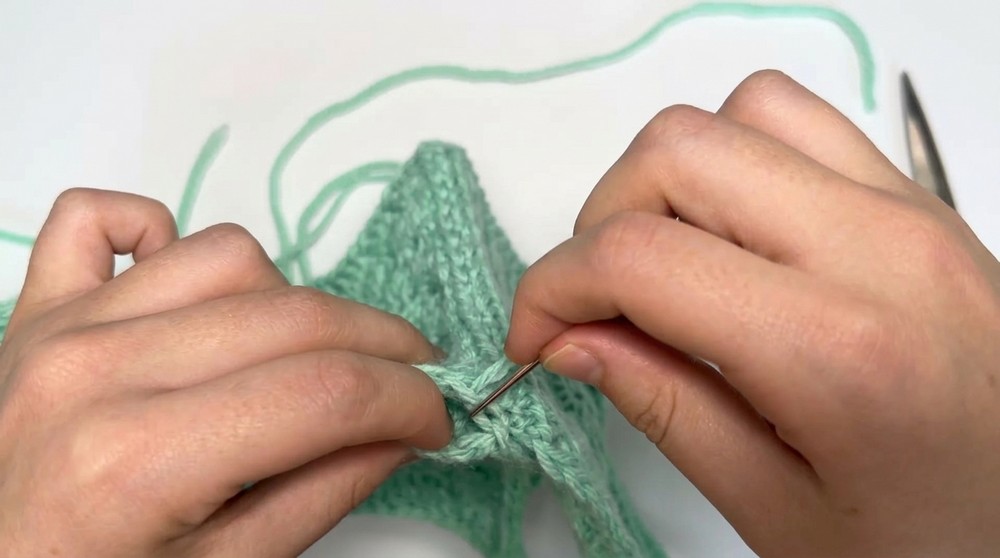
- Connect Cups to the Torso Using the Mattress Stitch:
- Use stitch markers to align the squares:
- Align the bottom edges of the cup squares with the top edge of the torso square.
- Use a stitch marker at the edges and one at the chain 1 center spaces of the squares for proper alignment.
- Thread the yarn needle with the long tail of the torso square.
- Use the inside loops only of each square and connect them using the mattress stitch.
- Stop at the corners and secure the thread firmly to prevent unraveling.
- Use stitch markers to align the squares:
Step 8: Add Straps
- Take one finished strap (the long chain attached to the corner of each cup).
- Insert your hook into the opposite corner chain space of the torso square (from front to back).
- Pull the strap chain through the chain space gently, securing the strap.
- Repeat for the second strap on the opposite side.
- Tie the loose ends of the straps into bows or a secure knot.
Step 9: Weave in Loose Ends
- Tighten any magic circle loops.
- Weave in and secure all loose ends for a neat finish.
Tip for Custom Fit
- Adjust the number of rows or strap length to ensure the correct fit for your body shape. Try the top on as you work to determine the best strap placement and size.
Corrections
- Error in Counting: If there is an uneven number of dc groups, recount the stitches in each row. Check for skipped stitches between spaces.
- Loose Edges: Ensure that the magic circle is tightly secured in the center, using multiple passes while weaving in.
Conclusion
Your granny square top is now complete! This trendy top is not only beginner-friendly but also highly customizable. Whether you experiment with different yarn colors or strap lengths, this pattern serves as a solid foundation for creative tweaks.