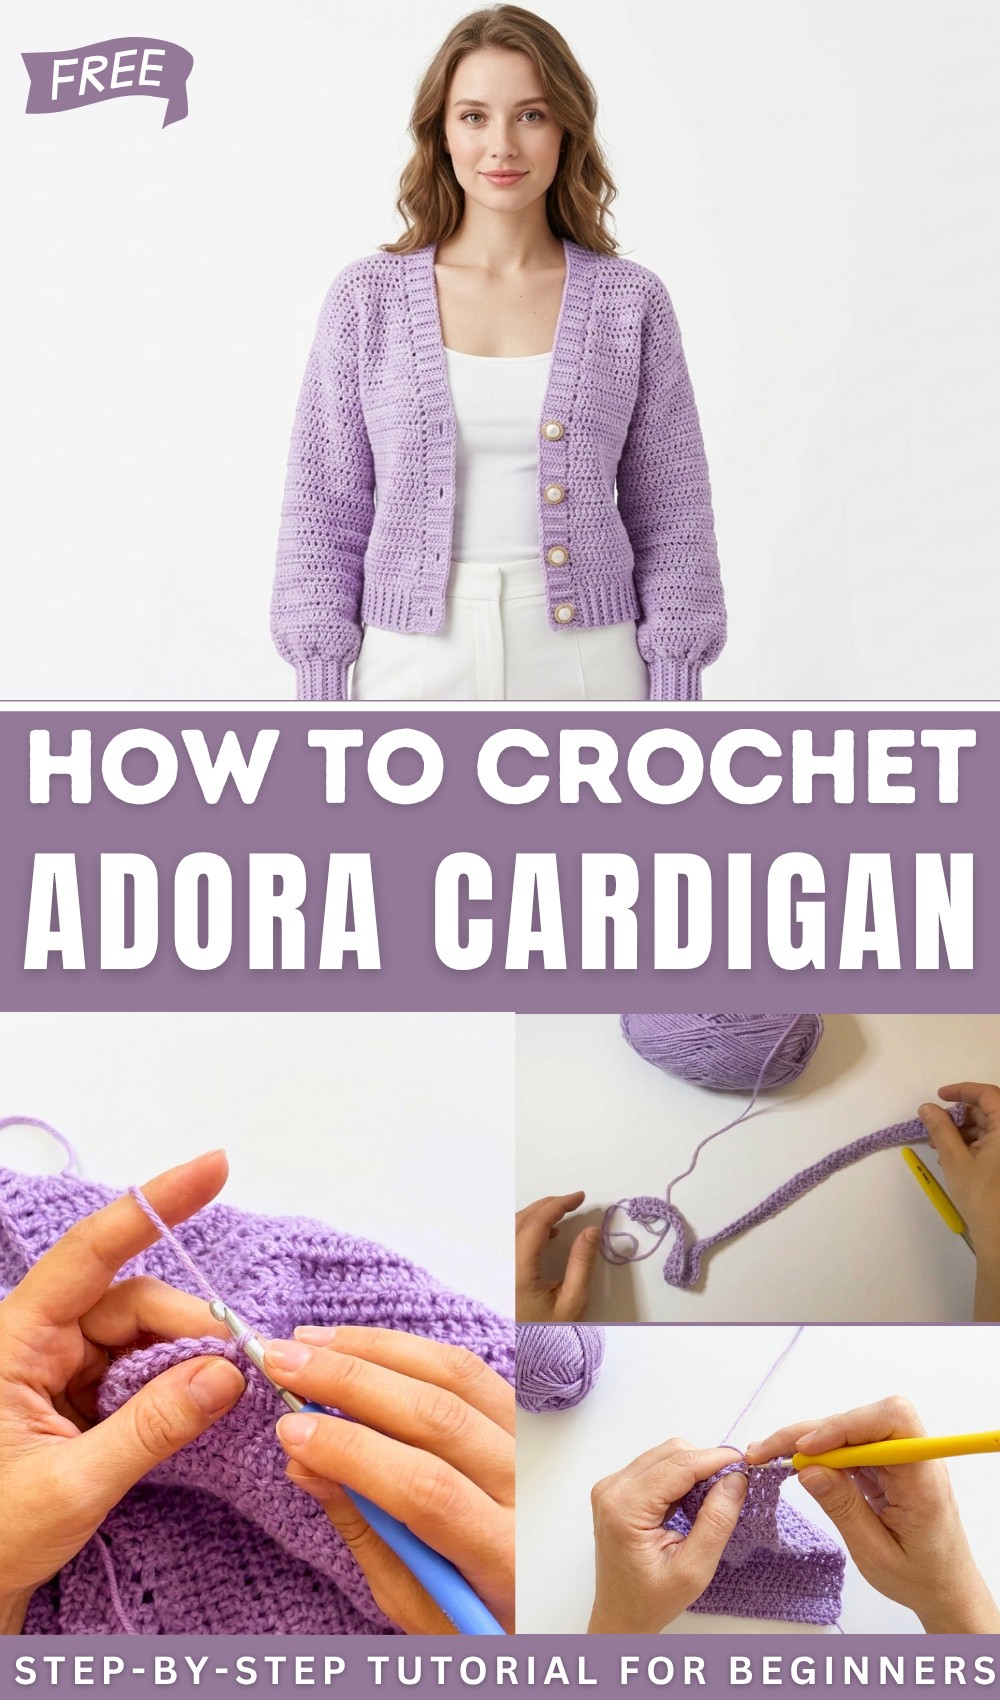
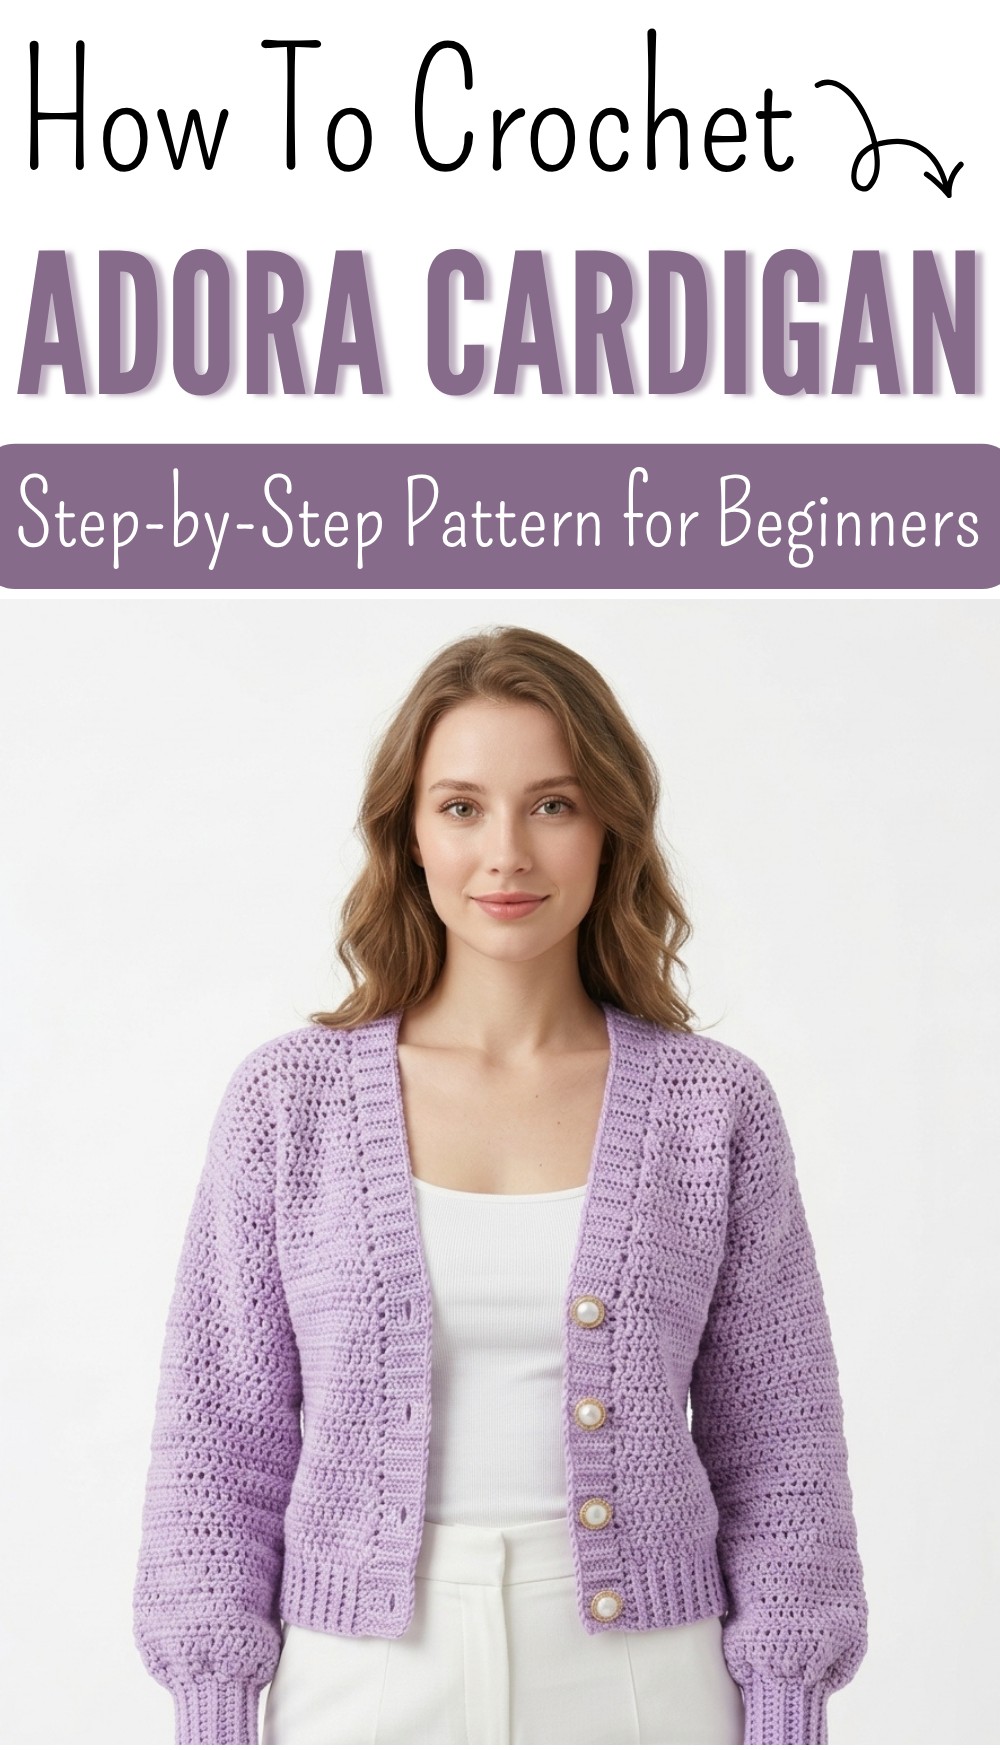
Free Crochet Adora Cardigan with Easy Stitch Tutorial
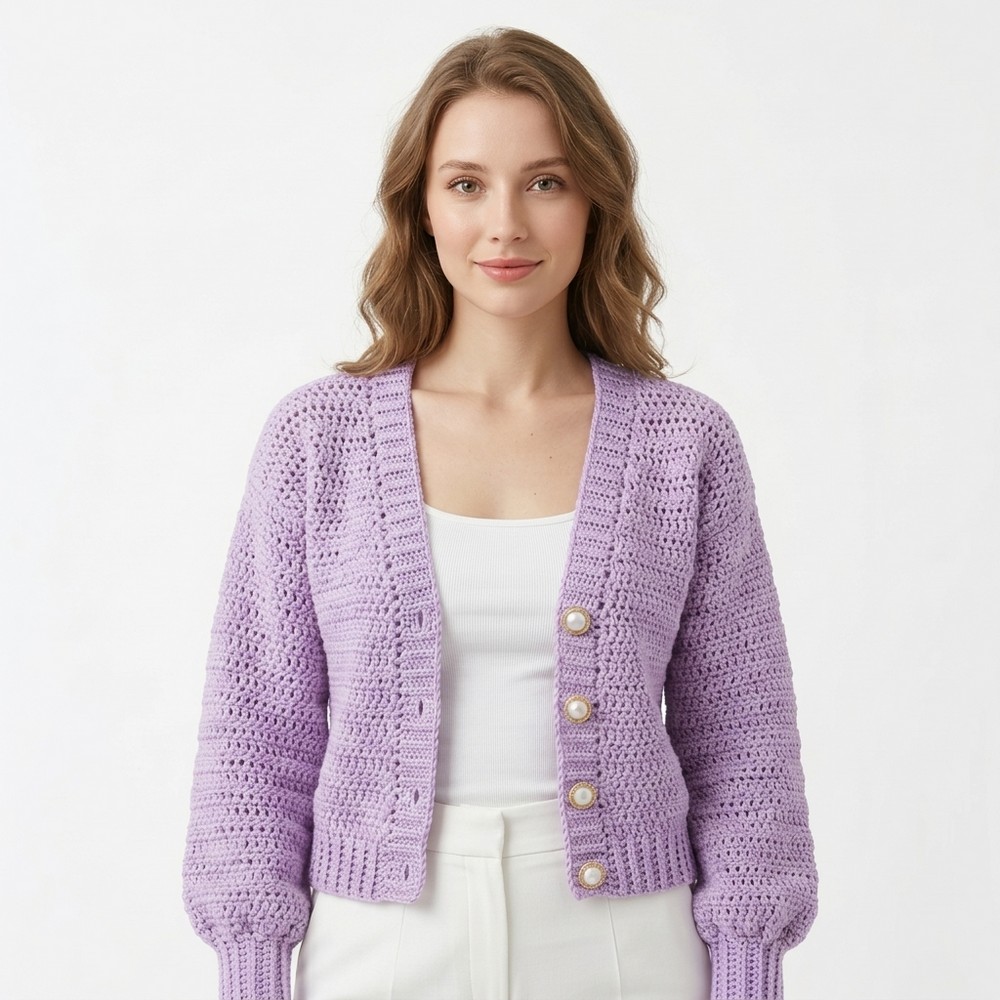
Enjoy effortless style and cozy vibes with the Free Crochet Adora Cardigan Pattern featuring stunning textures and a timeless look fit for every outfit.
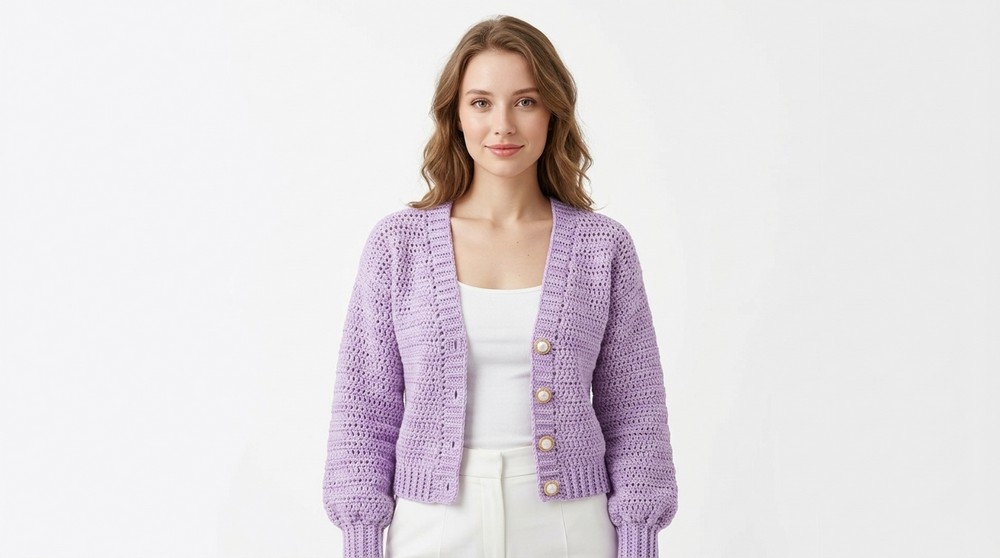
Have you ever dreamed of making something that feels as light as a breeze yet wraps you in warmth? The Adora Cardigan is here to make that dream come true. This pattern is pure magic, it transforms soft yarn into a cardigan that feels as comfortable as your favorite sweater and looks as elegant as a designer piece. What makes the Free Crochet Adora Cardigan Pattern so special is its gorgeous texture, which gives it a classic and flowy appearance that flatters everyone.
Crochet Adora Cardigan with Tips for Perfect Fit
Whether you wear it over a casual outfit for a cozy touch or pair it with something dressy for a polished look, this cardigan fits the vibe perfectly. It’s more than just a cardigan; it’s a little piece of handmade beauty that turns heads and keeps you snug.
Winning Cardigan Crochet Pattern
Materials
- Yarn: K-weight yarn (12–14 wraps per inch).
- Approximate quantity by size:
- Small: 360g / 970m.
- Larger sizes may need more yarn.
- Approximate quantity by size:
- Crochet Hooks:
- 5mm crochet hook (principal hook size).
- 4mm and 6mm hooks (optional for adjustments to tension).
- Other Supplies:
- Stitch markers.
- Yarn needle (for seaming and weaving in ends).
- Scissors.
- Measuring tape.
Gauge
- 14 sts x 8 rows in double crochet = 10 cm x 10 cm (4″ x 4″) using a 5mm crochet hook.
- To match gauge, crochet a swatch before starting the project and adjust hook size if needed.
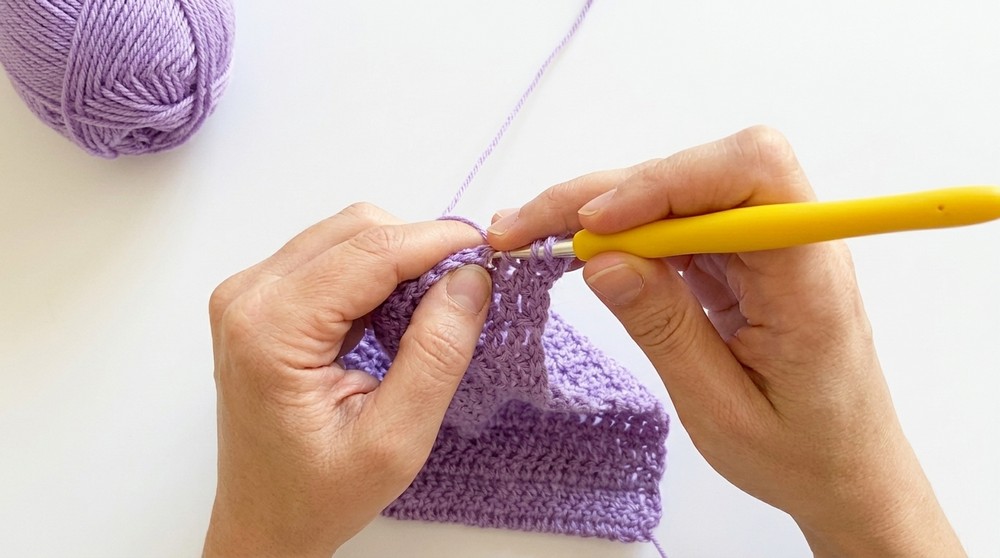
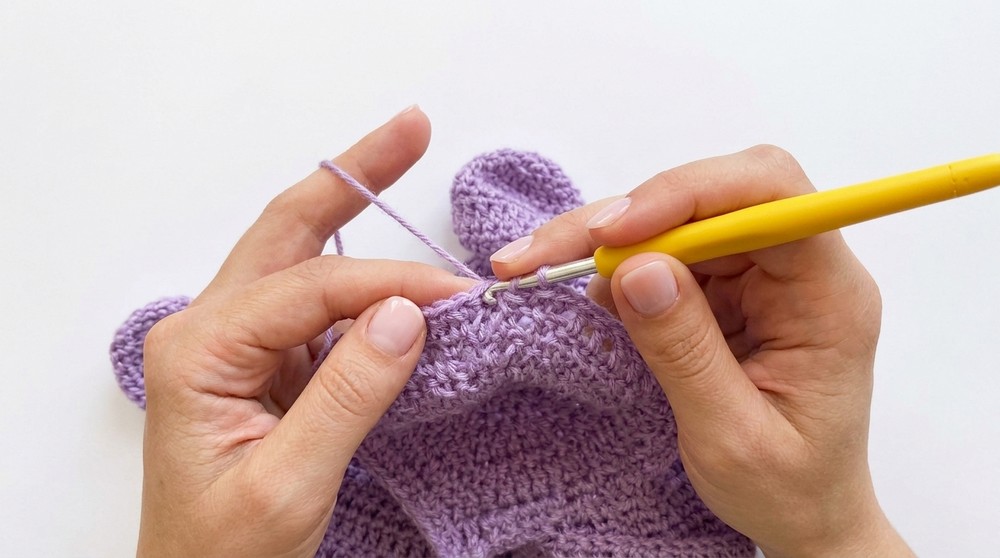
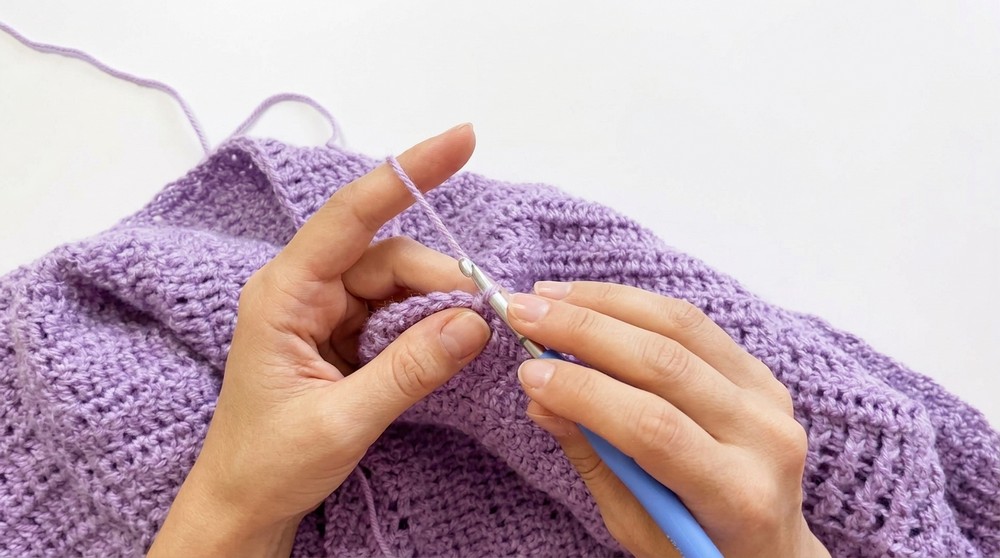
Special Techniques
- Elastic Stitch (Ribbing – 1 Front Post, 1 Back Post Double Crochet):
- Front Post Double Crochet (FPdc): Yarn over, insert hook around the post of the stitch from front to back, yarn over, pull up a loop, yarn over, pull through two loops, yarn over, pull through two loops.
- Back Post Double Crochet (BPdc): Yarn over, insert hook around the post of the stitch from back to front, yarn over, pull up a loop, yarn over, pull through two loops, yarn over, pull through two loops.
- Alternate FPdc and BPdc to achieve elasticity.
- Shaping with Reductions: The neckline, sleeves, and body require reductions, specifically by crocheting two double crochet (dc) stitches together.
- Seaming with Mattress Stitch: This is used for joining pieces neatly. Always seam on the wrong side of the garment.
- Creating Buttonholes: Buttonholes are made by skipping a stitch and chaining one, which is filled in the following row.
Pattern Overview
The cardigan is constructed in pieces: back, left front, right front, and sleeves. All pieces are sewn together, and additional ribbing is added along the edges for a polished finish.
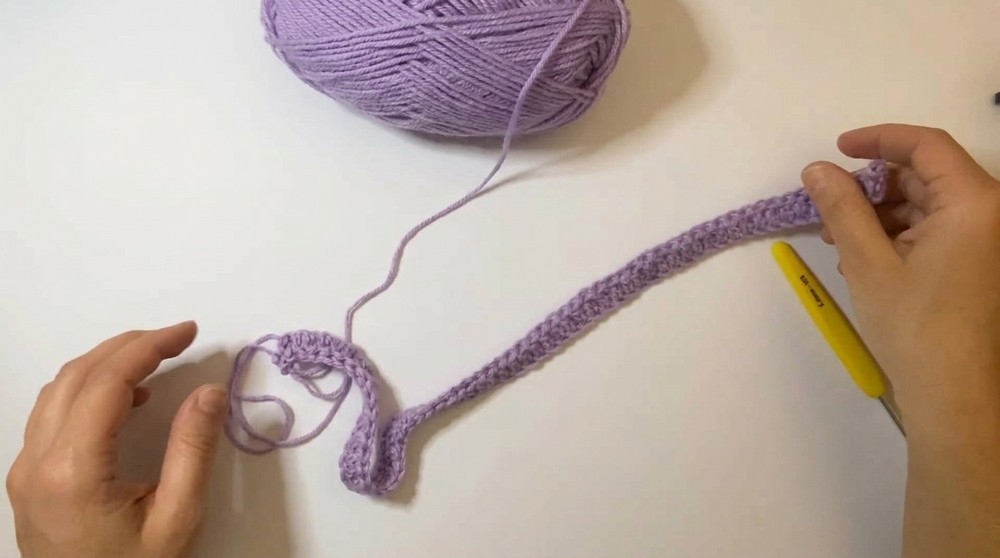
Step-by-Step Instructions
Back Panel
- Foundation: Chain 65 + 2 turning chains (the turning chains act as the first dc).
- Row 1: Work 64 dc starting from the third chain from the hook.
- Subsequent Rows: Continue working dc in rows for 53 cm (21 inches).
- Finishing: Fasten off yarn and weave in the ends.
- Dimensions: 65 sts wide x 53 cm tall.
Right Front Panel
- Foundation: Chain 29 + 2 turning chains.
- Row 1: Work 28 dc.
- Subsequent Rows: Work rows of 28 dc for 27 cm (10.5 inches).
- Neckline Reductions:
- Starting at Row 28, begin neckline shaping. At the beginning of every second row, reduce by dc2tog for eight reductions spaced evenly over 26 cm (10 inches).
- Decrease only at the start of the row to shape one side of the panel.
- Finishing: When the panel reaches 53 cm, fasten off and weave in the ends.
- Dimensions: 29 sts wide at the bottom, reducing toward the top, with a height of 53 cm.
Left Front Panel
- Foundation: Same as the right front panel with 29 ch + 2 turning chains.
- Rows 1–27: Work as instructed for the right front panel with 28 dc per row.
- Neckline Reductions:
- Decrease at the end of the rows for shaping the opposite side. Perform eight reductions evenly spaced across 26 cm.
- Finishing: When the panel reaches 53 cm, fasten off and weave in the ends.
- Dimensions: Same as the right panel.
Sleeves
- Foundation: Pick up 52 dc along the sides of the front and back panels, centering the seam with the shoulder.
- The sleeve opening should measure 38 cm (15 inches).
- Working the Sleeve:
- Work dc rows in the round for 42 cm (16.5 inches) total length.
- Decrease evenly 5 times per side over the length of the sleeve. Follow the same method as the neckline reductions.
- Cuffs:
- Work Elastic Stitch (1 FPdc, 1 BPdc) for 4 cm (1.5 inches).
- Optionally, reduce the hook size for a snugger fit at the cuff.
- Finishing: Fasten off and weave in the ends.
Assembly
- Shoulder Seams: Use the mattress stitch to join the shoulders of the back panel with each front panel. Seam evenly along the top edges.
- Sleeves Placement: Pin the sleeves to the armholes with stitch markers. Ensure they are evenly distributed. Sew together using the mattress stitch.
- Side Seams: Fold the garment and sew the side seams and sleeve seams starting at the cuff, moving up to the armpit, and then down to the waistband. Always seam on the wrong side.
Lower Waistband
- Pick up 123 stitches (or the total combined stitches of the front and back lower edges).
- Work Elastic Stitch (1 FPdc, 1 BPdc) in rows for 4 cm (1.5 inches).
- Fasten off but do not cut the yarn. Continue to the neckline ribbing.
Neckline and Side Edge Ribbing
- Pick up dc stitches evenly around the front edges and neckline.
- Ensure stability by using stitch markers to guide placement.
- Work in Elastic Stitch (Ribbing) for 4 cm (1.5 inches).
- Optionally, create buttonholes by skipping a stitch and chaining one. Buttonholes can be spaced every 7 stitches, or as desired.
- Fasten off and weave in ends.
Finishing
- Buttons: Attach buttons to the left front panel, aligning them vertically with the buttonholes.
- Block the Cardigan: For a polished finish, lightly block the cardigan by dampening it and arranging it to the correct shape. Let it dry flat.
- Final Check: Ensure all ends are securely woven and trims look neat.
Tips for Maintenance
- Hand wash or use a gentle machine cycle to preserve the shape and texture of your cardigan.
- Lay flat to dry to avoid stretching.
- Store folded rather than hanging to maintain its structure.
Final Words
Congratulations on completing your Winning Cardigan! This timeless design balances elegance with comfort, making it perfect for layering or standalone wear. Whether you’re gifting it or adding it to your wardrobe, your hard work will surely be appreciated.