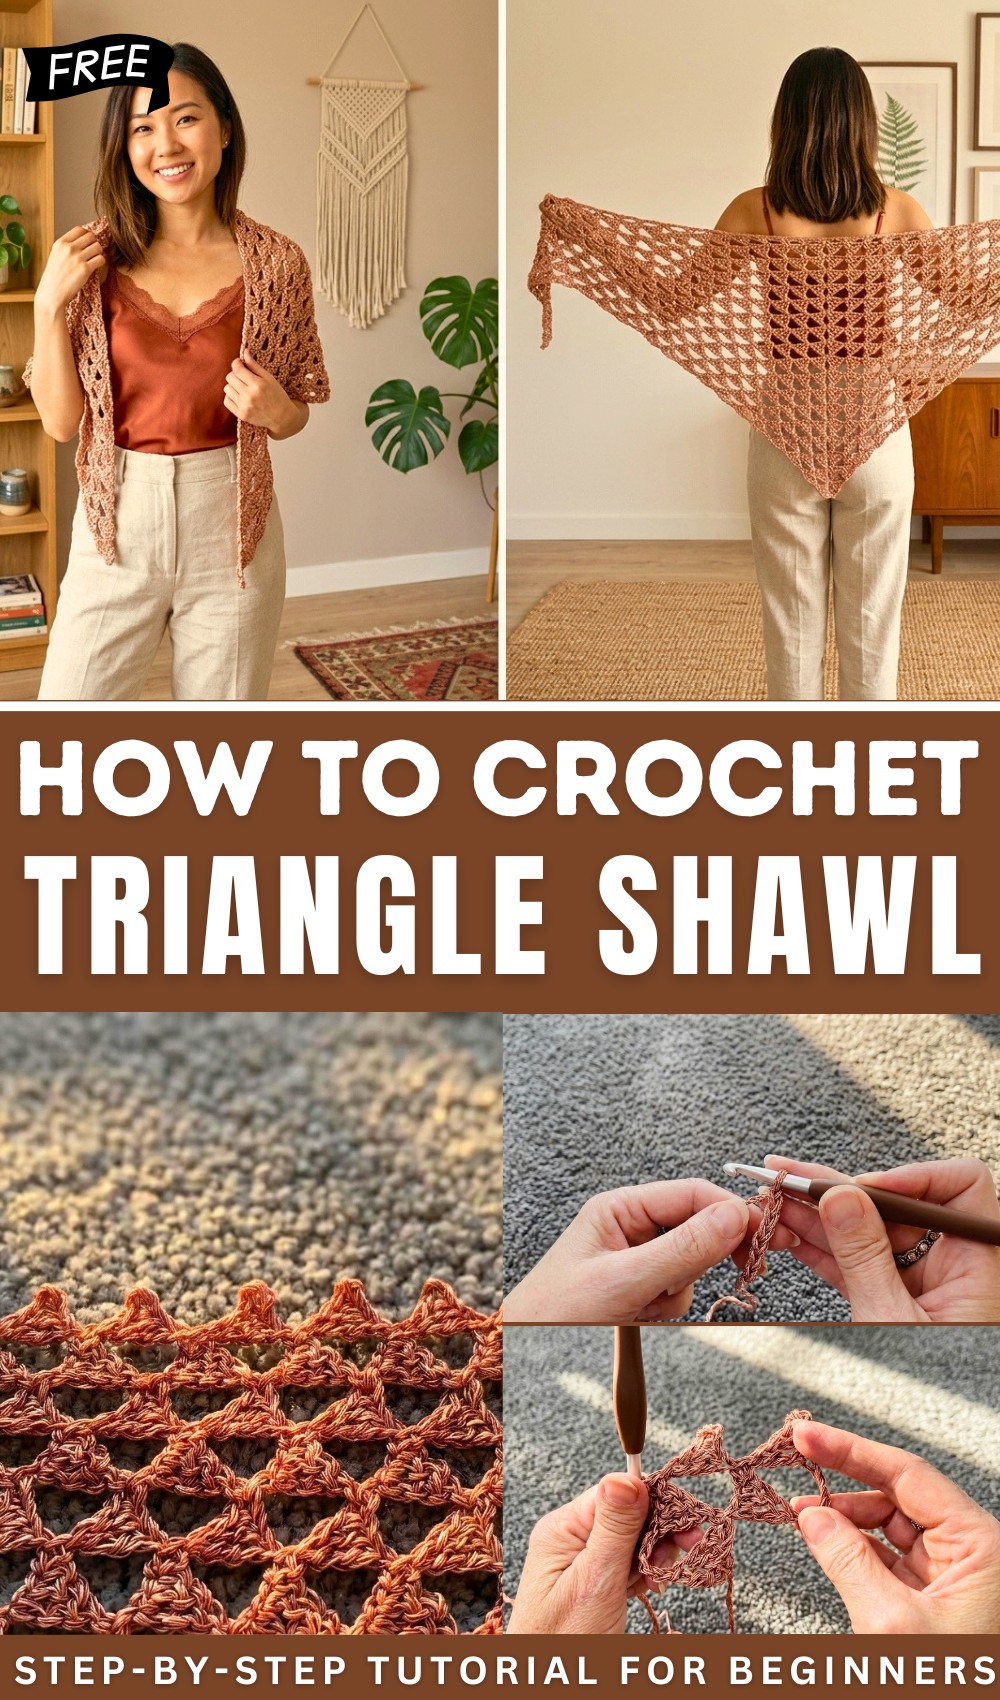
Free Crochet Triangle Shawl Pattern for Relaxed Stitching

Warm up your look with free crochet triangle shawl pattern that is easy for beginners and adds a cozy, stylish touch to any outfit every day.
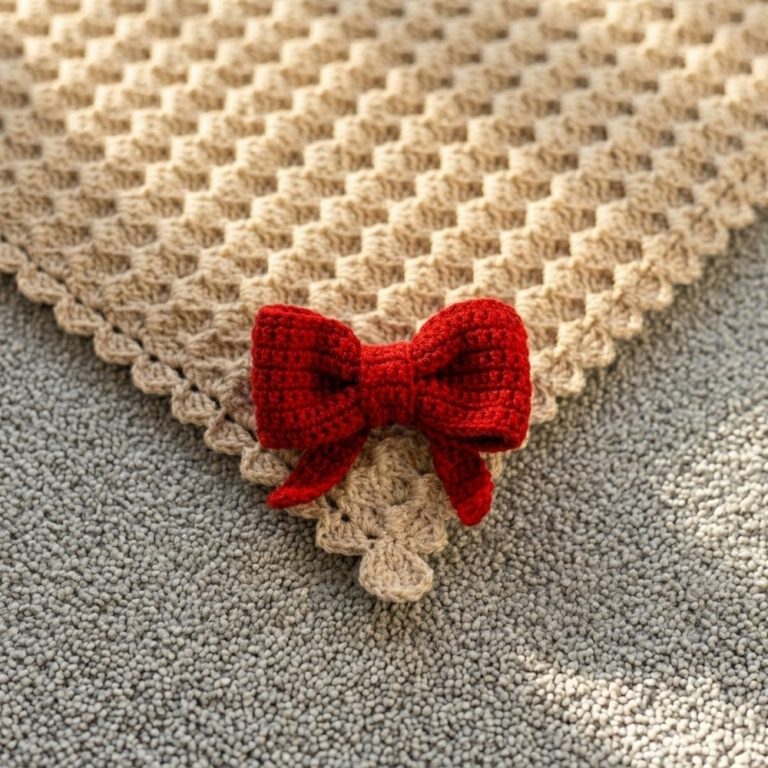
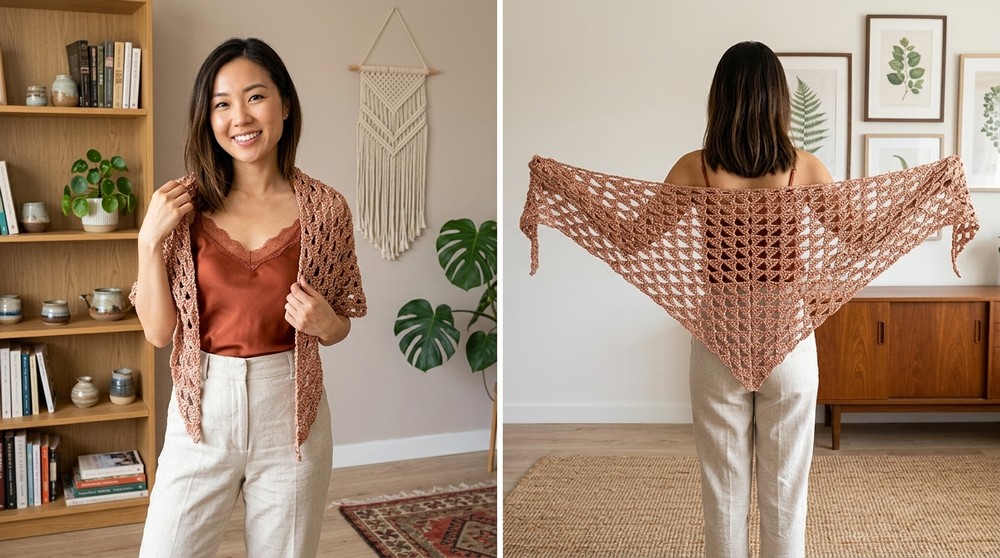
Every loop and stitch comes together to shape something truly beautiful—a shawl that feels as comforting as a gentle hug. With a crochet triangle shawl pattern, making this lovely accessory becomes simple and calming, even for new hands. Its triangle form lays gracefully over the shoulders, adding style and warmth on breezy days or special gatherings. The airy design makes it easy to wear in all weather, while the pretty open stitches give it an elegant look.
Free Easy Beginner’s Guide to a Triangle Crochet Shawl
People enjoy wrapping it over their clothes as a fashionable layer or keeping it close for a little extra comfort at home. Bright colors or soft shades, each finished shawl is full of personality and charm. Using a crochet triangle shawl pattern brings beauty, ease, and creativity into every home, making it a cherished favorite for gifts or daily use.
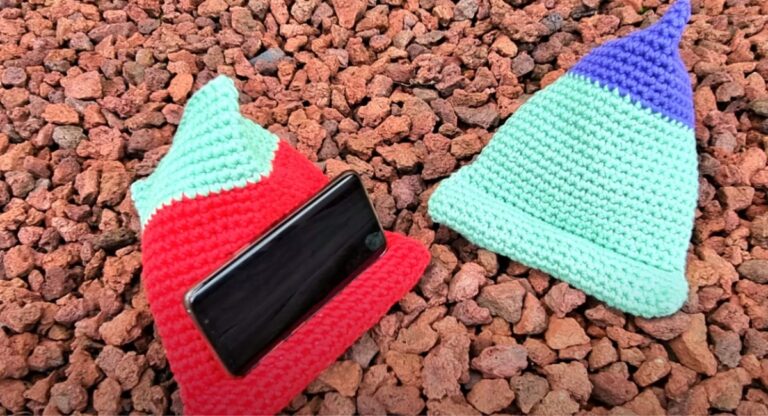
Free Crochet Triangle Shell Pattern
Materials
- Yarn: Any yarn (sample uses medium weight)
- Hook: Suitable to yarn (sample uses approx. 4.0 mm)
- Scissors
- Tapestry needle (for weaving in ends)
Key Abbreviations (US Terms)
- ch = chain
- sc = single crochet
- dc = double crochet
- tr = treble crochet
- sl st = slip stitch
- rep = repeat
- st(s) = stitch(es)
Special Notes
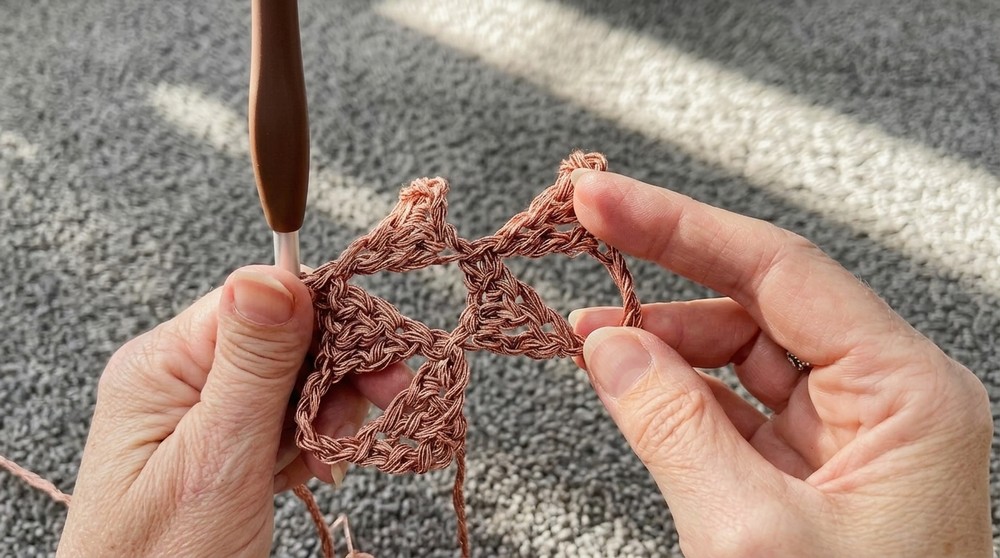
- Each triangle is completed as: sc, dc, tr into successive chain stitches.
- First triangle begins with ch 6; subsequent triangles begin with ch 11 (for attaching and increasing).
- The motif increases on even rows (adds a triangle), and decreases on even rows after midpoint (removes a triangle).
- Pattern can be expanded or reduced as desired.
Pattern
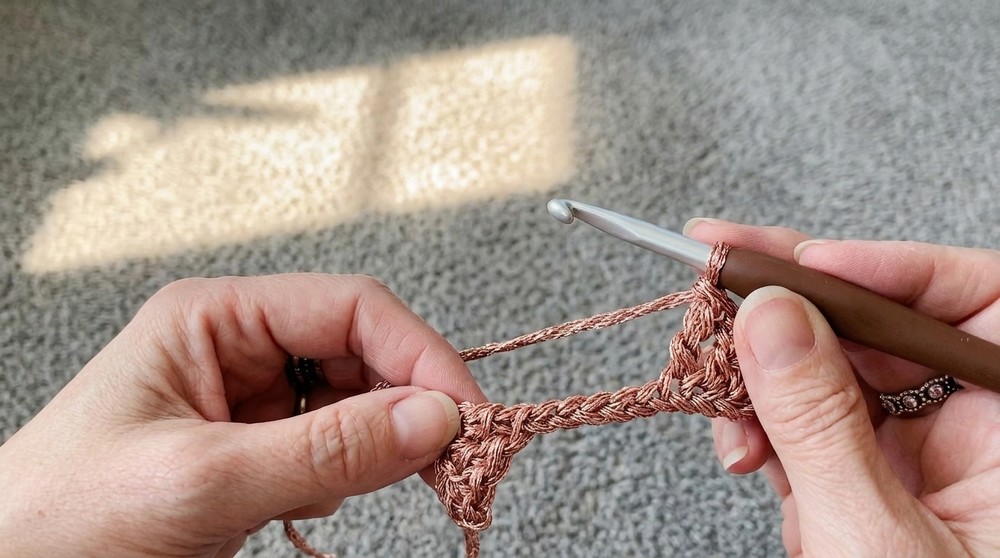
First Triangle (Row 1)
- Make a slip knot.
- Ch 6.
- Sc in 4th ch from hook.
- Dc in next ch.
- Tr in last ch.
- This forms your first triangle unit.

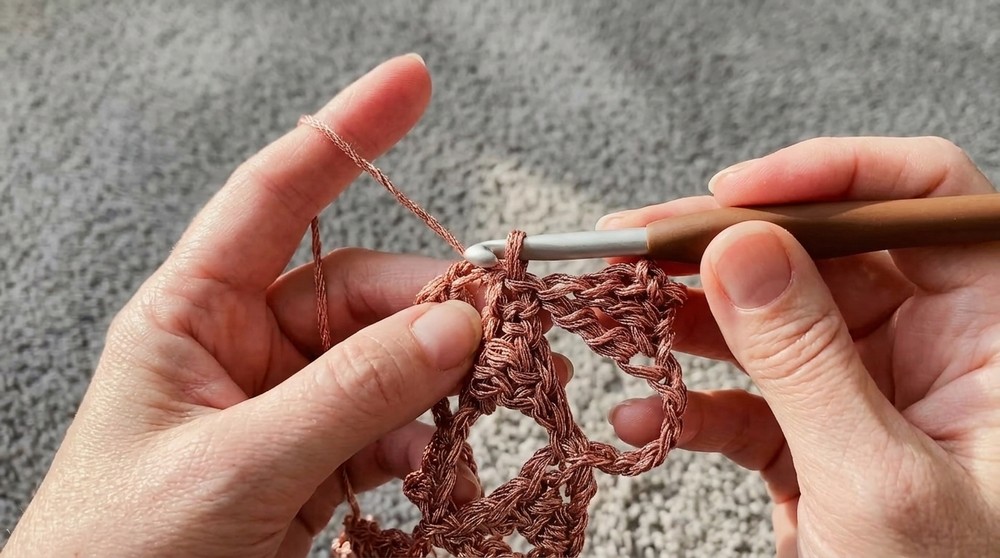
Row 2: Increase Row
- Ch 11.
- Sc in 4th ch from hook.
- Dc in next ch.
- Tr in next ch.
- Flip previous triangle.
- Sl st into chain space at the base of previous triangle (for joining).
- Increase: Ch 6, turn, sc in 4th ch, dc in next ch, tr in last ch, join with sl st to previous triangle.
- You now have 2 triangles in Row 2.
Row 3
- Ch 11.
- Sc in 4th ch from hook.
- Dc in next ch.
- Tr in next ch.
- Flip previous row, sl st in next chain space.
- Ch 6, turn, sc, dc, tr, join with sl st.
- Repeat until you have one more triangle than previous row (i.e., 3 triangles).
- Continue this increase pattern until you have 16 triangles in a row (Row 16).
Pattern Repeat: Rows 2 and 3
- Repeat Rows 2 and 3, increasing number of triangles every even row, until you reach 16 triangles.
- For each even row: Make an extra triangle at the end (increase).
- For odd rows: Follow standard triangle joining.
Decrease Rows (after maximum width)
Row 32 (example)
- Work row as usual, but decrease at end: rather than building another triangle, sl st in the last triangle.
- You now have one fewer triangle (e.g., from 16 to 15 triangles).
Row 33
- Work as previous, maintaining triangle count without increasing.
- Repeat Row 32 and 33, reducing the number of triangles by one each set, until you are left with just one triangle.
Final Row
- Ch 11.
- Make the triangle as usual.
- Turn, sl st in first triangle, sl st in second triangle.
- Fasten off, weave in ends.
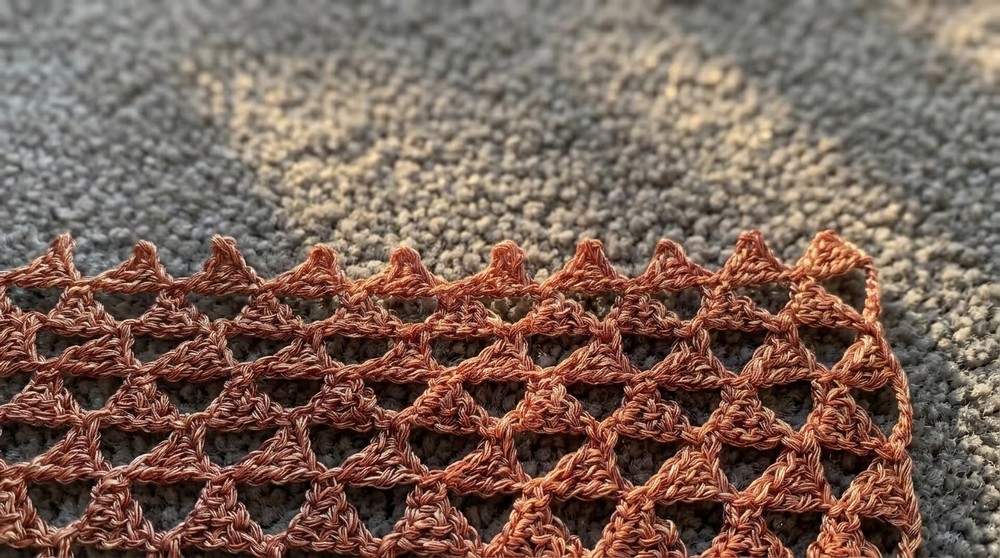
Conclusion
This unique three-triangle shell motif offers striking geometric texture and flexibility for modular designs. The increase/decrease rows allow you to create a large triangle or stepped shell. Great for blankets, shawls, or clever join-as-you-go projects!
Pattern Corrections & Tips
- Correction: Always start triangle with ch 6 for stand-alone, and ch 11 for joining new rows.
- Tip: Flip triangles before joining with slip stitch to align shape accurately.
- Tip: If approaching corners or row ends, skip extra stitches as needed for clean joins; there is flexibility in slip stitching.
- Tip: Count your triangle units after each row for accuracy.