Cute Crochet Kids’ Jacket Free Pattern for Everyday Wear
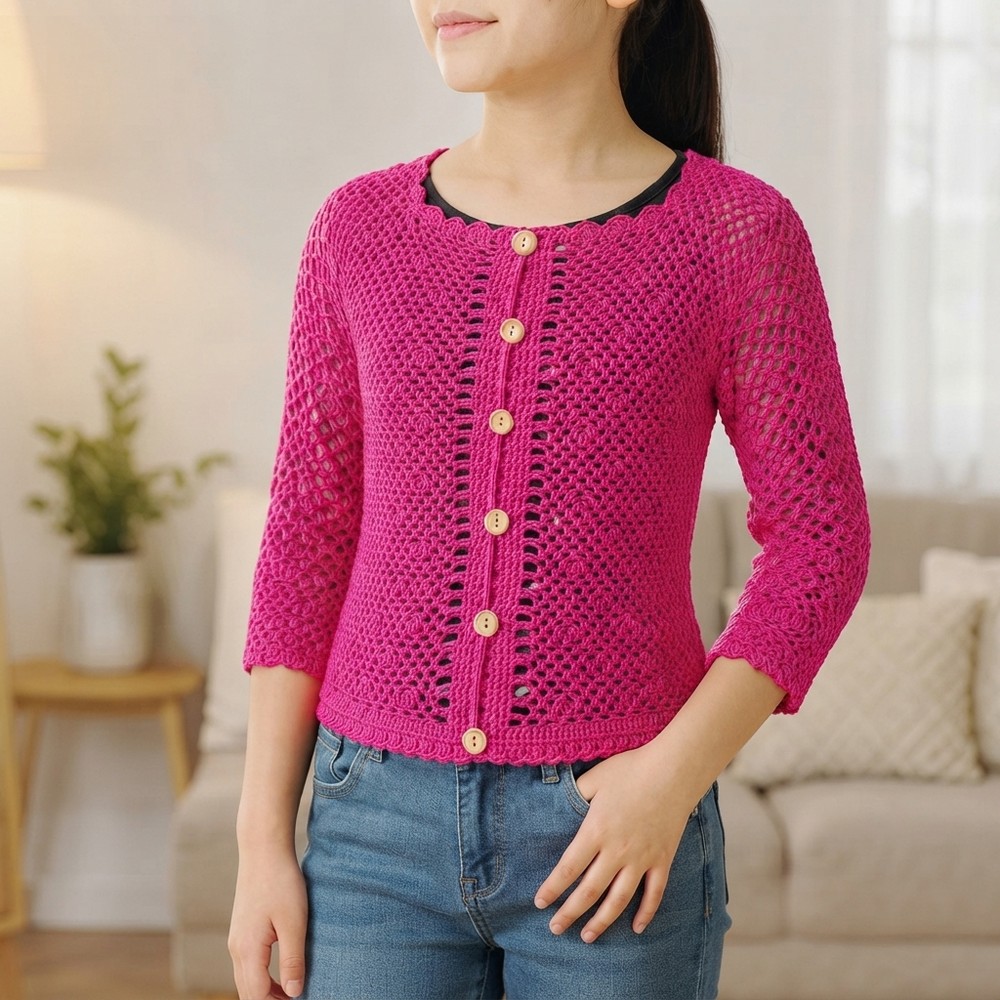
Crochet a cozy and colorful kids’ jacket that keeps little ones warm and stylish while adding a handmade touch to their everyday wardrobe.
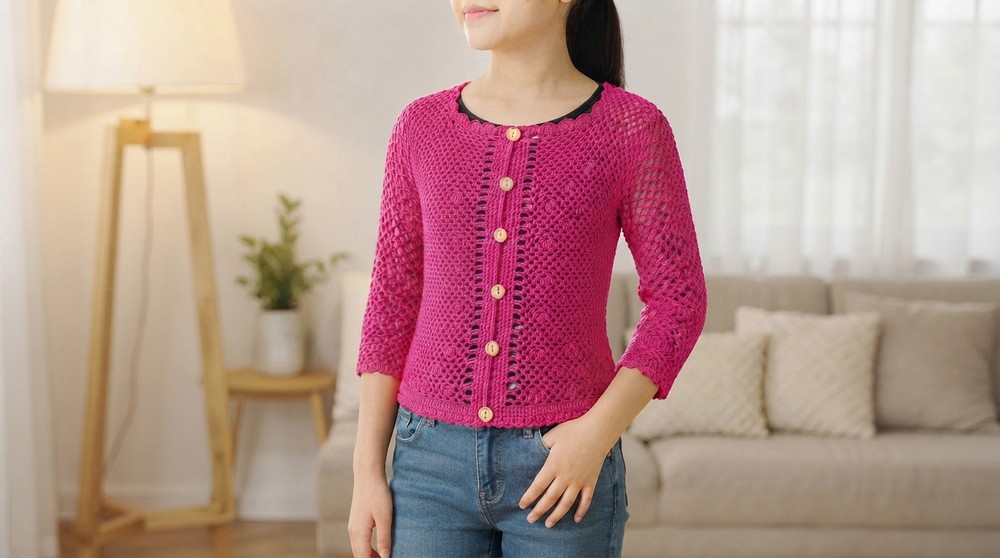
Looking for a warm and comfy jacket for your child? Ler Crochet created a lovely Crochet Kids’ Jacket that is soft, colorful, and perfect for kids. This jacket looks fun and feels great to wear all day long.
Cozy Crochet Kids’ Jacket Free Pattern for Cool Weather
The jacket has a simple but pretty design with bright colors that children love. It is not too thick, so kids can run, play, and move easily without feeling too hot. The jacket fits nicely and feels soft on the skin, making it comfortable for school, playground, or any fun outdoor activity.
One great thing about this jacket is that the colors stay bright even after washing many times. Parents like that it is easy to clean and keeps looking new. Kids can wear it in cool weather, during family trips, or just at home when it’s a little chilly.
Ler Crochet designed this jacket with care, making it both useful and fun. It is a handmade piece that adds a special touch to a child’s wardrobe. The jacket keeps children cozy, happy, and ready for their daily adventures.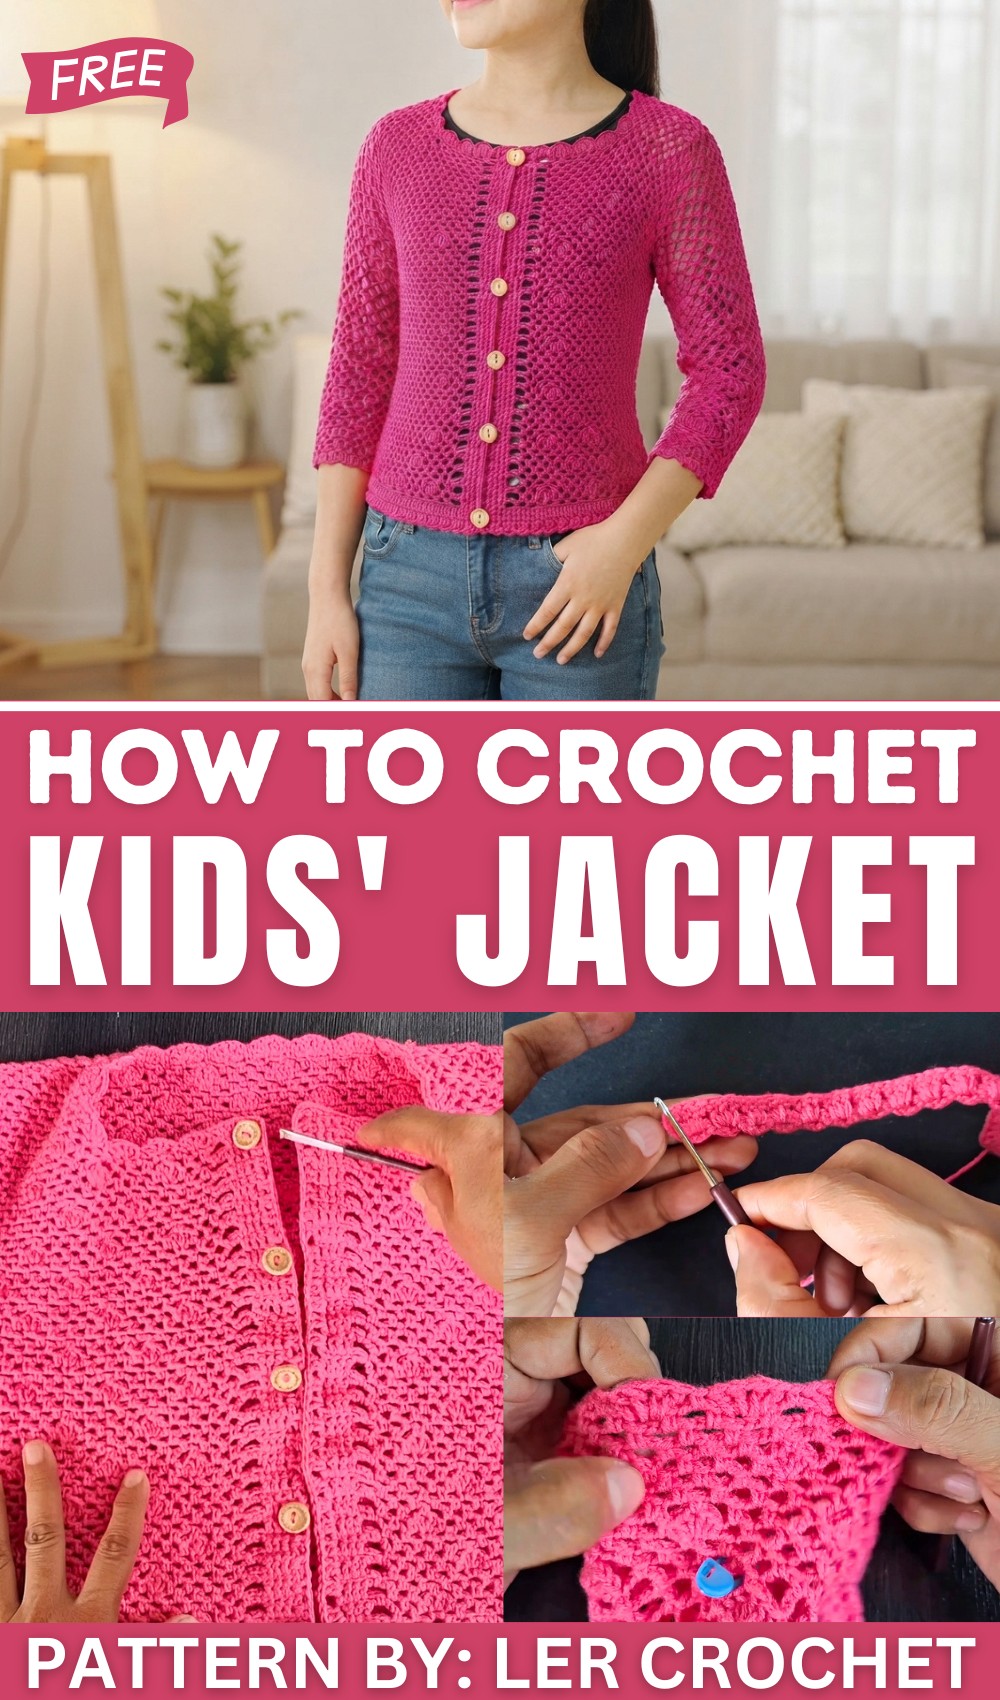
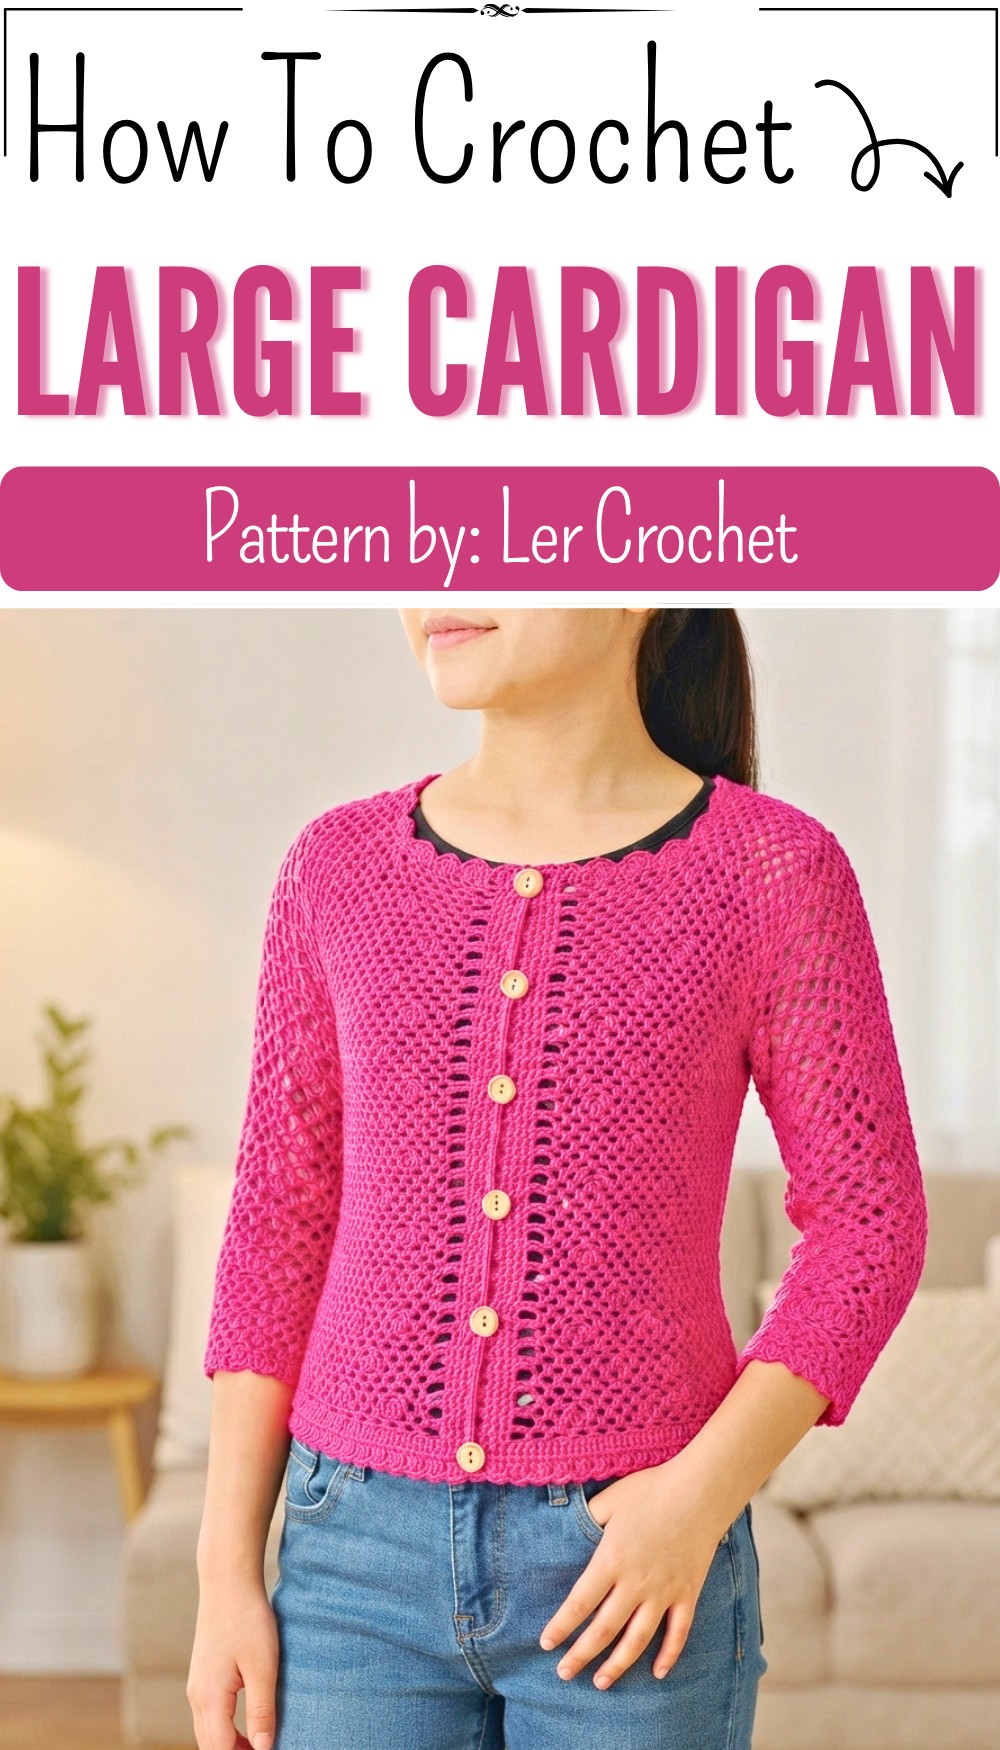
If you want to create a warm and cute jacket for your child, check out the free Crochet Kids’ Jacket pattern by Ler Crochet. It’s simple and a wonderful way to make something special that your child will love!
Crochet Kids Jacket – Step by Step Pattern
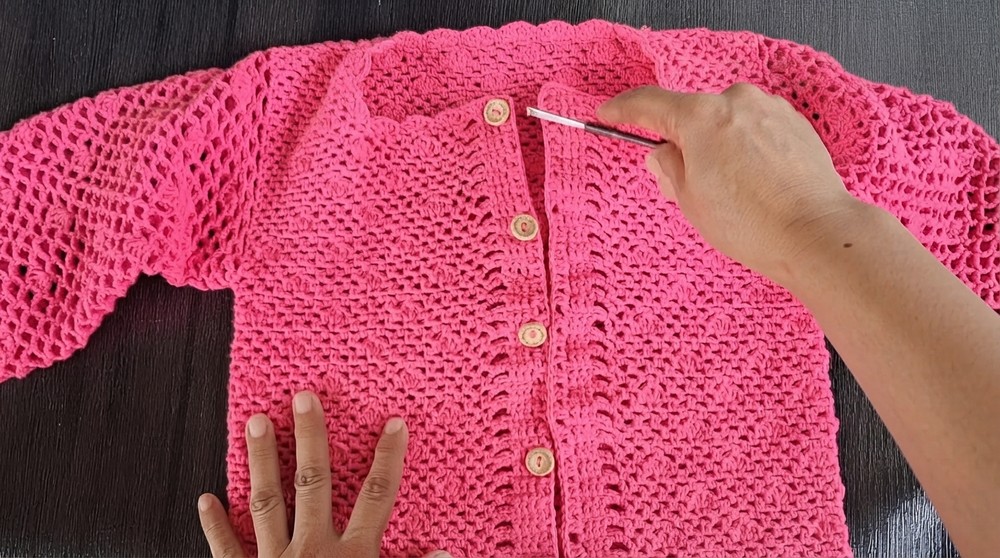
This step-by-step guide for making a charming crochet kids jacket! This detailed pattern is designed to be beginner-friendly and yields a beautiful, lacy-style garment suitable for boys and girls. Easy to adapt in both length and width, the jacket is made using basic stitches and repeating lace motifs.
Quick Overview of Pattern
- Classic lace structure: Repeating “eyelid” eyelet rows, shells, and mesh patterns.
- Customizable sizing: Easy to adjust width and length by working multiples of four stitches or additional pattern rows.
- Raglan/square shape: Straight panel construction with simple shaping for versatility.
- Functional edging: Buttonholes and neat borders for a professional finish.
- Matching sleeves: Mesh-pattern sleeves worked in the round for a lightweight, airy effect.
Notes
- This pattern is written for a 64 cm wide, 32 cm long, and 38 cm sleeve-length jacket.
- The stitch count is based on 60 eyelets; for larger sizes, add in multiples of four.
- Always check both ends of your rows for symmetry.
- You can adjust the buttonhole sizing by varying the chain count if your button is larger or smaller.
- For even tension, try to maintain consistent hook and yarn positioning.
- Use stitch markers to help with placement for shaping, separation, and joining.
Skill Level
Beginner to Intermediate:
Familiarity with foundation chains, double crochet, single crochet, working in rows, working in the round, and simple increases/decreases.
Materials
- Three ply cotton yarn
- Hook: 2.5 mm crochet hook
- Scissors
- Yarn needle (for weaving in ends and sewing)
- Buttons (size to suit your preference)
- Stitch markers (optional, but recommended for marking increases/joins)
Measurements / Sizing
- Finished jacket (approximate):
- Width: 64 cm
- Body Length: 32 cm
- Sleeve Length: 38 cm
- For different sizes, adjust the starting number of eyelets by multiples of four.
Gauge (and Stitch Pattern)
- Gauge: 4 eyelids (eyeletts) ≈ 4.2 cm in width with 2.5 mm hook
- Stitch Pattern: Rows of shell stitches (groups of dc), mesh created with ch and sc combinations, and clusters for shell motifs.
Stitch Abbreviations
| Abbreviation | Stitch |
|---|---|
| ch | chain |
| sc | single crochet |
| dc | double crochet |
| sl st | slip stitch |
| sp(s) | space(s) |
| st(s) | stitch(es) |
Special Stitches
- Shell: Two dc, ch 1, two dc (all in the same space).
- Mesh: Chain three, skip two sts, sc in next.
- Eyelid/Eyelet: Chain three, dc in next.
The Crochet Pattern
Foundation & Hem
- Ch 3, 1 dc in the first chain.
- Ch 3, 1 dc (repeat this to create “eyelet” effect).
- Continue until you have 60 eyelets (counted as chain-3 + dc pattern).
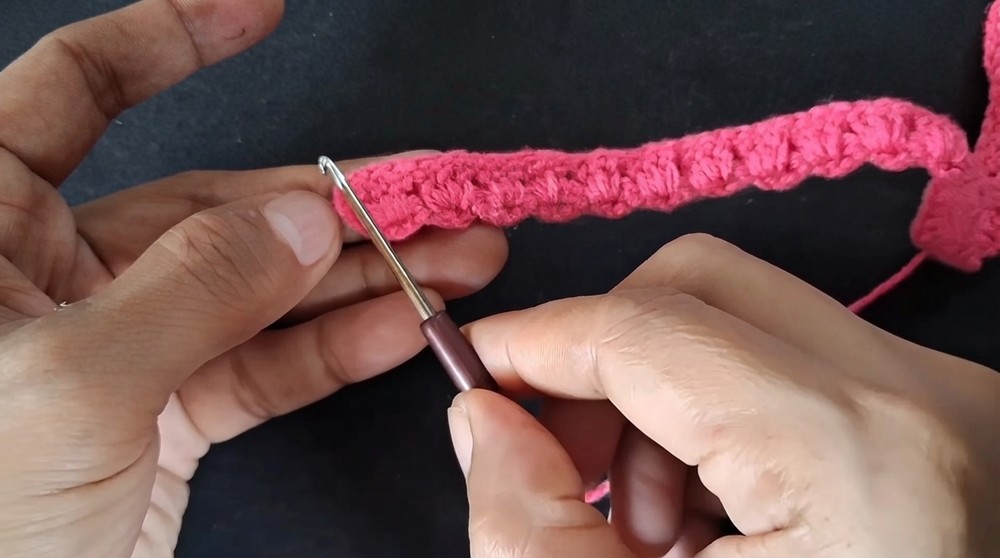
For a larger or smaller size, add or subtract multiples of four eyelets.
Body Rows
First Set-up Rows:
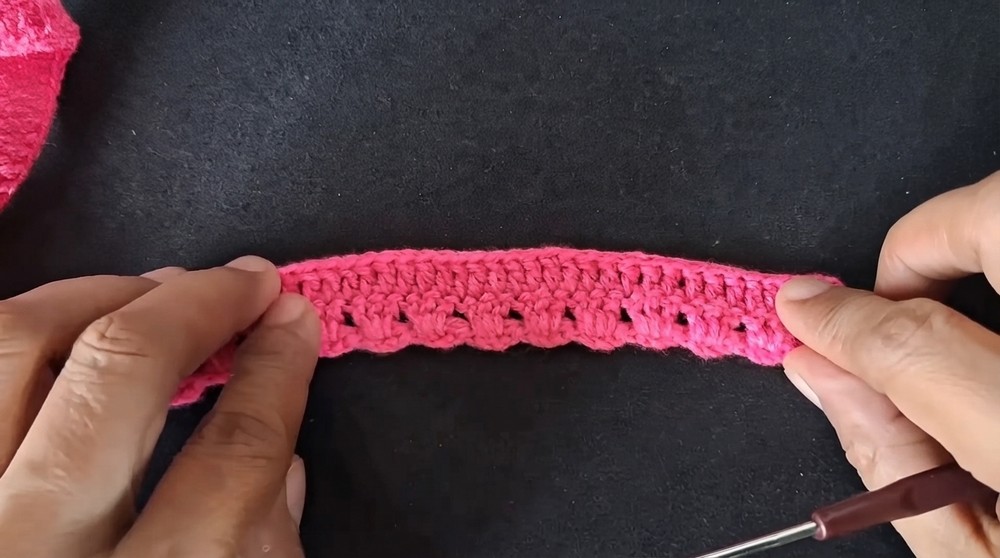
- Ch 3, turn, 3 dc in each eyelet/space across.
- Repeat to the last eyelet/space.
Next Row (Double Crochet Row):
- Ch 3, turn.
- 1 dc in each st across.
- Last stitch: 1 dc in third chain of turning ch.
First Lace Pattern Section:
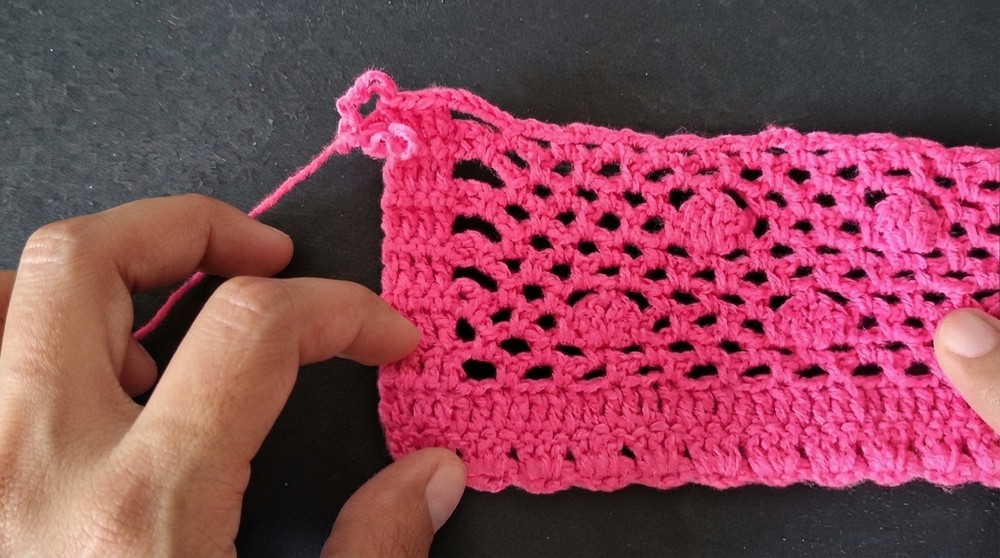
- Ch 3, turn, 3 dc in next st.
- Ch 3, skip two sts, sc in next.
- Repeat [ch 3, sk 2 sts, sc] to create mesh pattern.
- End with ch 3, 4 dc in the last stitches. Check for symmetry on both ends.
Repeat Lace Shell Sequence:
Rows alternate between:
- Ch 3, turn, [3 dc in next space].
- Ch 3, 1 sc, sk 2 sts (repeat for mesh).
Solid and Shell Combination:
- Ch 1, turn, 4 sc.
- Ch 3, 1 sc three times.
- 2 dc, ch 1, 2 dc (shell).
- 1 sc, ch 3, 1 sc three times.
- Repeat along the row; end with symmetric motifs.
- Ch 3, sk sp, 4 sc, turn.
Continue this pattern. Work 3–4 rows each sequence, always ensuring both ends remain symmetrical and have the same st count.
Continue the Pattern
- Alternate mesh and shell pattern repeats for the length of the jacket’s torso (6 times recommended).
- After every pattern repeat, double check stitch counts.
- Total for body section: approx. 34 rows (front), 33 rows (back; last row is for joining).
Shaping & Marking
- Mark armhole and body divisions:
- Place markers at four positions, both sides for sleeves and body, after 6 pattern repeats (or as needed).
Upper Body/Shoulders
- Resume the stitch patterns, working back and forth, decreasing/increasing as required at the armhole sides.
- For front and back pieces, repeat mesh/grid and shell sequence for about 16 rows.
- Match front and back for assembly.
Joining Shoulders and Sides
- Line up front and back with markers at underarms and shoulders.
- Join using sc across seam, working from underarm down both sides and at shoulders.
- At each marked division, ch 1 and join with sc for a neat, invisible seam.
- Continue up and around until all seams are secure.
Sleeves
- Insert hook at armhole, ch 5, sk 3 sts, 1 sc (repeat circularly to create mesh).
- Continue mesh pattern for about 20 rounds.
- At the end of each round, ch 2, 1 dc for proper shaping.
- Alternate rounds of ch 5, sc in mesh repeat.
- Occasionally place a shell in between mesh repeats (2 dc, ch 1, 2 dc) as decorative cuffs.
- Finish with two rounds of ch 3, 1 sc (cuff edge).
- Sl st and fasten off, weave in ends.
- Repeat for second sleeve.
Neck Edging & Button Band
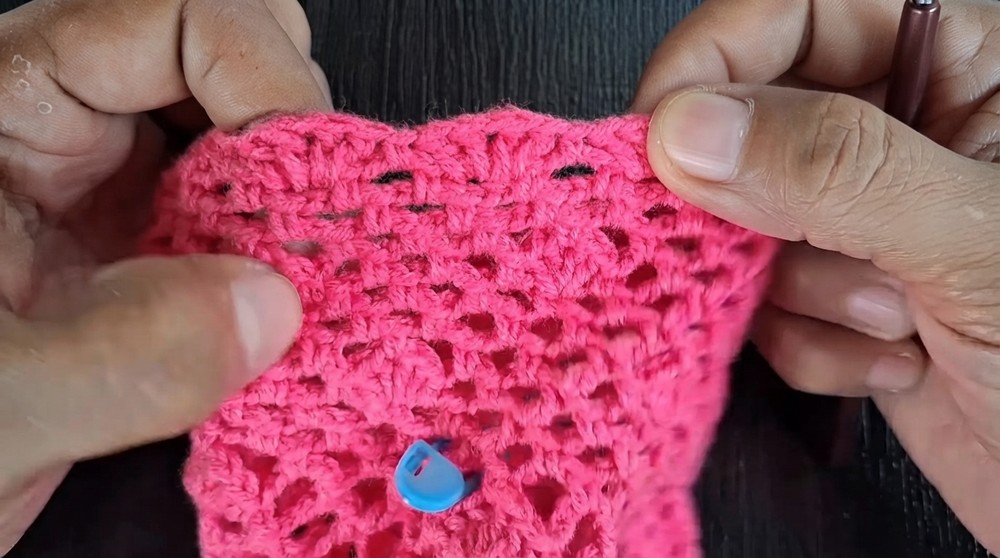
- Work a row of dc across the edges (front and neckline).
- For buttonholes, ch 3 where the button should go, skip a st—as you dc across.
- Mark every sixth dc for buttonhole.
- Edging: 2 dc in each dc, ch 1 as needed to accommodate buttons’ sizes.
- Add buttons and sew into place accordingly.
Assembly & Finished Size
- Final Assembly:
- Seam up both shoulders and underarms using sc joins.
- Work sleeves in the round, attaching at marked armholes.
- Finish with neat dc/buttonhole edging.
- Sew in all ends and sew on all buttons securely.
- Finished Size:
- Width: 64 cm
- Body Length: 32 cm
- Sleeve Length: 38 cm
- Adjust as needed by adding/removing pattern repeats
Conclusion and Ending Words
Your crochet kids jacket is complete. With its elegant lace, openwork mesh, and structured shell motifs, this jacket is both comfortable and stylish for children. The flexible construction allows you to easily adjust the sizes for different ages and personalize with unique colors or button styles. Whether you’re making it as a gift or for everyday wear, this versatile design will surely become a wardrobe favorite.