Free Crochet Drawstring Pouch Pattern for On-the-Go Use
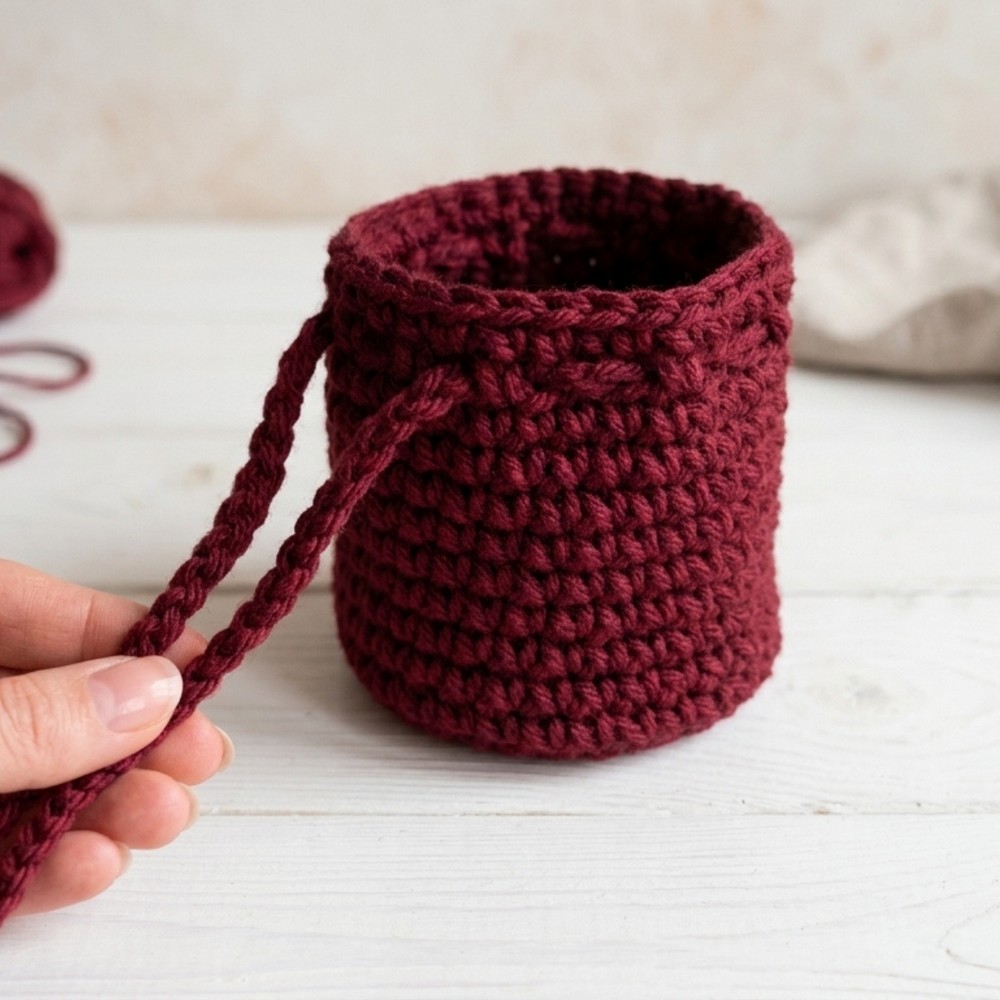
Secure your daily essentials with a Free Crochet Drawstring Pouch Pattern that offers a handy pocket for your accessories and looks so cute.
I recently enjoyed working on a drawstring pouch pattern that’s both practical and charming, making it a favorite small project in my crochet collection. The design offers a perfect balance between simplicity and style, creating a piece that’s useful for organizing little treasures like jewelry, coins, or craft supplies.
Soft and Stylish Free Crochet Drawstring Pouch Pattern for Gifts
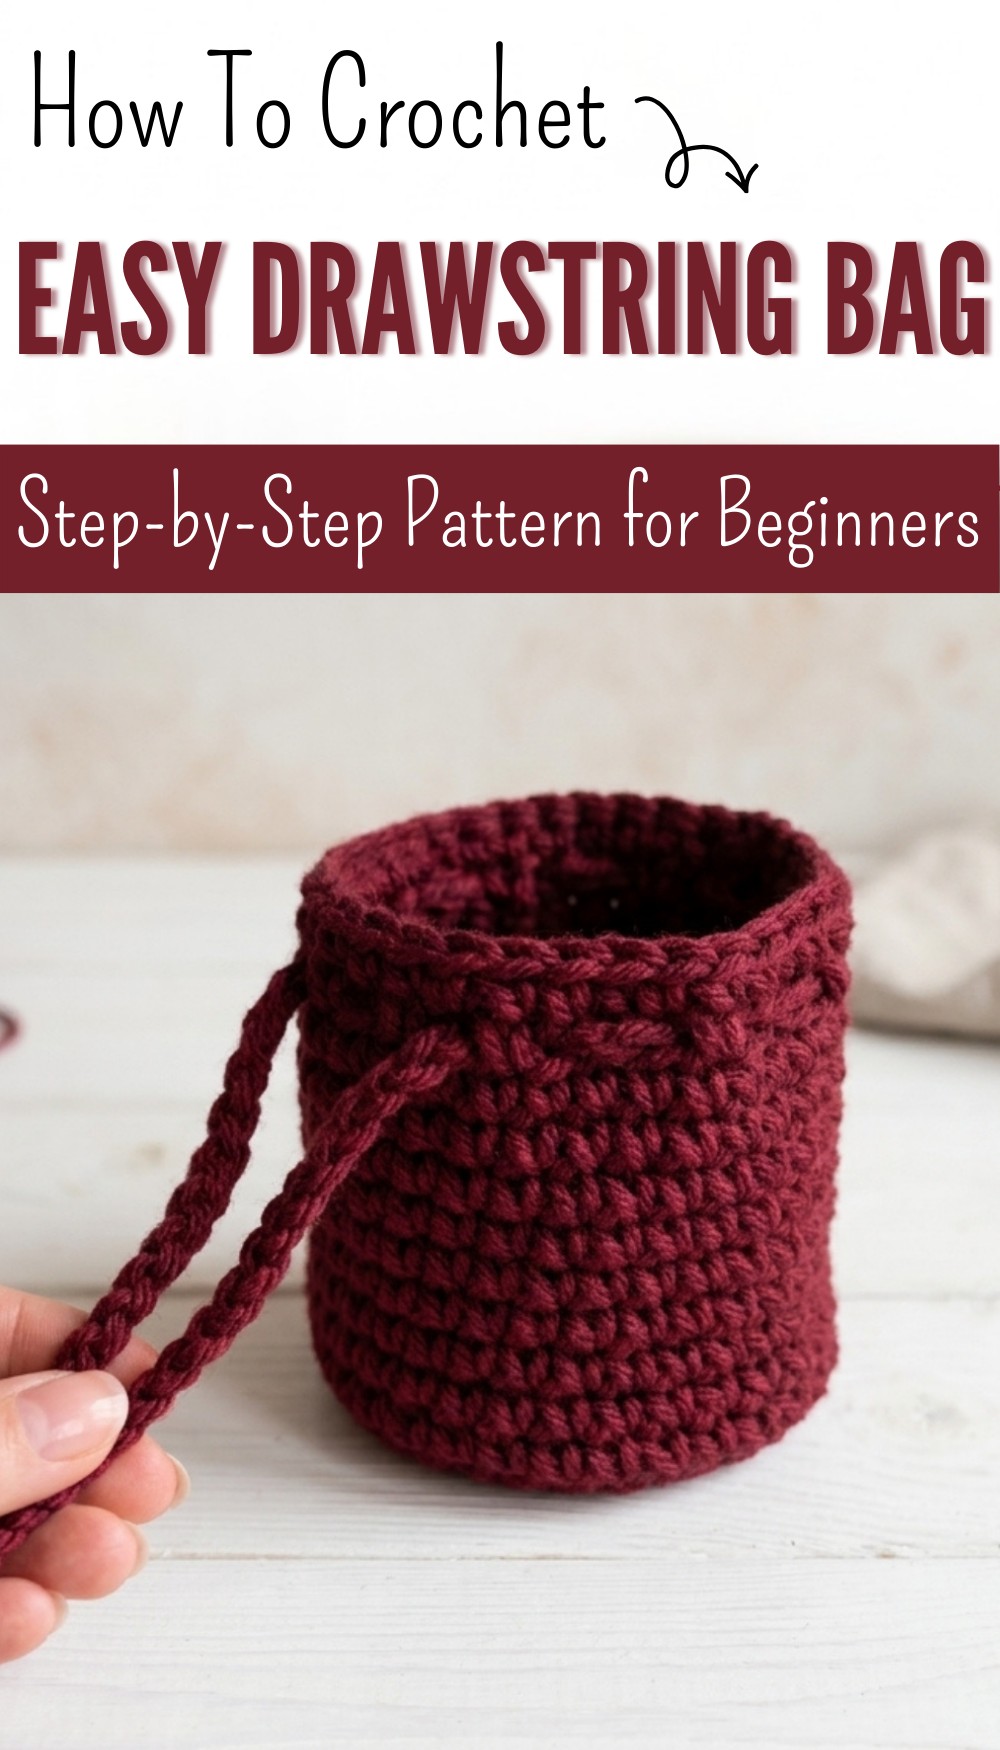
This handcrafted pouch features a softly textured surface, achieved through a combination of basic crochet stitches that add gentle depth and interest without being overwhelming. Its rounded base gives it a nice structure, allowing the pouch to stand upright while remaining flexible enough to slide into your bag effortlessly. The drawstring closure stands out as a fun and functional detail, securing the contents while adding a playful flair.

One of the best parts about this project is how adaptable it is, you can easily make it in different sizes to suit various needs, from tiny pouches for earbuds to larger ones for makeup or knitting notions. The pouch is worked mostly in rounds, focusing on consistent tension to keep the shape neat. Opt for yarn with some firmness and good stitch definition, like cotton or a cotton blend, which helps the pouch hold its form and highlights the stitch texture beautifully.
Inspired by handmade market finds, this design celebrates the cozy, personal touch that only handcrafting brings. Natural fibers complement the stitchwork by adding durability and a soft, comfortable feel.
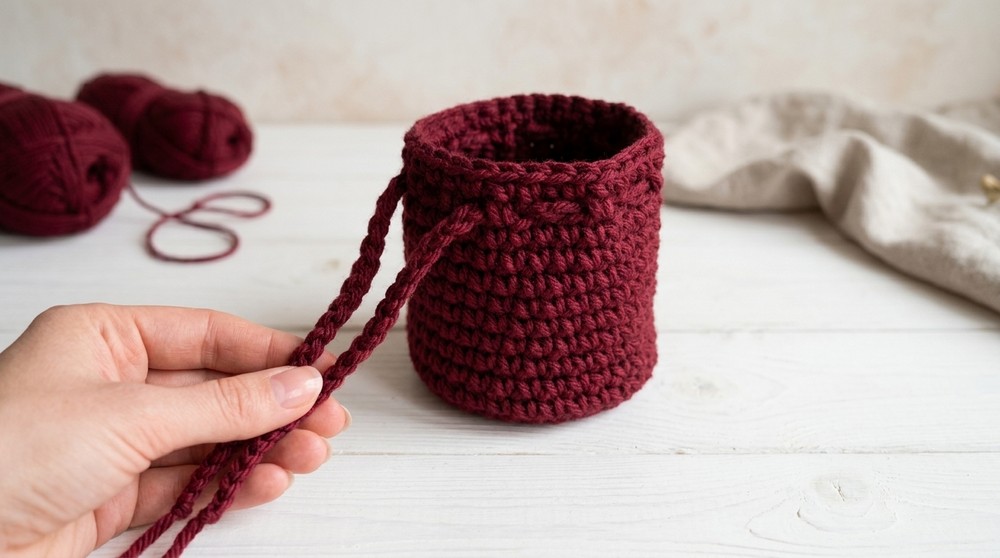
These pouches make delightful gifts for special occasions such as birthdays or bridal showers, and they’re also perfect as eco-conscious gift wrapping alternatives. The simple design invites plenty of creativity, you might try playing with colors, adding decorative beads, or even embroidering initials to make each one truly yours. Overall, it’s a rewarding project that’s enjoyable to make and lovely to keep or share.
Crochet Drawstring Pouch Pattern (Beginner Friendly)
This easy crochet drawstring pouch is made in rounds, starting from a flat circular base and working smoothly up the sides. You’ll learn how to increase evenly, switch to working in back loops for crisp edges, and create a drawstring channel for easy closure. Each step is broken down so beginners can follow confidently and enjoy the process from start to finish.
Pattern Highlights
- Seamless Construction: Worked in joined rounds—no sewing required except for weaving in ends.
- Drawstring Channel: Unique pouch closure with a crocheted channel and chain drawstring.
- Customizable Height & Size: Continue rounds for your preferred height; adjust the drawstring length as needed.
- Basic Stitches Only: Uses single crochet, increases, back loop only, and simple chain.
Notes
- Pattern uses US crochet terminology.
- The pouch is worked in the round—all rounds are joined with a slip stitch.
- You can pause after any round of height to size the pouch according to your needs.
- For a stiffer pouch, use a smaller hook; for a softer pouch, use a larger hook.
- Flip the pouch inside out after finishing for neatly hidden yarn tails.
Skill Level
Absolute Beginner to Beginner
Confident knowledge of single crochet, chain stitches, and working in the round is all you need.
Materials
- Yarn: Any worsted weight or medium weight yarn (cotton, acrylic, or blends)
- Crochet hook: 4.0mm–5.0mm (adjust for yarn thickness and desired firmness)
- Scissors
- Yarn needle (for weaving in ends)
Measurements / Sizing
- Standard size: Base diameter approx. 3–4″ (7.5–10 cm), height 4–6″ (10–15 cm), but easily adjustable by adding more rounds.
- Drawstring: Long enough to wrap and tie—usually 50–60 chain stitches, or about 14–18″ (35–45 cm).
Gauge (and Stitch Pattern)
Gauge is not critical, but for a sturdy pouch, aim for 4 rounds (increasing) = approx. 2″ diameter.
Stitch pattern: All rounds use single crochet (sc). The sides use BLO (back loop only) on the first round for a crisp edge.
Stitch Abbreviations
| Abbreviation | Definition |
|---|---|
| ch | Chain |
| sc | Single crochet |
| sl st | Slip stitch |
| MR | Magic ring |
| inc | Increase (2 sc in 1 stitch) |
| BLO | Back loop only |
| ch-1 sp | Chain-1 space |
Special Stitches
- Magic ring (MR): Make a loop, crochet stitches into the loop, pull tight to close.
- Increase (inc): Work 2 sc in the same stitch for “growing” the circle.
- Back loop only (BLO): Insert hook through the back loop (the furthest loop from you) only, instead of both top loops.
Pattern
Base
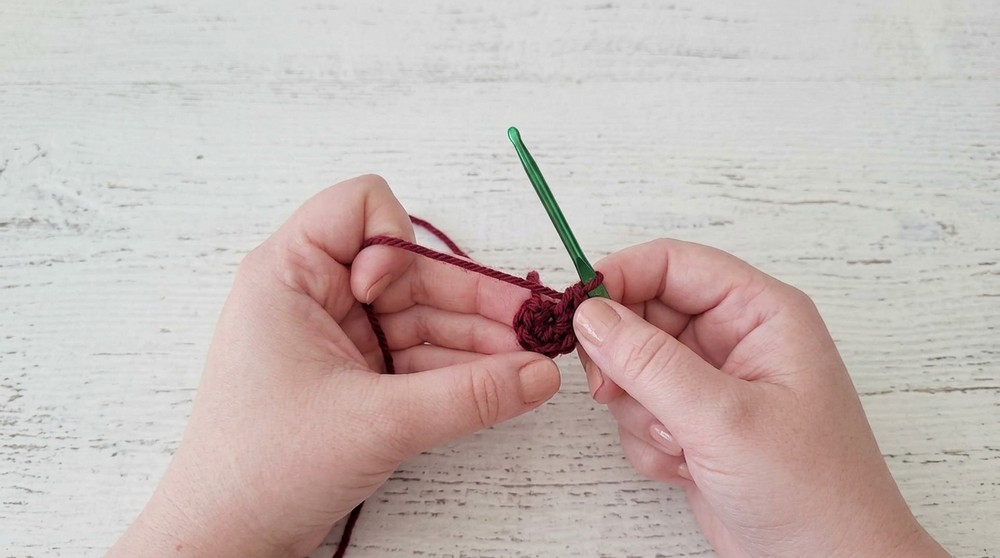
Round 1:
- Make a MR (or ch 2 and crochet into 2nd ch from hook).
- Ch 1, 6 sc in ring. Pull tight to close the ring.
- Join with sl st to first sc. Ch 1.
Round 2:
- 2 sc in each st around (inc in each st).
(12 sts) - Join with sl st to first sc, ch 1.
Round 3:
- (1 sc in next st, 2 sc in next st) rep around.
(18 sts) - Join with sl st to first sc, ch 1.
Round 4:
- (1 sc in each of next 2 sts, 2 sc in next st) rep around.
(24 sts) - Join with sl st to first sc, ch 1.
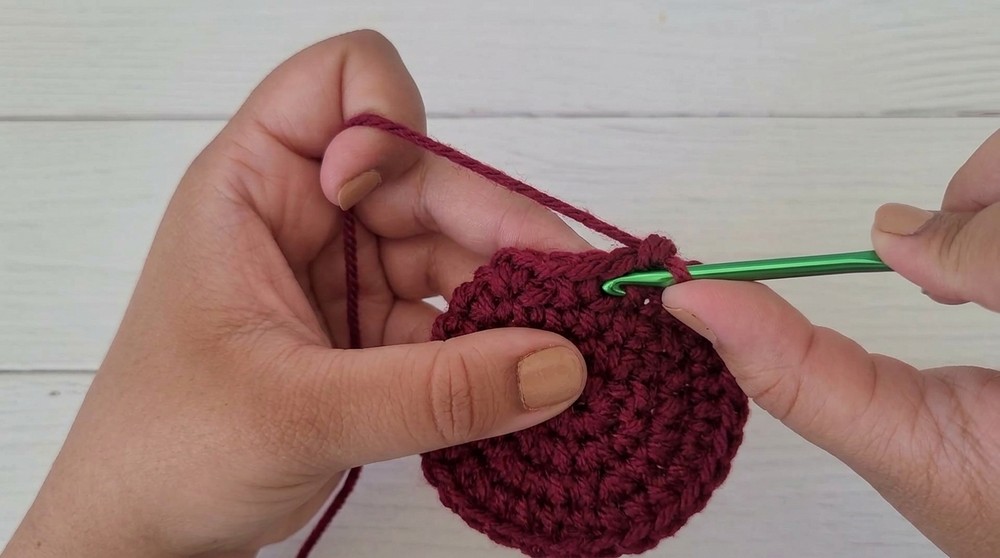
Round 5:
- (1 sc in each of next 3 sts, 2 sc in next st) rep around.
(30 sts) - Join with sl st to first sc, ch 1.
Begin Sides
Round 6:
- Work sc in BLO (back loop only) in each st around. No increases.
- Join with sl st to first sc, ch 1.
(30 sts)
Height
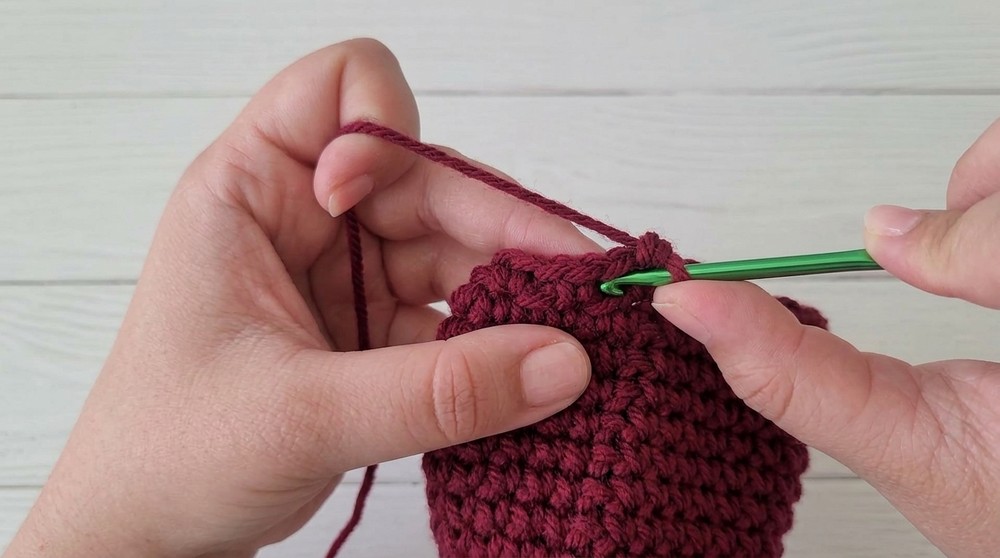
Rounds 7 – (desired height):
- Sc in each st around (through both loops, no increases).
- At the end of each round, sl st to first sc, ch 1.
- Repeat this round until the pouch is your desired height.
(Pause before the last 2 finishing rounds for the drawstring, as explained below.)
Drawstring Channel
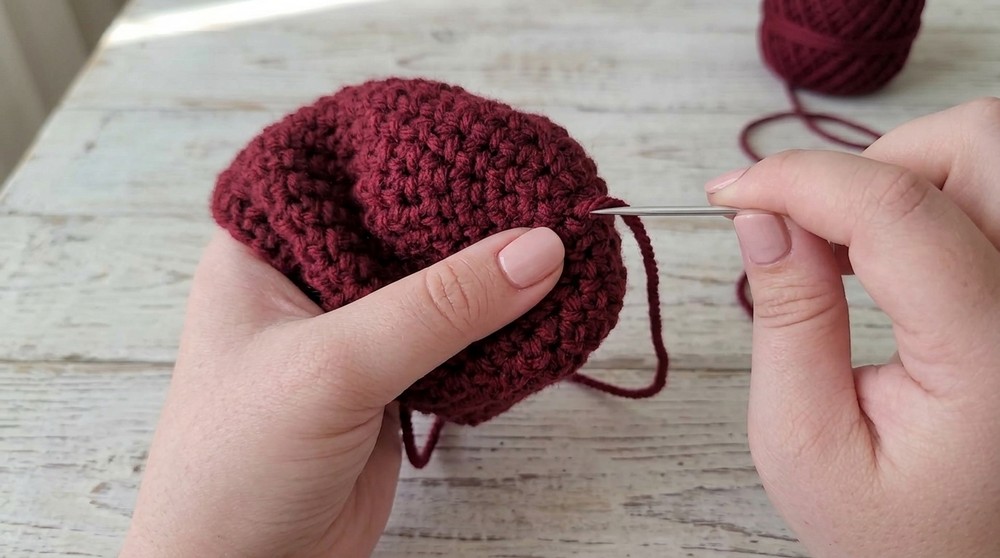
Next Round:
- (Sc in next st, ch 1, skip 1 st) rep around.
- Join with sl st to first sc.
Following Round:
- Ch 1.
- (Sc in next sc, sc in next ch-1 sp) rep around.
- Join with sl st to first sc.
- Fasten off and weave in ends.
Drawstring
- Ch 55 (or a length to fit easily around your pouch with a little extra for tying).
- Fasten off, pull yarn through, and tighten.
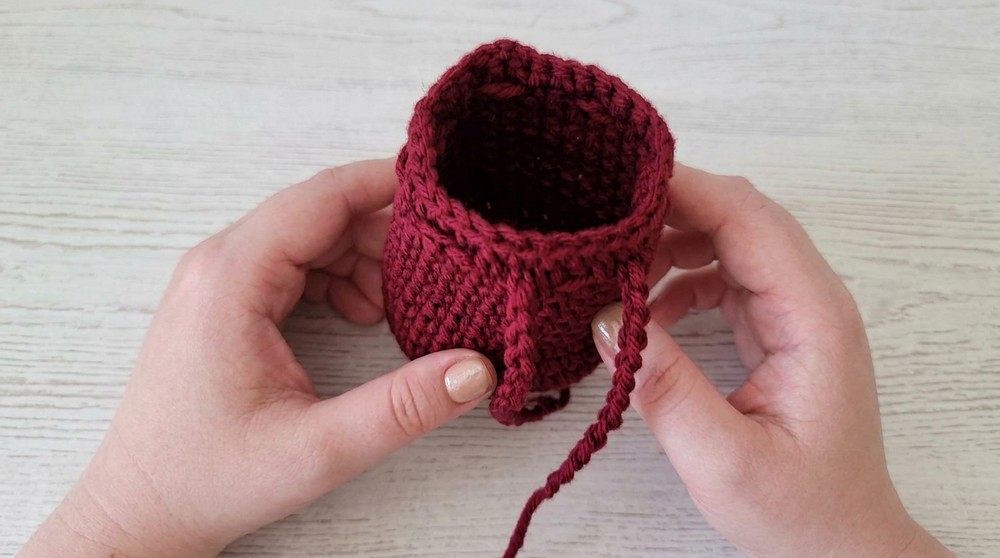
- Use a yarn needle or hook to weave the chain through the ch-1 sps of the last rounds.
- Adjust so the ends are at the front (opposite the round join).
- Knot or trim the ends as desired. You may comb them for fringe.
Finishing
- Flip pouch inside-out to weave in all yarn tails.
- Tip: Weave tail through only top/bottom loops on inside, so yarn does not show on the outside.
Assembly & Finished Size
- Your pouch is complete when the drawstring is woven through and ends are knotted or fringed.
- You can use the pouch for small treasures, coins, jewelry, or as a gift bag.
- Finished size is adjustable—make bigger with extra rounds or bigger hook/yarn.
Conclusion
Congratulations on creating your crochet drawstring pouch! This pattern is a great practice in working joined rounds, increasing evenly, and adding simple functional details like a drawstring channel. Use your new pouch for storing special items, gifting small presents, or as a basis for more creative crochet projects. Keep experimenting, and you’ll soon be making all sorts of crochet bags and accessories.