Modern Free Crochet Ribbed Cardigan Pattern for Daily Wear
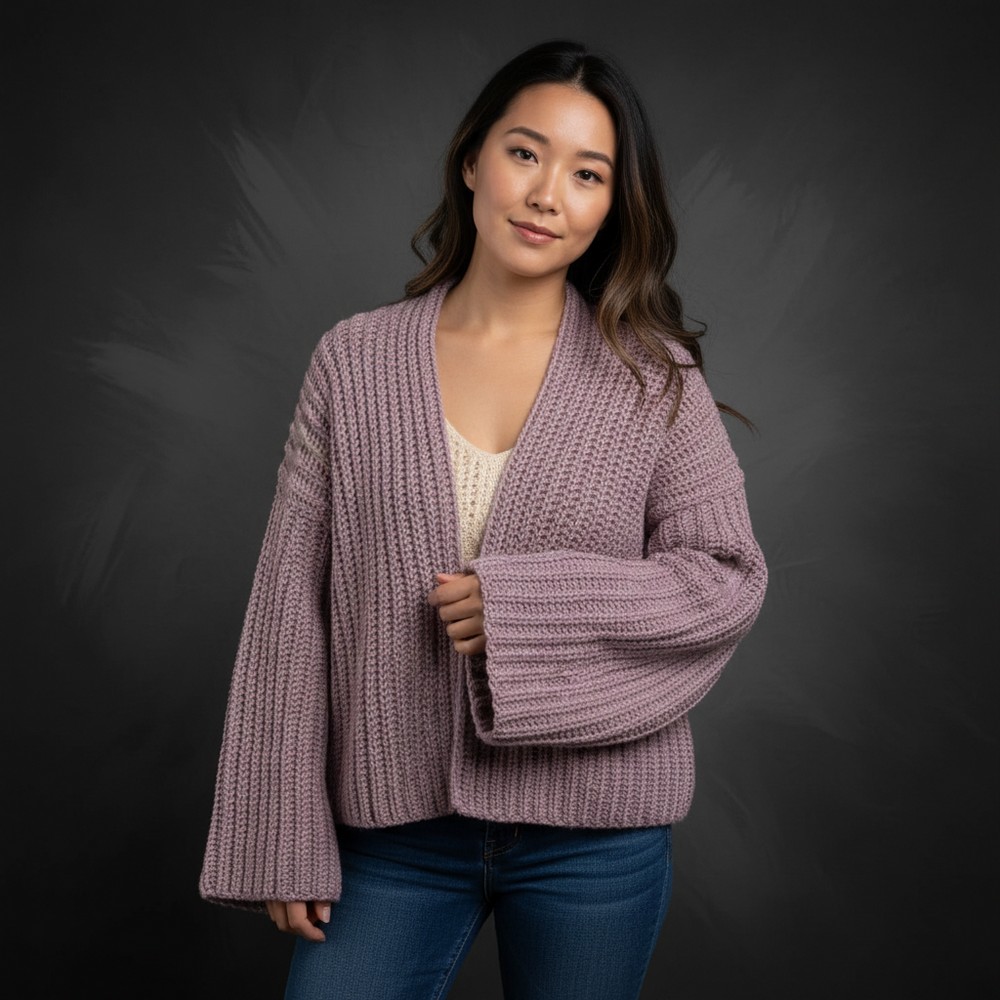
Add comfort and style with this free crochet ribbed cardigan pattern that is perfect for layering and easy enough for everyone to try.
Lines that flow in a gentle pattern form a cozy and inviting look that catches the eye and gives a touch of charm. This cardigan brings flexibility and warmth so anyone can feel comfortable day or night. Using a crochet ribbed cardigan pattern lets you create something that fits easily over any clothes and becomes a favorite for walking outside or relaxing at home. The ribbing makes it snug yet not too tight and helps keep you warm without feeling bulky.
Chic Free Crochet Ribbed Cardigan Pattern Step-By-Step Guide
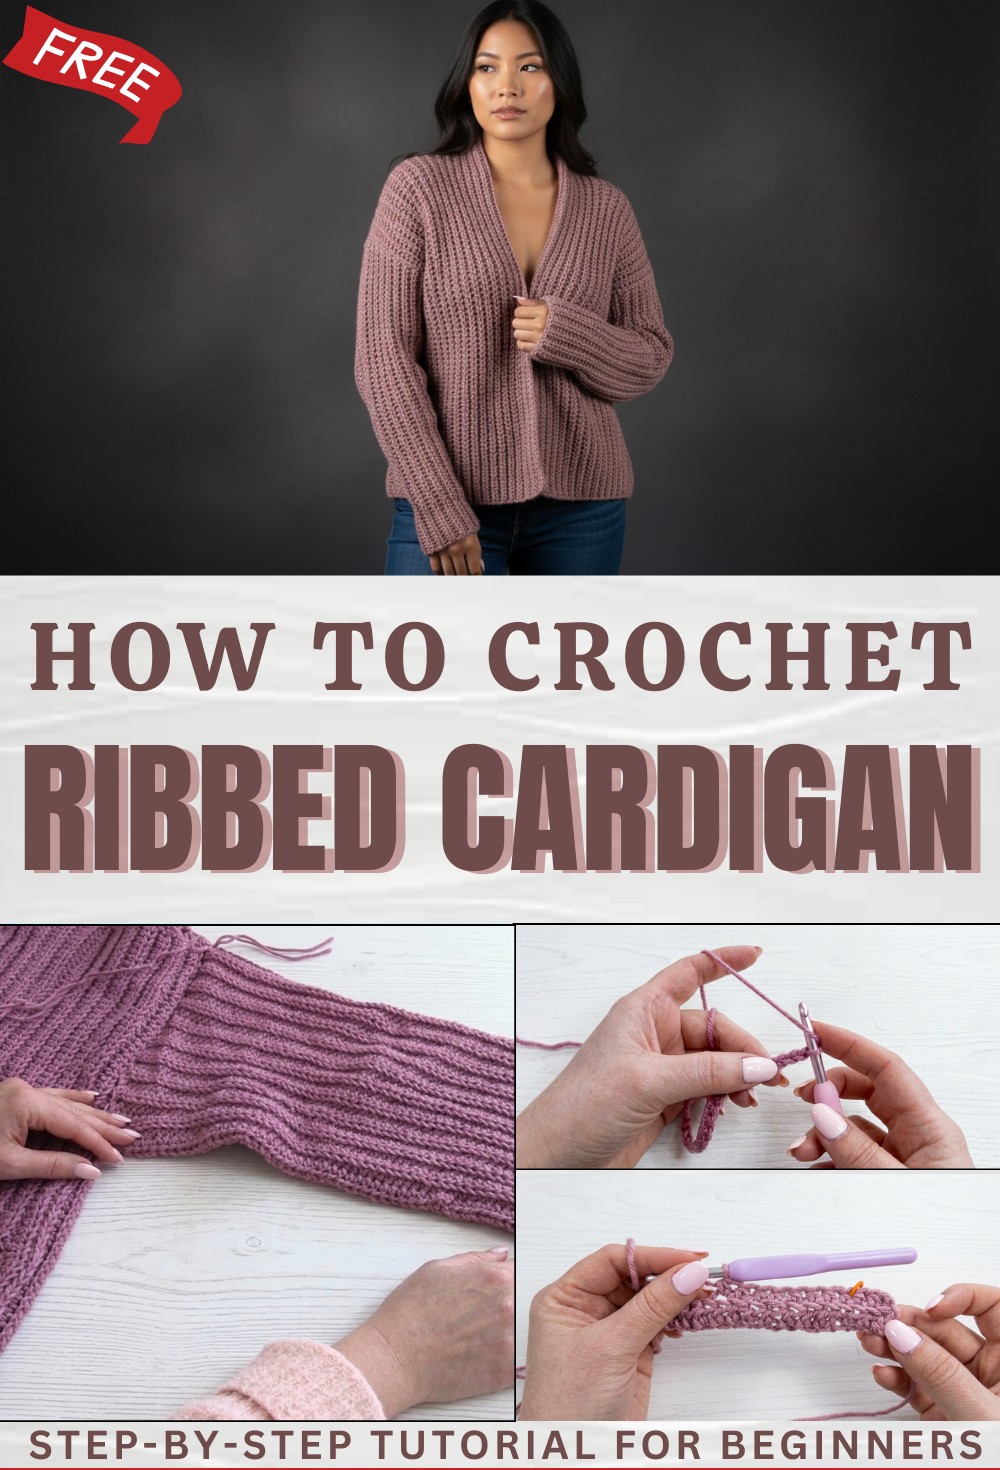
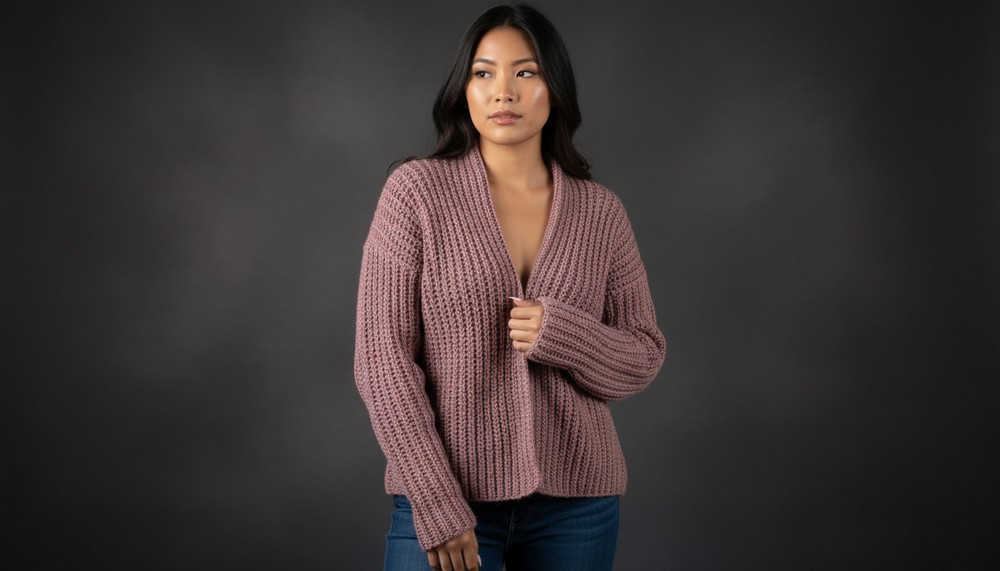
Its open front and long sleeves mean it is simple to wear and easy to match with shirts jeans or dresses. With neat rib lines this cardigan looks classic and fresh making people feel both stylish and cared for. Durable enough for everyday use and special enough for chilly evenings this handmade creation is all about comfort and beauty for everyone.
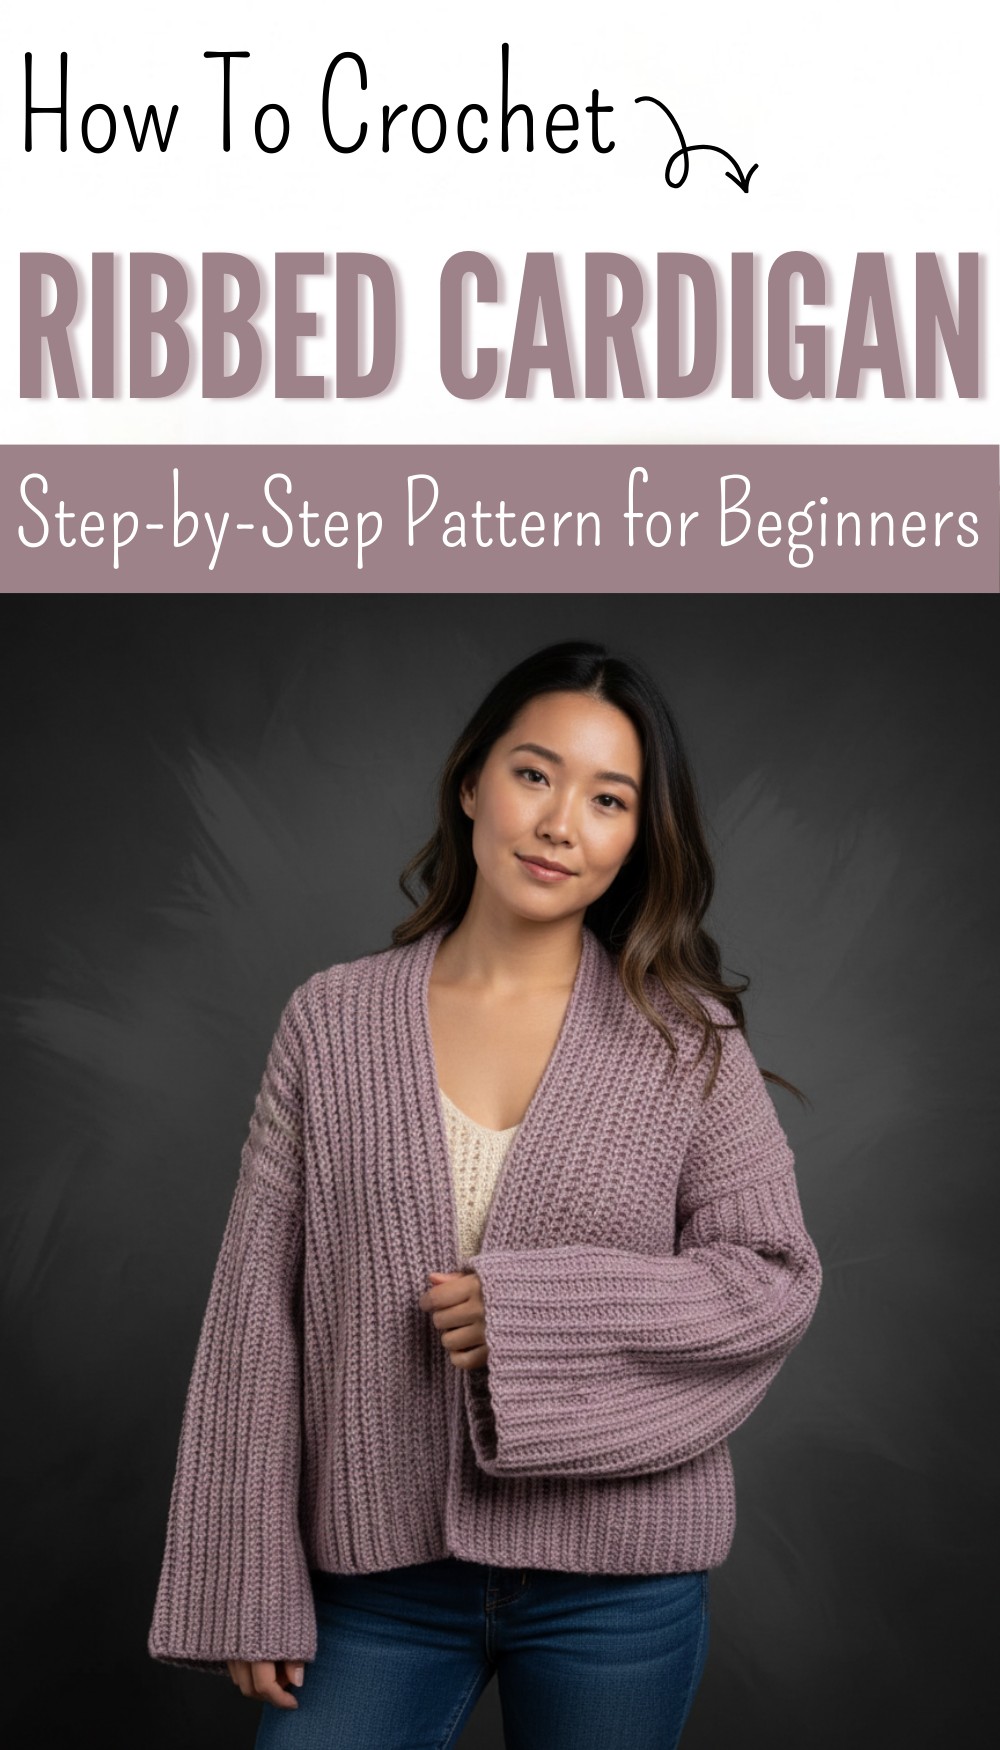
Ribbed Tapered Cardigan Crochet Pattern (Size S)
This crochet cardigan features a modern ribbed texture and gentle tapering, achieved by alternating between two crochet hook sizes (5.5 mm and 4 mm) within each row. The unique hook-switching technique creates a seamless silhouette and fitted effect at cuffs and sides. Construction is flat, with a back panel, two front panels, and two sleeves, assembled using mattress stitch for a clean finish. These instructions are specifically for Size S; refer to the designer’s blog for other sizes.
Quick Overview Of Pattern
- Back Panel: Chain 77. Work first 60 stitches of each row with 5.5 mm hook, remaining stitches with 4 mm hook.
- Front Panels (2): Each panel starts with a chain of 77 and is completed over 28 rows, using the hook-switch technique.
- Sleeves (2): Chain 73, follow the same hook switch (60 sts with 5.5 mm, remainder with 4 mm), over 44 rows.
- Texture: All rows are worked in half double crochet (HDC) in the back loop only (BLO).
- Assembly: Sew with mattress stitch for seamlessness; attach sleeves and join all panels.
Notes
- Hook-switching creates the gentle taper. Make sure to place a stitch marker in the first 4 mm hook stitch every row for easy transitions.
- Each panel is worked flat and seamed later. Make sure to keep row counts accurate for easy assembly.
- For other sizes, adjust foundation chains and row counts per the designer’s blog.
- Mattress stitch is a sewing technique for nearly invisible seams, ideal for joining crochet pieces.
- Use smooth yarn for best stitch definition and drape.
Skill Level
Advanced Beginner – Intermediate
Requires comfort with foundation chain, half double crochet, working in the back loop, switching hooks mid-row, and basic seaming.
Materials
- Yarn: Worsted or aran weight yarn (approx. 700–900g for Size S)
- Hooks: 5.5 mm and 4 mm crochet hooks
- Stitch markers
- Yarn needle (for seaming and weaving in)
- Scissors
Measurements / Sizing
- Back Panel: 77 stitches wide x 56 rows (approx. 19–20″ wide)
- Front Panels (each): 77 stitches wide x 28 rows (approx. 9–10″ wide)
- Sleeves (each): 73 stitches wide x 44 rows (approx. 17–19″ long)
- Approximate finished cardigan size:
- Chest/Width: 36–38”
- Length (shoulder to hem): 23–25”
- Sleeve length: 18–20”
Gauge & Stitch Pattern
- Gauge: 15 HDC BLO x 12 rows = 4″ x 4″ (with 5.5 mm hook)
- Stitch pattern: Half double crochet worked in back loop only for all panels
Stitch Abbreviations
| Abbreviation | Definition |
|---|---|
| ch | chain |
| hdc | half double crochet |
| BLO | back loop only |
| st(s) | stitch(es) |
| sl st | slip stitch |
Special Stitches
- Half Double Crochet (HDC): Yarn over, insert hook in stitch, yarn over, pull up loop, yarn over, pull through all 3 loops.
- Back Loop Only (BLO): Work each hdc into the back loop (not both loops) to produce ribbing.
- Mattress Stitch: Used to join panels seamlessly (see assembly instructions).
The Crochet Pattern
1. Back Panel
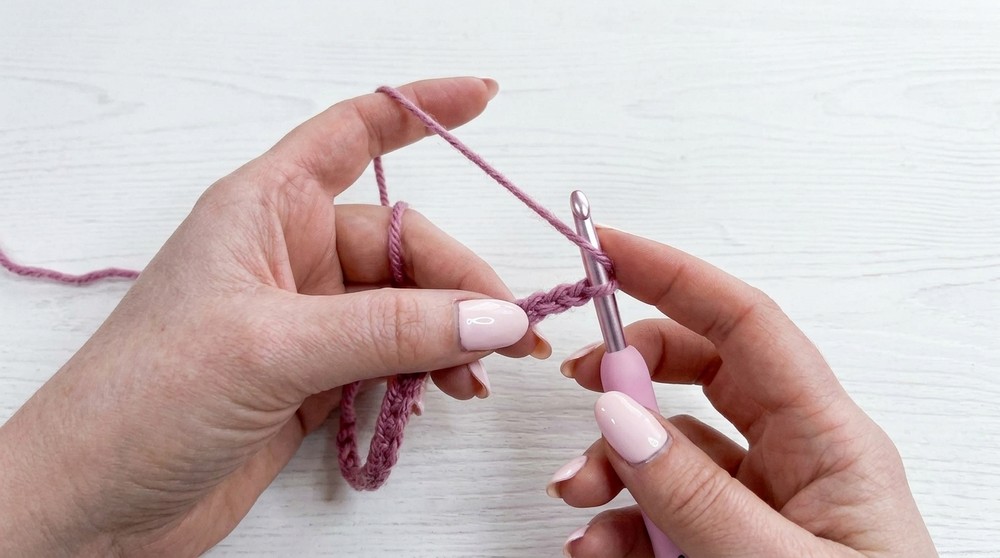
Foundation Chain & Row 1
- With 5.5 mm hook, chain 77.
- Row 1:
- Skip 3 chains (counts as first hdc).
- Work hdc in each chain across – use 5.5 mm hook for first 60 stitches.
- Switch to 4 mm hook for the remaining chains/stitches.
- Place a stitch marker in the first stitch made with the 4 mm hook (marks the transition point).
- (Total: 77 hdc)
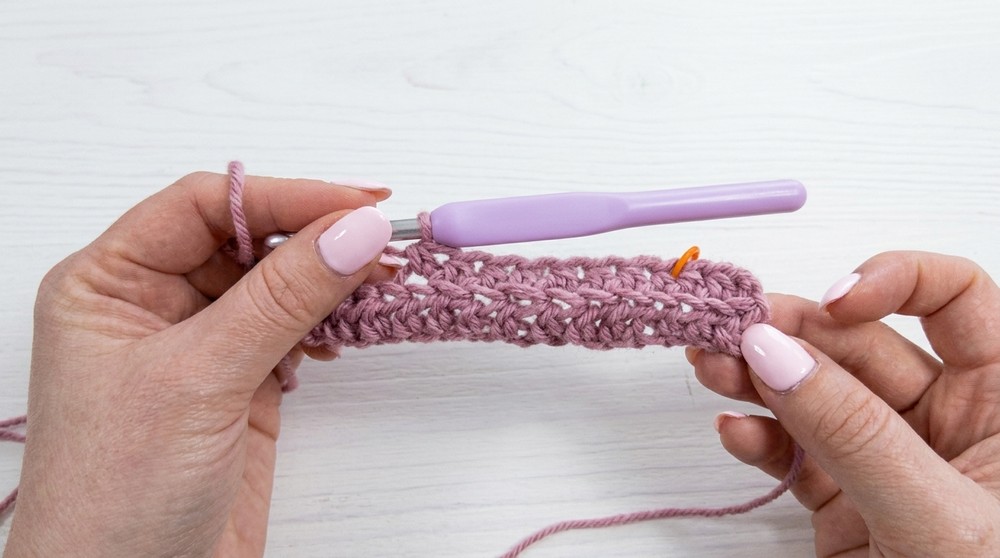
Rows 2–56
- At the start of each row:
- Chain 2 (counts as first hdc), turn.
- Work hdc in BLO using the 4 mm hook up to the stitch marker.
- Then, switch to 5.5 mm hook and work hdc in BLO for the remaining stitches.
- At the end of each row, check placement and counts.
- Repeat until you complete 56 rows.
2. Front Panels (Make 2)
- With 5.5 mm hook, chain 77.
- Row 1:
- Skip first 3 chains (counts as first hdc).
- Work hdc in each chain across: 5.5 mm hook for first 60 stitches, then switch to 4 mm hook for the remainder.
- Place stitch marker at first 4 mm hook stitch.
- Rows 2–28:
- Chain 2, turn.
- Work hdc in BLO with 4 mm hook up to marker, then 5.5 mm hook to end.
- Repeat for 28 rows per panel.
3. Sleeves (Make 2)
- With 5.5 mm hook, chain 73.
- Row 1:
- Skip 3 chains (counts as first hdc).
- Work hdc in each chain: 5.5 mm hook for first 60 stitches, then switch to 4 mm hook for remainder.
- Place stitch marker at first 4 mm hook stitch.
- Rows 2–44:
- Chain 2, turn.
- Work hdc in BLO with 4 mm hook up to marker, then 5.5 mm hook to end.
- Repeat for 44 rows per sleeve.
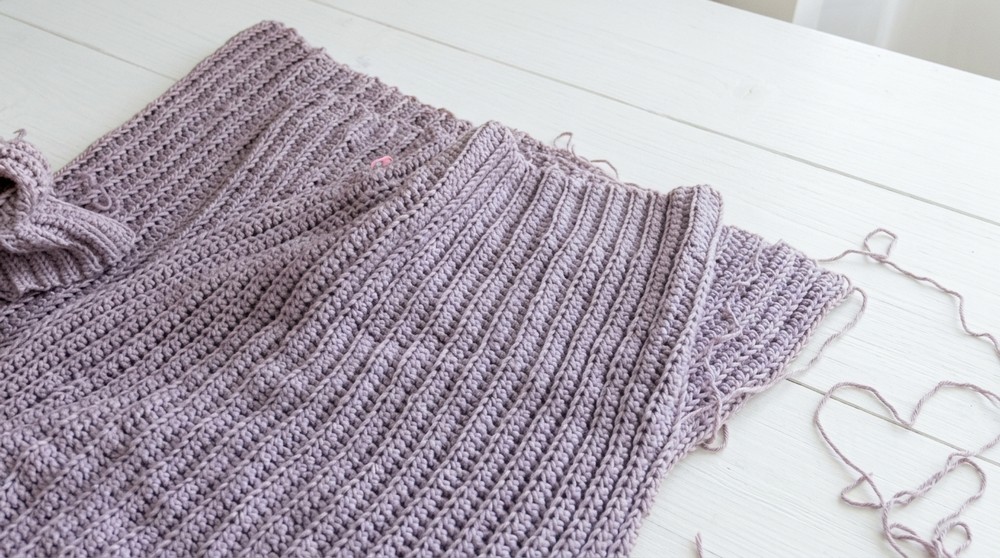
4. Assembly
Sleeve Assembly
- Fold each sleeve panel lengthwise with RS facing.
- Sew the long edge using mattress stitch (creates a sleeve tube).
- Turn sleeves right side out.
Main Body Assembly
- Lay back panel flat on workspace.
- Place two front panels symmetrically on top, aligning at the shoulder.
- Sew shoulder seams (top edges of front panels to back panel) with mattress stitch for a neat join.
- Attach sleeves:
- Center sleeve’s widest edge at armhole opening.
- Sew sleeve edges to armhole using mattress stitch, ribbed edging at the cuff.
- Sew side seams:
- Fold cardigan sides inward, overlap front panels at center.
- Sew up sleeves and sides in one continuous mattress seam from cuff through armpit to hem.
Finishing
- Weave in all yarn ends.
- Turn cardigan right side out.
- Block cardigan gently (optional) for best fit and finish.
Finished Size
- Chest: 36–38” (fits S)
- Length: 23–25” shoulder to hem
- Sleeve: 18–20” long
- Adjust panel and sleeve lengths as needed before seaming for your ideal fit.
Conclusion
Congratulations on completing your ribbed, tapered crochet cardigan! The clever hook-switching technique gives professional shaping and distinctive texture, and seamless mattress-stitch assembly ensures a polished look. Enjoy wearing your cozy, stylish cardigan with pride, whether at home, out, or as a handmade gift.