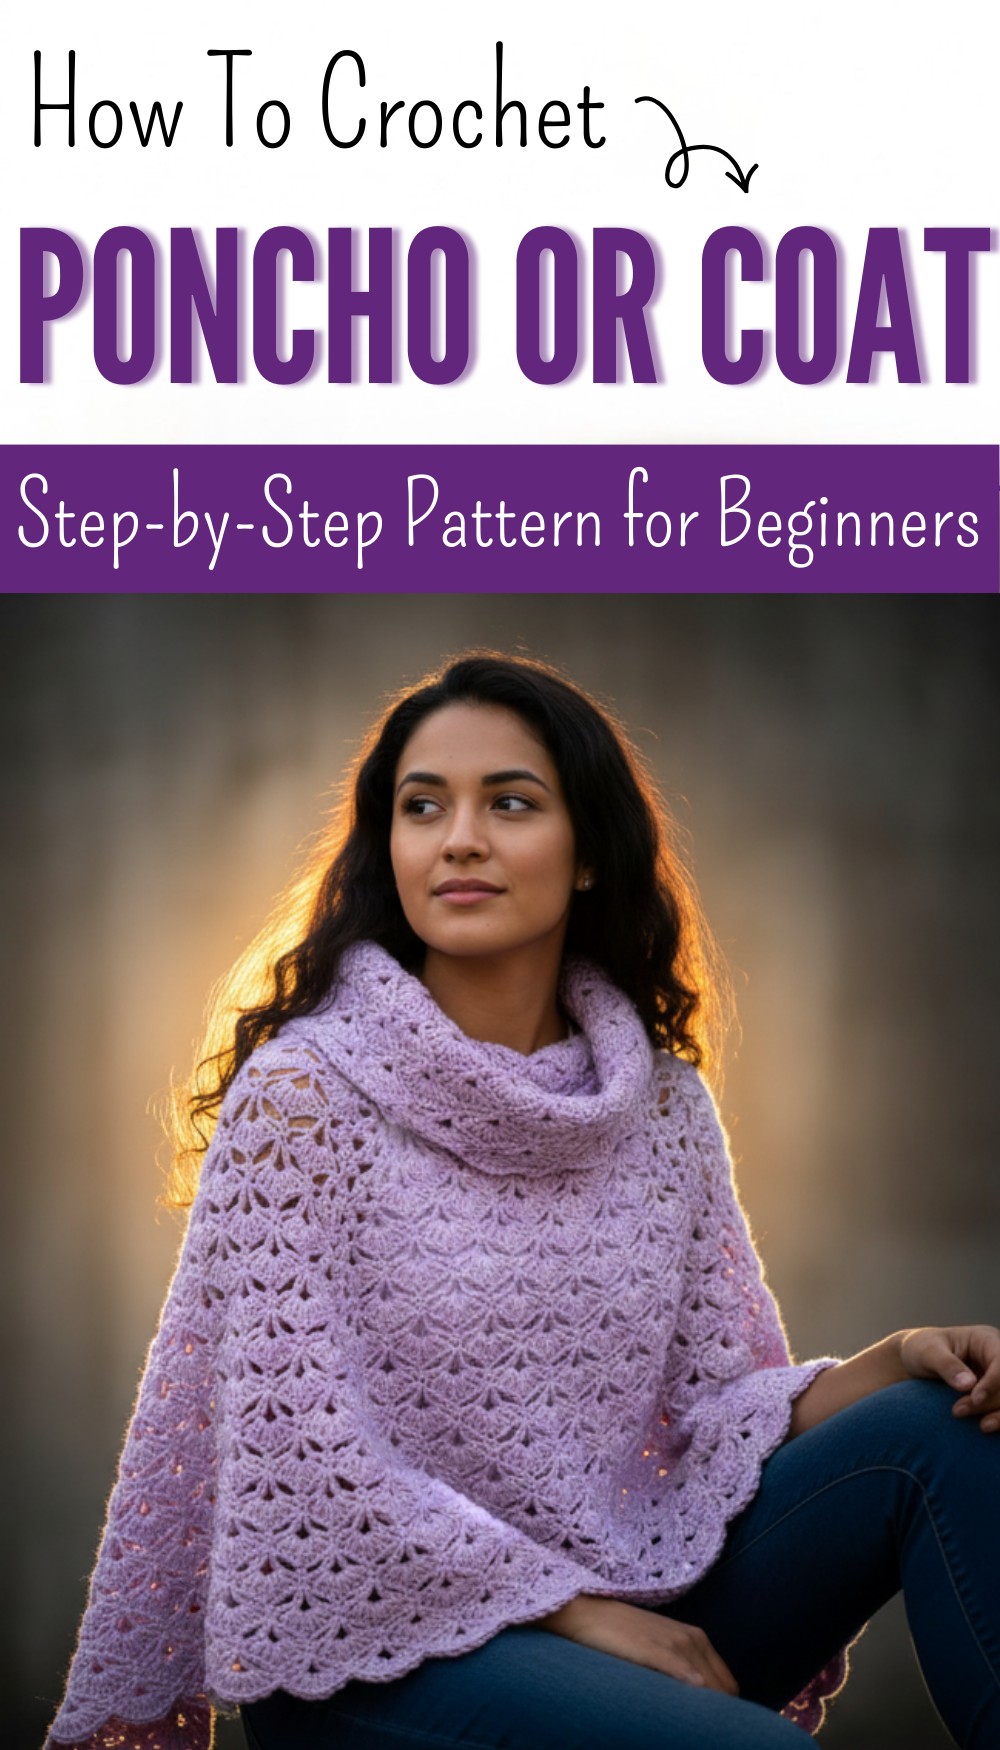
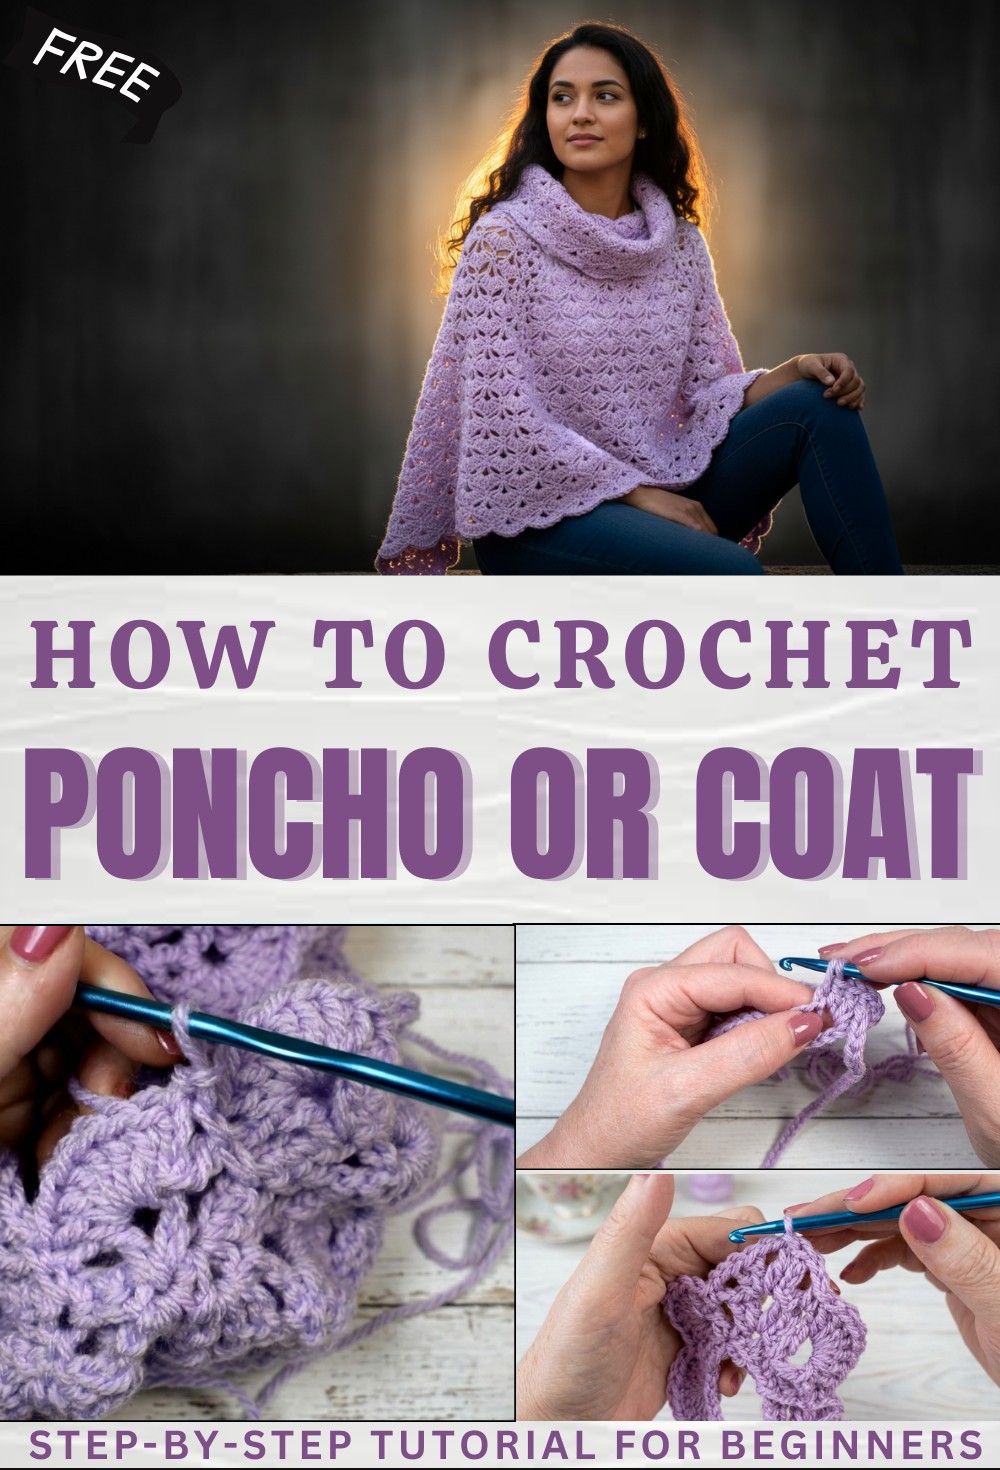
Free Crochet Poncho Pattern for Stylish Everyday Outfits
Style your wardrobe with this Free Crochet Poncho Pattern for a soft cozy layer that pairs beautifully with casual outfits on cool days.
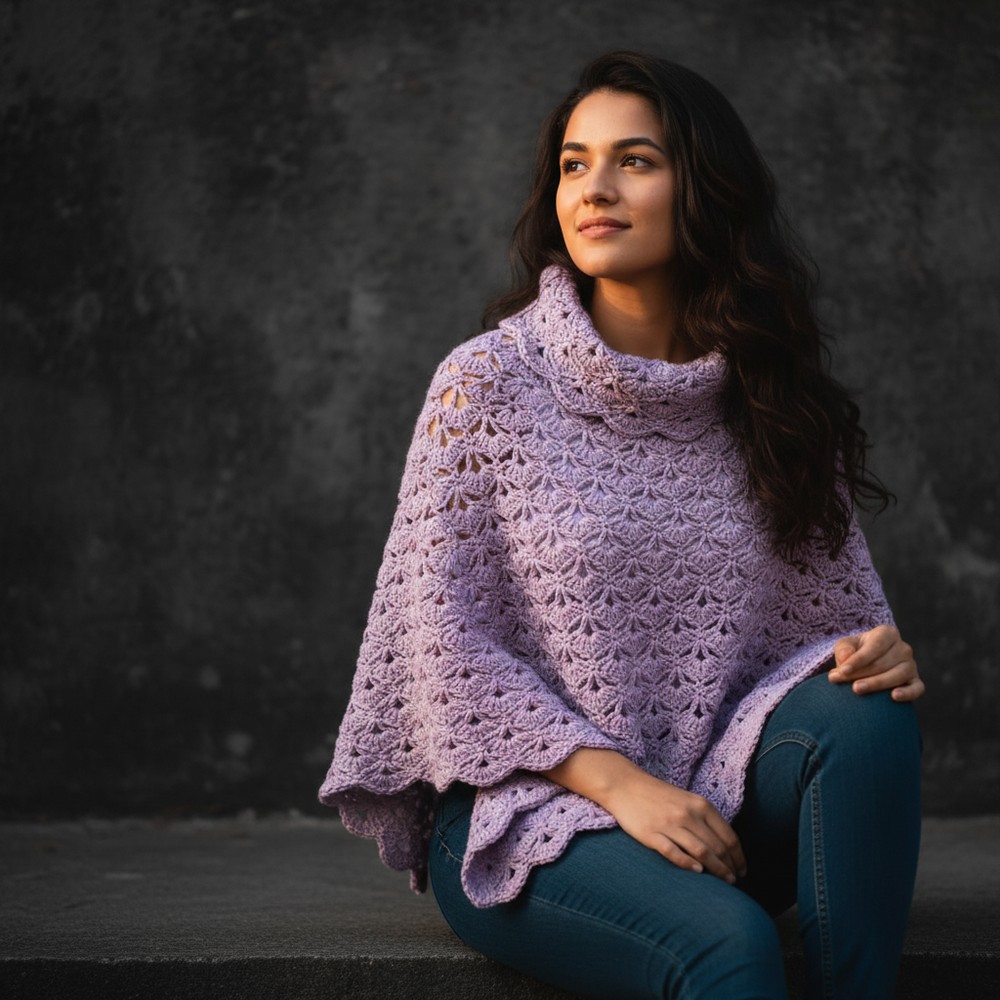
Beauty sometimes appears in the simplest clothing that feels soft light and comforting to wear. This lovely wrap falls gently over the shoulders and creates a relaxed shape that looks graceful and stylish at the same time. A Crochet poncho pattern shows how this charming garment is formed with neat stitches and soft yarn that give it a warm handmade touch. The poncho is easy to wear because it simply slips over the head and fits the body without effort. Its flowing design allows free movement and makes it comfortable for daily use.
Stylish Free Crochet Poncho Pattern for Easy Fashion Layering
A person may enjoy wearing it during a cool evening a peaceful walk or a quiet outdoor moment. The pattern may look delicate or bold depending on the yarn and color choice which makes the piece unique. With its cozy feel smooth drape and attractive handmade look this poncho becomes a beautiful clothing piece that adds warmth style and simple charm to an everyday outfit.

Square Fan Stitch Poncho (Size XL)
Materials
- Yarn: Worsted weight yarn (amount will vary; for XL and 54 cm/21″ long, approx. 500-700g/900–1250 yds)
- Hook: 4 mm (G/6) crochet hook
- Notions:
- Yarn needle (for weaving in ends)
- Scissors
- Tape measure
- Stitch markers (optional)
Key Abbreviations (US Terms)
| Abbreviation | Meaning |
|---|---|
| ch | chain |
| sc | single crochet |
| dc | double crochet |
| sl st | slip stitch |
| st(s) | stitch(es) |
| rep | repeat |
Special Notes
- Sizing: Instructions provided are for XL (neck opening 25 cm/10″, length 54 cm/21″). To make a different size, adjust the starting chain in multiples of 4.
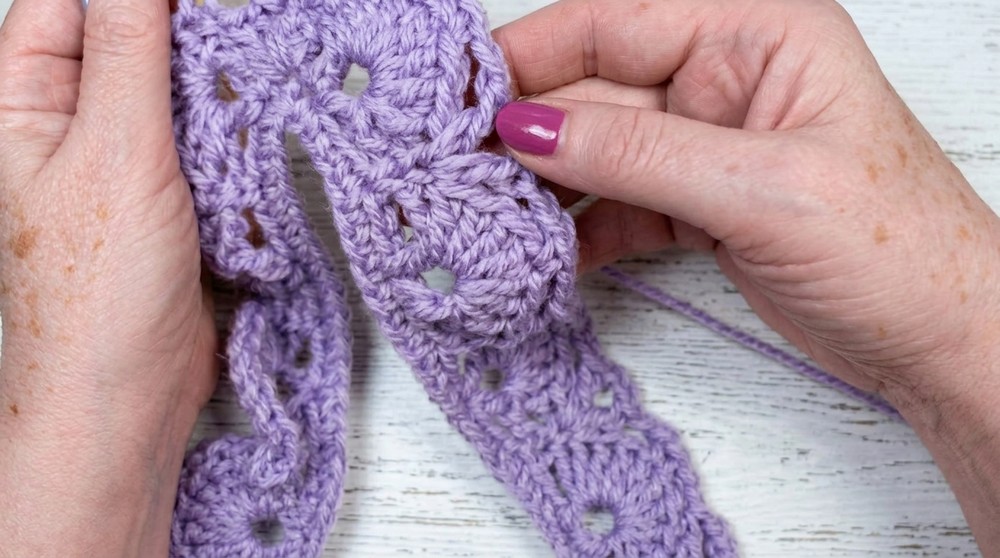
- The poncho builds outward in a square from the collar. Each corner increases to form the shape.
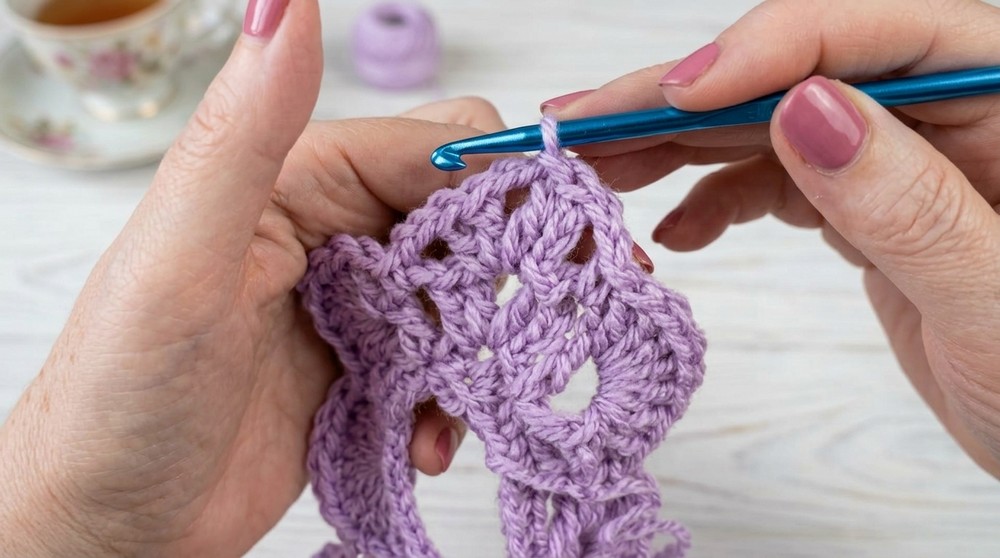
- Fan stitch: 7 double crochet in the same stitch/space.
- For best results, measure as you go, and add/subtract rounds for length.
Pattern
1. Foundation
- Ch 76 (for other sizes: start with a multiple of 4; e.g., S = 60, M = 68, L = 72, XL = 76, etc.)
- Join with sl st to first ch to form a ring.
2. Establishing Corners (Round 1)
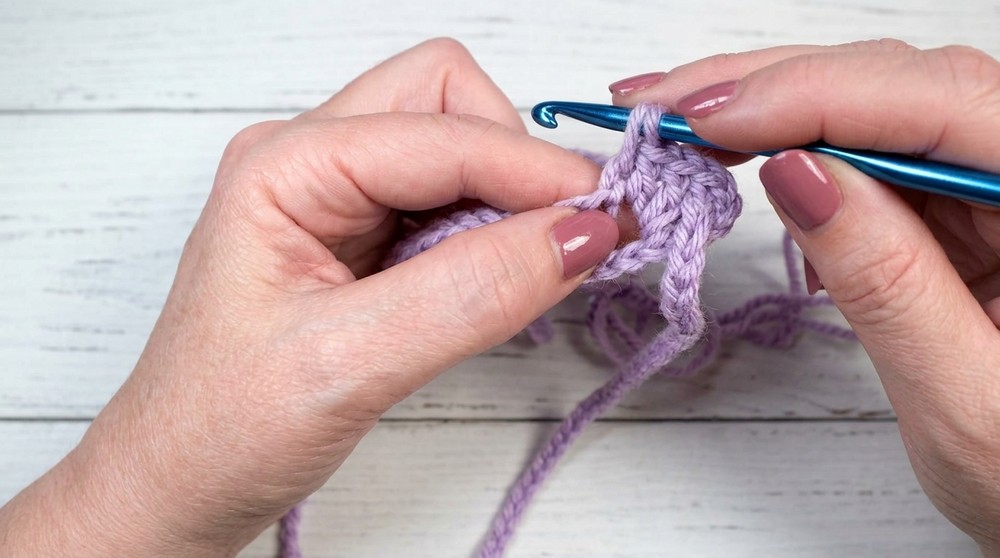
- Ch 1 (does not count as a st).
- Sc in same st as join, ch 2, sc in same st (corner made).
- Sc in each of next 19 sts.
- [Ch 2, sc in same st (corner), sc in next 19 sts] three times more (you will have 4 corners of (sc, ch 2, sc) separated by 19 sc each).
- On the fourth side, after sc in last 18 sts, sl st to first sc to close.
- (You will end with 4 corners and 4 sides of 19 sc each.)
3. Round 2 (V-Stitch Setup)
- Sl st in next corner ch-2 sp.
- In corner: Ch 3 (counts as dc), dc in same sp, ch 2, 2 dc in same sp (corner V made).
- [Ch 2, skip next st, in next st (dc, ch 2, dc), ch 2, skip 2 sts, sc in next st], rep this V, ch, sc sequence around, working corners as [2 dc, ch 2, 2 dc] in each ch-2 sp.
- Continue in pattern around.
- End with final sc, sl st to top of starting ch-3.
General Sequence:
- Each side is made up of alternating V-stitches and single crochets with chain spaces.
- Every (sc, ch 2, sc) stitch from previous round forms a corner.
- All corners always get [2 dc, ch 2, 2 dc] in the ch-2 space.
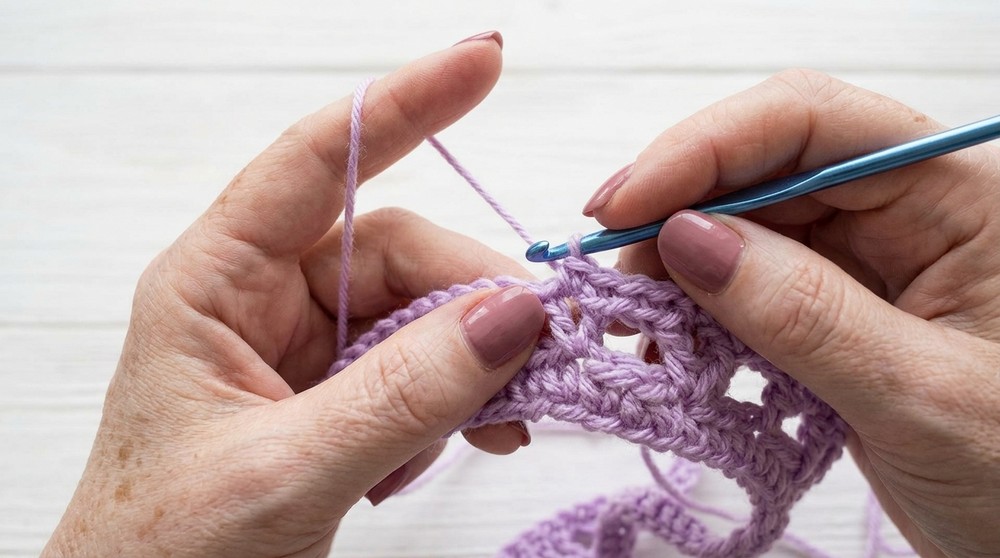
4. Round 3 (Fan Stitch Round)
- Sl st into next ch-2 sp (corner)
- In corner: Ch 3, dc in same sp, ch 2, 2 dc in same sp (always for corners).
- Next spaces across side:
- Sc in next ch-2 sp
- 7 dc in next ch-2 sp (fan)
- [Sc in next ch-2 sp, 7 dc in next ch-2 sp] Repeat across to next corner.
- At each corner: 2 dc, ch 2, 2 dc in ch-2 sp, then continue fan pattern across each side.
- Join with sl st to top of starting ch-3.
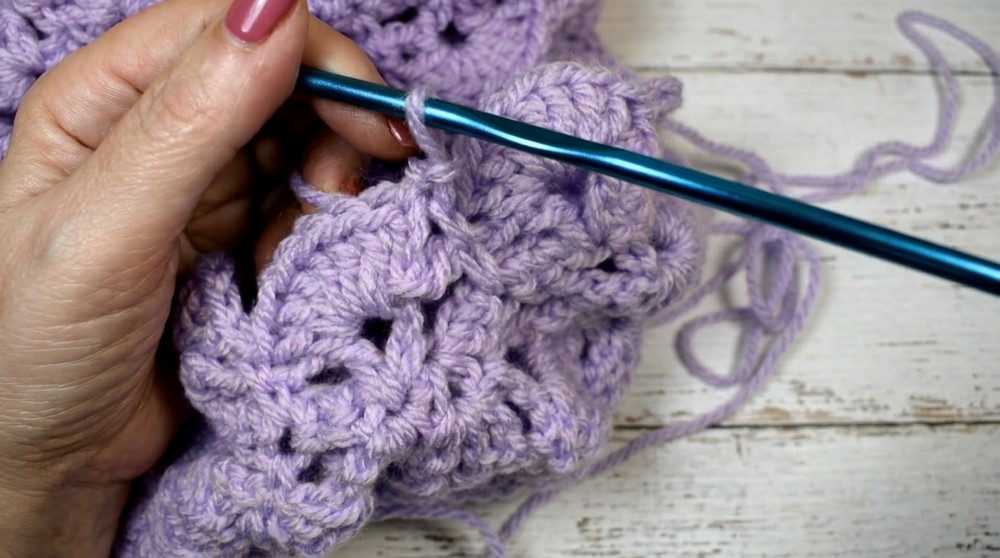
5. Round 4
- Sl st into next ch-2 sp (corner).
- Ch 3, dc in same sp, ch 2, 2 dc in same sp.
- Across sides:
- [Ch 2, in middle dc of each fan: (dc, ch 2, dc)]
- Ch 2, sc in same sc as below.
- Repeat across to next corner.
- Corners always get [2 dc, ch 2, 2 dc] in ch-2 sp.
6. Continue Pattern (Rounds 3 & 4 Alternation)
- Repeat Rounds 3 & 4:
- All odd rounds: fans (7 dc in same space).
- All even rounds: V-stitches in fan centers, sc in sc, with corners always increased.
- Continue until poncho measures desired length (sample: 54 cm/21″ from neck to hem).
7. Neckline Finishing (Optional)
- Turn poncho inside out.
- Attach yarn to neckline.
- Ch 5, dc in same stitch, ch 2, skip 2 sts, sc in next st, ch 2, skip 2 sts, (dc, ch 2, dc) in next st, ch 2, skip 2 sts, sc in next st, repeat…
- Join with sl st to first ch.
- For a more elaborate neck, repeat with rounds of V-stitch and shell/fan as desired for the collar depth.
8. Finishing
- Fasten off.
- Weave in all ends.
- Lightly steam/shape if needed.
Conclusion
You’ve completed a versatile, elegant square poncho using only fan and V-stitch in the round from the neck. The four-corner construction creates lovely drape and shape, perfect for a range of sizes.
Pattern Correction & Tips
- Correction: Always check you are working 2 corners per side—there should always be 4 corners (one in each ch-2 sp).
- Tip: Use stitch markers at corners to ensure proper increases. V-stitches and fans must always align with the center of fans or chain spaces for consistent structure.
- To resize, simply alter the foundation chain, keeping to a multiple of 4.