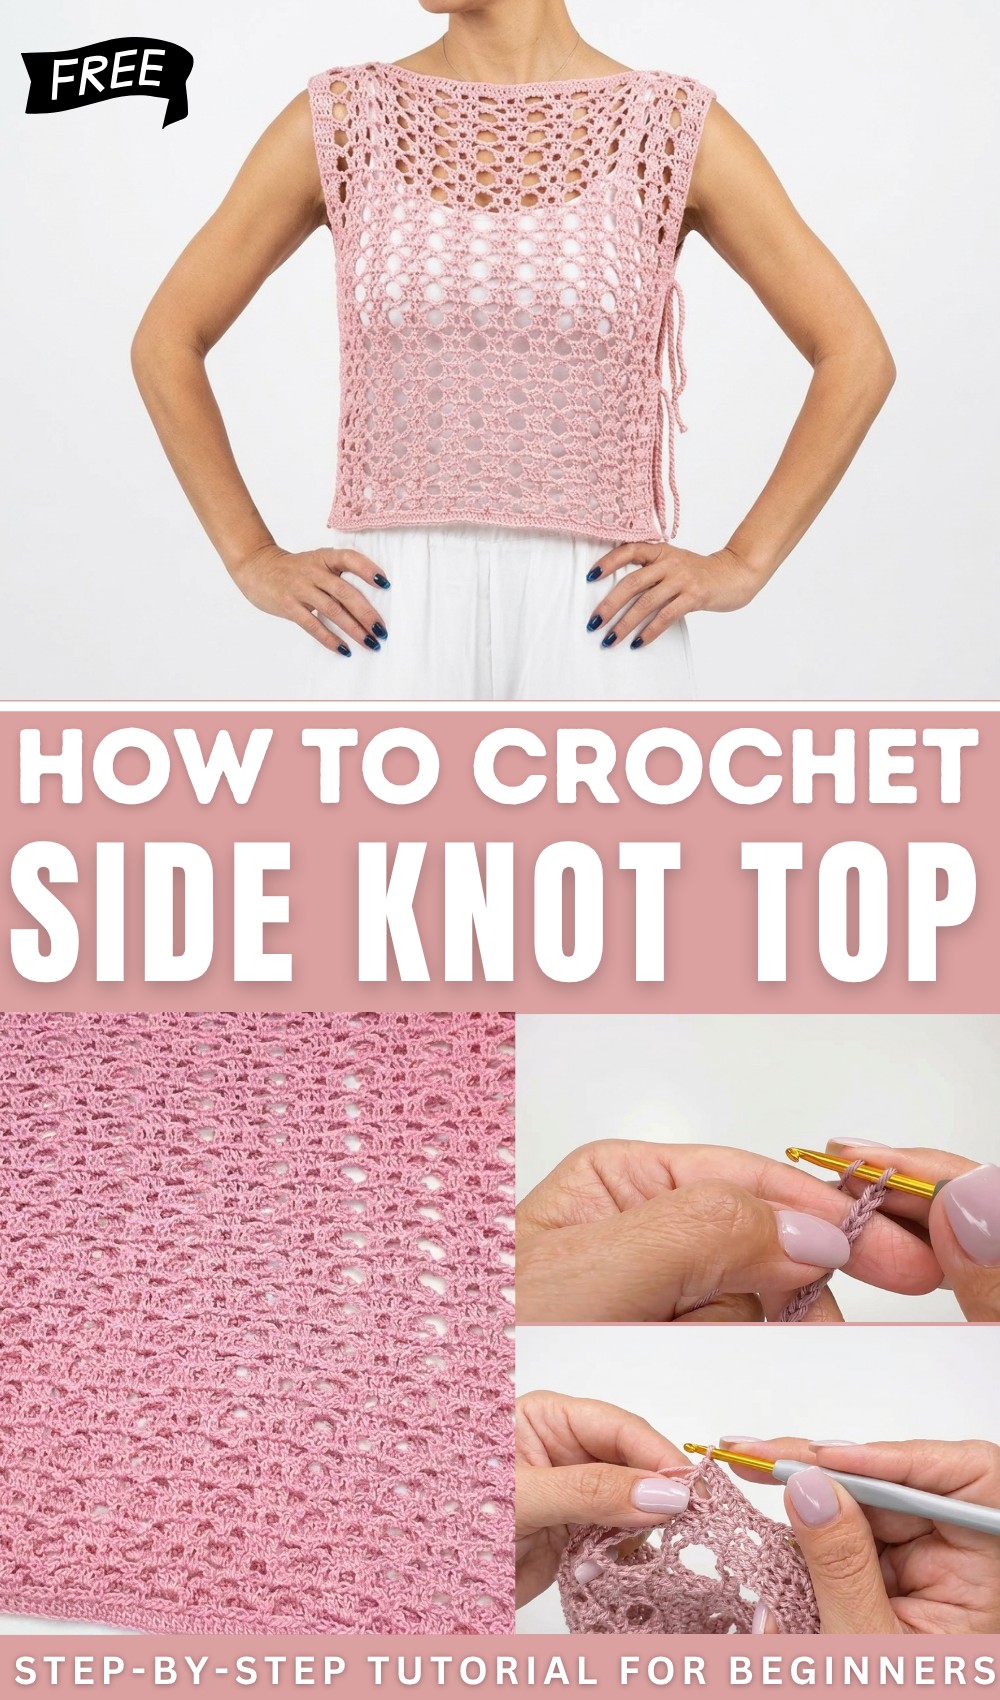
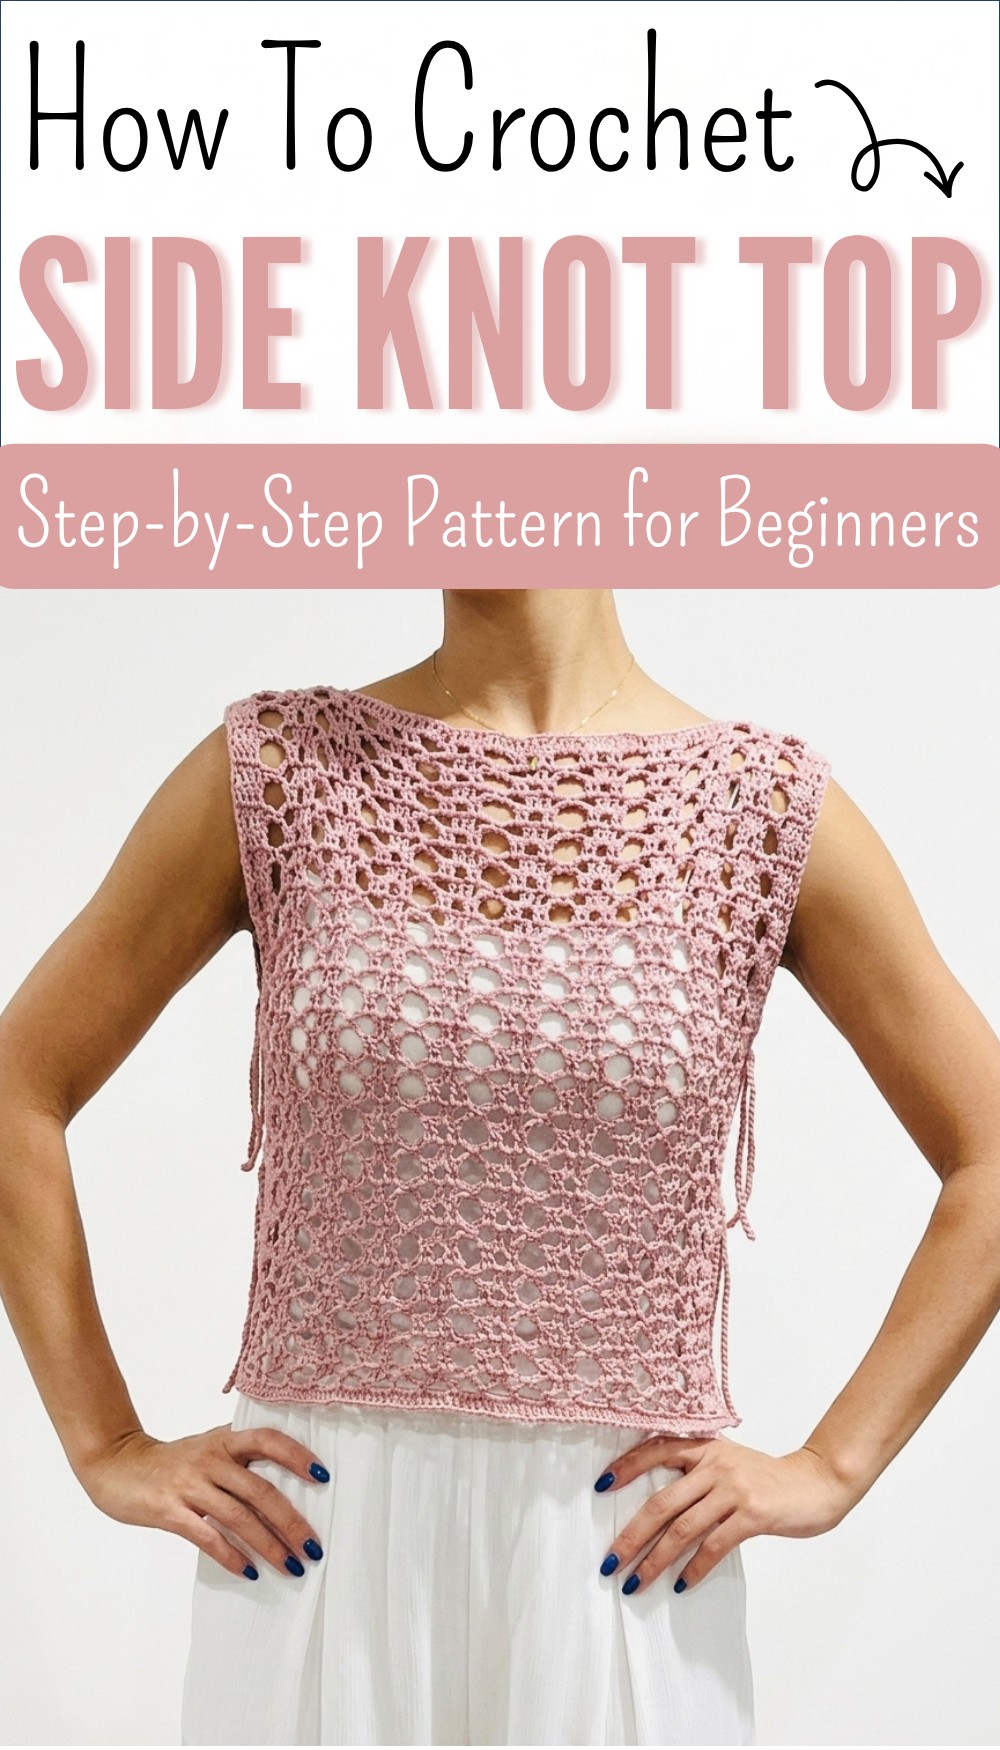
Easy Free Crochet Side Knot Top Pattern for Stylish Looks
Feel light and stylish every day with a free crochet side knot top pattern that offers comfort and an easy fit for your favorite casual look.
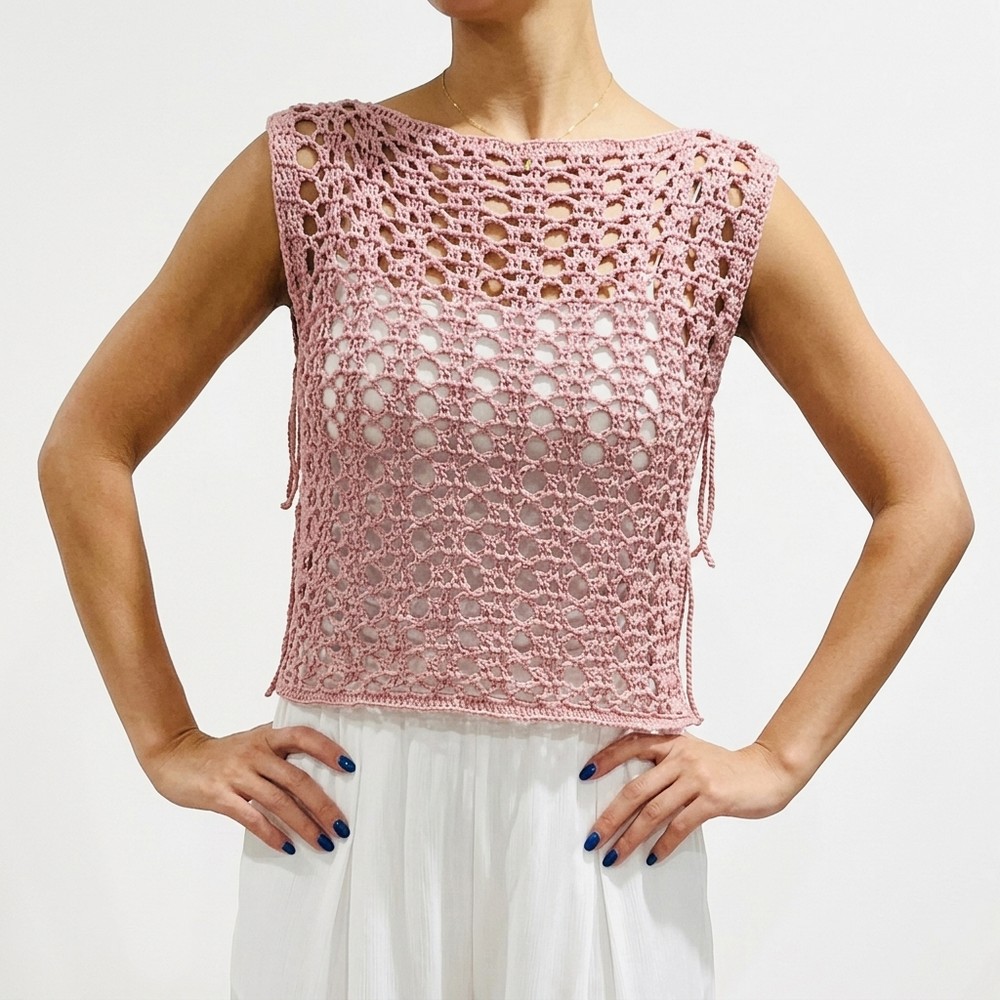
It looks so lovely and fresh when you see a top with little holes and soft blue color that feels light and breezy on the skin. The sides are open and can be tied with pretty knots made by simple laces giving it a fun look that you can make loose or tight as you like. This Crochet Side Knot Top pattern uses only easy stitches and soft cotton yarn so anyone can make it by using just a hook and their hands.
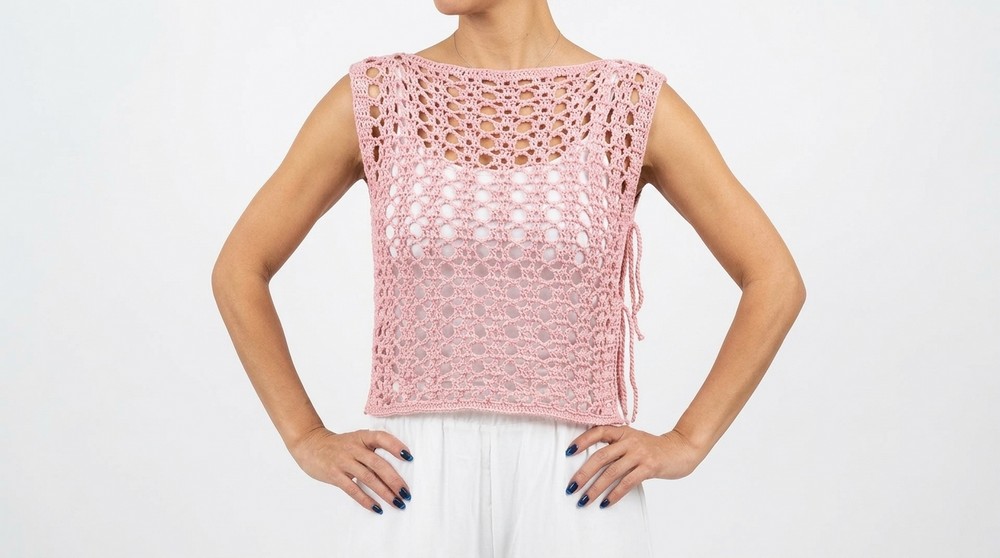
Free Crochet Side Knot Top Pattern You’ll Love Wearing
It fits many body shapes and you can wear it in warm weather over a T-shirt or put it over another shirt to keep cozy in cooler days. The top is not heavy and lets air move through the lace so you feel cool and happy all day. With this style you can look nice and feel comfortable at home outside or even when you visit friends.
Openwork Side-Tie Crochet Blouse Pattern
Materials
- Yarn: Anne Libyan 100% mercerized cotton (sample uses blue color)
- Hook: 3.5 mm
- Stitch markers (optional, for marking shoulders and openings)
- Measuring tape
- Scissors
- Yarn needle for weaving in ends
Key Abbreviations (US Terms)
- ch = chain
- sc = single crochet
- dc = double crochet
- sl st = slip stitch
- st(s) = stitch(es)
- rep = repeat
- sp = space
- beg = beginning
Special Notes
- The pattern is designed as two rectangular panels (front and back), seamed at the shoulders and laced at the sides for adjustable fit.
- Sizing can be altered by changing the number of starting chains (multiple of 10 + 5) and/or the number of rows.
- Side ties are created with chain loops and slip stitches for adjustability.
- This project is modular and suitable for various skill levels.
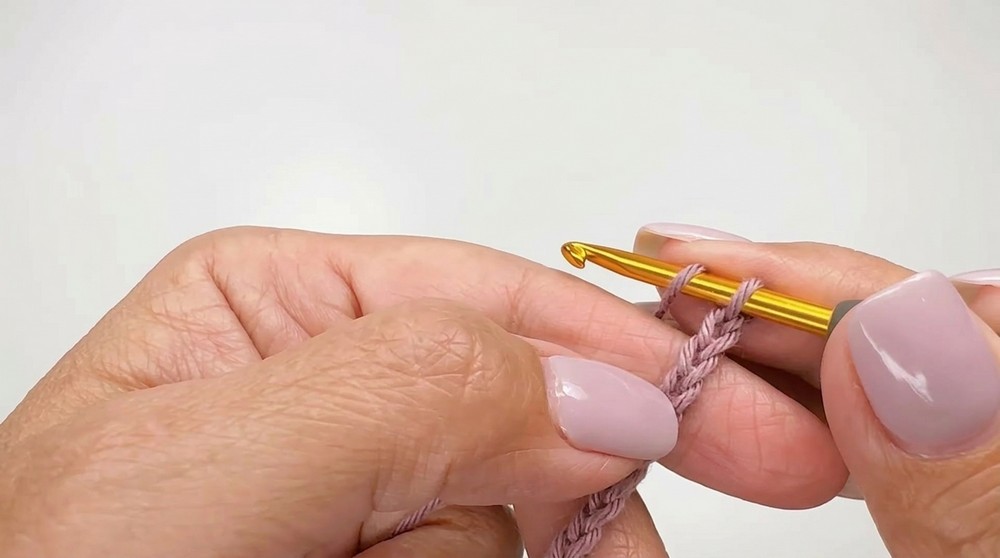
Step-by-Step Pattern
1. Front Panel (make 1)
Foundation Row
- Ch 85 (multiple of 10 + 5; sample: 80 + 5 for a medium size).
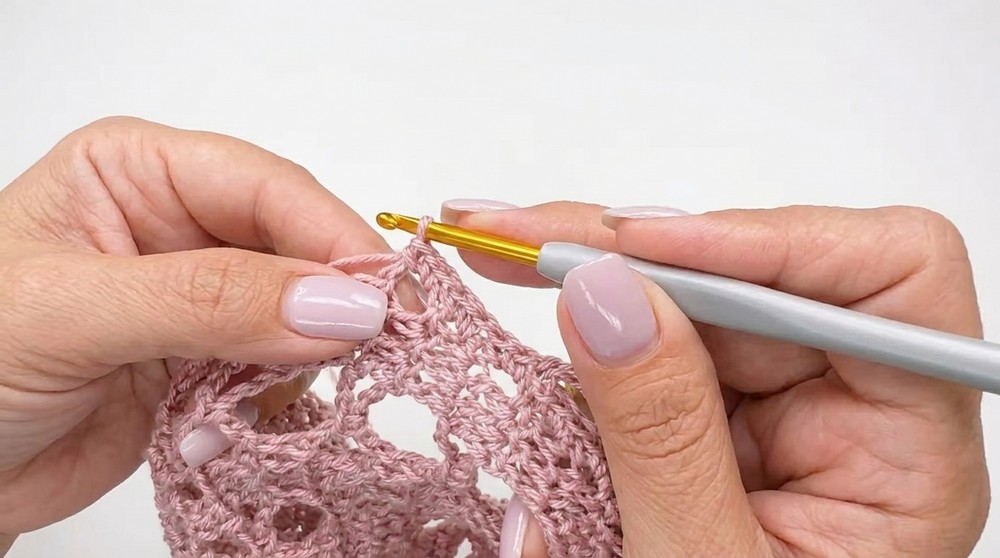
- Row 1: Dc in 4th ch from hook (counts as first dc), dc in each ch across. (Total: 82 dc)
Row 2
- Ch 3 (counts as dc, turn), dc in next 3 dc (4 dc at the edge),
- *(Ch 5, sk 3 sts, sc in next st), rep from * as needed across to last 4 sts,
- Ch 5, sk 3 sts, dc in last 4 sts.
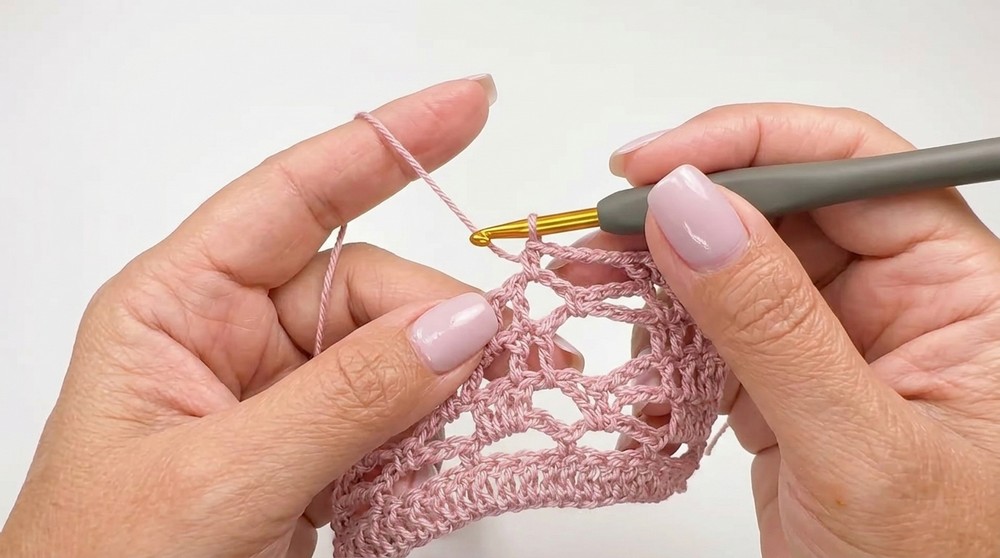
Row 3
- Ch 3 (turn, counts as dc), dc in next 3 dc,
- Ch 3, sc in the middle of ch-5 sp, ch 3; in next ch-5 sp work (3 dc): dc, dc, dc,
- Rep from * across, ending with ch 3, sc in ch-5 sp, ch 3, dc in last 4 dc.
Row 4
- Ch 3 (turn), dc in next 3 dc,
- Ch 5, in the 3-dc group: dc in sp before first dc, dc in next dc, ch 1, sk 1 dc, dc in last dc, dc in sp after last dc, ch 5,
- Rep across, end with dc in last 4 dc.
Row 5
- Ch 3 (turn), dc in next 3 dc,
- Ch 3, sc in ch-5 sp, ch 3; in the dc and ch-1 section, dc in 2nd dc, dc in ch-1 sp, dc in next dc (3 dc cluster);
- Rep as established, ending with ch 3, sc in ch-5 sp, ch 3, dc in last 4 dc.
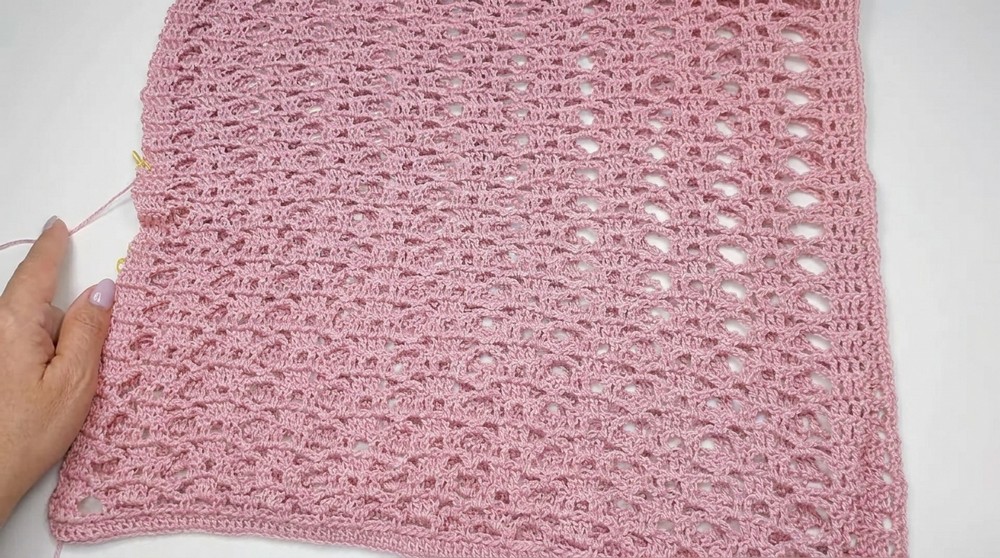
Pattern Repeat
- Alternate Row 4 and Row 5 for pattern.
- Continue until you have 38 total rows (or until your desired length to the shoulder).
- The final row (Row 39): Work a full row of dc as follows:
- Ch 3, dc in next 3 sts, 3 dc in each ch-5 sp, dc in every dc and in each ch-1 sp as appropriate, maintaining the 4-dc edge at both ends.
2. Back Panel
- Repeat instructions for Front Panel.
3. Joining Shoulders
- Line up front and back with right sides facing out.
- With yarn and hook, use slip stitch seam across the shoulders:
- Insert hook into 3rd ch (top of ch-3/dc) of both panels, sl st.
- Continue slip stitching (going under “V” of edge on both panels) until shoulder width is closed.
- Fasten off and repeat for second shoulder.
4. Mark Armhole and Side Openings
- Use stitch markers to mark:
- Armhole: Leave approx. 19 cm from shoulder seam down unseamed.
- Bottom/Sides: From the bottom edge up, measure and mark where side ties will start (sample: 26 cm from hem).
- Mark also where side ties will go (at both armhole and bottom).
5. Side Edging and Ties
- Attach yarn at bottom corner of side seam.
- Work up one side as follows:
- 2 sc in each space along the edge until you reach first marker (indicating tie location).
- At marker: Ch 35 for side tie. Sl st back into 2nd ch from hook, sl st in each ch back to edge.
- Continue working 2 sc in each row-end space until you reach the next marker.
- At marker: Repeat ch 35 for second tie, then, again, sl st back to edge.
- Continue sc up to the armhole.
- Repeat for both sides (front and back), ensuring you make cord ties at all marked locations.
- End by working single crochet along all edges for a neat finish. Fasten off and weave in ends.
6. Finishing
- Try on piece; use side ties to lace and secure the front and back pieces for a fitted, adjustable blouse.
- Weave in all loose ends with the yarn needle.
Conclusion
This side-tie openwork blouse features a modern geometric lace motif, is customizable to your body and style preferences, and is versatile for summer or layered wear. The adjustable side ties make it flattering for many body types.
Pattern Correction & Tips
Pattern Correction:
- Maintain 4 dc at both ends (edges) of every row for a neat, squared-off structure.
- Always count starting chains for each repeating row and at the edges for accuracy.
- Make sure to work into spaces (not just top loops) for tidy lacework.
Tips:
- To modify sizing, chain more (or fewer) foundation stitches in multiples of 10, plus 5.
- For taller/longer blouses, simply repeat the main pattern rows until desired length.
- Block finished panels for best drape and appearance.
- The number of chains on the side ties can be adjusted for tighter or looser fit.