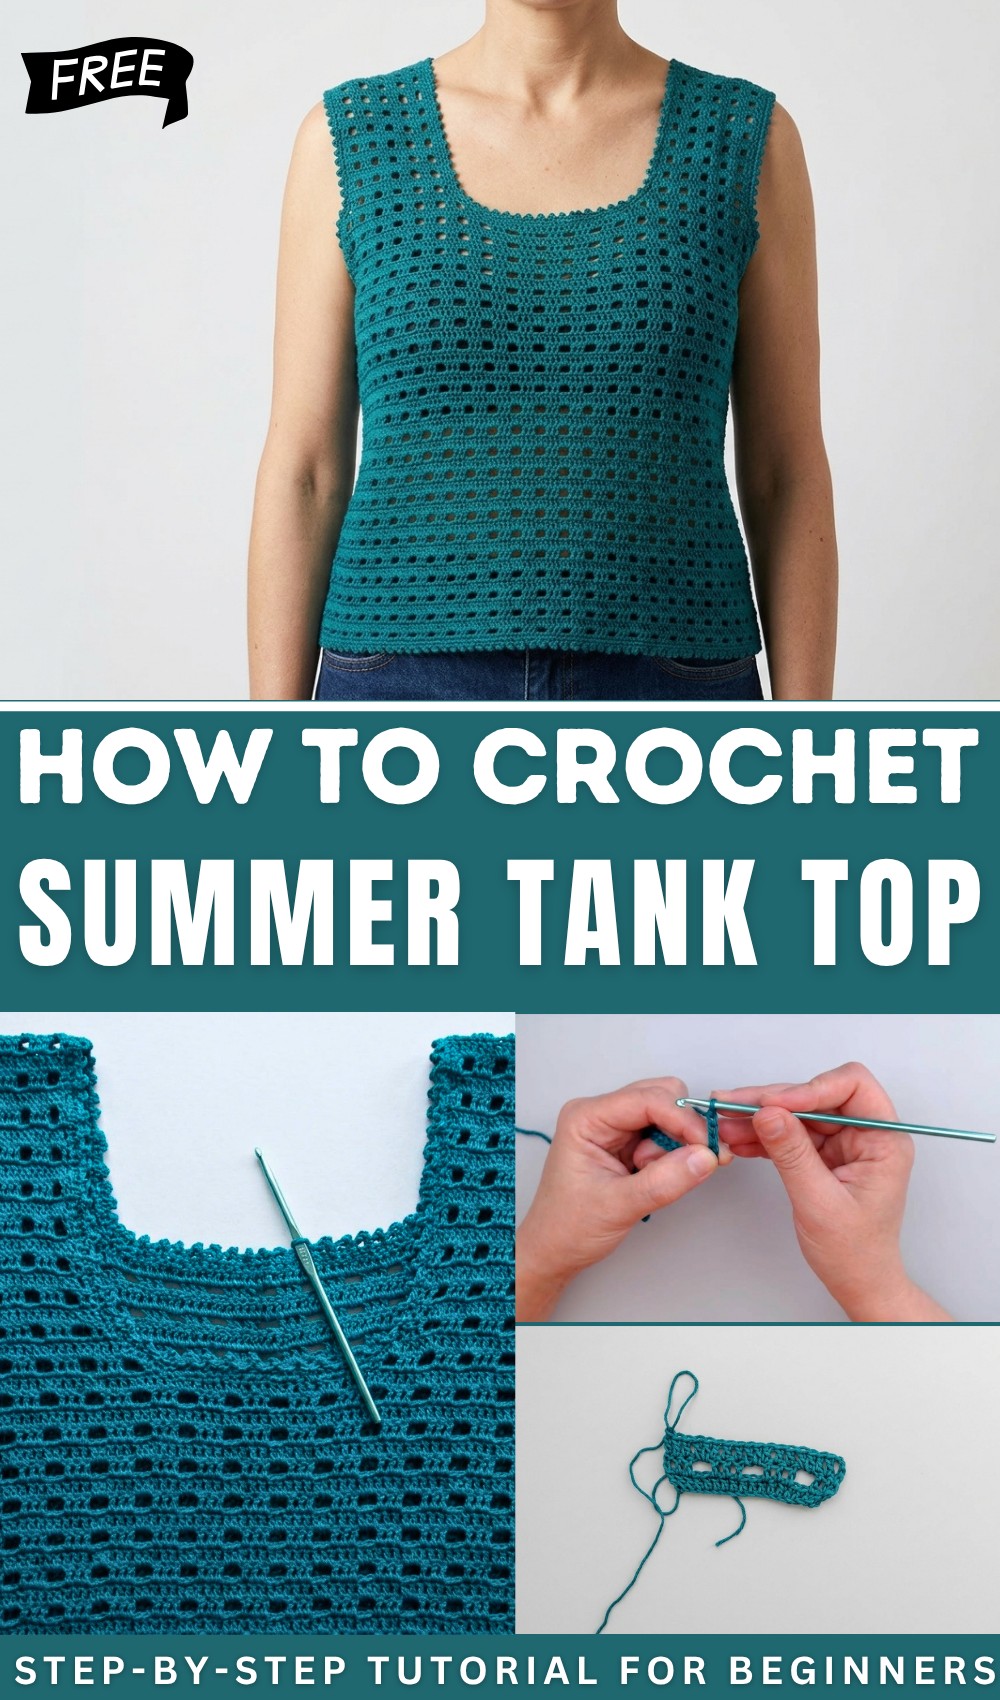
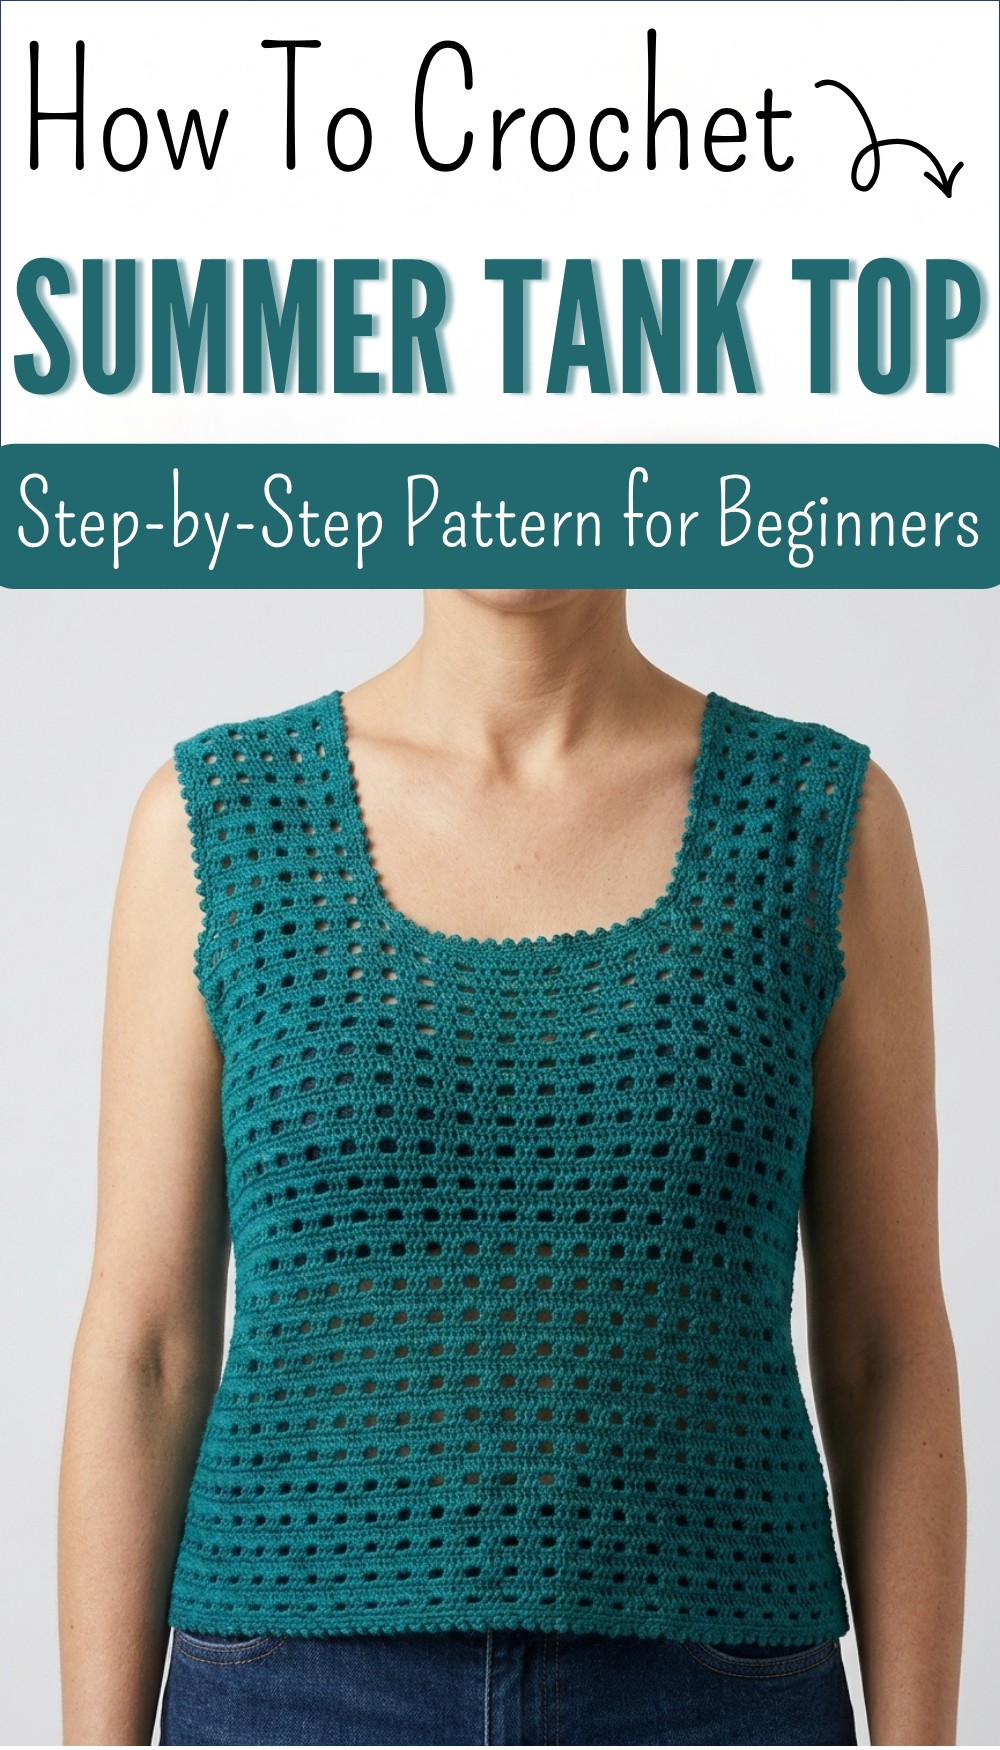
Free Crochet Tank Top Pattern with Step-by-Step Guide
Show your style with free crochet tank top pattern perfect for all ages that brings comfort and charm to your summer days and casual outfits.
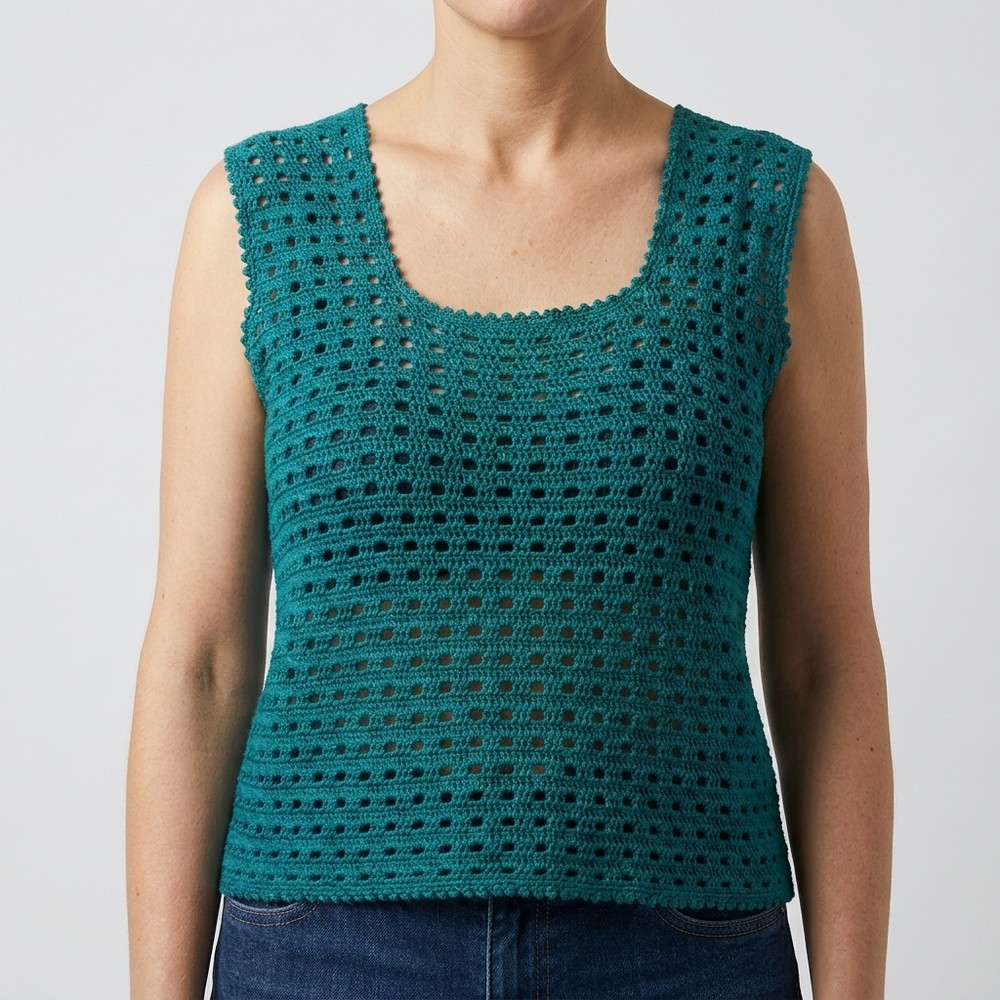
There is something special about wearing clothes made with your own hands because each piece has your care and heart in it. A colorful top that sits softly on your shoulders and keeps you cool feels light as air. With a crochet tank top pattern you get to make a lovely shirt that shows small holes like little windows letting the breeze touch your skin. The crochet tank top pattern helps you create a comfy top that matches your style and is soft against your body.
Best Free Crochet Tank Top Pattern for Summer
The design is simple and fits every body to give you comfort for sunny days or layering with other clothing when nights are cool. It can be made in beautiful bright colors or soft shades so everyone can find their favorite. You just need a hook and thread to follow easy steps and soon you will have something to wear that brings joy. The style is fresh and fun and it is nice for both children and grownups who want something new and cozy for any time of year.
Simple Mesh Crochet Vest Pattern
Materials
- Yarn: Scottish thread no. 8 (or similar high quality cotton, fine weight)
- Hook: 2.5 mm crochet hook
- Yarn needle: For seaming and weaving in ends
- Measuring tape: For custom sizing and checking gauge
- Stitch markers: Optional, to help mark armholes, neckline, and shaping
- Scissors
Key Abbreviations (US Crochet Terms)
- ch = chain
- dc = double crochet
- sc = single crochet
- st(s) = stitch(es)
- rep = repeat
Special Notes
- The pattern is constructed as two flat panels (front & back), joined at the shoulders and sides.
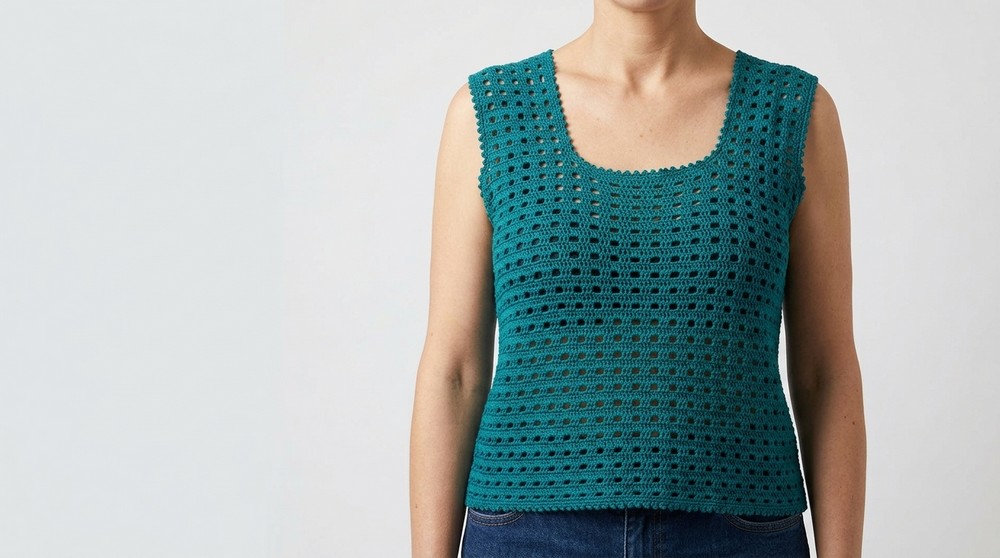
- The fabric is worked in a mesh pattern: groups of 3 dc, separated by 2 ch, with every third row a solid double crochet row.
- The starting chain is a multiple of 5 + 3 additional chains.
- Straps and neckline shaping are made simply by leaving sections unworked when desired length/placement is achieved.
- Both necklines and armholes are finished with a round of sc and a round of crab stitch (reverse sc) for a refined edge.
Step-by-Step Pattern
Panel Instructions (Make 2: Front and Back)
You may adjust panel length/width for your size.
Sample Size M/L:
- Foundation chain: 135 ch + 3 ch = 138 ch
- Panel width: 50 cm
- Panel height: 34 cm (work more or fewer rows for longer/shorter vest)
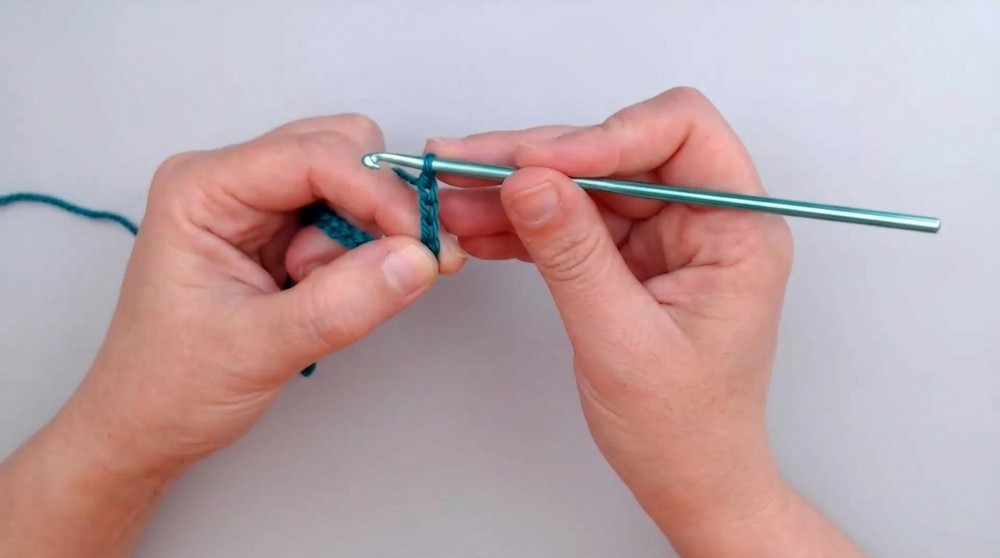
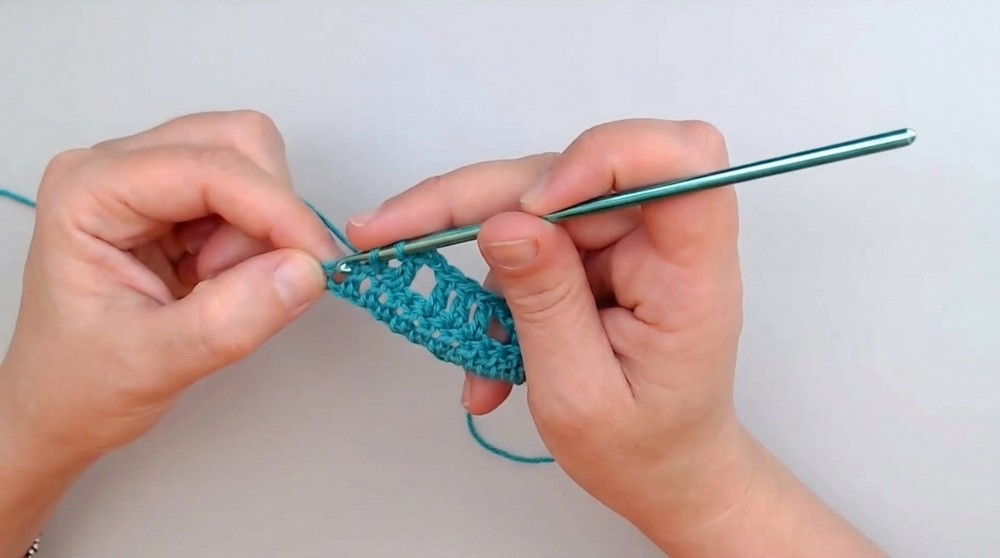
1. Foundation Row
- Using a 2.5 mm hook, ch a multiple of 5 for your desired width, then ch 3 more.
- (Sample: ch 138)
2. Row 1 (Solid dc)
- Dc in 4th ch from hook (first 3 ch count as first dc).
- Dc in each ch across.
- (You should have the same number of dc as your starting chain.)
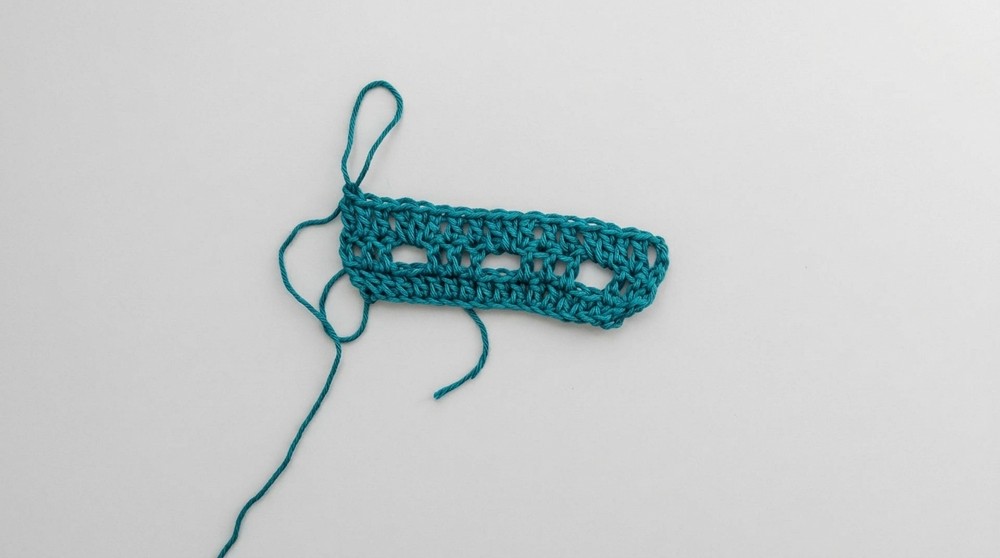
3. Row 2 (Mesh Pattern)
- Ch 3 (counts as first dc), turn.
- Dc in next 2 sts (3 dc total including turning ch).
- *Ch 2, skip next 2 sts, dc in next 3 sts. Rep from * across.
- End with 3 dc at the edge (if your foundation chain is correct, this will align).
- Turn.
4. Row 3 (Solid dc)
- Ch 3, turn.
- Dc in next 2 dc.
- *2 dc in next ch-2 sp, dc in each of next 3 dc. Repeat from * across row.
- Always place 2 dc into each ch-2 space, 1 dc in each dc below.
- End with final stitches on edge as established.
5. Repeat Rows
- Alternate Row 2 (Mesh Pattern) and Row 3 (Solid dc) until your panel measures desired length.
- End with a solid dc row.
- (Sample: 34 cm height.)
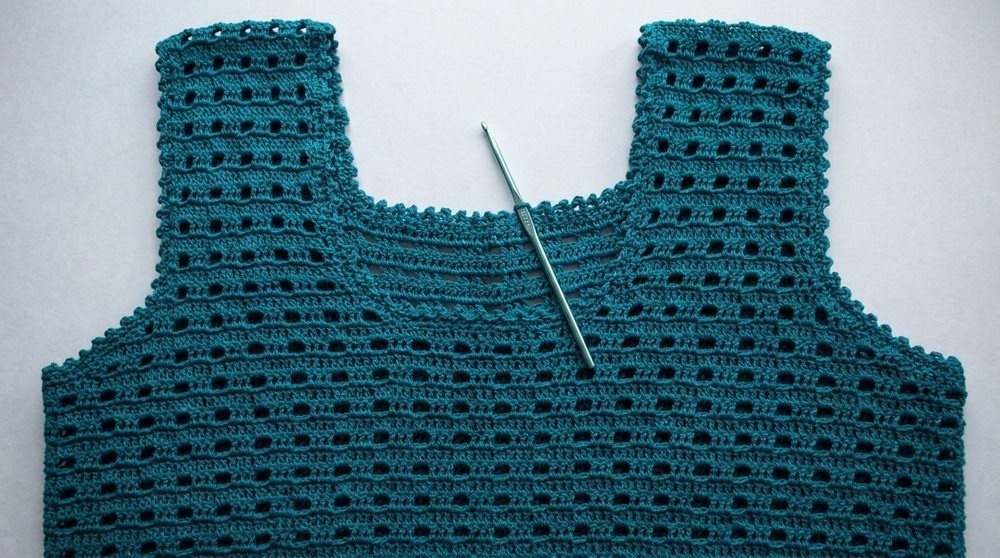
Strap & Neckline Shaping
Straps are worked over the first and last few sts; the center is left unworked for the neckline opening.
- To form armhole/sleeve area, work only on the first and last (outer) 8 cm of your panel, leaving the center 24 cm unworked for neckline.
- Continue strap/shoulder segments for 16 cm in length (or desired).
- Fasten off.
Tip: The back strap/neckline is often raised higher (less deep) than the front for a better fit.
Assembly
- Sew Shoulder Seams:
- Align front and back panels, RS facing.
- Sew straps together at shoulders (both sides), matching widths.
- Sew Side Seams:
- With measuring tape, mark sides, leaving about 24 cm (or as preferred) open for armholes.
- Sew front to back along the side seam from the hem upwards, stop at armhole marker.
- Repeat for both sides.
Finishing
- Neckline, Armhole & Waist Edging:
- With RS facing, join yarn at any point.
- Work 1 round of sc evenly around neckline, armholes, and hem/waist.
- Then work 1 round of crab stitch (reverse sc) for a decorative finish.
- Weave in all loose ends.
- Block vest lightly if needed for drape and fit.
Sizing Note
- If you have a larger bust and/or a significant underbust circumference difference, you can make the front panel a few centimeters wider than the back, as desired.
Conclusion
This project creates a classic, minimal vest with refined finishing. The mesh stitch keeps it breezy and comfortable while the simple construction allows for easy adjustments. The delicate finishing details and neat seaming make this a wardrobe staple that is both elegant and wearable throughout the seasons.
Pattern Correction & Tips
- Check stitch counts after the mesh and solid rows: you must maintain the same number of stitches at the start and end for straight, even panels.
- Mark strap, neckline, and armhole depths before seaming for symmetry.
- Finish solid rows before starting straps for neatness.
- The crab stitch edging adds firmness and a professional finish.
- Custom fit: Adjust starting chain and number of rows for width and length.
- Use a smooth, high-quality cotton for the best stitch definition and durability.