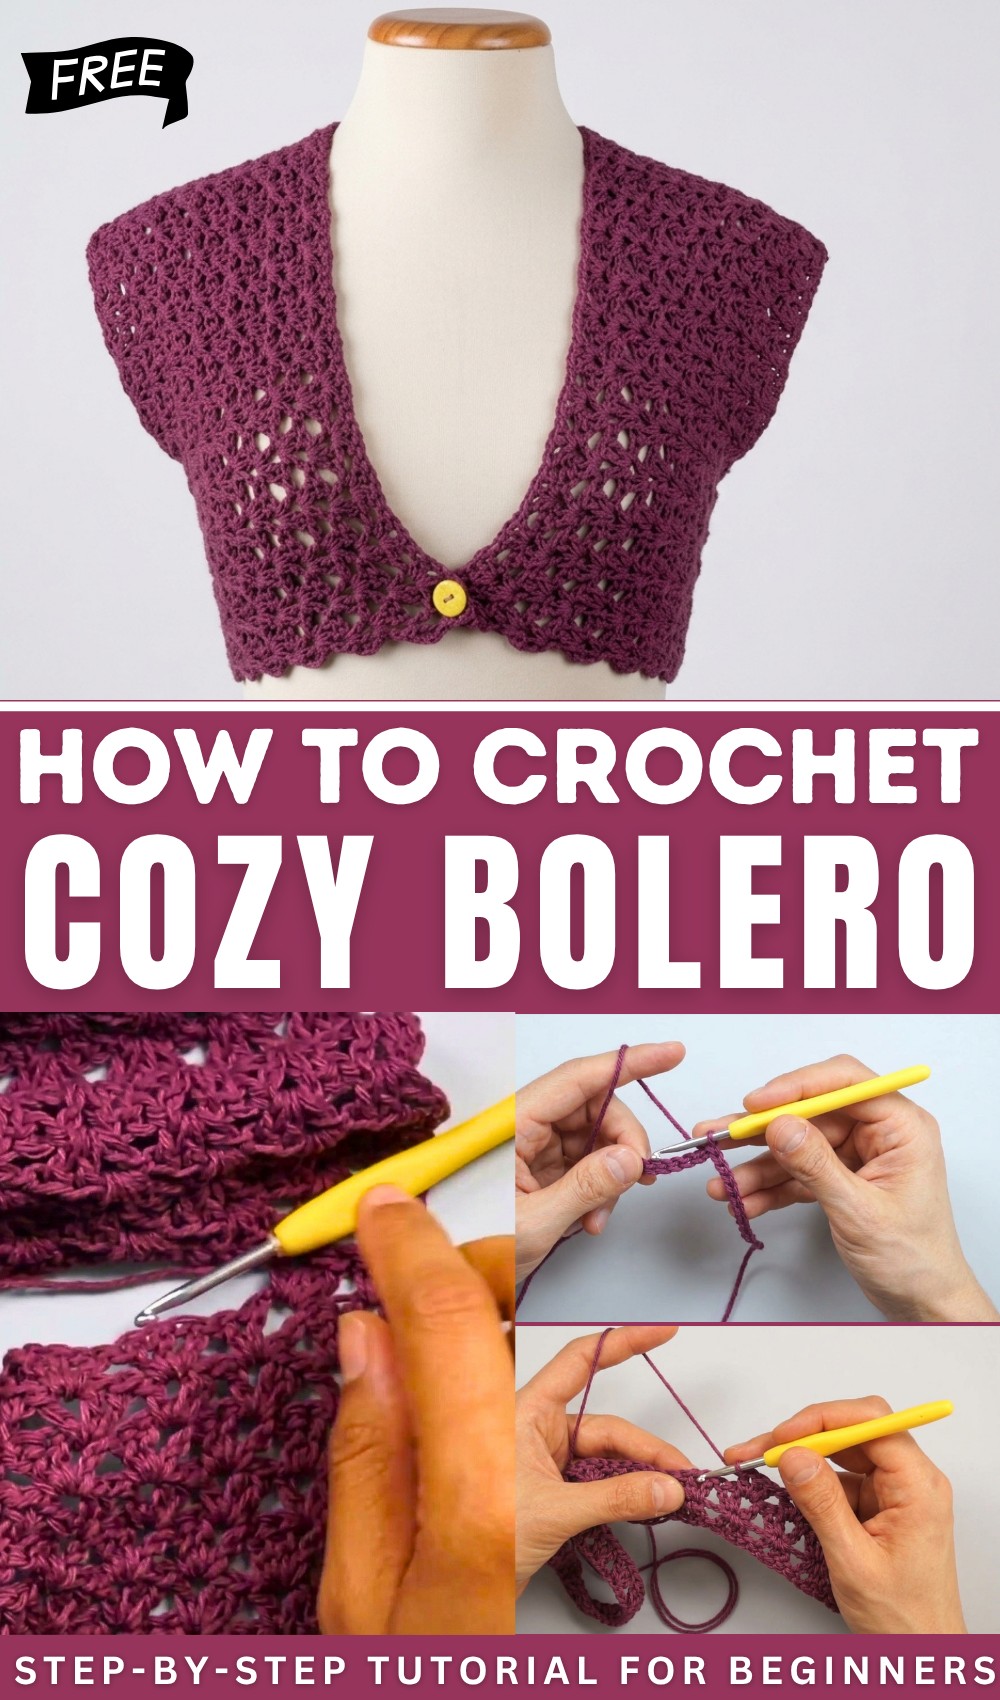
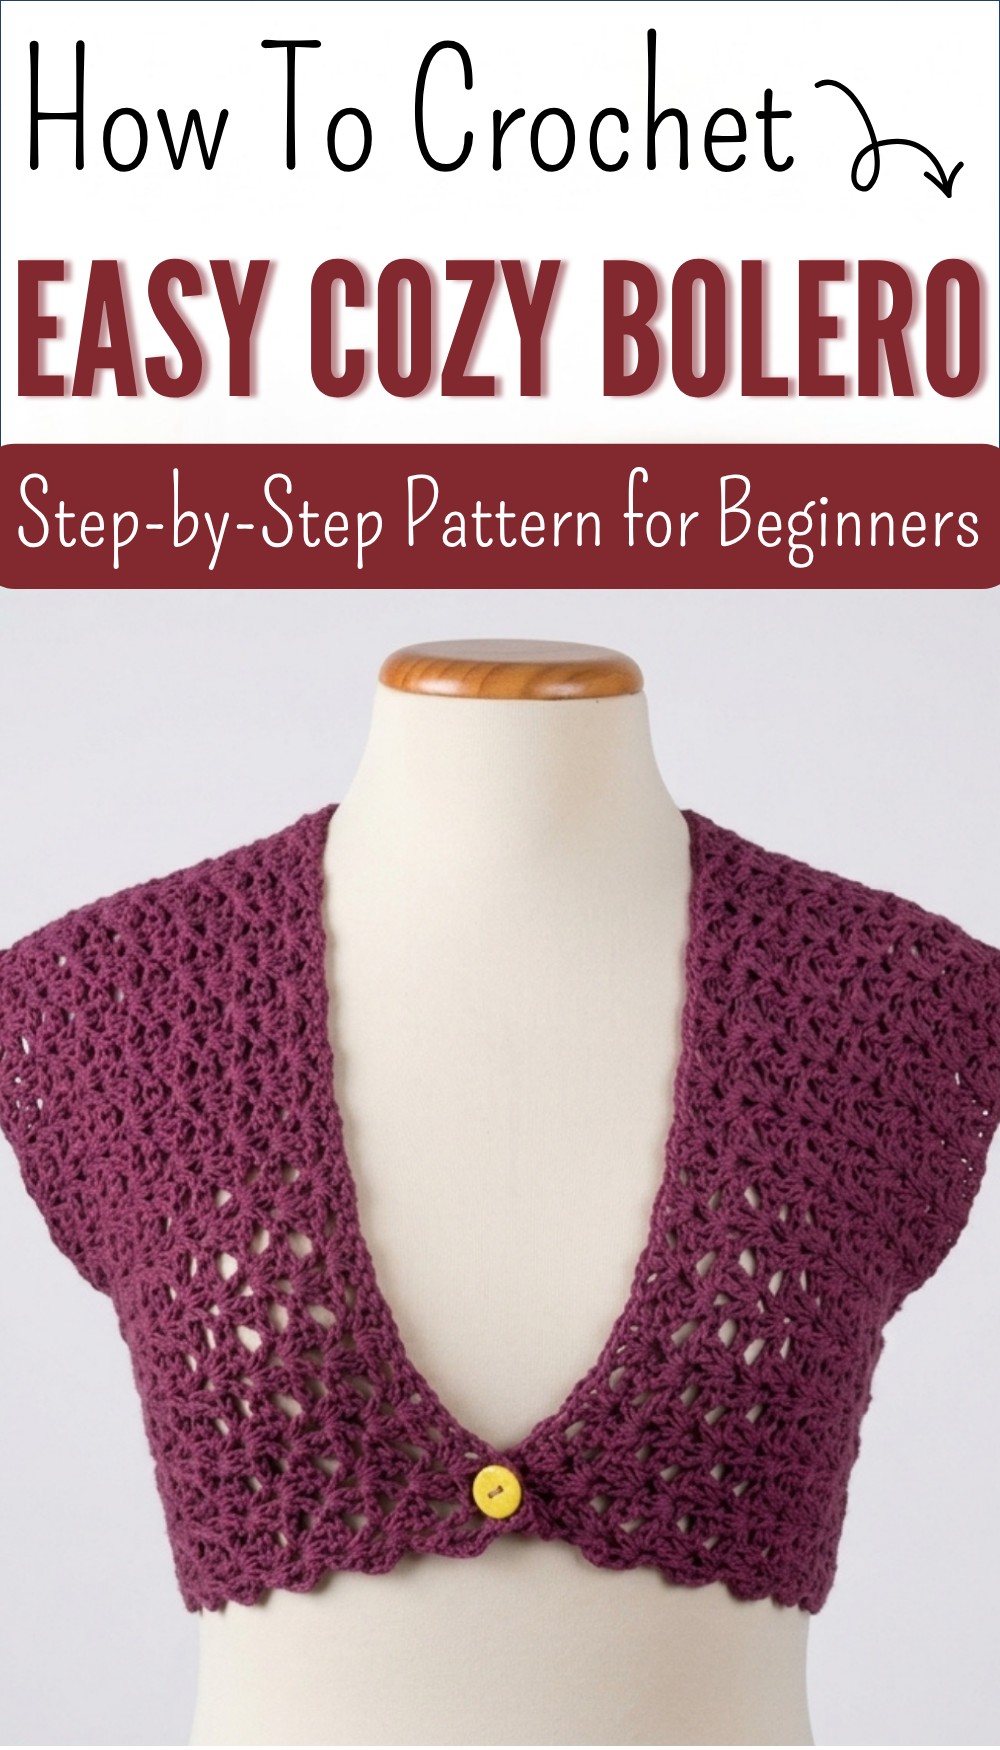
How to Crochet Bolero Free Pattern – Step by Step
Style your outfits with this free crochet bolero pattern, for adding light comfort and pretty touch to any look just right for every season.
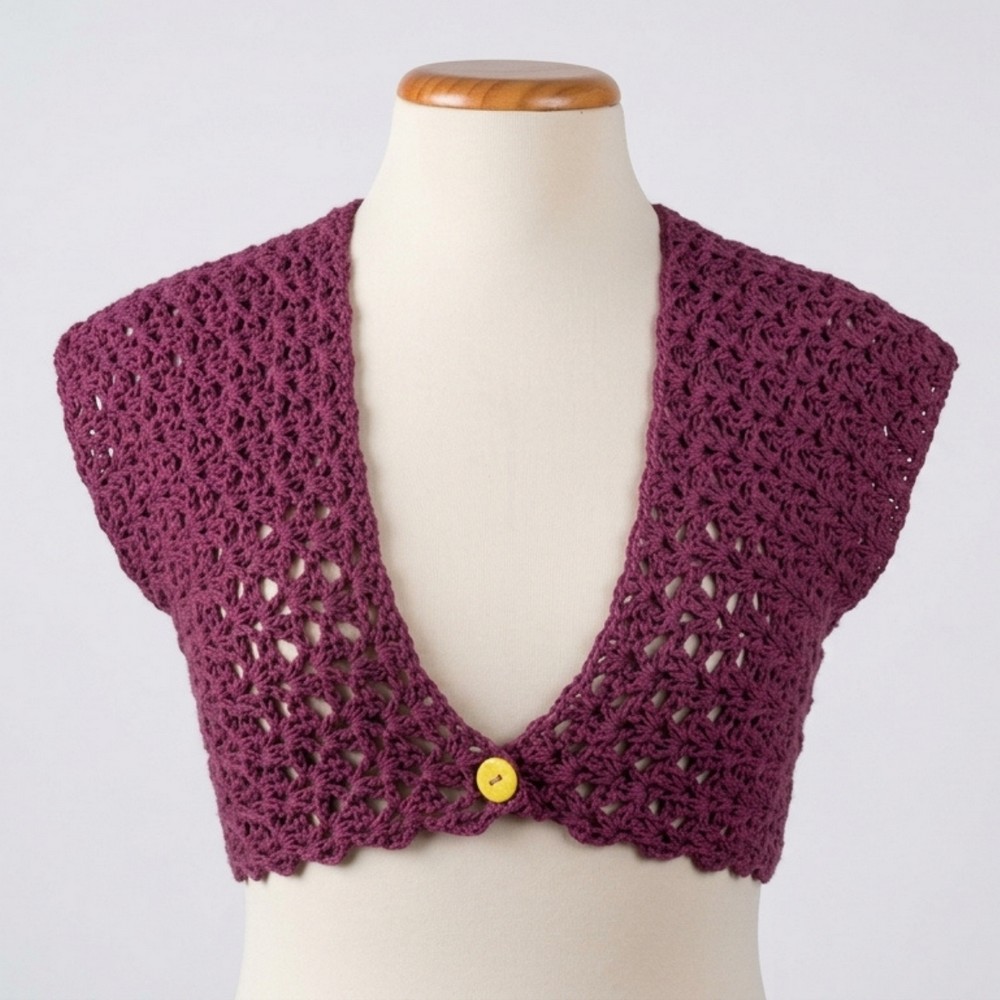
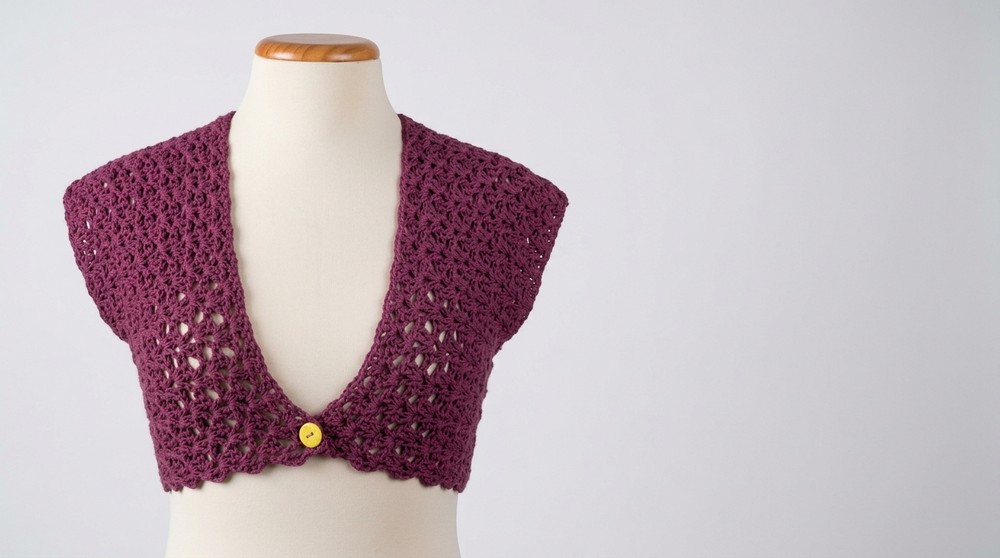
A little jacket that sits on the shoulders and covers your back can bring big smiles and make anyone feel special even with simple clothes. Bright colors or soft ones look nice and can match what you wear every day. A crochet bolero pattern gives you a short jacket made with thread and hook and it often has pretty holes and shapes that look like flowers or nets.
Beautiful Crochet Bolero Pattern—Easy and Free
People use this for covering arms or making a dress feel different and new. The shape is small so it feels light and is not hot. You can use it for parties for staying cozy or just for showing a little style when you step outside. It is easy to wear and does not need buttons. The design like you see in the videos lets you use one or two colors and you can finish one in a short time even with simple steps.
Simple Seamless Crochet Bolero (Size M, Easily Adjustable)
Materials
- Yarn: Approx. 200g 100% cotton yarn (manufacturer recommends 4.0 mm hook)
- Hook: 4.0 mm & 4.5 mm crochet hooks (use larger for looser drape if desired)
- Scissors
- Yarn needle
- Stitch markers (optional, for marking joins)
- Button or laces (optional, for closure)
Key Abbreviations (US Terms)
- ch = chain
- sl st = slip stitch
- dc = double crochet
- st(s) = stitch(es)
- rep = repeat
Special Notes
- The bolero is constructed from two identical pieces, each worked in a round for the shoulder/armhole portion, then extended in rows for back length.
- The assembly joins the pieces at the back.
- All increases/decreases are made in multiples of four for a seamless fit.
- The main motif is a “fan”: 2 dc, ch 1, dc into the same space, repeated at regular intervals.
- Adjust starting chains and number of motifs for size and fit.
Pattern
PART A: Make 2 Identical Pieces
1. Armhole Foundation (Round)
- Ch 72 (for size M; adjust in multiples of 4 for other sizes).
- Join with a sl st to the first ch to form a ring (be careful not to twist).
- This circumference fits approx. 88 cm chest for size M.
2. Base Length Foundation
- From the starting point, ch 17 (multiple of 4 + 1; adjust for desired bolero length).
- This forms the base/length of the bolero from shoulder outward.
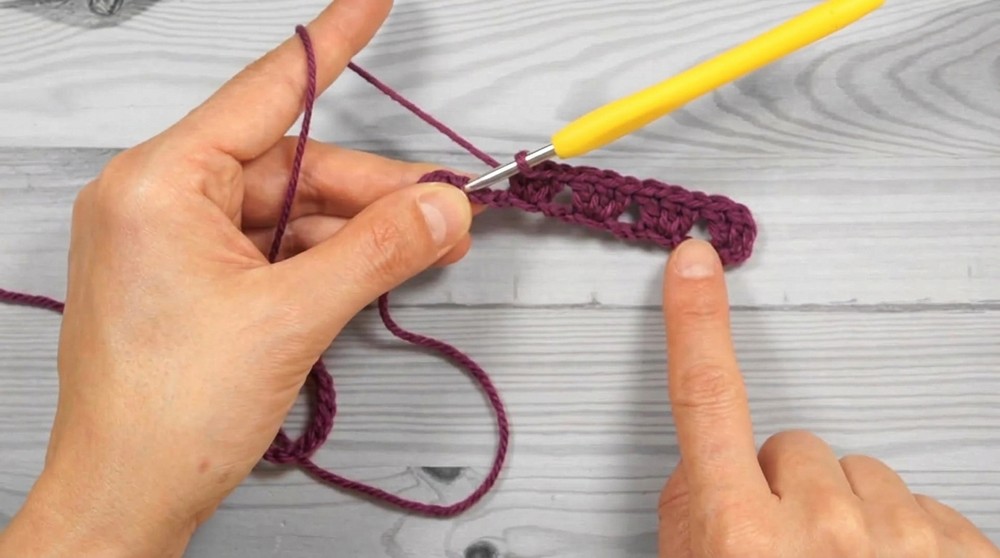
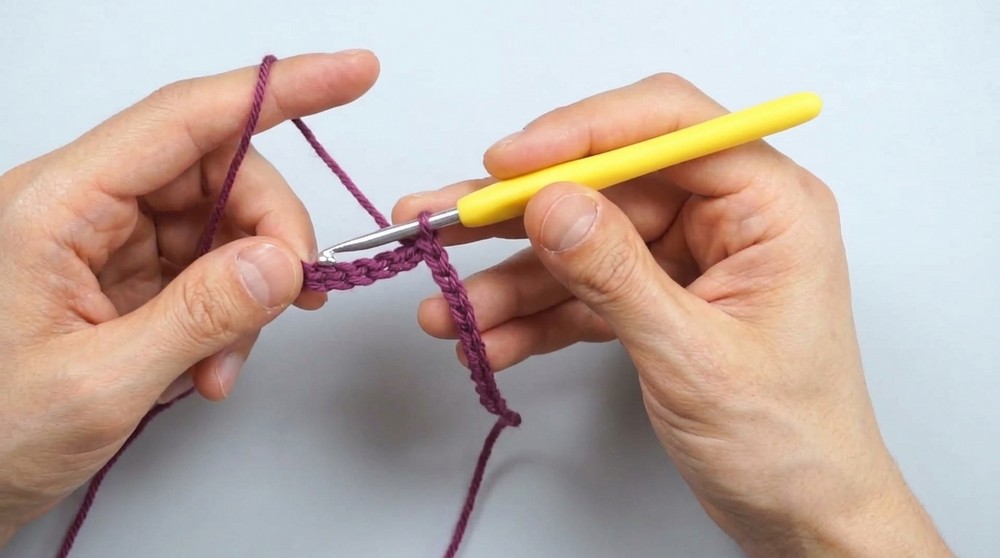
3. First Motif Round
- Motif: (2 dc, ch 1, dc) in SAME stitch/space.
- Work as follows:
- Ch 3 (counts as first dc), dc in same st, ch 1, dc in same st (1 motif/fan).
- Skip 3 ch, in 4th ch work: dc, dc, ch 1, dc (motif).
- Rep from * around armhole ring and along base chain as described.
- When you reach the center armhole (after 19 motifs for a 72-chain ring), continue to work 4 motifs evenly spaced along the 17 foundation chains.
- Continue motif pattern all the way back to the round’s start. Join if needed.
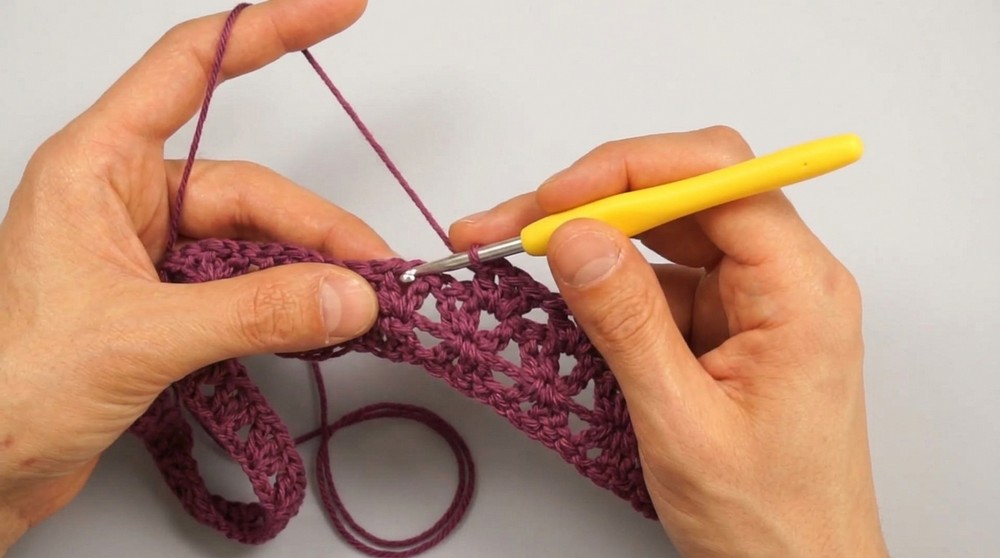
4. Continue Pattern (Rows/Rounds)
- There should be 19 motifs around the ring (shoulder), then 4 along the base (length).
- At end of motif round, turn your work. You will now work back and forth in rows.
- For each row:
- Ch 3 (counts as dc), in ch-1 sp (of previous motif), work: dc, ch 1, dc (complete motif).
- Continue (2 dc, ch 1, dc) in every ch-1 sp.
- Turn at the end of each row.
- Repeat for 13 rows/rounds for the first piece.
- For the second piece, work 14 rows—this piece will be joined to the first in the assembly row.
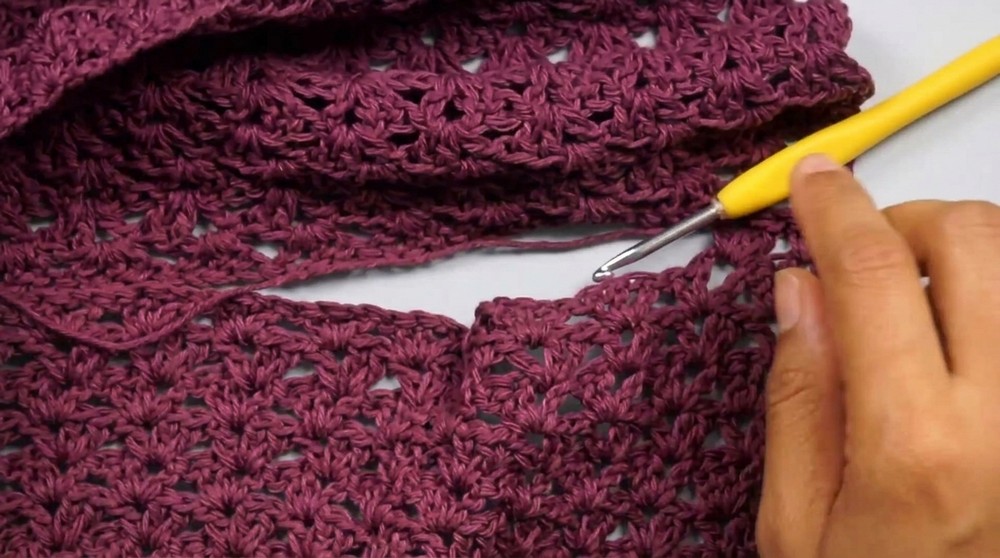
PART B: Joining Both Pieces
5. Joining Row
- With RS facing, hold pieces as they will be joined at the back.
- On your row 14 piece, start a new row as established and, when you reach the base/ch-1 sp of a motif,
- Work (2 dc), then join to the matching motif of the 13-row panel with a sl st in its ch-1 sp, instead of the chain separation.
- Finish motif with another dc.
- Continue joining both panels together in this manner over 10 motifs/fans.
- Complete the row as established on any remaining unjoined motifs.
- Fasten off.
PART C: Closure Options & Finishing
- Button:
- In the final motif on each side, optionally work 4 dc (no ch in between) for a thicker edge.
- Sew button in place, or
- Laces:
- Make two chain laces and tie on each final motif for closure.
- Finishing:
- Cut yarn, weave in all ends using yarn needle.
- Block lightly if desired.
Sizing Adjustments
- To adjust WIDTH (armhole/circumference): Start with more/fewer chains in multiples of 4.
- To adjust LENGTH: Add more chains to foundation chain (multiple of 4 + 1).
- For larger/smaller overall size, increase/decrease number of motif repeats across the piece.
Conclusion
This bolero is ideal for beginners, constructed from two simple, identical pieces, and joined seamlessly at the back. Its flexible method allows easy customization for fit, length, or sleeve depth. Minimal finishing and optional closures (button or ties) make this a versatile wardrobe addition.
Pattern Correction & Tips
- Work motif fans carefully: Each motif is made in a ch-1 sp; be consistent for neat, even pattern emergence.
- Count stitches and motifs: Ensure you have 19 motifs around the shoulder ring before continuing; this guarantees symmetry.
- Sewing/joining: Slip stitch join for motifs is nearly invisible—avoid extra chains when joining so the seam is smooth.
- Adaptation: Always check your measurements and adjust motif count before joining pieces.
- Finishing: Weave all ends neatly; blocking the finished bolero improves drape and stitch appearance.