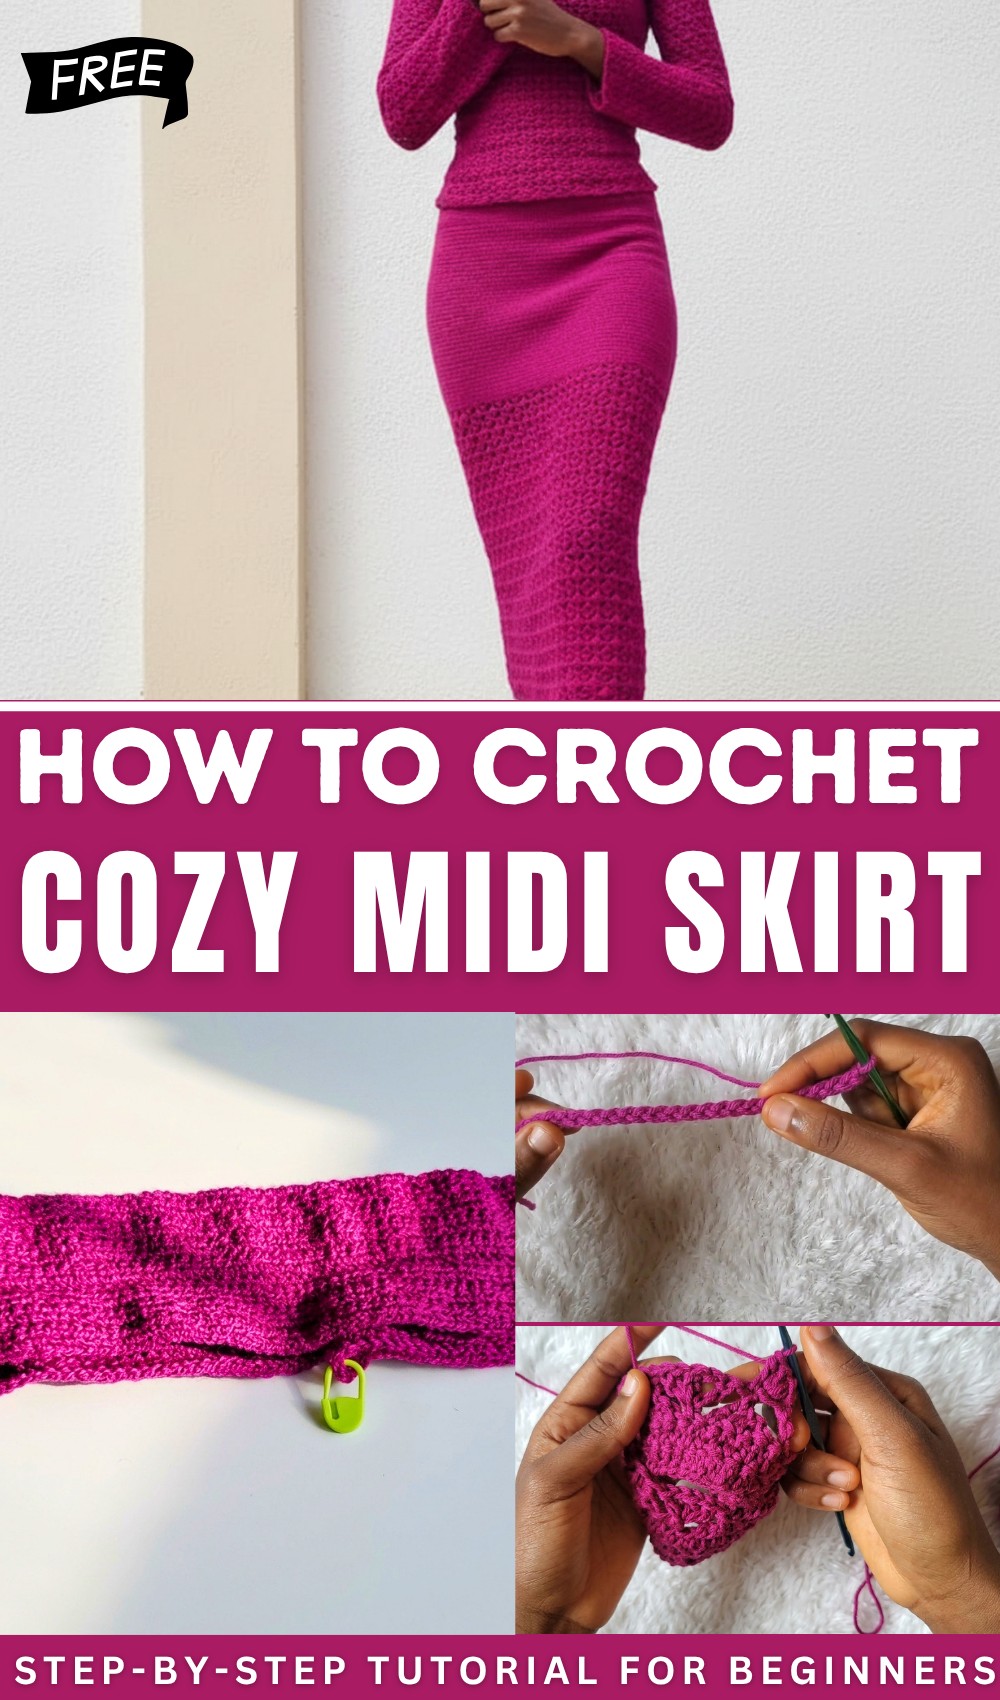
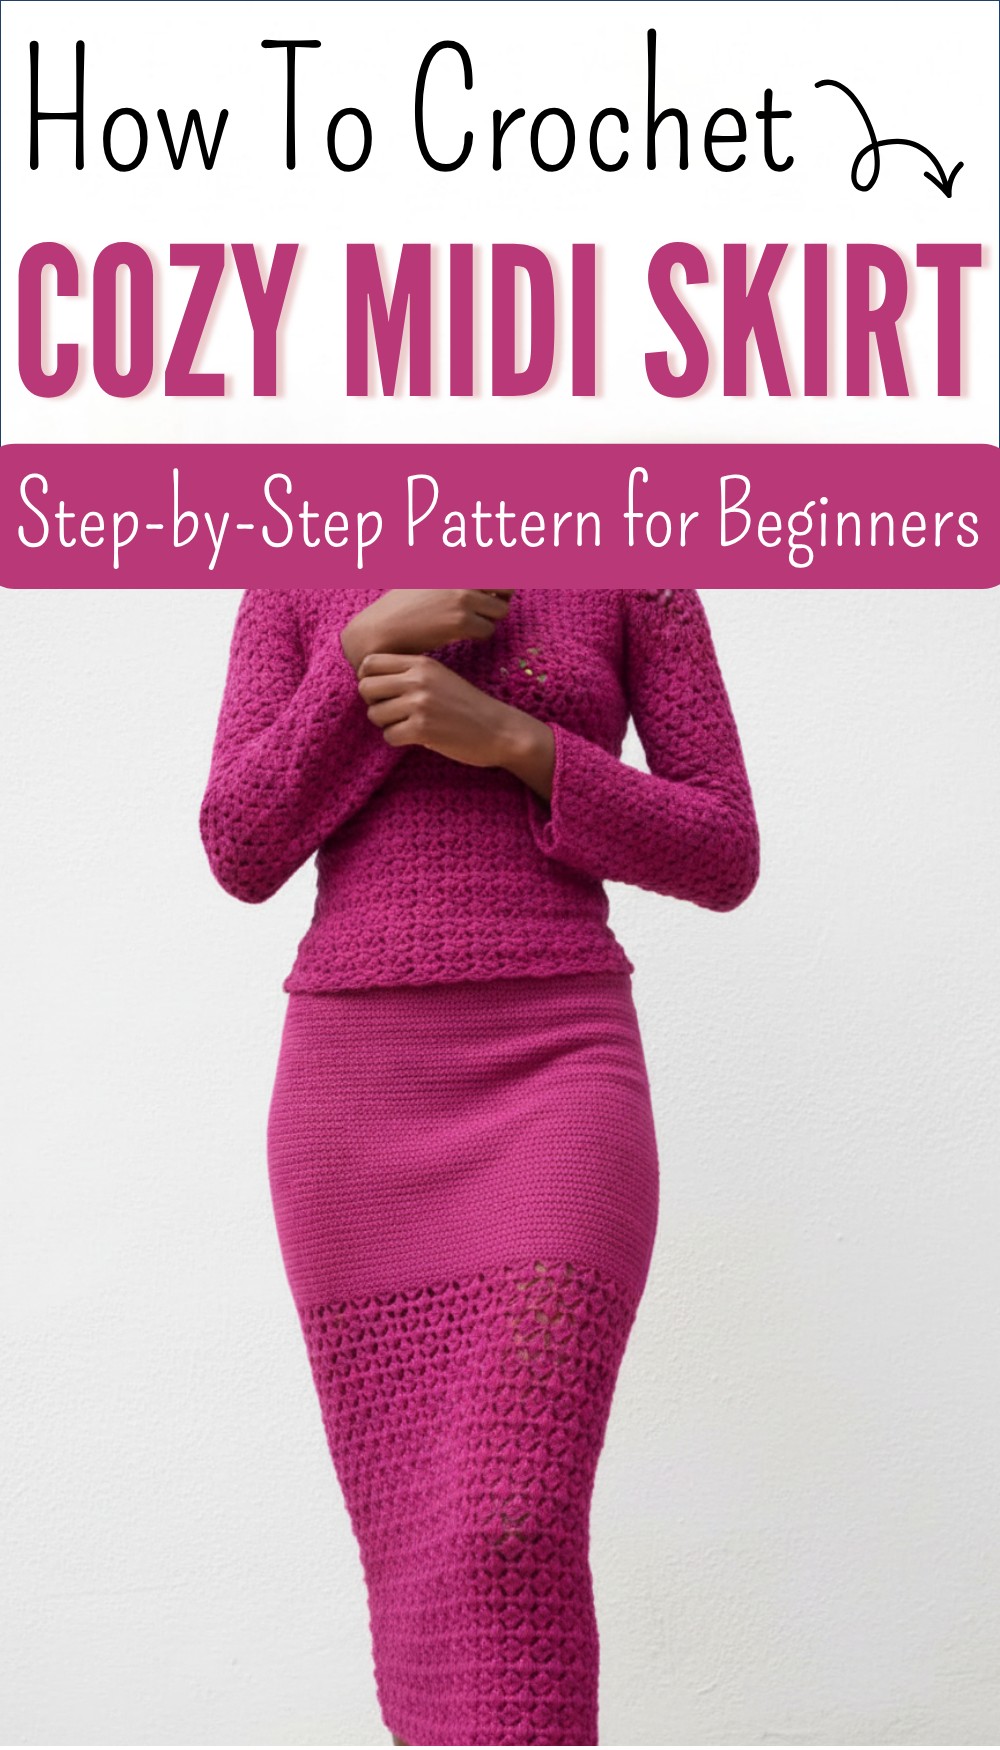
Crochet Midi Skirt Free Written Pattern
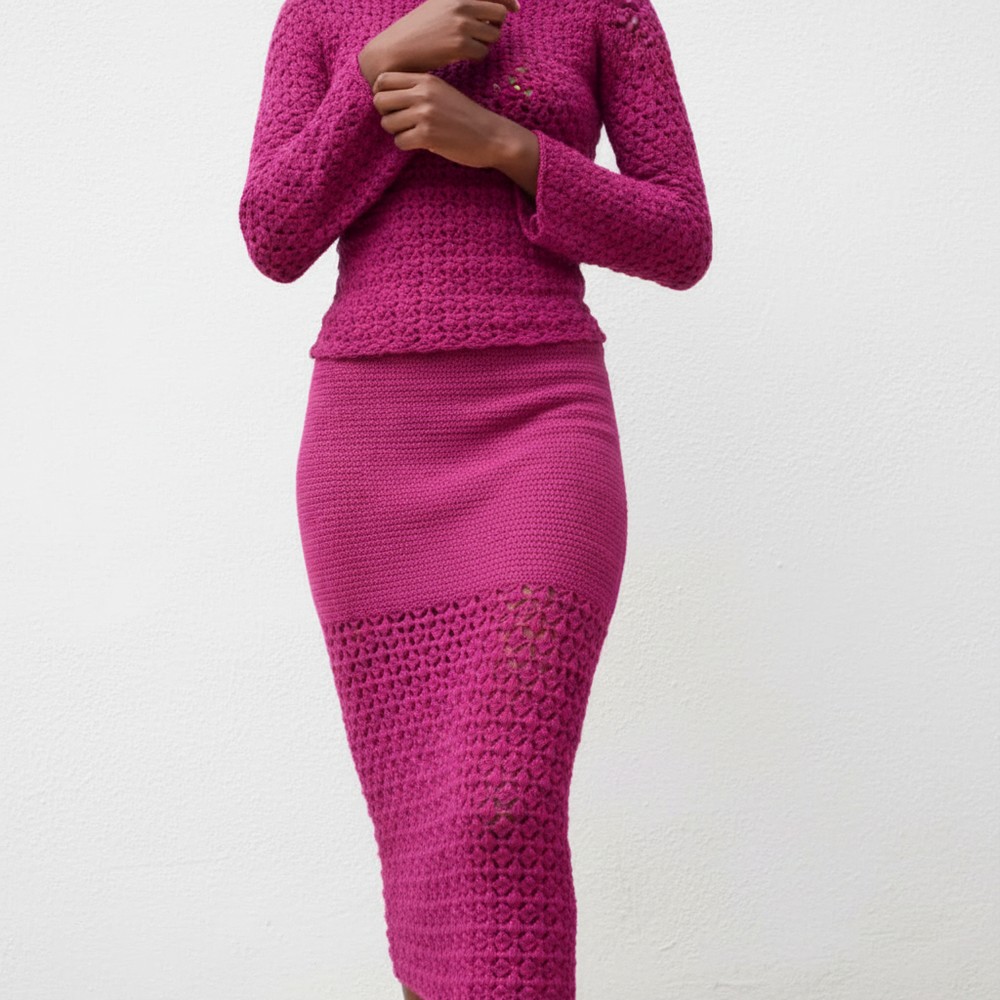
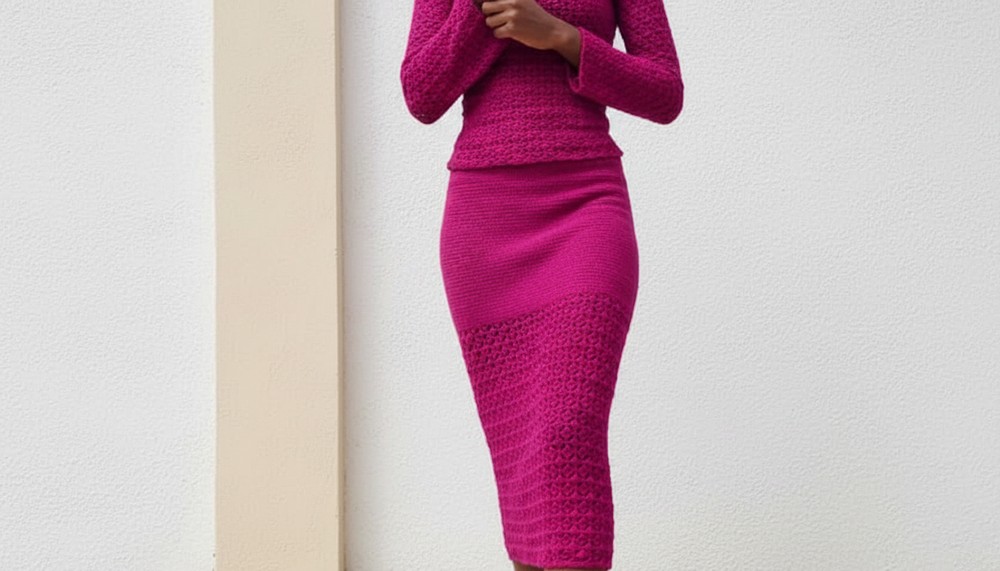
Step out with confidence with this free crochet midi skirt pattern that offers a flattering fit adds texture & suits casual or dressy looks.
It is suitable for daily use, small gatherings, or pairing with simple tops for a complete outfit. The instructions are easy to understand so anyone can complete it without confusion. The finished skirt looks tidy and well shaped, offering beauty, comfort, and confidence while adding a gentle and polished touch to everyday clothing.
Nova Skirt Crochet Pattern (Step-by-Step)
Materials
- Yarn: Any yarn of your choice (Sample: Babu Pox Sock, approx. 330g)
- Crochet Hooks:
- Main skirt: as recommended for yarn (Sample begins with smaller hook for waistband and switches to 5 mm for lace)
- Sewing Needle (for joining elastic)
- Sewing Thread
- Elastic Band: 1 inch wide, about 1 yard long (cut to fit waist)
- Measuring Tape
- Stitch Markers (2–4)
- Scissors
Key Abbreviations (US Crochet Terminology)
- ch = chain
- sc = single crochet
- dc = double crochet
- tr = triple (treble) crochet
- sl st = slip stitch
- st(s) = stitch(es)
- yo = yarn over
- LDC = linked double crochet (see Special Notes)
Special Notes
- Linked Double Crochet (LDC):
- Before each dc (unless otherwise stated), insert hook into the horizontal bar of the previous st, pull up a loop, then finish the dc as usual. This creates a denser, less-gappy fabric.
- The skirt is worked in the round (waistband and most of the skirt) with a side slit created by working back and forth when specified.
- Always measure the waistband and elastic to ensure a comfortable and secure fit.
- The lace portion is worked in a combination of triple crochet decreases and triple crochet increases for a wavy pattern.
Pattern
1. Waistband
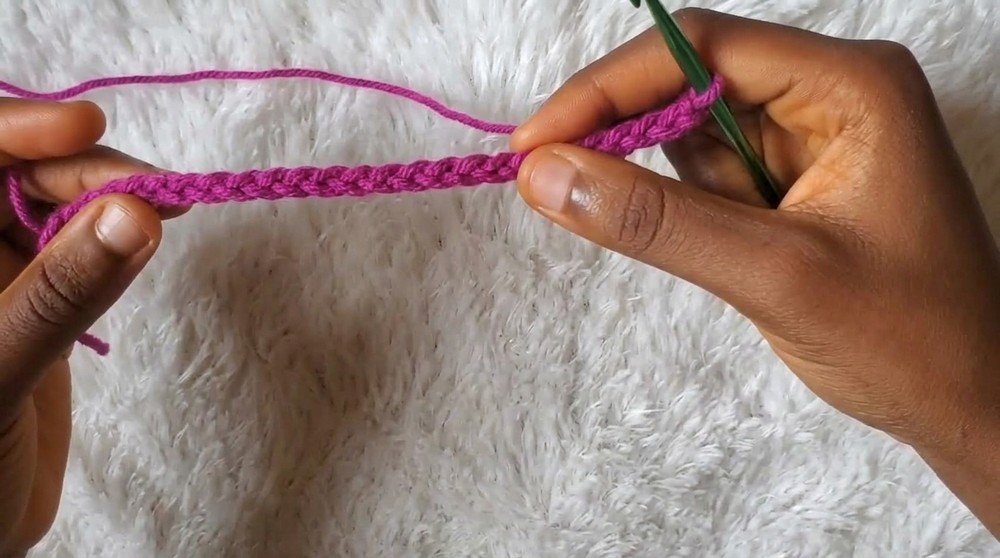
A. Foundation Chain
- Make a slip knot and chain until the length equals your actual waist measurement (or slightly snug).
- Ensure the chain is not twisted.
- Join with a sl st to the first chain to work in the round.
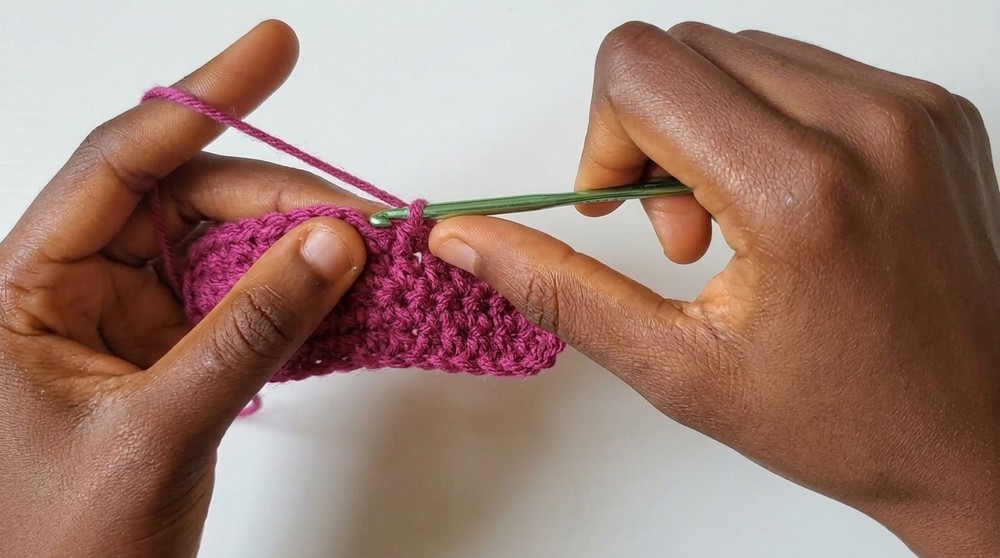
B. Linked Double Crochet Rounds
- Rnd 1: Ch 2.
- Insert hook into the first ch, pull up a loop, yo, pull through two loops, yo, pull through two loops. (This completes one LDC.)
- Continue making LDCs: Insert hook into the horizontal bar of the previous LDC, pull up a loop, then insert into next chain, pull up a loop, yo, pull through two loops, yo, pull through two (repeat for each st around).
- Sl st to top of first LDC to join.
- Rnd 2 and onward: Ch 2, repeat LDCs using horizontal bar of previous round and next stitch.
- Continue until waistband measures 2–2.5” wide.
- Fasten off.
2. Add Elastic
- Cut your elastic band to your waist measurement minus 2 inches for negative ease.
- Overlap ends by 1 inch and sew securely using needle and thread or sewing machine.
- Insert elastic into waistband (on the inside/wrong side), using stitch markers to keep it in place at several points.
3. Seam Waistband
- With right side facing out, sew (sc) together the first foundation chain and last row of waistband (enclosing elastic), working through both at once. Do this all the way around. The number of sc should match your original chains.
- Fasten off and weave in ends.
4. Skirt Increases
- Place stitch markers at increase points (e.g., four marked points for even shaping; one marker for the start of round).
- Continue working in the round with LDCs; at each marker, work an increase by making 2 LDCs in the same stitch (i.e., make your LDC as usual, then immediately make a second LDC in the same stitch).
- Increase every round at markers until the skirt reaches the hip width or desired fullness.
- Once increases are complete, ensure your total stitches are a multiple of 6 before proceeding to lace portion.
- Remove all markers except for round start.
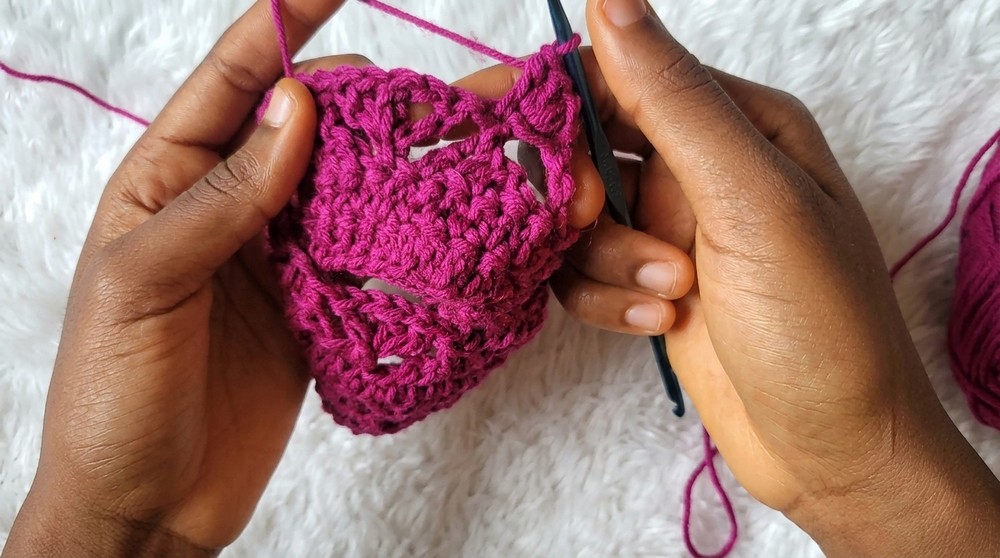
5. Lace Section
Switch to a larger hook (e.g., 5 mm) for drape.
A. Round 1 (Setup for Lace Pattern)
- Ch 4 (counts as first triple crochet).
- Triple Crochet Decrease (TR dec):
- Yo twice, insert into same st as join, pull up a loop,
- Yo, pull through 2 (3x)—stop when 2 loops remain.
- Yo twice, skip next st, insert into following st, pull up a loop, pull through 2 (3x), stop with 3 loops on hook.
- Yo twice, skip next st, insert into next st, pull up a loop, pull through 2 (3x)—you should have 4 loops on hook.
- Yo, pull through all loops to finish the decrease.
- Triple Crochet Increase (TR inc):
- Yo twice, insert into next st, pull up a loop, pull through 2 (3x) (1 TR made).
- Ch 1, yo, working into “leg” (side bar) of same TR, make a dc, ch 1, yo, into same leg, make another dc.
- Alternate triple crochet decreases and increases as established, all the way around.
- End round with a TR in last st, join with a sl st to 4th ch of starting ch-4.
B. Round 2 and Onward
- Turn your work at the end of every round.
- Ch 4, work TR inc over previous round’s TR dec, work TR dec over previous round’s TR inc:
- For TR inc, insert hook into the “third loop” of the TR from the previous round.
- For TR dec, always work into “third loops” of TR/dc of previous round’s TR inc.
- Repeat this alternating pattern for each round, turning at the end and joining with sl st to the chain-4.

6. Side Slit (Optional)
- When ready to start a slit, stop joining rounds:
- At the end of the round, do not sl st to join; instead, turn and continue working the lace pattern back-and-forth in rows for the slit length.
- At the end of each row, ch 4 and turn as before.
- Work the slit for desired length.
7. Finishing
- Edging: Ch 1, sc into every st and into every ch-1 space evenly around the lower edge/slit.
- Fasten off and weave in all ends.
- Block lightly for best results.
Conclusion
The Nova Skirt uses a firm, non-gappy linked double crochet waistband for structure, a hidden elastic for a professional fit, and striking lace panels created with alternating triple crochet increases and decreases. The pattern is size-independent and easy to adapt due to its construction.
Pattern Correction & Tips
Pattern correction:
- Make sure increases are evenly spaced for smooth shaping.
- Switch to a larger hook for the lace to avoid puckering.
- Double-check that stitch count is a multiple of 6 before lace section.
Tips:
- Place markers thoughtfully for balanced increases.
- Always work into the “third loop” (side bar) for lace segment for best texture.
- Turning at the end of every lace round helps maintain the consistent drape.
- For best fit, keep trying on the skirt as you work the increase section.