
Charming Crochet GRANNY T-SHIRT Pattern for Vintage Lovers

Show off timeless flair with this Free Crochet GRANNY T-SHIRT Pattern for soft comfort flattering fit and easy stylish wear all day.

Fabulous Crochet GRANNY T-SHIRT Pattern Great for Summer Styling
Timeless granny squares transform into a stylish and versatile wardrobe piece with the Crochet GRANNY T-SHIRT Pattern. This design features a textured, openwork layout that keeps it light, breathable, and perfect for warm days or layered outfits. Its relaxed yet flattering fit allows easy movement, making it comfortable for all-day wear while maintaining a polished look. Each square can be customized with different colors and patterns, offering a fun way to showcase personal style and creativity.

The t-shirt pairs beautifully with jeans, skirts, or shorts, turning casual outfits into eye-catching ensembles. Beyond its visual appeal, it brings the charm of traditional crochet into a practical, wearable format that is suitable for various occasions. Fun, playful, and fashion-forward, this pattern blends texture, color, and comfort, providing a unique garment that is both functional and a standout piece in any wardrobe.
Special Features
- Granny-square look: Main panel is a large, “cross-shaped”/granny-style square.
- Adjustable Size: Easily make the top larger or smaller by adding more rounds.
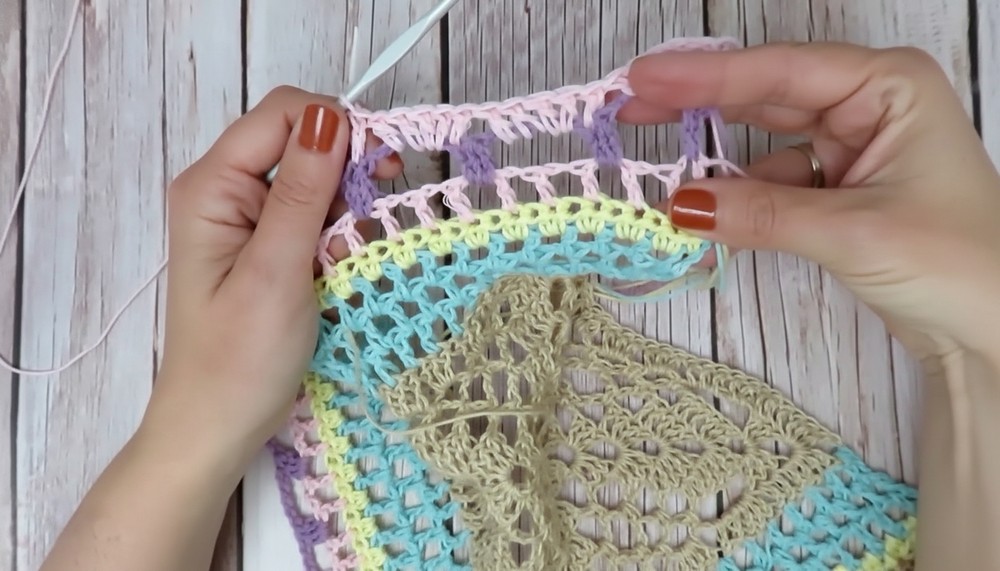
- Mix & Match Colors: Perfect for leftover yarn, experiment with color blocks or pastels.
- Varied Textures: Combine solid and openwork (lacy) rows for unique texture.
- Loose, boxy fit: Easy comfort with soft drape, customizable for armholes and neckline.
Difficulty Level
Advanced Beginner/Intermediate: If you can double crochet, chain, make a magic ring, and sew seams, you’re ready! Pattern uses basic stitches with increasing, openwork, and color changes.
Tutor’s Suggestions
- Measurements: Use a measuring tape and check fit as you go.
- Color Play: Change colors to use scraps; alternate solid and lacy rounds.
- Seaming: Use a yarn needle and sew neatly to avoid bulky seams.
- Finish: Block and gently iron for a clean final look.
Uses
- Wear as a breezy summer top, over shirts, or as a vest.
- Upcycle leftover or oddball yarns for an eco-friendly project.
- Makes a trendy statement piece for casual or semi-formal outfits.
Materials
- Yarn: Approximately 100g of worsted/aran weight for the front, 50g for the back (more for larger sizes, up to 150g). Use leftovers for color variety.
- Hook: 4mm crochet hook
- Scissors
- Tapestry/Yarn needle
- Measuring tape
- Optional: Ribbon for decorative finish
Step-By-Step Pattern
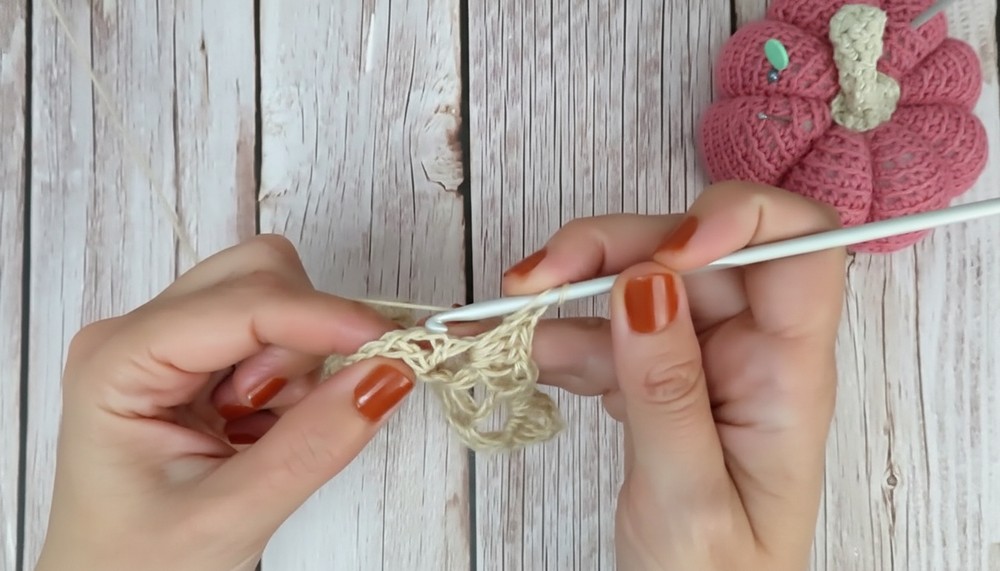
1. Make Large Motif (Granny Square Base)
First Square – Magic Ring Start
- Magic ring.
- Round 1:
- Ch 3 (counts as 1 dc).
- 2 dc in ring.
- [Ch 3, 3 dc in ring] x3.
- You will have 4 sets of 3 dc clusters, each separated by ch-3.
- Close the ring, ch 1, join in top of starting ch-3 OR make 1 dc in third ch of start to close (“invisible join”).
- Pull ring tight.
Increase Motif with Corners
- Round 2:
- Sl st to corner, ch 1, sc in corner, ch 2, 2 dc in corner (counts as starting 3-dc group).
- [Ch 2, 3 dc in next corner, ch 3, 3 dc in same corner] across all sides.
- At end, ch 1, join as before in 3rd ch at the beginning.
- Round 3:
- Repeat the pattern: Corners are always 3 dc, ch 3, 3 dc.
- Sides now get extra 3 dc clusters with ch-3 or ch-2 spaces as needed.
- Add sc and 2 ch at beginning if needed to maintain stitch height.
- Continue squaring up:
- Each round, the corners are “(3 dc, ch 3, 3 dc)” in each corner space.
- Sides gradually fill out with extra 3-dc groups, separated by chain spaces.
- Rounds 4–6:
- Continue to increase: At each corner, do 3-dc, ch 3, 3-dc.
- On the sides, use ch-3 or ch-5 spaces for airy, lacy effect.
- Repeat, alternating solid and openwork/lacy rounds, changing color as desired.
2. Build Length and Width
- Add Solid Round:
- Next round, make only double crochets (dc) in each stitch and space across, with (3 dc, ch 3, 3 dc) in corners.
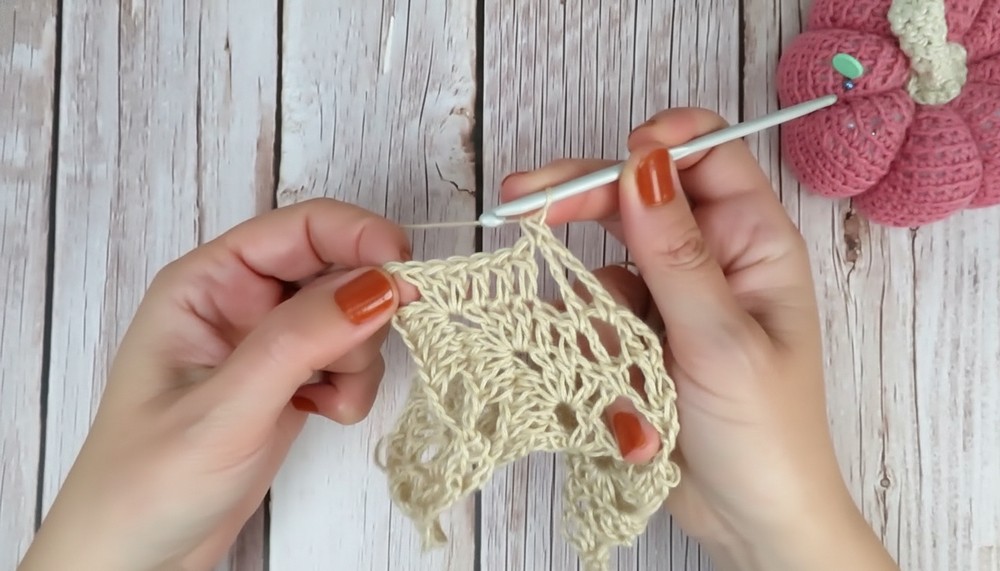
- Add Openwork (Lacy) Rounds:
- Chain 3 at start, dc in next st, ch 1, skip 1 st, dc in next across.
- In corners: (3 dc, ch 3, 3 dc) or (2 dc, ch 2, 2 dc) as the motif grows.
- Continue openwork (mesh) for 2-4 rounds, changing color if desired.
- Half Double Crochet Round:
- Work hdc (half double crochets) into every stitch for extra density and drape.
- Textured “Cluster” Rounds:
- Make 5 ch, skip windows, and work 3 unfinished dc together in every third space, pull through all loops.
- Create groups/top-bobbles for a decorative, pineapple-like effect.
- Work as many pattern repeats and color changes as desired.
- Final Solid/Lacy Rounds:
- Alternate rounds of dc and openwork st to desired length/width.
- For most adults, work until panel is ~45 cm wide and 47 cm long, or preferred dimensions.
3. Make Two Panels
- Front panel: Follow steps above.
- Back panel: Repeat steps for the front or keep it simpler (fewer colors, fewer decorative rounds).
4. Sew the Shoulders & Sides
- Shoulders:
- Sew together the tops of the squares, leaving a neck opening (suggested ~5 cm on each side).
- Sides:
- With right sides facing, sew from the bottom up, leaving armhole space (suggested: seam up to about 25 cm from lower edge, or adjust for preference).
- Use a whipstitch with a yarn needle for flat seams, or slip stitch with a hook for a bulkier look.
- For style, leave a small slit at the bottom (e.g., sew from 4th row up, as transcript indicates).
- Weave in all ends.
5. Edging & Finishing Touches
- Add a round of single crochet around the bottom edge and neckline for a clean finish.
- Optionally, edge in a contrasting color to make seams pop.
- Block or steam iron your top on a flat surface to set the shape and flatten seams.

Conclusion
You’ve now created a beautiful, modern granny-square inspired top! Its drapey, airy style is a wonderful canvas for color play, and its boxy fit is comfy. Try wearing it over a camisole or t-shirt for a layered look, or use as a statement piece.
Final Tip
To get perfect seams, block (lightly steam) both panels before seaming. This helps pieces align and fit better, making your top look neat and professional.


