Fabulous Crochet Bow Top Pattern for Summer Fun

Shine in summer style with this Free Crochet Bow Top Pattern that’s bursting with charm soft texture and easy chic appeal for casual days.

Delicate Crochet Bow Top Pattern Designed for Layered Fashion
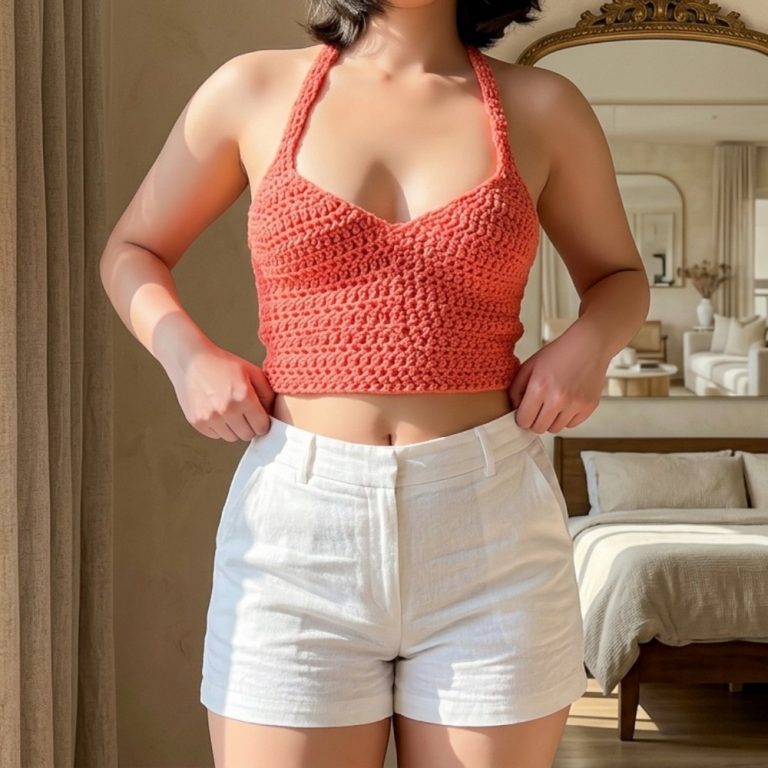
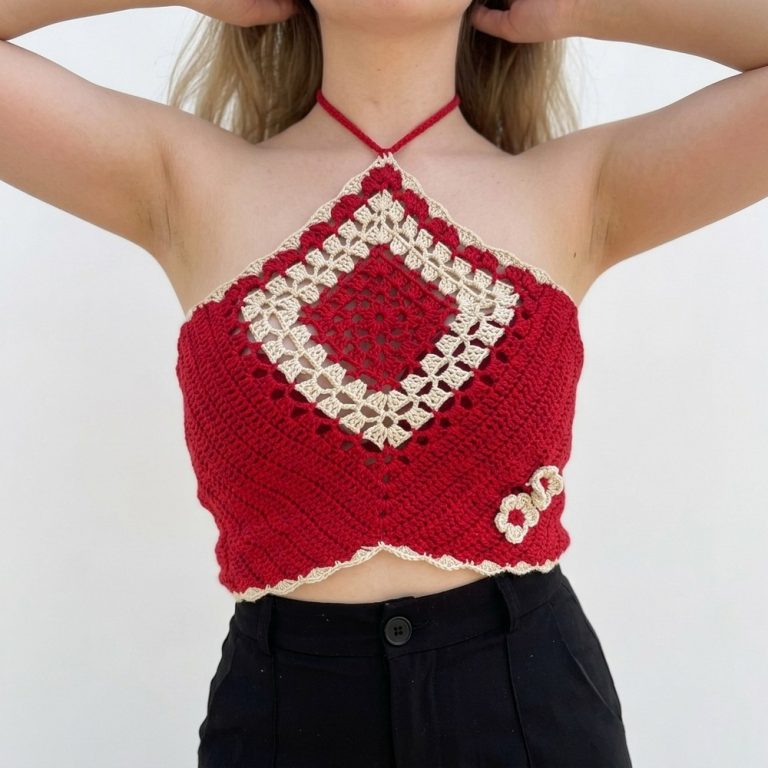
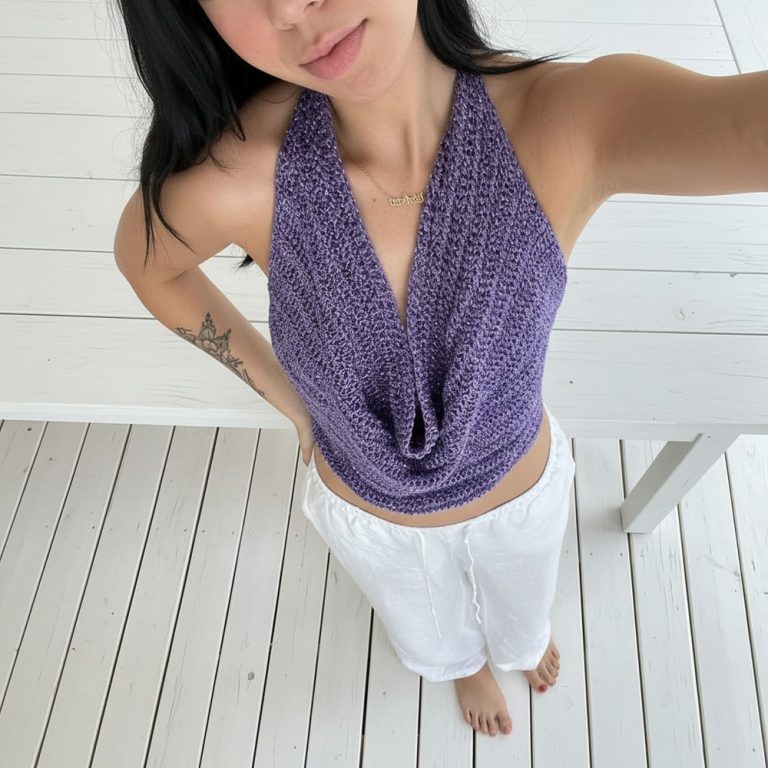
A stylish piece that combines sophistication and playful charm instantly enhances any wardrobe. The crochet bow top pattern adds a unique focal point with its elegant bow detail, creating a flattering silhouette that suits casual outings, social gatherings, or date nights. Lightweight and breathable, it drapes comfortably over the body while providing effortless movement, making it perfect for warm weather or layering under jackets and cardigans.

The intricate pattern adds texture and visual appeal, showcasing artistry and refined design. Its versatility allows for pairing with skirts, pants, or shorts, offering endless styling possibilities. Durable materials ensure long-lasting wear while maintaining shape and color through repeated use. The pattern also allows for customization in size and color, reflecting personal taste and creativity. Combining elegance, practicality, and flair, the crochet bow top pattern transforms simple outfits into polished statements that radiate confidence and timeless charm.
Special Features
- Made-to-measure: Fits every body, every size
- Fully adjustable crisscross back straps
- Optional and removable bow detail
- Can be color-customized and styled in different ways
- Looks polished with top stitching details
Level of Difficulty
Beginner-Friendly
Requires familiarity with basic crochet stitches: chain, single crochet, half double crochet, double crochet, slip stitch, and simple decreases.
Tutor’s Suggestions
- Take time to measure yourself properly for the best fit.
- You can use up yarn scraps for the bow or details!
- Don’t worry if your stitches aren’t perfect; the design is forgiving.
- Try on as you go for best fit and adjust as needed.
Uses
- Summer crop top
- Festival or beachwear
- Layered over shirts, dresses, or tanks
- Cute gift for friends!
Materials
- Worsted weight yarn (Color A for body, Color B for bow & details) – amount varies, approx. 120–200g total
- 4mm or 4.5mm crochet hook (or size for your yarn)
- Stitch markers
- Scissors
- Yarn needle
Step-by-Step Pattern
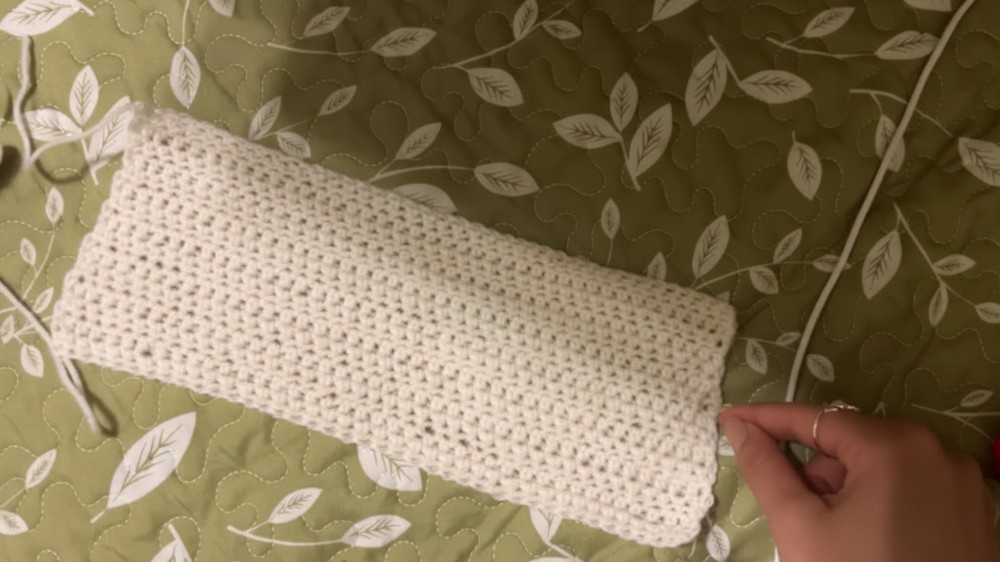
PART 1: Front Panel (Rectangular Base)
1. Measurements:
- Chain a length that measures from one side of your bust to the other (where spaghetti straps sit).
- Example: Janie chained 40; add more or fewer as needed.
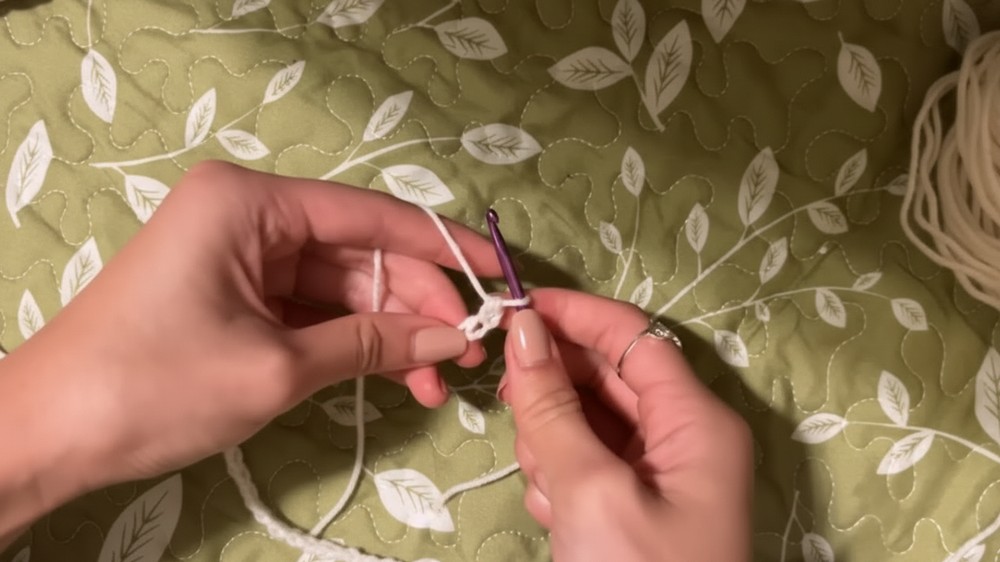
2. Crochet the panel:
- Chain your number + 1 (turning chain).
- Work half double crochet (hdc) in 2nd chain from hook.
- Continue hdc across. (Ex: 40 hdc.)
3. Rows:
- At end of each row, chain 1, turn.
- Work hdc in each stitch across.
- Stop when the panel height covers from the base to the desired neckline (Janie did 15 rows).
PART 2: Side Triangle Extensions
1. Mark Midpoint:
- Use stitch markers to indicate where the side should start to slope (aim for symmetry).
2. Attach Yarn at Side Corner:
- Attach new yarn at desired edge with slip knot.
- Chain 2 (counts as first dc).
3. Side Increase Row:
- Work double crochet (dc) across edge, weaving in the tail.
- Stop with 2 stitches remaining before the marker.
4. Decrease (at marker / end of row):
- Dc2tog: Yarn over, insert hook into next st, pull up loop; yarn over, insert into next, pull up loop; yarn over and pull through three loops, then yarn over and finish.
- Repeat decreases at the start & end of subsequent rows to shape the triangle.
5. Next Rows:
- At start of new row, chain 2, turn.
- Begin with a decrease; then dc across.
- Final rows: Chain 2, turn, dc across, ending with a dc2tog (decrease).
- Janie did 3 rows of triangles per side.
6. Repeat for other side:
- Mirror your stitch count and decreases for symmetry.
PART 3: Downward Section (Midriff Extension)
1. Attach Yarn, Set Up Row:
- Turn panel upside down.
- Attach yarn to lower corner with slip knot.
2. Single Crochet Foundation:
- Single crochet across the bottom from side panel to side panel.
- Work into edges and each stitch, spacing evenly.

PART 4: Decorative Extended Single Crochet Rows
1. First Row:
- Work an “extended single crochet” as follows:
- Insert hook, yarn over and pull up a long loop (about an inch).
- Pinch base, yarn over and pull through loop.
- Insert hook between the three strands of loop (middle), pull yarn through (2 loops on hook).
- Yarn over and pull through both loops.
- Chain 1, skip 1 stitch, repeat across row.
- If ending doesn’t land perfectly, finish with a final extended single crochet into the corner.
2. Additional Rows:
- For next row, extend yarn to same height, work through the “pillar” created by previous row’s extended sc.
- Always chain 1 between each, work into the matching chain space/pillar.
- Repeat for desired length (Janie did 5 rows, down to the waist).

PART 5: Crisscross Straps
1. Make Two Long Chains:
- Insert hook at each top front corner.
- Secure with slip knot.
- Chain approx. 250 (more for extra crisscross/longer ties). Leave a long tail.
2. Attach Straps:
- Pull the chain through to start at each top corner.
- Try on and crisscross straps over shoulders to opposite back corners.
- Weave through the side triangle base, then crisscross across back, adjusting length and tension.
- Tie knots where desired for security.
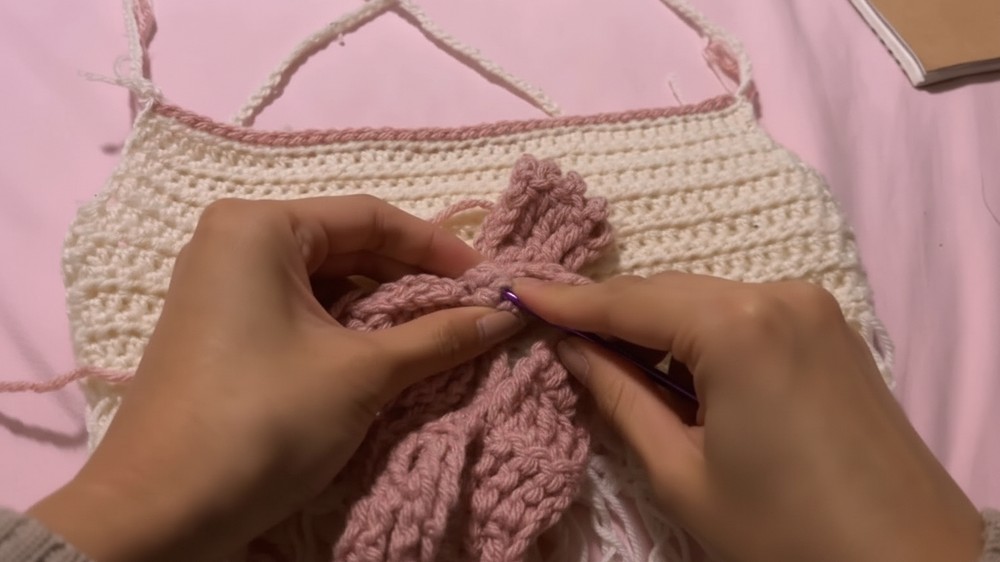
PART 6: Bow and Optional Top Stitching
1. Bow:
- Make a small rectangle with any stitch (about 12–16 chains wide, 6–10 rows, or until desired size).
- Cinch center and wrap with yarn.
- Attach to the center front with either a bow knot (removable) or by sewing in place.
2. Top Slip Stitch Detail:
- With alternate color, insert hook in 2nd row from top, slip stitch across for a decorative line.
- Tie off and weave ends to inside.
Finishing
- Weave in all yarn ends.
- Try on and adjust straps or bow as needed.
- Style as you wish!
Tip
Try on your top as you go, especially before adding side triangles and when placing straps! This ensures a perfect, body-hugging fit.
Conclusion
Your modern, made-to-measure bow top is ready to wear and share! Each top is unique and expresses your style—play with colors, add details, and enjoy your hand-made outfit. Happy crocheting!