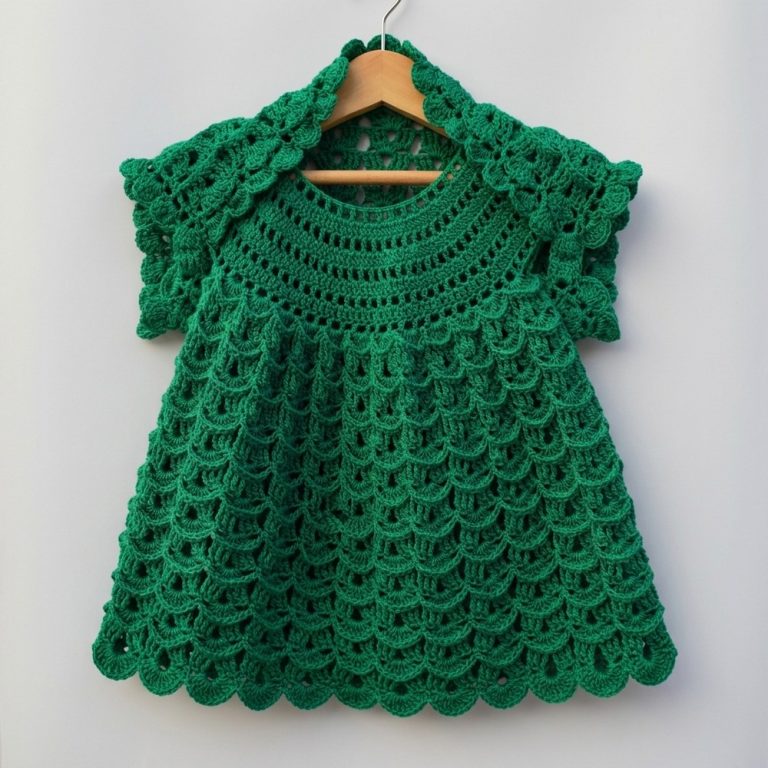
Breezy Crochet Square Cropped Top Pattern for Sunny Days
Shine in trendy style with Crochet Square Cropped Top Pattern that forms a modern, comfy piece perfect for summer days, layering, and cute outfits.
A trendy and comfortable wardrobe piece that feels handmade is the Crochet Square Cropped Top Pattern, which offers a modern, structured shape while remaining soft and breathable. We use it because the square design creates a clean, flattering fit that works well for many body types, and it is easy to customize for length, width, and neckline. It is better than many ready-made tops because you can choose yarn weight, color, and stitch detail, making each top unique and tailored to your style.
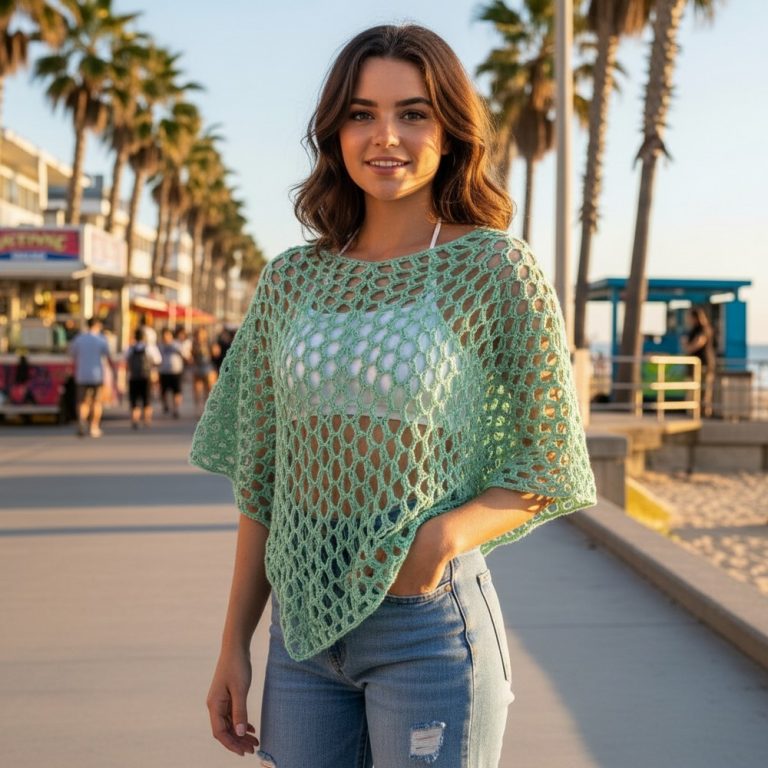
Trendy Crochet Square Cropped Top Pattern for Festival Wear
The beauty of this pattern lies in its geometric look, neat lines, and textured stitch work, which add a polished yet cozy feel to any outfit. This top is perfect for summer outings, beach days, casual hangouts, and festivals. It also looks great with high-waisted jeans, skirts, or layered under a light jacket for cooler evenings. Overall, it blends style, comfort, and creativity for a fresh, wearable look.
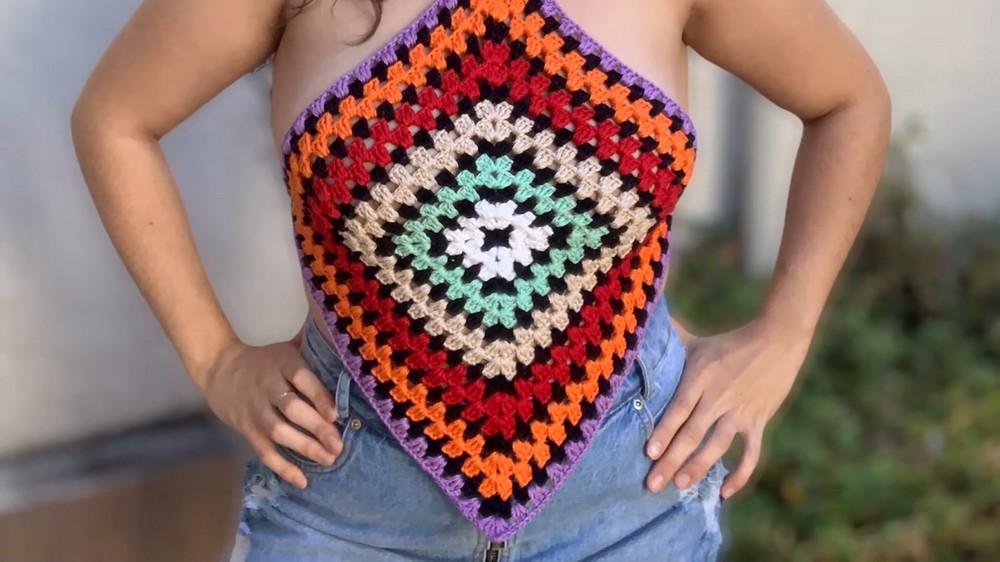
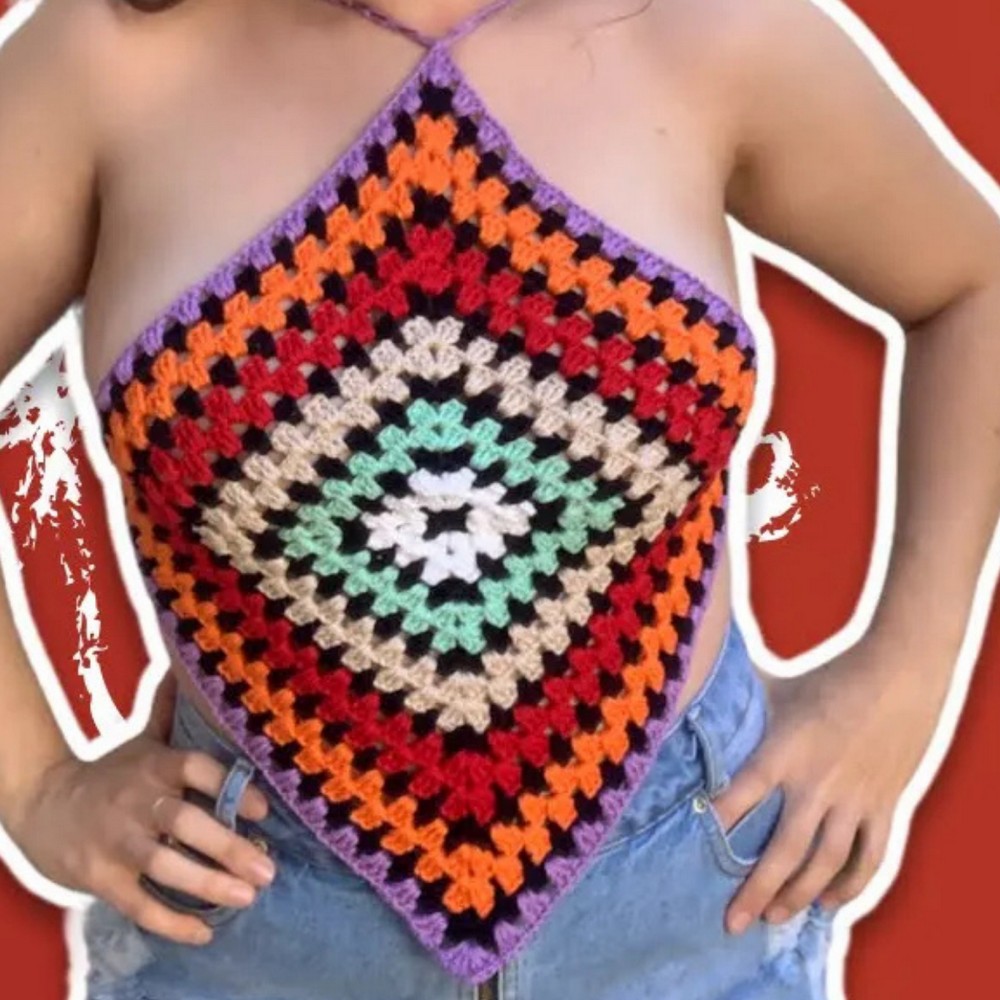
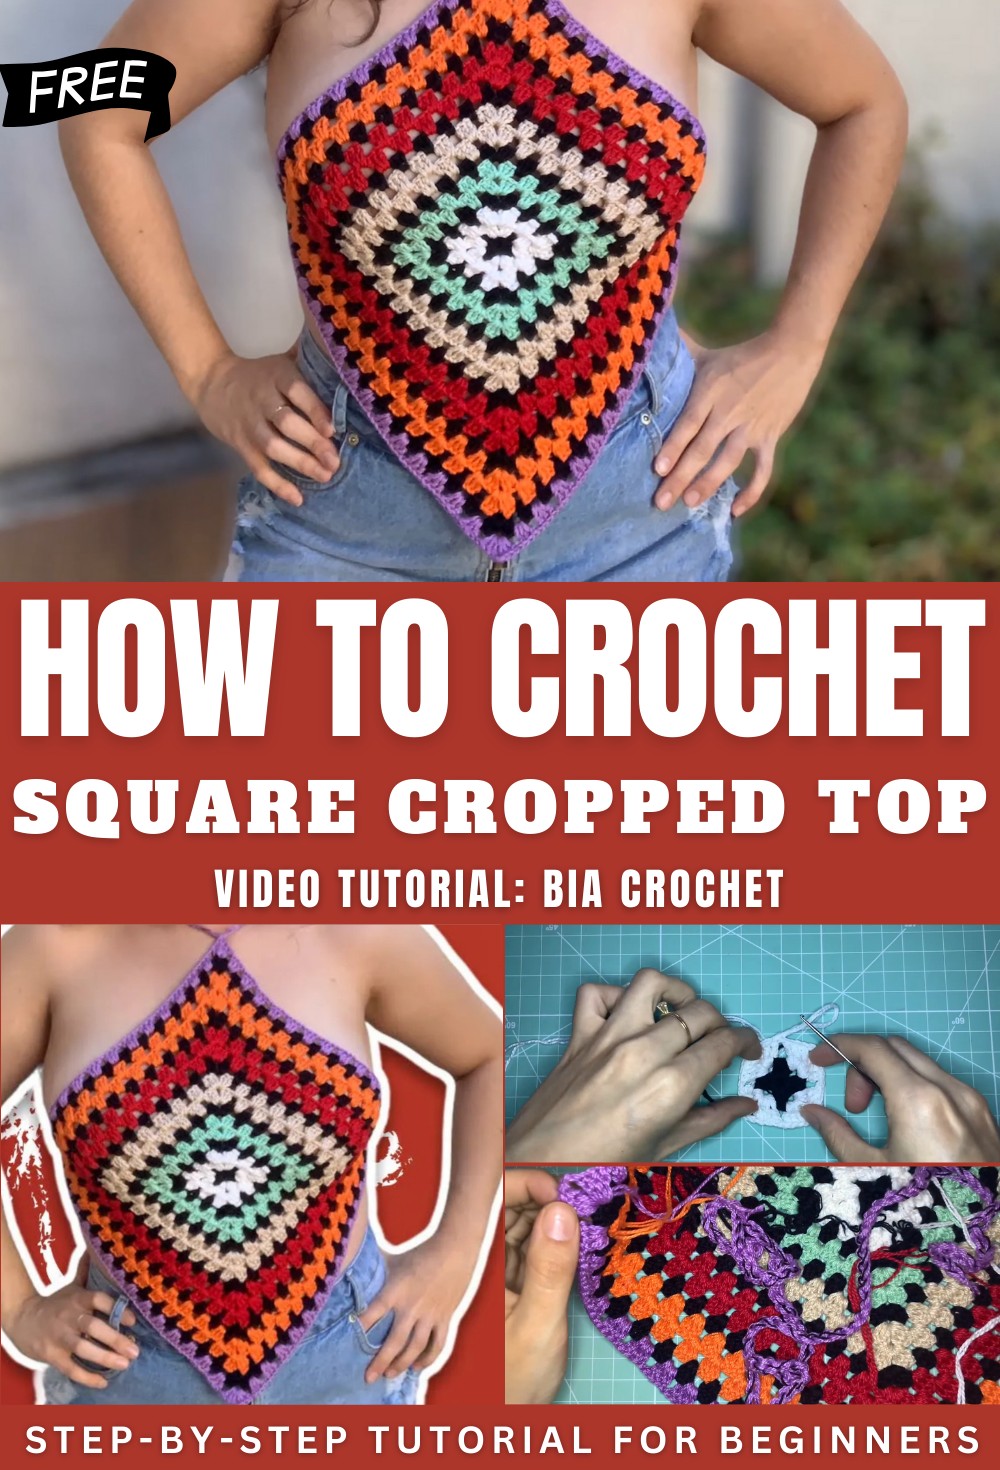
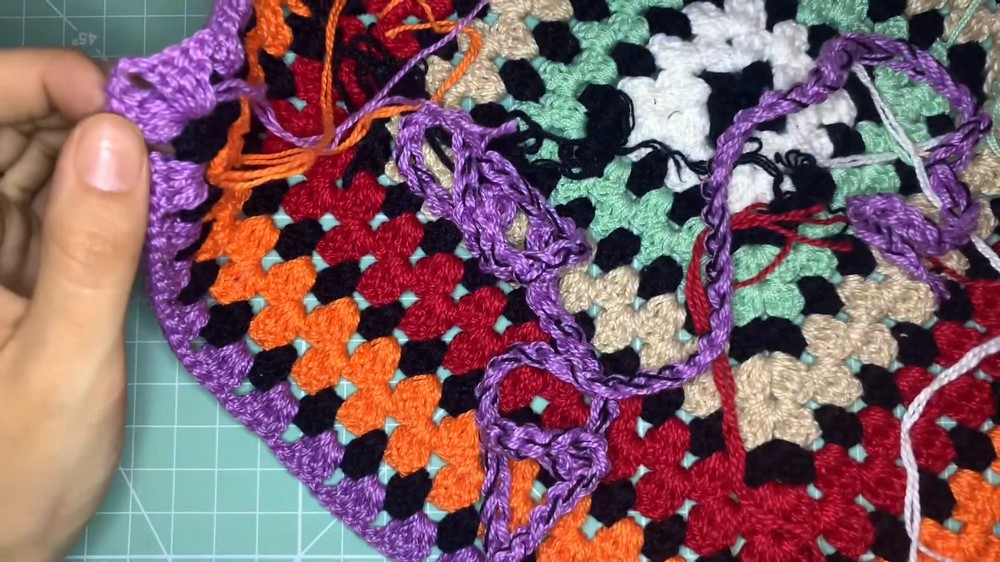
Diagonal Granny Square Cropped Top Pattern
Materials Needed
- Yarn: Cotton thread (Anne or Cléia recommended).
- Hook: 2.0 mm (for the top) and 3.0 mm or 5.0 mm (for straps).
- Tools: Scissors and a tapestry needle for weaving in ends.
Uses:
Perfect for summer festivals, beach cover-ups, or layering over high-waisted jeans for a casual weekend vibe.
Special Features:
Seamless construction, adjustable sizing, reversible design, and high customizability with color blocking.
Step-by-Step Pattern
Stitches Used (US Terms)
- CH: Chain
- SL ST: Slip Stitch
- DC: Double Crochet
- SP: Space
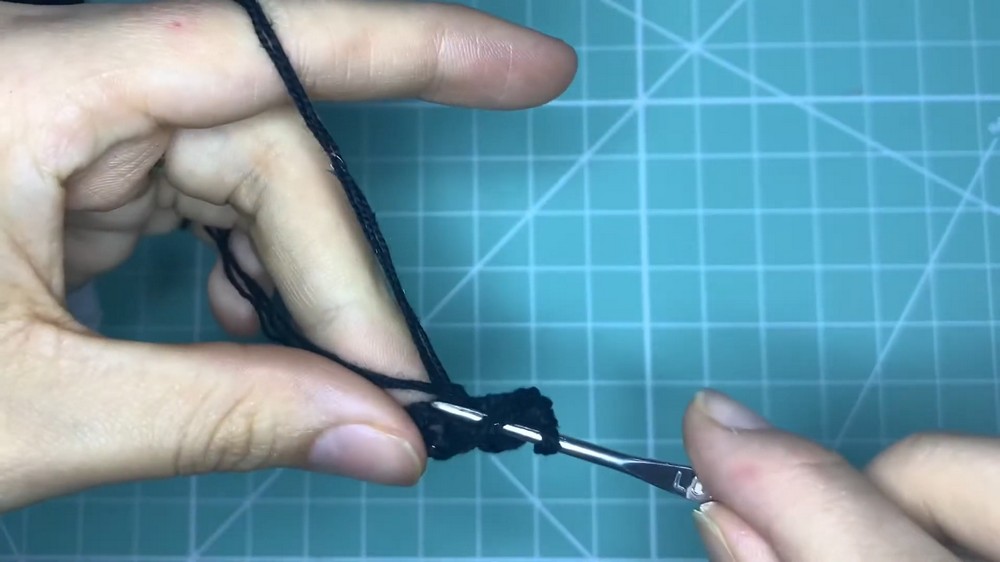
Foundation
- Make a slip knot and CH 5.
- Join with a SL ST into the first chain to form a small ring. (Alternatively, use a Magic Ring).
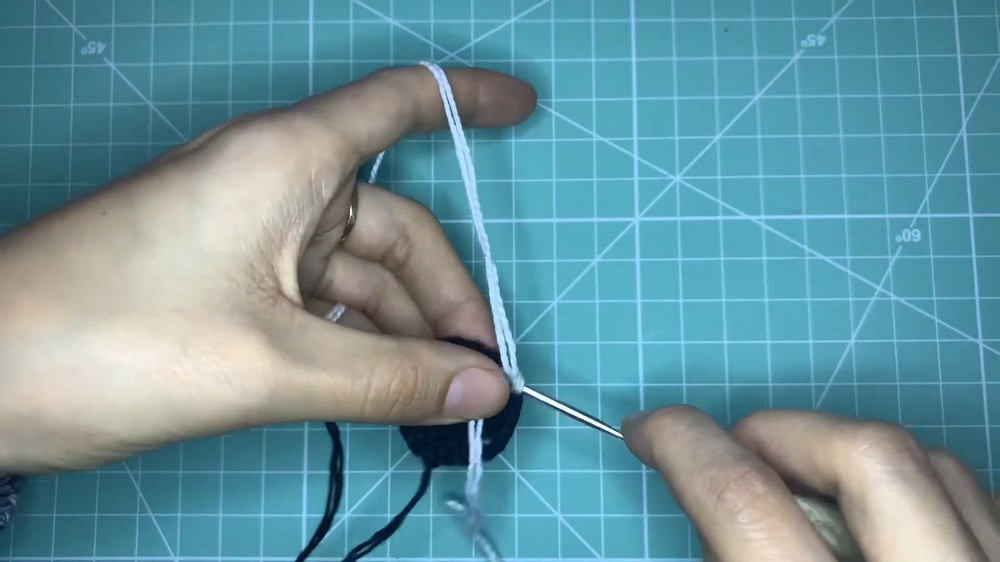
Round 1: The Core
- CH 3 (counts as first DC).
- Work 2 DC into the ring.
- CH 2 (this creates your first corner).
- Work 3 DC into the ring, followed by CH 2.
- Repeat step 4 two more times until you have four clusters of 3 DC.
- CH 2 and join with a SL ST to the top of the initial CH 3. You now have a tiny square.
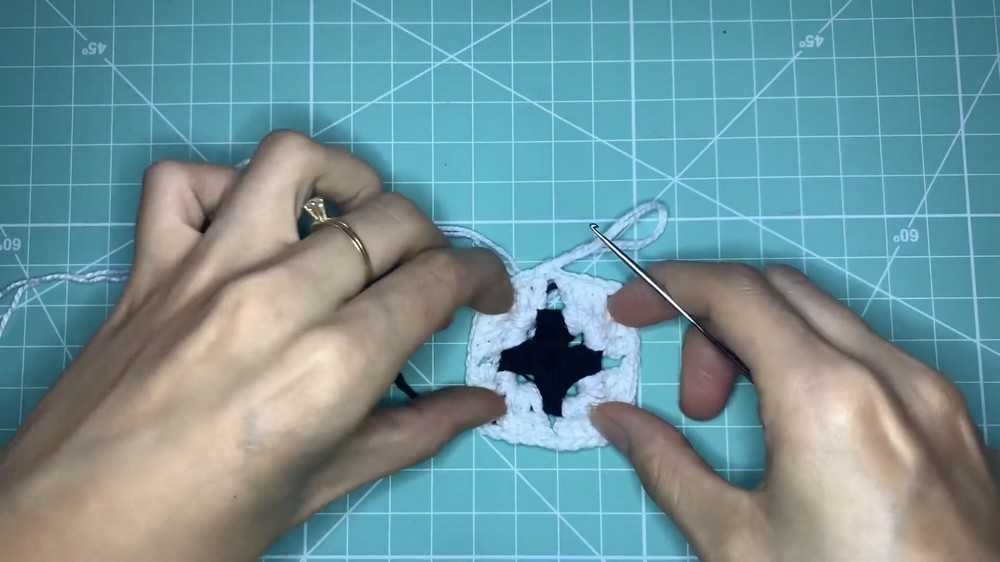
Round 2: The First Expansion
- SL ST across the next two DC stitches until you reach the corner CH-2 space. (Or, if changing colors, fasten off and join the new color in any corner).
- In the corner space: CH 3, 2 DC, CH 2, 3 DC. (This is your “Corner Cluster”).
- CH 1 to move to the next corner.
- In the next corner space: 3 DC, CH 2, 3 DC.
- Repeat around, placing CH 1 between the corners.
- Join with a SL ST to the top of the starting CH 3.
Round 3: Building the Sides
- SL ST to the nearest corner space.
- In the corner: CH 3, 2 DC, CH 2, 3 DC.
- CH 1.
- In the side CH-1 space (from the previous row): 3 DC.
- CH 1.
- In the next corner: 3 DC, CH 2, 3 DC.
- Repeat this pattern for all four sides.
Subsequent Rounds: Growing the Square
- Continue repeating the Round 3 logic:
- Corners: Always work [3 DC, 2 CH, 3 DC] in every corner space.
- Sides: Always work [3 DC] in every side CH-1 space.
- Transitions: Always CH 1 between every 3-DC cluster.
- Pro Tip: Keep working rounds until the diagonal width of the square covers your bust comfortably from side to side.
Straps and Assembly
The beauty of this top is that the straps also act as the closure.
- The Cord: Using a 5mm hook (or doubling your yarn further), create a chain approximately 1.5 meters long (or “as long as you can” for a beautiful bow).
- Threading: * Hold your square diagonally so one corner points up (this is the neck).
- Thread the cord through the top corner. This loop goes around your neck.
- Cross the cord ends behind your back and thread them through the two side corners of the square.
- Tie the remaining cord at the center of your back.
Difficulty Level:
Beginner
Tutor’s Suggestions:
-
- Yarn Doubling: Use “Cléia” yarn with a triple strand or “Anne” yarn with a double strand to achieve a sturdy yet soft texture.
- Hook Size: A 2mm hook is recommended for the main body to keep stitches tight, while a larger hook (like 5mm) can be used for the straps to make them more substantial.
- Measuring: Stop growing the square when the diagonal measurement (corner to corner) matches your bust width.
Conclusion
This diagonal granny square top is a testament to how a single geometric shape can become a modern fashion statement. It’s a meditative project that allows for endless creativity with colors while resulting in a custom-fit piece that looks professional and stylish.
Final Pro-Tip: To ensure the top doesn’t “stretch out” too much during wear, steam block your finished square before adding the straps. This sets the stitches and gives the garment a much better drape and professional finish!