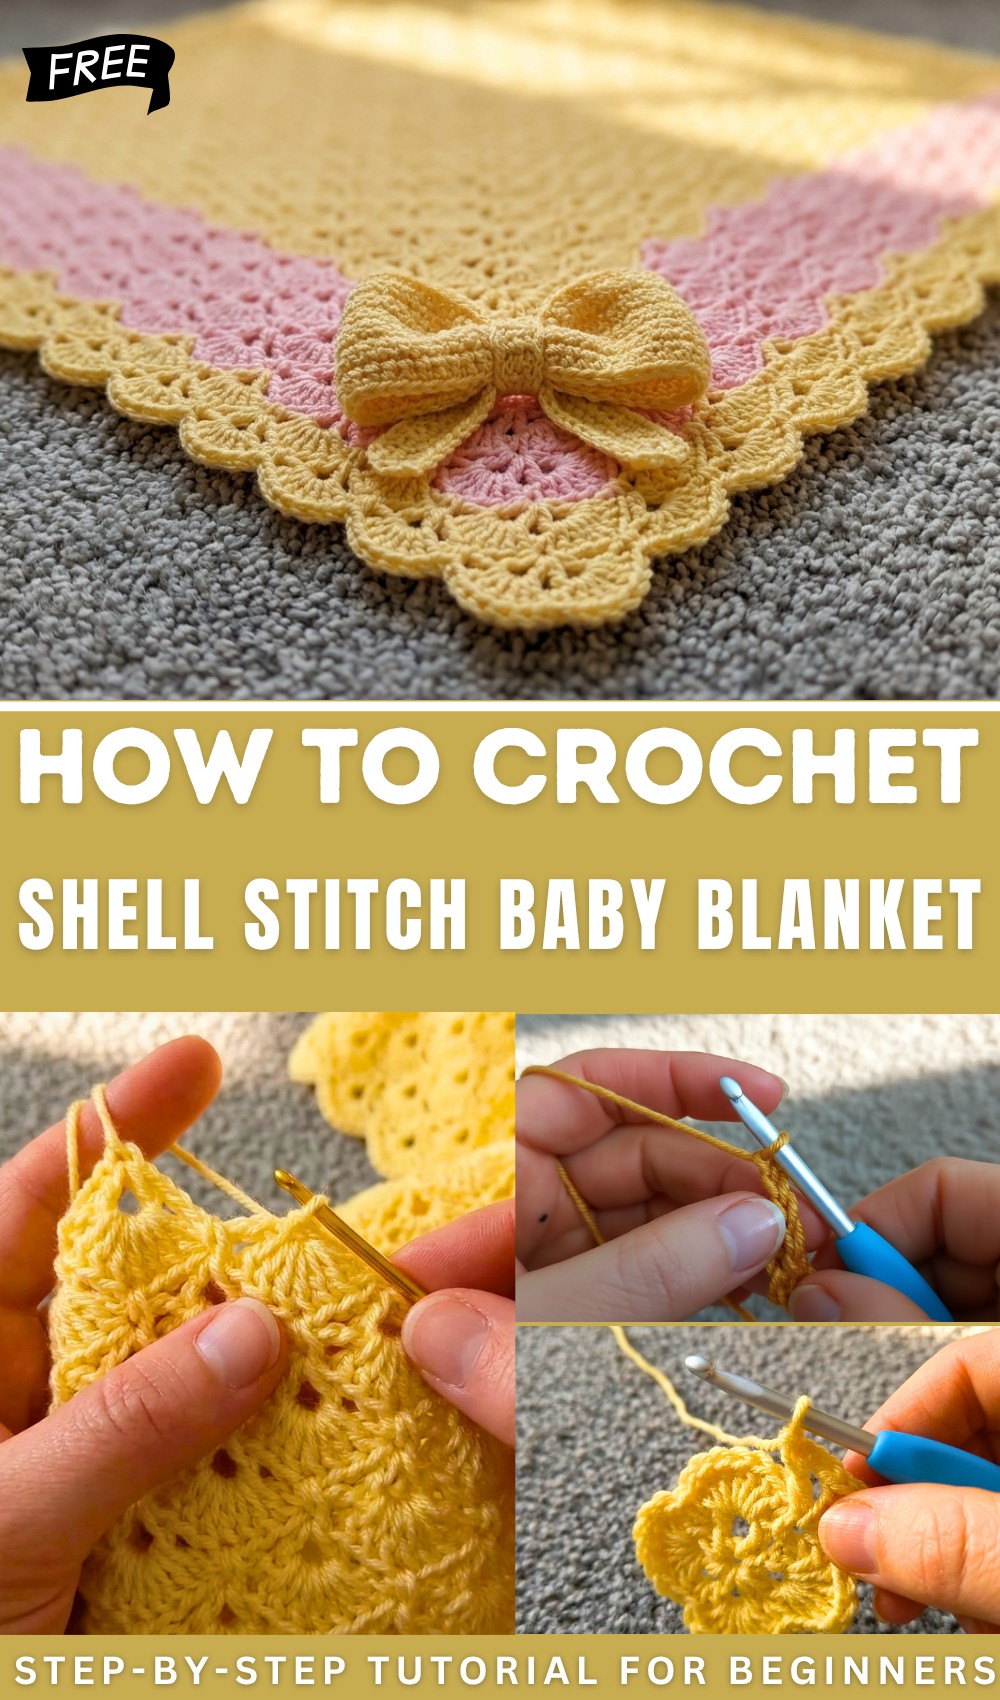
Colorful Free Shell Stitch Baby Blanket Pattern Step-by-Step
Warm every nursery with this free crochet shell stitch baby blanket pattern that’s simple to follow and results in a cozy treasured keepsake.
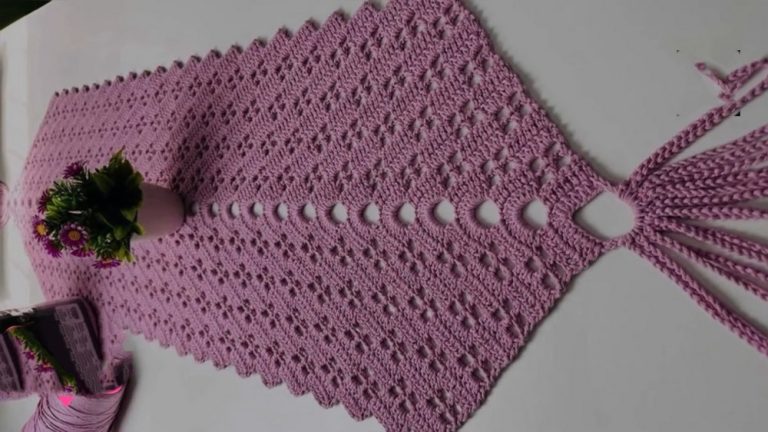
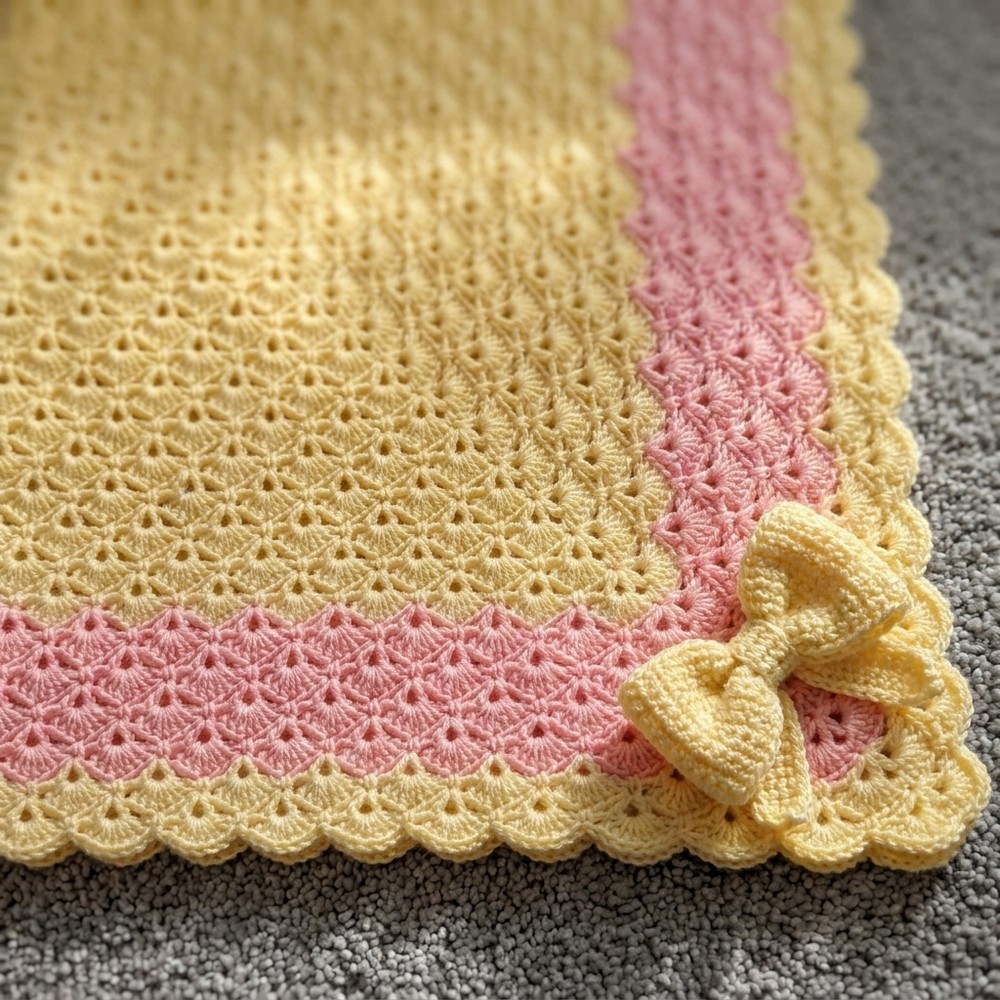
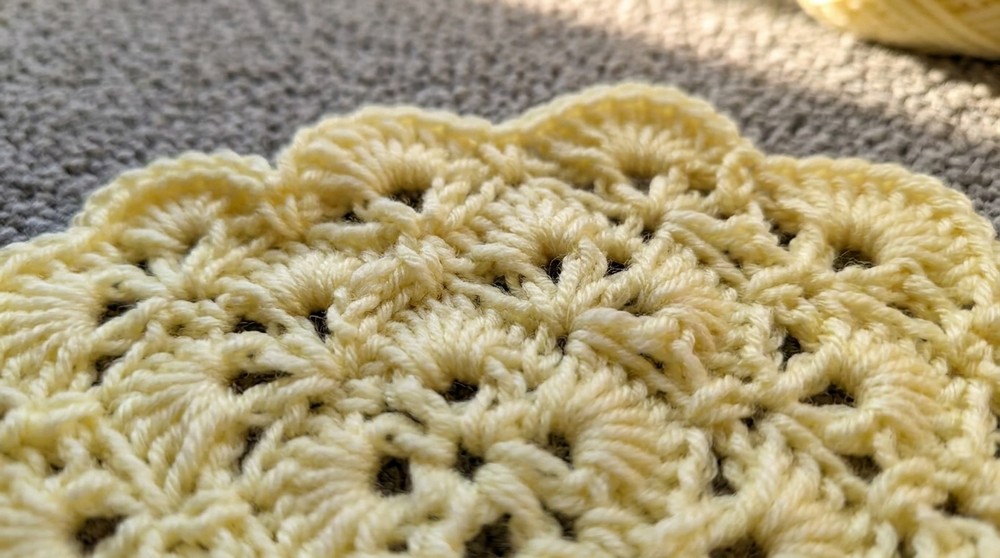
Gentle curves ripple across each row like tiny ocean waves making this blanket both beautiful and eye-catching. The crochet shell stitch baby blanket pattern uses an easy stitch that forms graceful shell shapes giving the blanket a unique look that stands out from ordinary designs. Each shell stitch creates a plush surface that feels cozy and offers just the right warmth for small children.
easy Free Shell Stitch Baby Blanket Pattern You’ll Love
Families often use this special blanket for cuddling during story time spreading it on the floor for play or wrapping it around little ones for comfort and security. The pattern is simple to follow so both beginners and experienced makers can enjoy the process and share their results as thoughtful gifts. With soft textures and repeating shell designs each blanket holds its own charm bringing beauty and warmth to any nursery or home setting without much effort or complicated steps.

Shell Stitch Crochet Baby Blanket Pattern
Materials List
- Yarn: Light worsted / Double knitting (DK) weight (Sample: Sirdar Snuggly Soothing DK)
- Main color (Light Yellow): 4 balls
- Contrast color (CC/Pink): 2 balls (for border)
- Hook: US 7 / 4.5 mm crochet hook
- Notions: Scissors, stitch marker, tapestry needle (for weaving in ends)
- Optional: Additional yarn for an attached bow (see notes for link to bow tutorial)
Key Abbreviations (US Terms)
| Abbreviation | Meaning |
|---|---|
| ch | chain |
| dc | double crochet |
| sc | single crochet |
| sl st | slip stitch |
| st(s) | stitch(es) |
| sp | space |
| rep | repeat |
| MC | main color |
| CC | contrast color |
Special Notes
- The blanket is worked in joined rounds, forming a large square (“granny square” style).
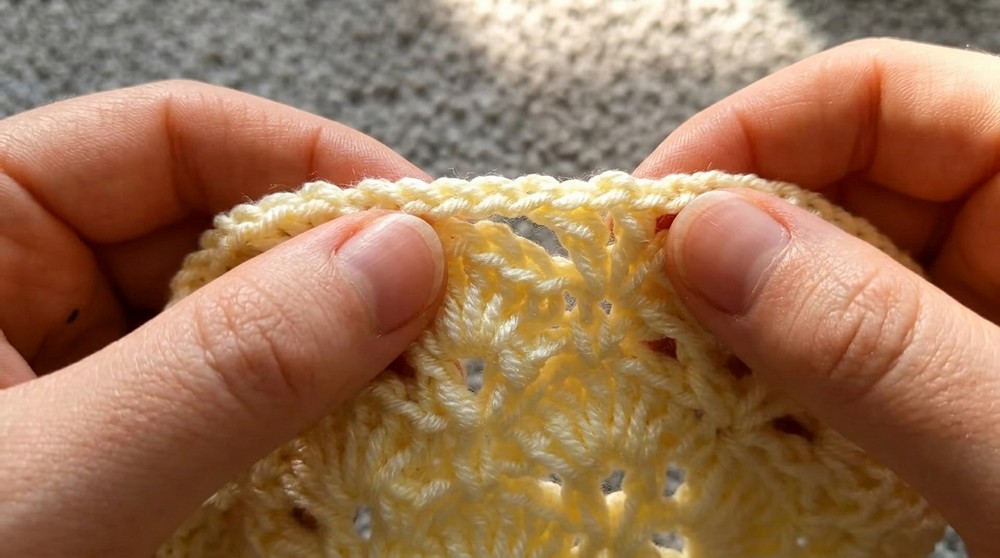
- Each “shell stitch” consists of 7 dc in the designated space.
- Corners are constructed with “corner V-stitches” or “corner shell stitches” as you progress.
- You can customize the color layout (example: white body, pink/white border).
- The finished size in sample: approx. 32″ x 32″ (81 x 81 cm); to adjust, add/subtract repeats.
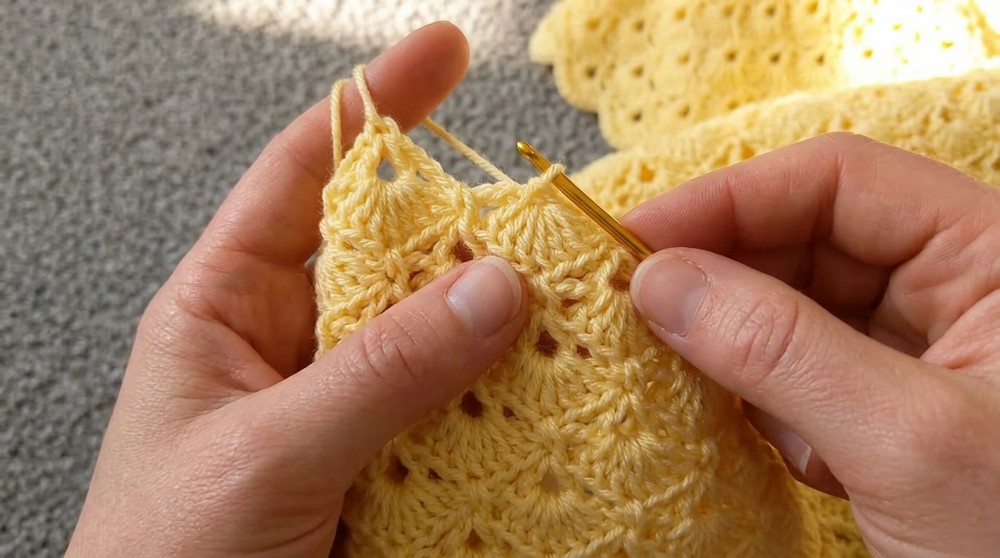
- For clarity, use a stitch marker to identify the first stitch of each round.
Pattern
Setup & Center
Round 1
- Using MC, ch 4, sl st to first ch to form a ring.
- Ch 4 (counts as 1 dc, ch 1).
- (Dc, ch 1) 7 times into the ring (you’ll have 8 dc in all, including initial ch-3).
- Sl st into the 3rd ch of beg ch-4 to close round.

(You should have: 8 dc with a ch-1 space between each dc)
Round 2
- Ch 1.
- Sc in first ch-1 sp. Place marker.
- In next ch-1 sp: 7 dc (shell).
- [Sc in next ch-1 sp, shell in following ch-1 sp] repeat three more times (for a total of 4 shells).
- Sl st to first sc to close round.

Round 3 (First Corner Round)
- Ch 4 (counts as 1 dc, ch 1).
- In same st (base of ch-4): dc, ch 3, dc, ch 1, dc (corner completed).
- Ch 5.
- In next sc: [dc, ch 1, dc, ch 3, dc, ch 1, dc] (corner v-stitch).
- Ch 5.
- Repeat steps 4–5 two more times (you will have 4 corners and 3 ch-5 spaces).
- Ch 2, dc in 2nd ch of beg ch-4 to join (completes final side, brings to corner position).
4 (Shell Round)
- Ch 1.
- Into the center (4th) dc of first shell from previous round: sc. Mark this stitch.
- In next ch-2 sp: 7 dc (shell).
- In next ch-3 (corner): sc.
- In next ch-1 after corner: shell [7 dc].
- Repeat [sc in center dc of next shell, shell in next ch-1 sp] across sides.
In each corner: [shell in ch-1 sp, sc in ch-3 sp, shell in next ch-1 sp]. - Sl st to first sc to join.
5 (V-Stitch Round)
- Ch 4 (counts as 1 dc, ch 1).
- Dc in same st (corner).
- Chain 5, v-stitch (dc, ch 1, dc) in next sc, chain 5— repeat until corner.
- At each corner sc: corner v-stitch (dc, ch 1, dc, ch 3, dc, ch 1, dc) in same sc.
- Continue sequence around: chain 5, v-stitch, chain 5, corner v-stitch at each corner.
- To finish: chain 2, dc in 2nd ch of beg ch-4.
6 (Shell Round)
- Ch 1.
- Sc in center dc (4th dc) of preceding shell.
- In each v-stitch ch-1 sp: shell [7 dc].
- Sc in next center of shell.
- At each corner: shell in corner ch-1 sp, sc in corner ch-3 sp, shell in ch-1 sp.
- Continue around, ending with sl st to first sc.
Blanket Construction
- Rnds 7–8: These two rounds form the main pattern repeat.
- Odd Rounds: (V-stitch rounds, like Round 5)
- Even Rounds: (Shell rounds, like Round 6)
- Repeat Rounds 7 and 8 thirteen (13) more times or until there are 17 total rounds of shell stitches (including your previous shell rounds).
- (Count your shell stitch rounds, not V-stitch rounds, for total.)
Border & Final Rounds
- When main blanket is done:
- Switch to CC (e.g., pink).
- Repeat rounds 7 and 8 four (4) more times (for 4 rounds of shells in the contrast color).
- Switch back to MC (e.g., white).
- Repeat rounds 7 and 8 two more times (for 2 more shell rounds).
- Fasten off & weave in ends.
Optional Bow
- Make a 3D crochet bow and attach to a blanket corner (see video/pattern link).
- Use the tapestry needle and yarn tails to sew on securely.

Pattern Corrections
- Always join rounds in the first sc (when rounds start with single crochet).
- The shell always consists of 7 dc.
- The corner is always crafted as (dc, ch 1, dc, ch 3, dc, ch 1, dc) into the corner stitch or space.
Tips
- Always use a stitch marker to mark the starting point of each round, especially for rounds starting with sc.
- Ensure you’re always placing sc into the 4th dc (middle) of shell stitches for straight sides.
- The blanket can be resized easily by continuing to repeat rounds 7 and 8 to your desired size.
- Block your finished blanket gently for a professional look.
- Customize colors or border to your taste!
Conclusion
This shell stitch baby blanket combines beauty and simplicity, created in the round like a giant granny square. The repeating texture and easy color changes make it perfect for gifts or your nursery. Follow the step-by-step instructions for crisp edges, clearly defined shells, and neat corners. Add a bow for a charming finishing touch!