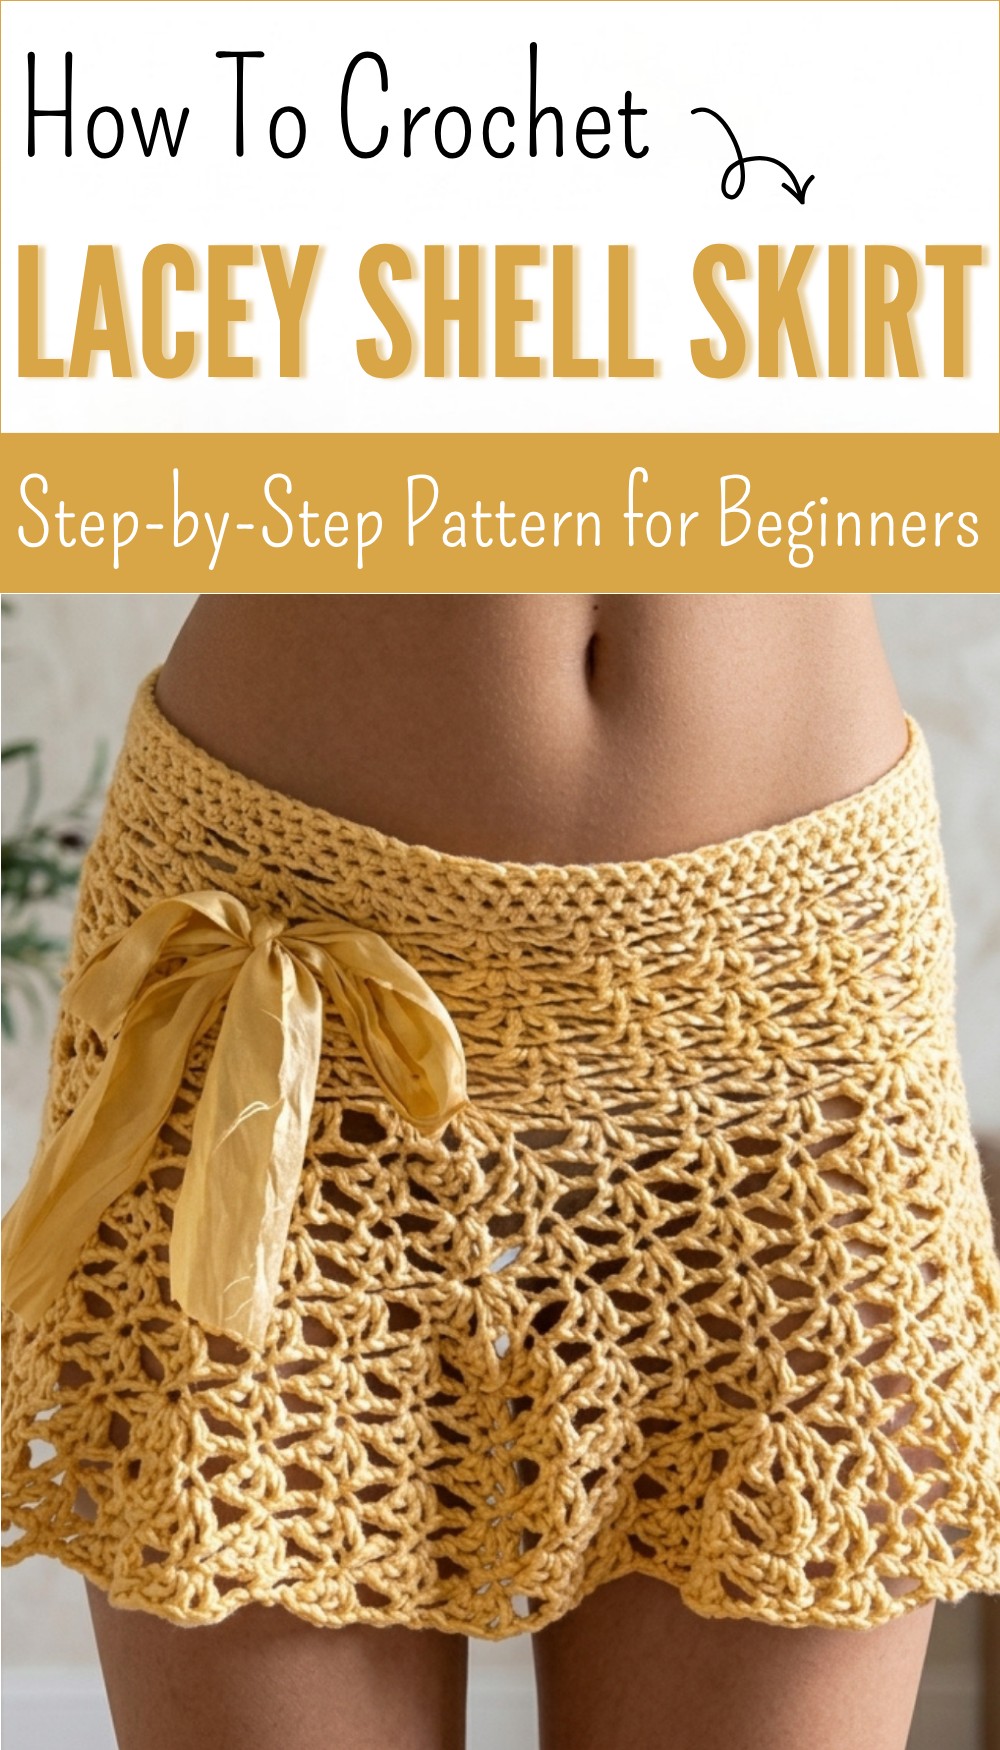
Free Crochet Lacey Shell Skirt Pattern to Refresh Your Wardrobe
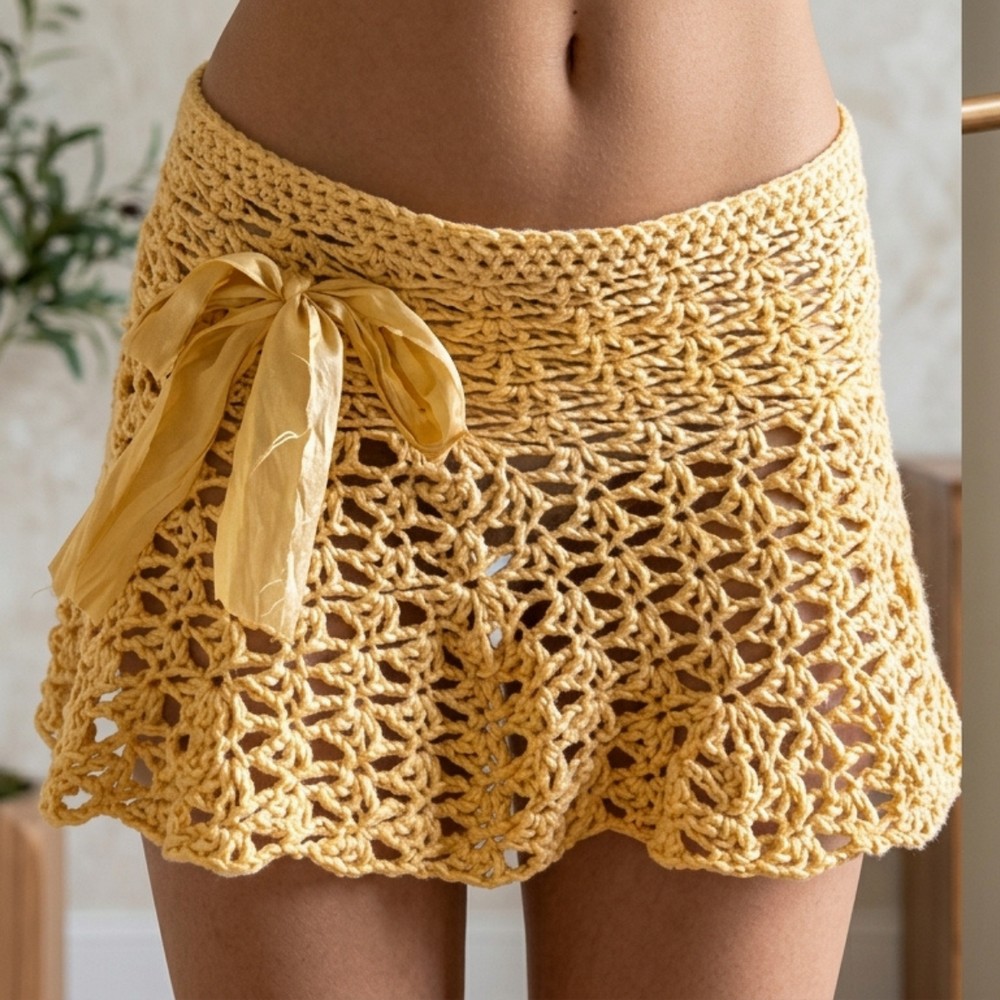
Enjoy effortless style with this free crochet lacey shell skirt pattern, perfect for adding charm and breezy elegance to your summer days.
Gentle waves of yarn can shape a skirt that glides easily and feels nice against your skin. The special design in the crochet lacey shell skirt pattern uses rows of shells made by loops and spaces, making each skirt cool and comfortable for warm days. People enjoy wearing this skirt over leggings or shorts for added style, and they look beautiful as a beach cover-up or for everyday wear.
Free Crochet Lacey Shell Skirt Pattern Ready for Summer

This pattern is simple enough for anyone to follow, so every maker can finish a skirt that fits well and feels good. The shell stitches add a pretty look that stands out, while the lightness means you stay comfortable. Choosing colors and adjusting the length is easy, allowing each skirt to match your taste and needs. Bringing beauty and comfort to daily outfits, the crochet lacey shell skirt pattern is useful and enjoyable for all ages.
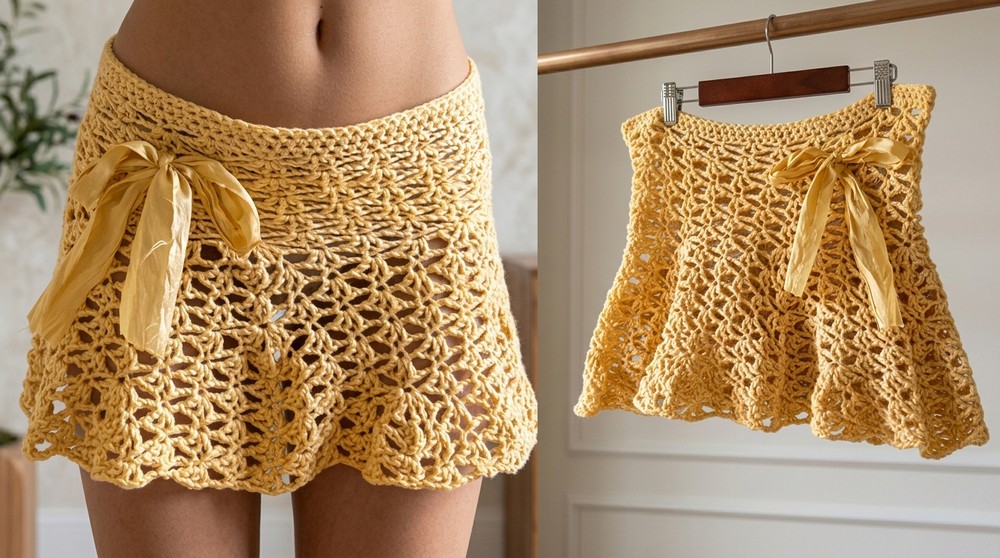
Crochet Shell Stitch Skirt Pattern
Materials
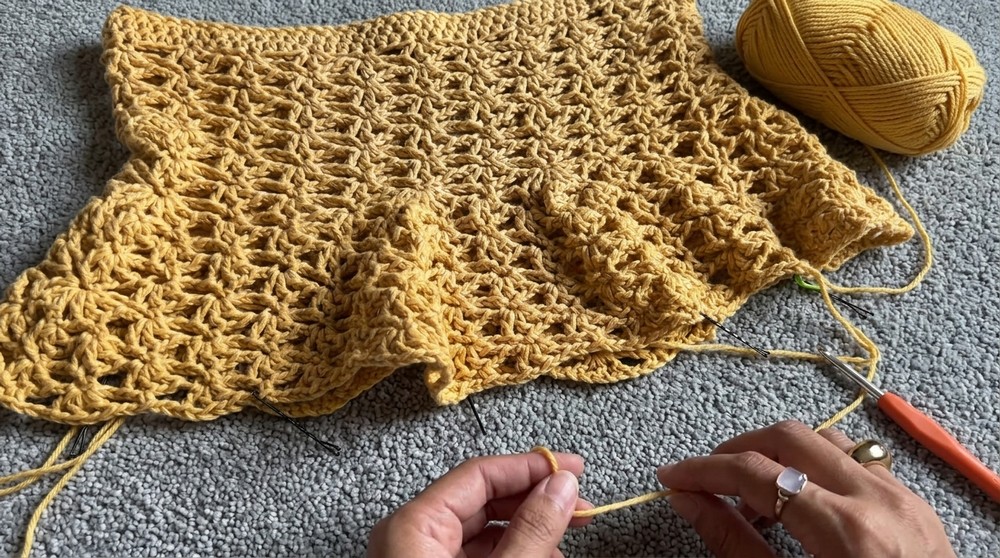
- Worsted weight yarn (cotton or your choice): approx. 300 m (adjust for size/length)
- Hook: 5 mm crochet hook
- Stitch markers: 5 of one color, 1 contrasting for row start (bobby pins work well)
- Tapestry/yarn needle
- Scissors
- Measuring tape (optional but useful)
- Notebook & pen (optional, for row tracking)
Key Abbreviations (US Terms)
| Abbreviation | Meaning |
|---|---|
| ch | chain |
| sl st | slip stitch |
| sc | single crochet |
| hdc | half double crochet |
| dc | double crochet |
| st(s) | stitch(es) |
| sp(s) | space(s) |
| rep | repeat |
| FO | fasten off |
Special Notes
- Skirt is worked in the round, top-down.
- Make your starting chain a multiple of 8 for the shell stitch foundation.
- A drawstring makes the waistband adjustable.
- Shell stitch units = 1 repeat over 8 stitches.
- Increase rounds flare the skirt for an A-line shape.
- Try on as you go for a perfect fit.
Pattern
1. Foundation Chain & Waistband
a) Take Measurements
- Measure your hips at the widest point (the skirt must fit over your hips!).
- If you want it to sit at your waist, measure there, but still ensure it will stretch over your hips.
- If you don’t have a tape measure, wrap the chain around you to check fit, but don’t let it twist.
b) Foundation Chain (Half Double Crochet Foundation Chain recommended for best stretch):
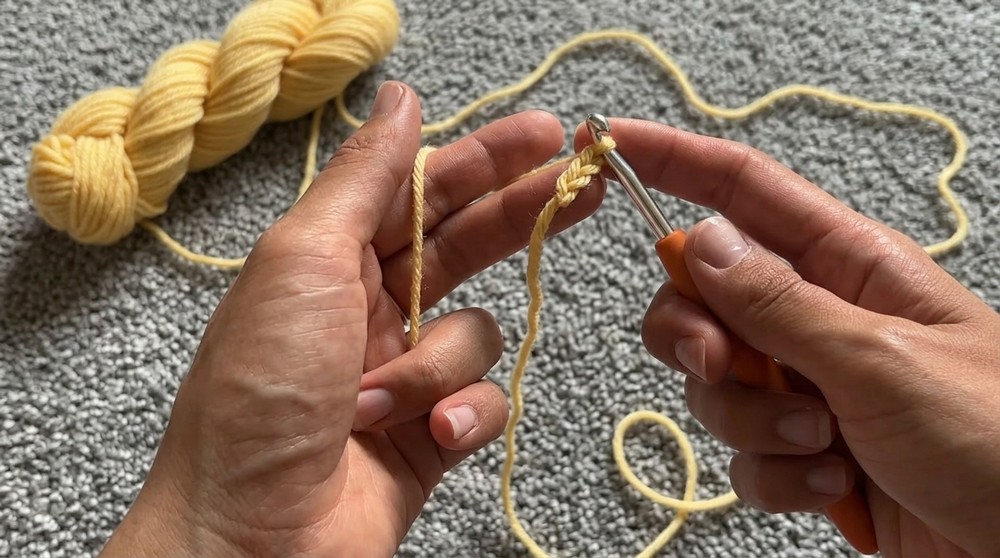
- Make a slip knot, ch 2.
- Yarn over, insert hook in 1st ch, pull up a loop (3 loops on hook).
Yarn over, pull through 1 loop (foundation chain made), yarn over, pull through all 3 loops (hdc made).
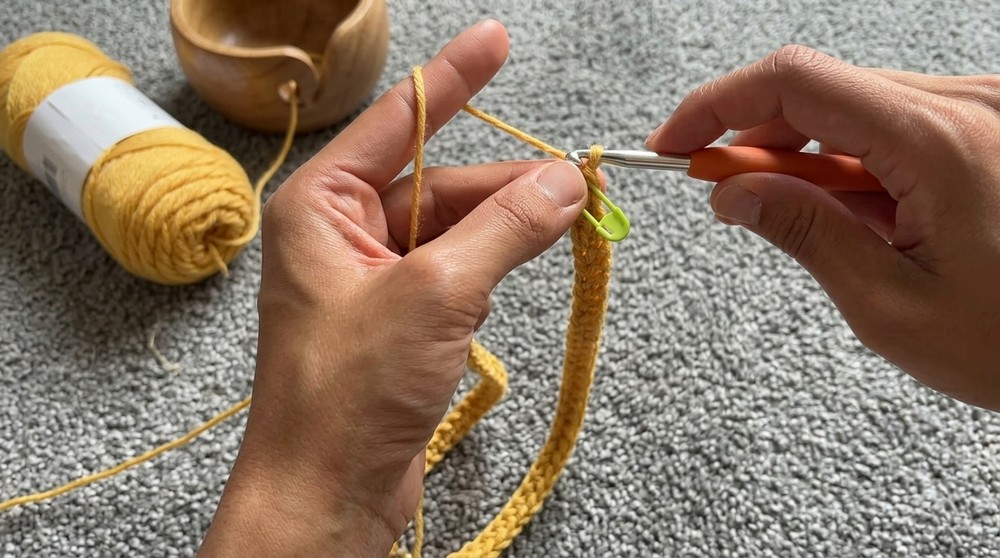
Insert hook into foundation chain just made, and repeat until chain fits around body. - Stop at a multiple of 8 stitches. Example from video: 88.
c) Join to Work in the Round
- Carefully align the foundation chain row without twisting.
- Sl st into the first hdc to join.
- Optional: Weave in yarn end at join for neatness.
d) Waistband Rows
- Place a stitch marker at the seam.
- Work 2 rounds of hdc into each st around.
- Sl st to join each round.
2. Shell Stitch Body
Shell Repeat
- (sc, ch 2, skip 3, [dc, ch 1, dc, ch 1, dc] all in next st, ch 2, skip 3) = 8 sts
Row 1 (Set-up Shells):
- sc, ch 2, skip 3 sts
- In next st: [dc, ch 1, dc, ch 1, dc] (all in the same st; this is the lace shell)
- ch 2, skip 3 sts
- sc in next st
- Continue around (repeat the shell unit), ending with ch 2, sl st to the 1st sc.
- You may have an extra st at the end—skip it and sl st to join. Don’t worry if it isn’t perfect; it will blend.
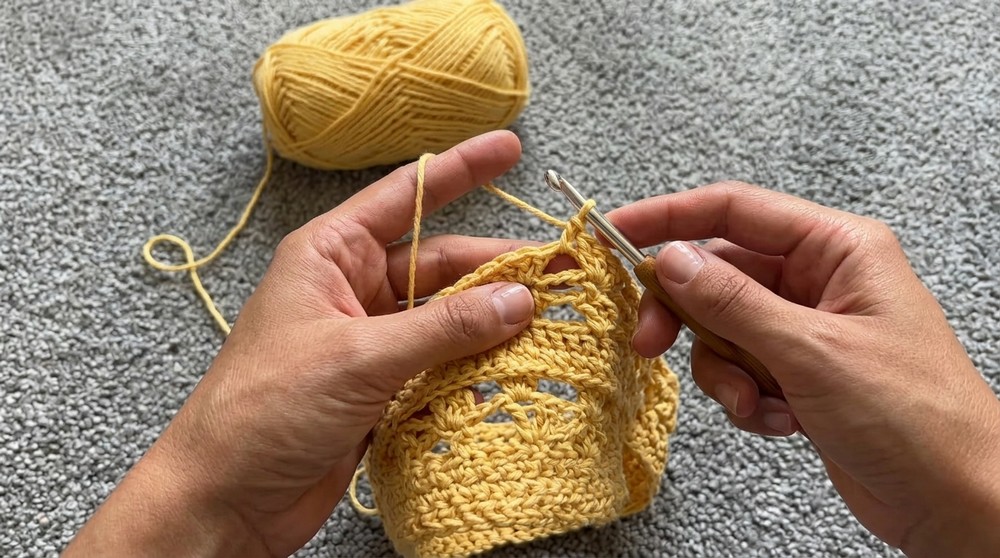
Row 2 and All Even Rows
- ch 4 (counts as dc + ch 1), dc in same st, ch 1, dc in same space (shell half made)
- ch 2, sc into center dc of next shell
- ch 2, in each sc from previous round, make a full shell: [dc, ch 1, dc, ch 1, dc]
- ch 2, sc into middle dc of next shell
- Rep around.
- At end of round, after last sc/ch 2, complete first shell: [dc, ch 1] then sl st into 3rd ch of starting ch-4.
Row 3 and All Odd Rows
- Start with sc in top of shell, ch 2, shell in next sc, ch 2, sc in top of next shell…
- Always alternate sc and shells, aligning them with previous round’s shells and scs.
Continue:
- Repeat as established, always starting your rounds so shells stack on sc and vice versa.
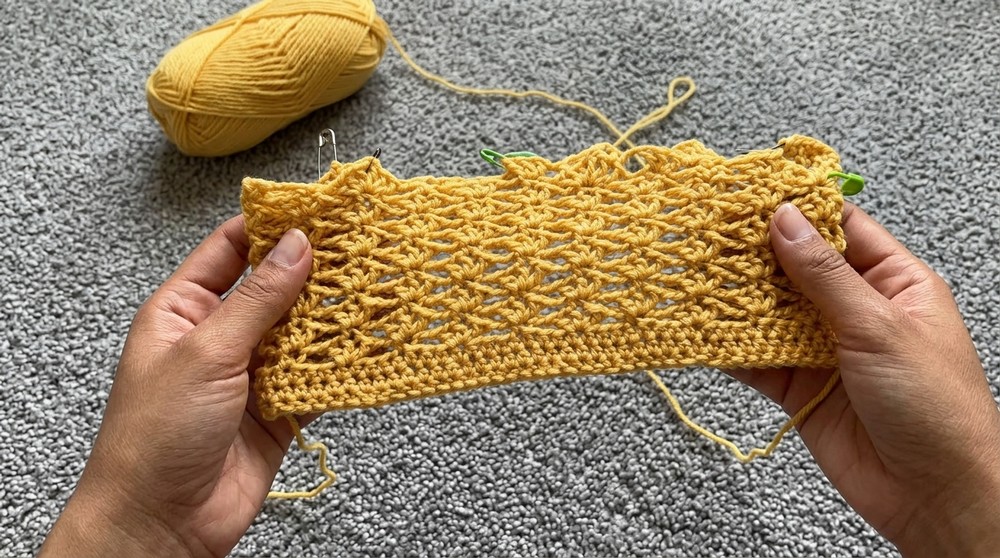
- Complete 10 shell rounds before increases.
3. Increase Rounds (for Flare Shape)
- After 10 rows, set 5 evenly spaced stitch markers at single crochet points (use a different color marker at row start).
Increase Row (3x during skirt; Rows 11, 16, 21 in example)
At each marked sc:
- In sc, work [dc, ch 1, dc, ch 1, dc, ch 3, dc, ch 1, dc, ch 1, dc].
- This is two shells in the same sc, separated by ch 3.
- Place marker in the center ch of the ch-3 for next increase row.
Continue shell pattern as normal between increases.
Rows Between Increases:
- For the next 4 rows, just work shell pattern as established.
- In increase zones:
- In the ch-3 space, put a shell.
- On sc in shells as in regular rows.
Offsetting Increases:
- After 2 increase rows, offset markers to between previous increases (middle sc between two increases).
4. Finish the Body
- Continue shell rows, working 3–4 more rounds without increases until desired length is reached.
- Try on for length. You can add more increase rows for a more dramatic flare, or work straight for a pencil style.
5. Drawstring Waistband (Optional but recommended!)
- With the same or contrast yarn, make a foundation hdc chain or regular ch to fit around waist plus a generous amount to tie.
- You can chain 80–140+ for a long tie.
- Weave through waist (first hdc row) using tapestry needle, in and out every inch/2–3 cm or so.
- Tie and secure ends.
- For a pretty look, you can use ribbon or fabric instead of a crocheted cord.
6. Final Steps
- Block if necessary for shape.
- Weave in all ends neatly.
- Try on and style as desired!
Conclusion
You have completed a customizable, fitted-and-flared shell stitch skirt! The drawstring waistband ensures adjustability. Experiment with more/fewer increases, different yarns, or add a fabric ribbon for a personal touch.
Pattern Corrections & Tips
- Correction: Always check your foundation chain is a multiple of 8 for the shell pattern to work.
- Tip 1: If your stitch count is slightly off, fudge your shell placement—this pattern is forgiving.
- Tip 2: Increases are made by placing two shells, separated by ch 3, at marked sc points. Offset for an even flare.
- Tip 3: Customize length and flare to your taste; try on as you go.
- Tip 4: If you dislike working into foundation chains, use a foundation hdc chain.
- Tip 5: Keep a notebook to track rows and increases, or use the stitch markers!