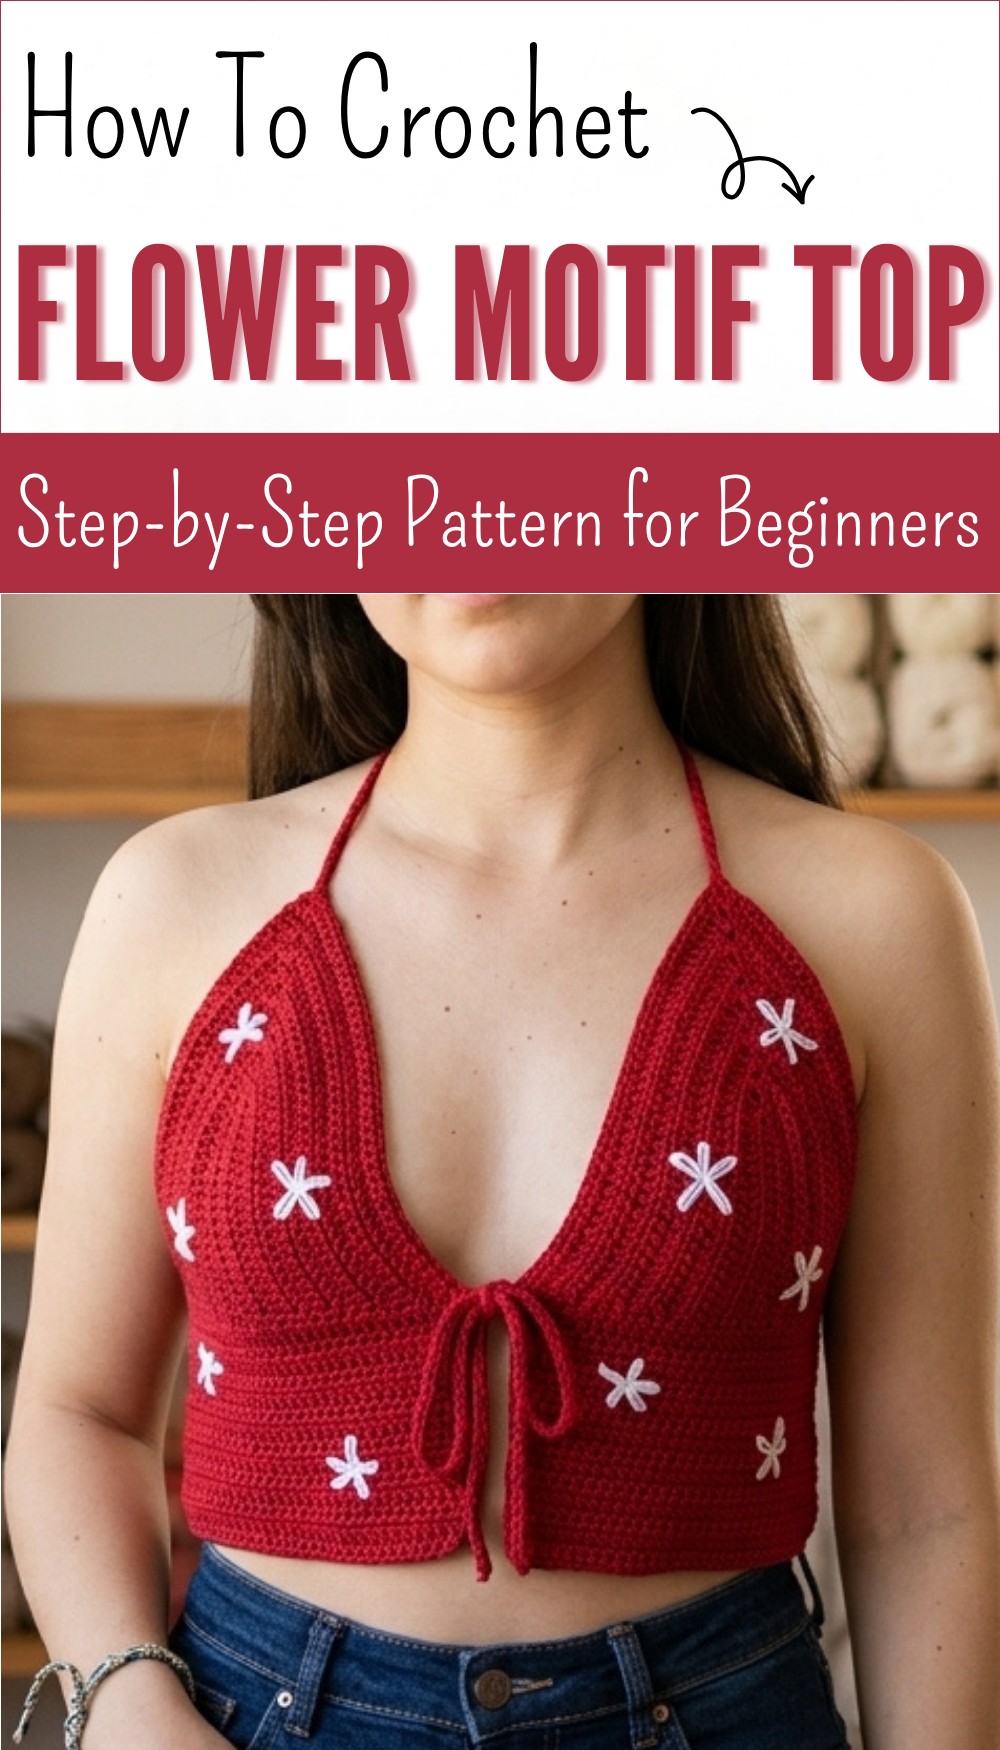
Free Crochet Front Tie Top Pattern for Lasting Style
Fall in love with this free crochet front tie top pattern as you easily create a stylish comfortable piece that’s perfect for sunny days.
Imagine wearing a cozy handmade top that wraps your body and ties at the front for a perfect fit each time. This beautiful crochet front tie top pattern stands out with its airy, delicate design that feels light and keeps you cool. Add bright colors or gentle pastels to suit your own taste, and enjoy how easily this top pairs with jeans, skirts, or shorts for daily wear or special outings.
Stylish Free Crochet Front Tie Top Pattern You Can Wear Anywhere

The front tie makes it special, because you control the comfort and style; adjust it to be loose for relaxing or snug for a smart look. This piece is not only easy to make but also quick to finish, even for beginners. You get the freedom to be creative and make a top just your size. Handmade with care, it offers comfort, style, and the pride of creating something useful, beautiful, and truly unique for your wardrobe.

Free Crochet Front Tie Top Pattern
Materials
- Yarn: “La Abuela” 100% unmercerized cotton, 50g skeins
- Main Color: Red
- Accent Color: White (small amount, for flowers)
- Crochet Hooks: Size 2 mm and/or 3 mm
- Notions:
- Yarn/tapestry needle
- Measuring tape
- Scissors
- Ribbon (optional, for ties instead of crocheted ones)
Key Abbreviations & Notes
| Abbreviation | Meaning |
|---|---|
| ch | chain |
| sl st | slip stitch |
| sc | single crochet |
| hdc | half double crochet |
| rep | repeat |
| st(s) | stitch(es) |
| inc | increase (work 2 hdc in the same st) |
| RS/WS | Right side / Wrong side |
Special Notes:
- All instructions are written in US crochet terms.
- Pattern is for a small size (cup base: 16 cm, 16 starting chains per cup). Adjust chain length for larger/smaller sizes (see “Sizing” below).
- Add or reduce rows for preferred top length/coverage.
- Ties and flowers are optional and customizable in length/number.
Sizing
- Cup Base (starting chains):
- Small: 7 cm (16 ch)
- To adjust: Make as many chains as needed to reach your measurement over the fullest part of the bust for each cup.
- Cup Height: Continue increasing rows until base of each cup is half your underbust measurement.
- Back Panel: Work hdc rows between cups until total underbust circumference is reached once assembled.
Pattern
1. Cups (make 2)
Foundation Chains
- Ch 16 (for small; adjust as per size table).
- Measure to ensure starting chain matches measurement (see sizing note).
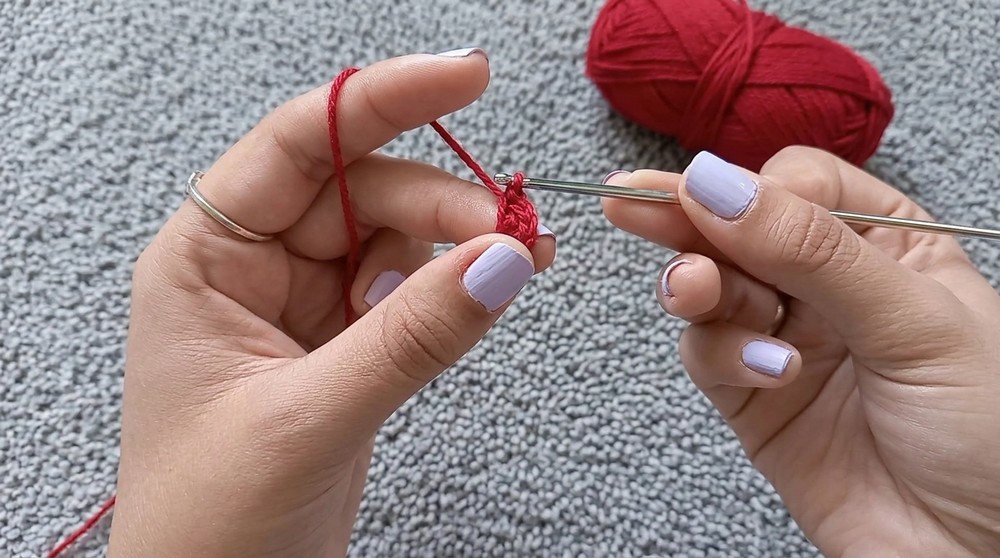
Row 1:
- Ch 1 (for height).
- Starting in 2nd ch from hook, work 1 hdc in each ch across (16 hdc).
- In final ch, work 3 hdc (creates corner and increase to work on the other side).
- Work 1 ch (corner).
- On the opposite side of foundation, 2 hdc in same corner st, 1 hdc in each st across (total 16 hdc on this side).
- Turn.
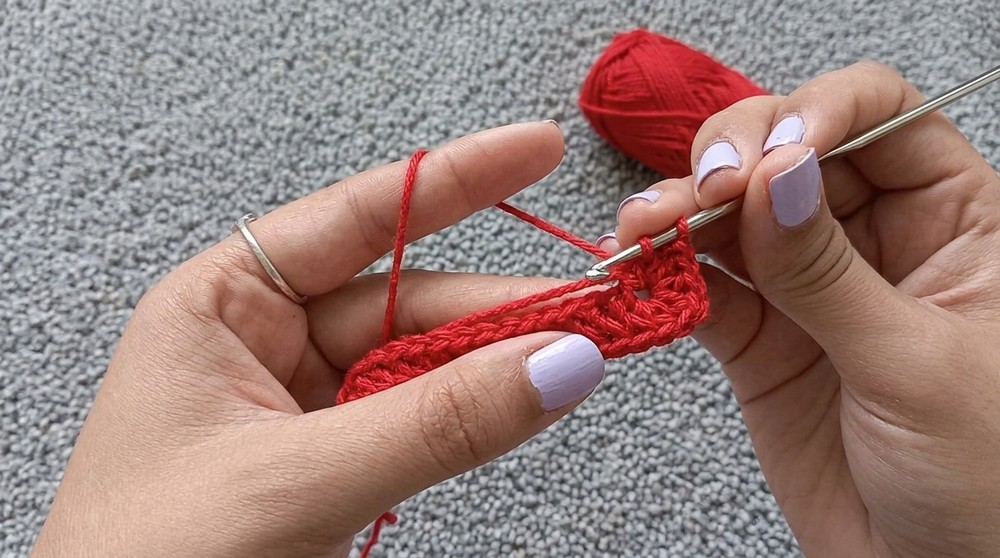
Row 2 (and all rows until cup height):
- Ch 1, turn.
- 1 hdc in each st across to the center ch-sp (side increase).
- In center ch-sp: 2 hdc, ch 1, 2 hdc (increase made).
- Continue 1 hdc in each st to end.
Repeat Row 2 until cup reaches height or size needed (for small: base should be 16 cm across). Each row increases by 2 stitches per side.
Finish off, weave in ends.
2. Front Tie (Cord between cups)
- With RS facing, join yarn to the bottom center of one cup.
- Ch 50-60 (adjust for desired tie length).
- Sl st in 2nd ch from hook and each ch across, back toward base of the cup.
- Fasten off.
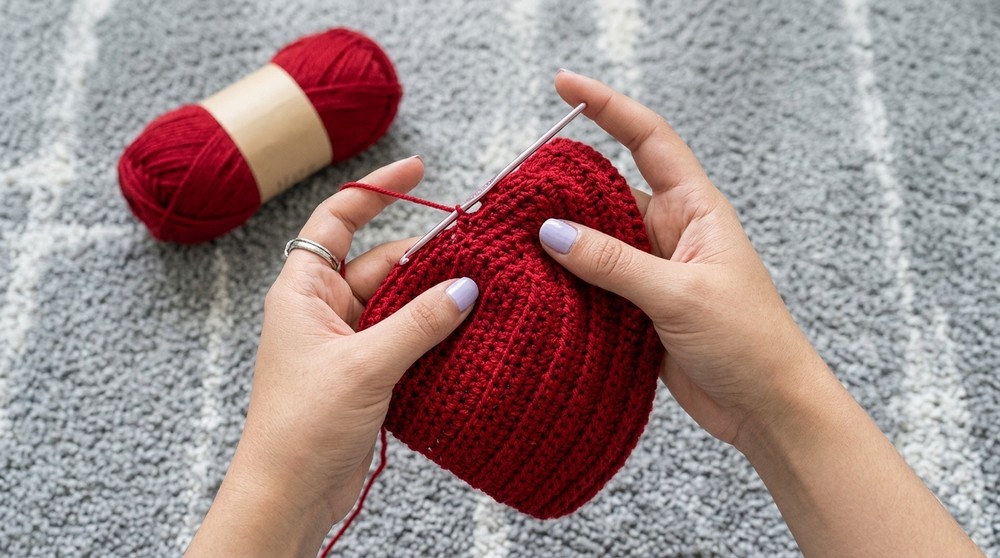
3. Cup Base Extension
- With RS facing, attach yarn to lower edge of cup.
- Ch 1, work hdc evenly across base, being careful not to place sts too close or too far apart (count sts for consistency on the second cup).
- Turn, ch 1, work hdc in each st across.
- Repeat this row until desired length for the body (for cropped: 15 rows as in video; adjust for more/less coverage).
- Finish off.
4. Repeat for Second Cup
- Make second cup using same steps as above.
- Attach base tie if not already done.
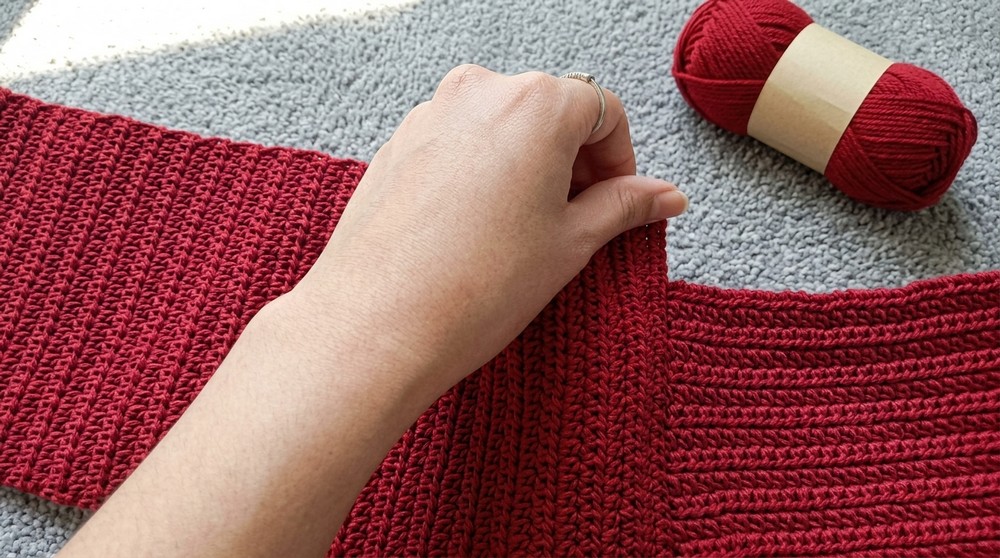
5. Join Cups and Work Back Panel
- Place cups RS together, with center ties at middle front.
- On the side of one cup (left/back edge), join yarn with sl st in first st.
- Ch 1, work 1 hdc in each st across side edge (up to 3 extra hdc for shaping if desired).
- Ch 1, turn, work hdc in each st across.
- Repeat rows until back panel plus cups = underbust measurement.
- Using sl st, join the panel to the edge of the other cup (WS facing), so back panel is attached.
- Fasten off. Weave in ends.

6. Neck Ties
- With RS facing, join yarn at top corner of cup (in the ch-sp created at point).
- Ch 130–150 (for a ~60-80 cm tie, or to desired length).
- Sl st in 2nd ch from hook and each ch across back to starting point.
- Fasten off.
- Repeat for other cup.
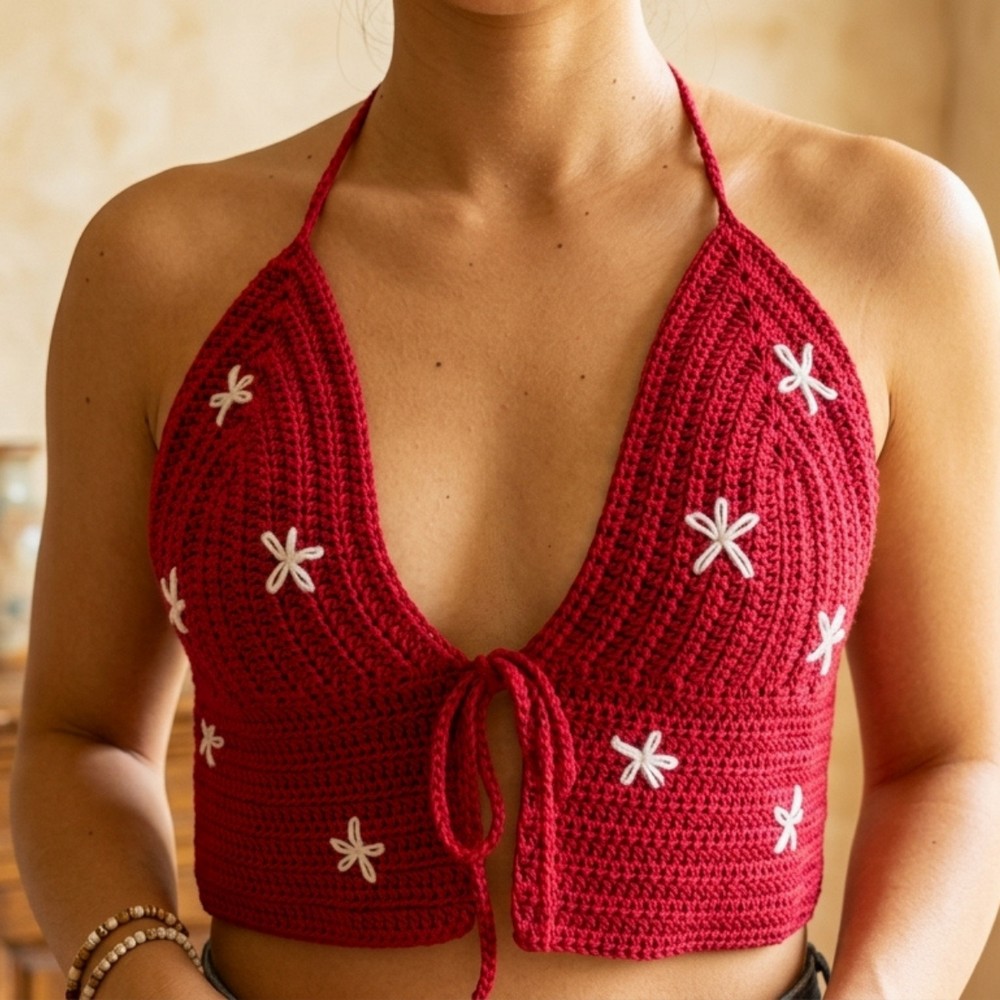
7. Embroidered Flowers (Optional)
- Thread tapestry needle with white yarn.
- Come up from WS to RS at flower center placement.
- Use a five-petal “lazy daisy” embroidery technique:
- From center, insert needle at petal tip, bring needle back up at center, looping yarn to create petal.
- Tuck down with a small stitch.
- Repeat for all 5 petals, finishing at WS.
- Secure and weave in all ends on WS.
Tip: Distribute flowers evenly and add desired number per preference. Hide ends well for neatness.
Conclusion
This crochet halter top is a versatile, fully customizable pattern featuring front and neck ties for a perfect fit. Embroidered flowers add a unique handmade touch. Adjust length, cup size, and tie lengths to suit you. The pattern is suitable for advanced beginners who are comfortable with basic stitches, increasing, joining, and a bit of simple embroidery.
Pattern Correction & Tips
Corrections
- Check that each cup has the same number of stitches and rows for even sizing.
- Ensure the back panel is wide enough for comfort but not so wide it gaps.
Tips
- Use cotton yarn for breathability and best summer wear.
- If you use ribbon for ties, thread through crocheted edges instead of making chains.
- Try on as you go for best fit, especially the cup and body height!
- Count stitches per row for symmetry.
- Always weave in all ends and stretch pieces lightly after washing to set shape.