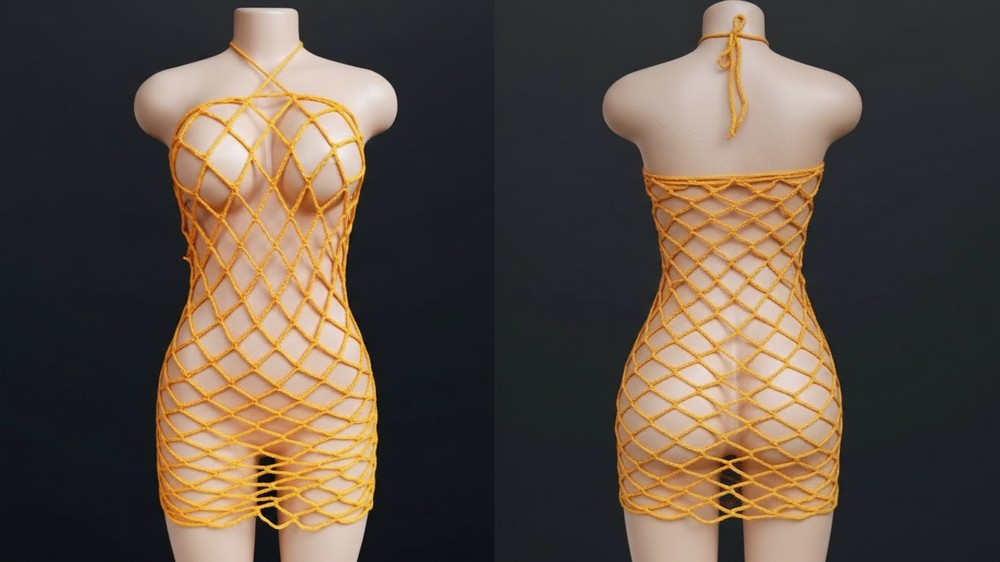
Airy Crochet open mesh cover up Pattern for Beach Days

Layer beachwear with this Free Crochet open mesh cover up Pattern for a breezy drape that feels light, airy, and stylish by the shore.
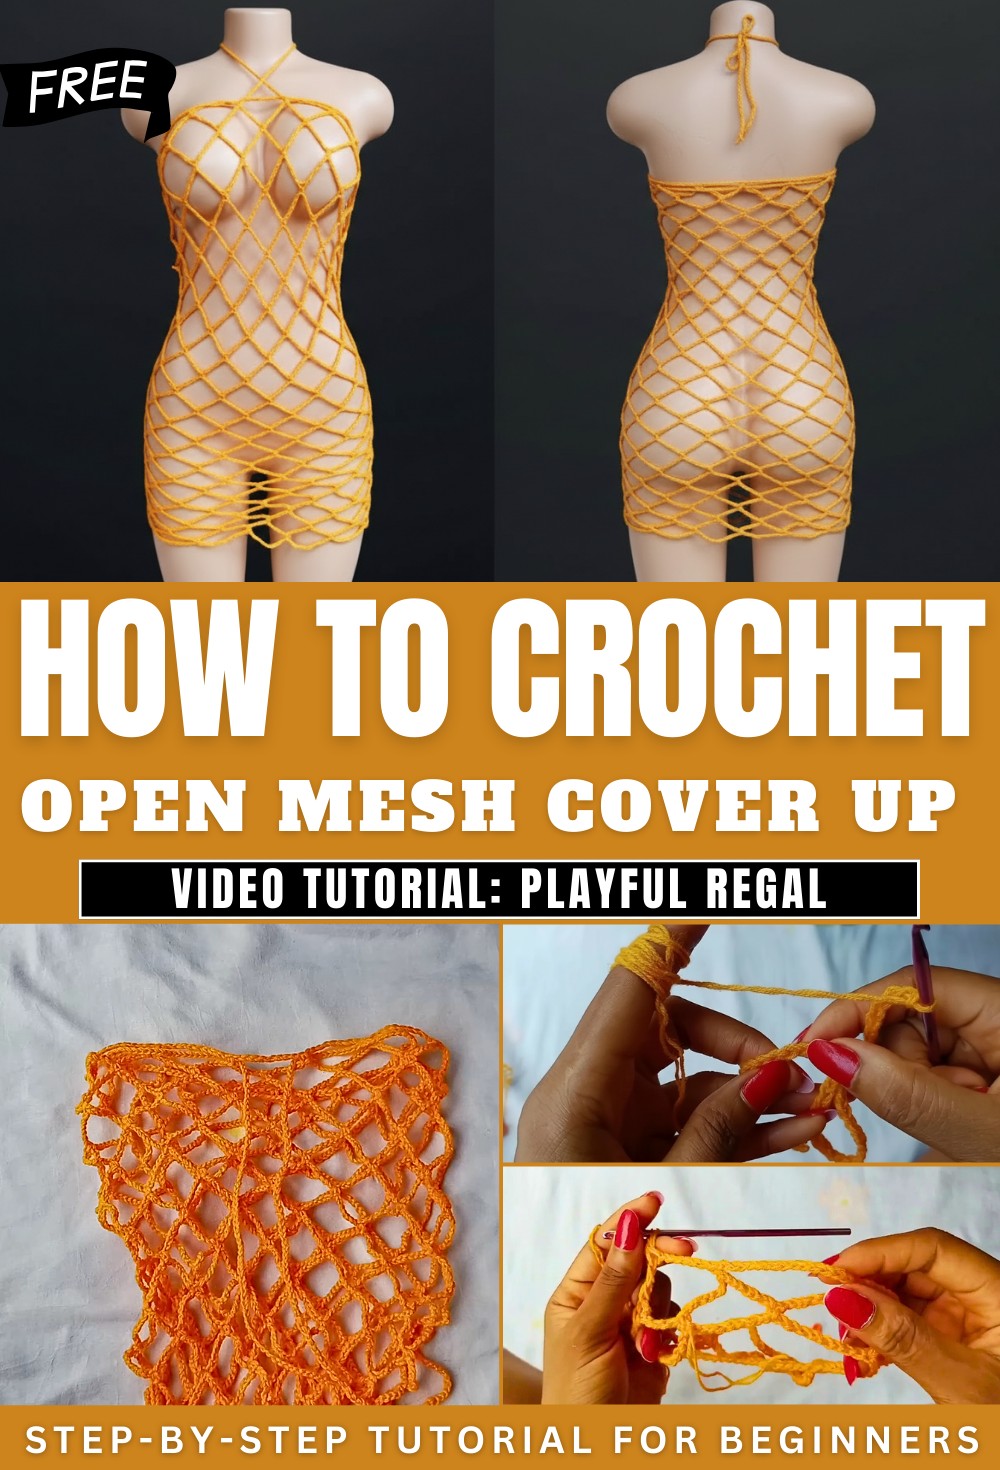
Trendy Crochet open mesh cover up Pattern With Coastal Vibes
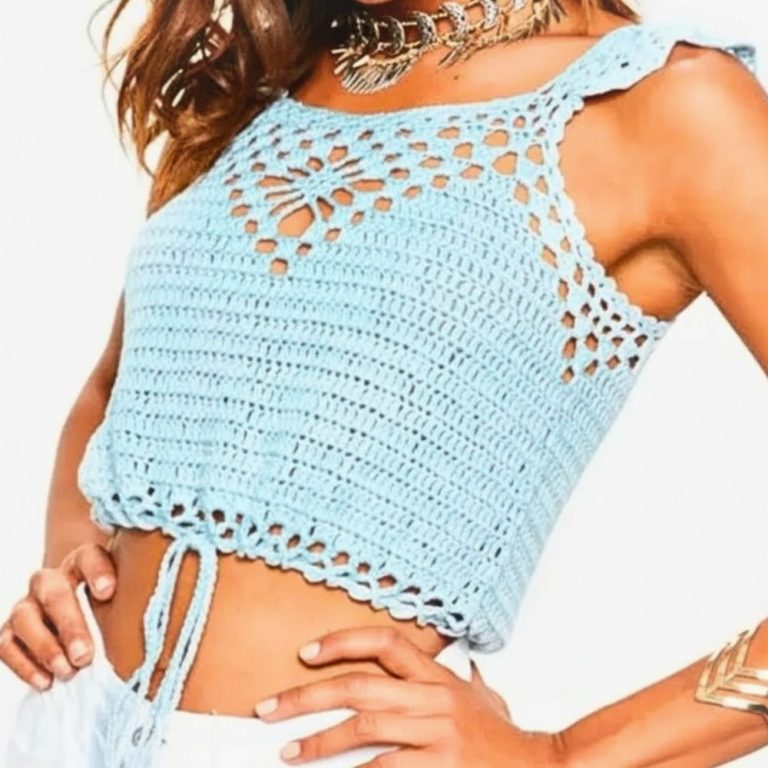
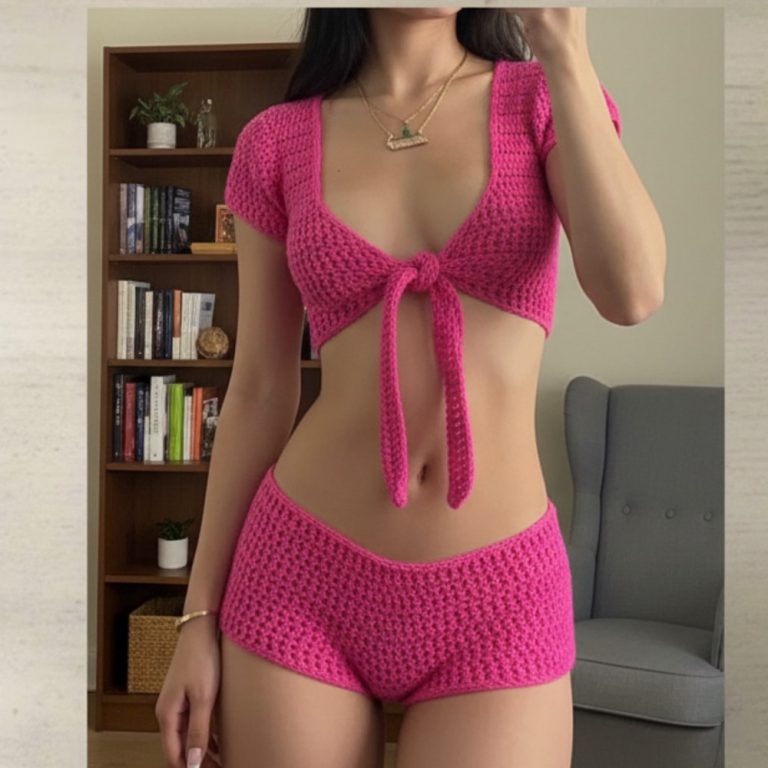
Adding a touch of style and comfort to your summer outfits, this lightweight layer is both useful and beautiful. The crochet open mesh cover up pattern is perfect for wearing over swimsuits at the beach, or as a light extra piece for festivals or casual outings. Its open design lets your clothes underneath show through, giving a playful and eye-catching look. One of its big benefits is how airy and cool it feels, keeping you comfortable on hot days.
You can easily change the length, sleeves, or colors, making it special and just right for your personal style. The pattern is simple enough for anyone to use and creates a relaxed but elegant piece you’ll want to wear again and again. Whether you need a quick cover at the pool or something pretty for a walk by the sea, this cover up is a smart, attractive choice.
Materials Needed
-
Yarn: Cotton or acrylic yarn (Size 3 or 4 recommended).
-
Hook: Size appropriate for your yarn (e.g., 4.0mm or 5.0mm).
-
Tools: Stitch marker, scissors, and a tapestry needle.
Pattern Details
-
Stitch Key: * sc: Single crochet
-
tr: Treble crochet (Yarn over twice, insert hook, pull up loop, yarn over and pull through 2 loops three times).
-
-
Sizing: Foundation chain = (Hip measurement minus 2 inches). Ensure the total chain count is a multiple of 9.
Step-by-Step Instructions
Round 1: Foundation & Setup
-
Foundation: Chain until your piece reaches your hip measurement minus 2″ (e.g., 117 chains for a 37″ hip).
-
Join: Slip stitch to the first chain to form a ring (ensure it’s not twisted).
-
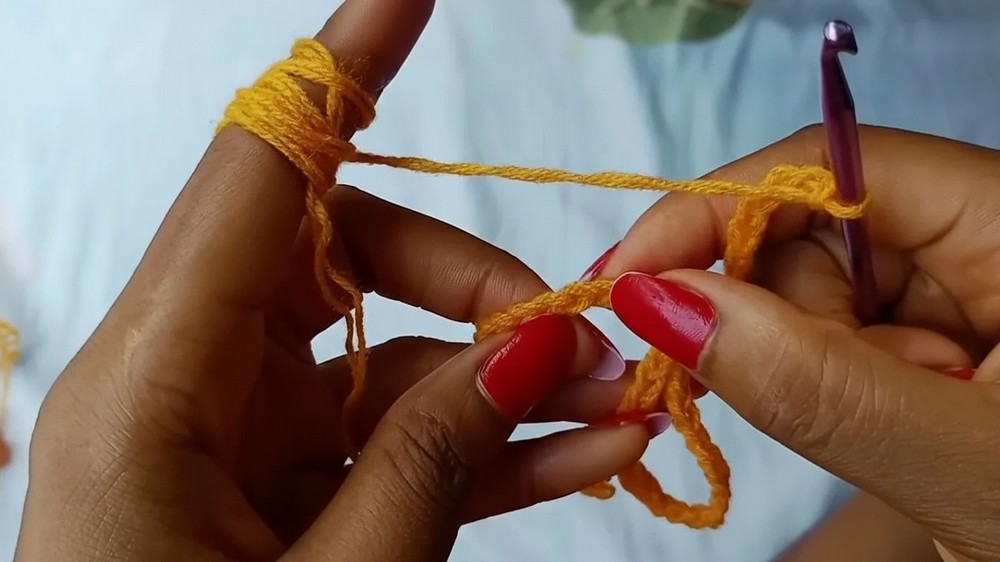
Base Mesh: * Ch 1, 1 sc in the first chain.
-
Ch 15, skip 8 chains, 1 sc in the 9th chain.
-
Repeat * around until 8 chains remain.
-
-
End of Round: Ch 6, then work 1 tr into the very first sc. This puts your hook at the top center of a loop, ready for the next round.
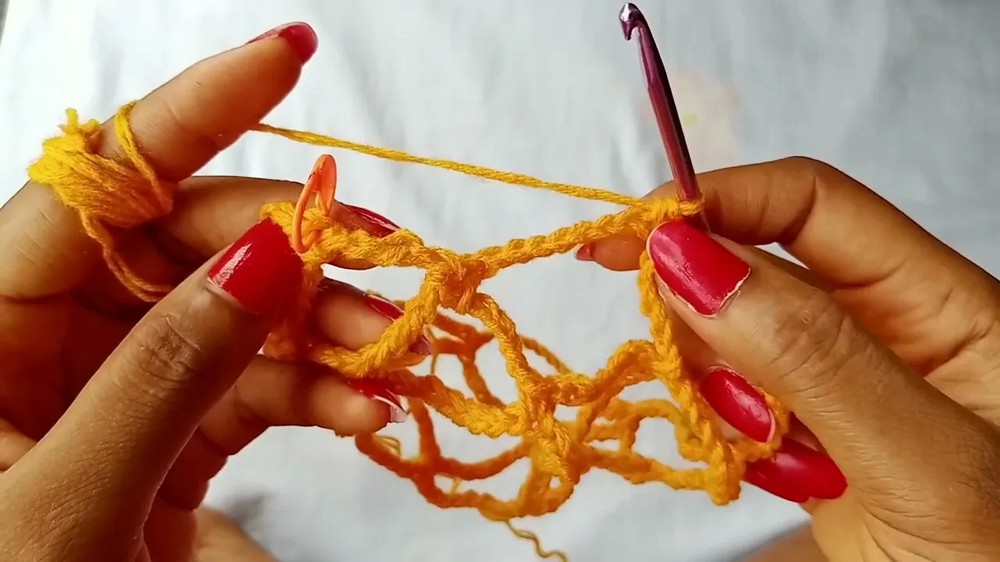
Round 2: The Mesh Pattern
-
Start: Ch 1, turn your work. Work 1 sc in the first space created by the tr below. Place a stitch marker in this sc.
-
Pattern: * Ch 15, skip to the next loop, work 1 sc into the 8th chain (the middle) of that loop.
-
Repeat from * around until you reach the marked stitch.
-
-
End of Round: Ch 6, work 1 tr into the marked sc.
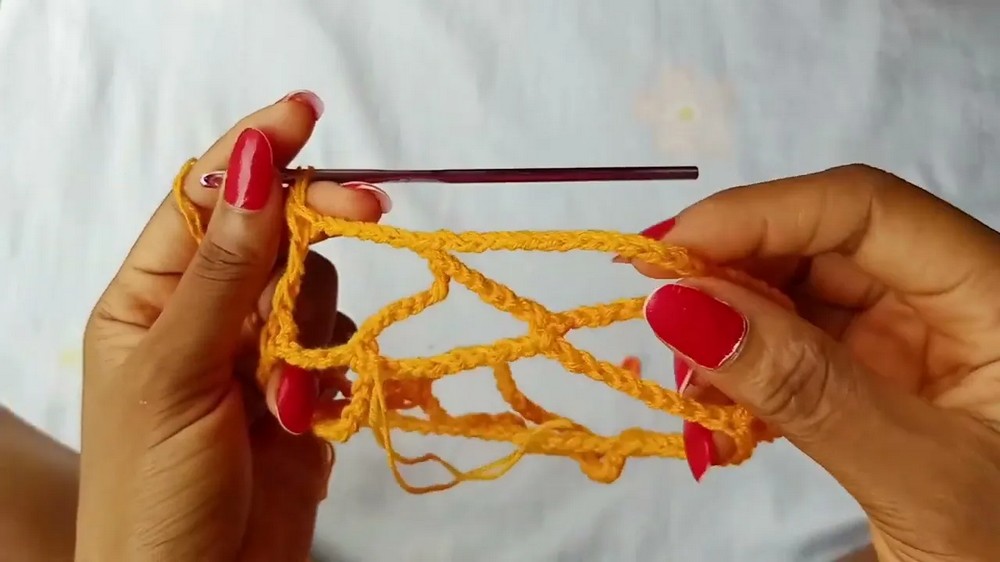
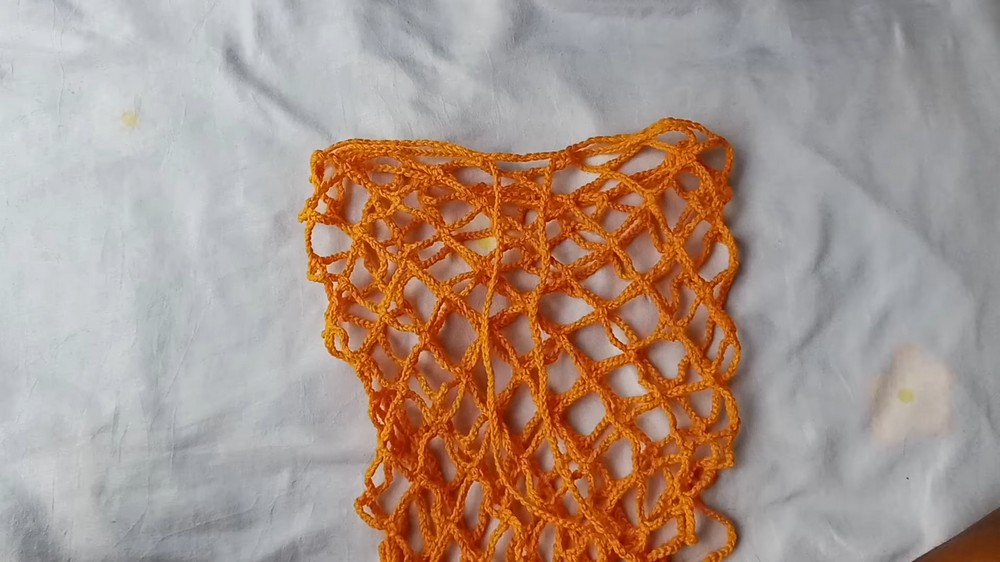
Round 3 & Beyond: Growth
-
Repeat: Continue repeating Round 2 (remembering to turn at the start of each round). This creates an interlocking mesh look.
-
Length: Work until the skirt reaches your desired length. The tutorial recommends 24 rows for a standard mini-length.
Final Round: The Border
-
Close: In your final round, instead of the ch-6/tr finish, work a full Ch 15 and slip stitch into the marked sc.
-
Finish: Chain 1 and fasten off.
Finishing: The Waist Drawstring
-
Drawstring: Create a simple chain of approximately 300.
-
Threading: * Go back to Round 1 (the waist).
-
Weave the chain through the foundation: Insert hook from behind a sc, pull the tie through, skip a sc, and repeat.
-
Continue until you circle back to the start.
-
-
Adjust: Pull both ends evenly to cinch the waist to your size.
Conclusion
Finishing this mesh skirt provides you with a custom-engineered summer essential that showcases your precision in stitch counting and large-scale openwork. By mastering the turn-and-treble join, you’ve ensured the mesh loops stay uniform without a visible seam. Once you weave in your ends and adjust the waist tie, your handmade cover-up is ready for the sand.
Pro Tip: If you want a more “flared” or A-line look, increase the number of chains in your loops (e.g., from ch-15 to ch-17) every 5 rounds. This will subtly widen the skirt as you work toward the hem.