Free Crochet Openwork Blouse Pattern Built for Comfort

Boost airy charm to outfits with this Crochet Openwork Blouse Pattern offering light texture, comfy fit, and graceful wear for casual days.

Minimal Crochet Openwork Blouse Pattern With Clean Details
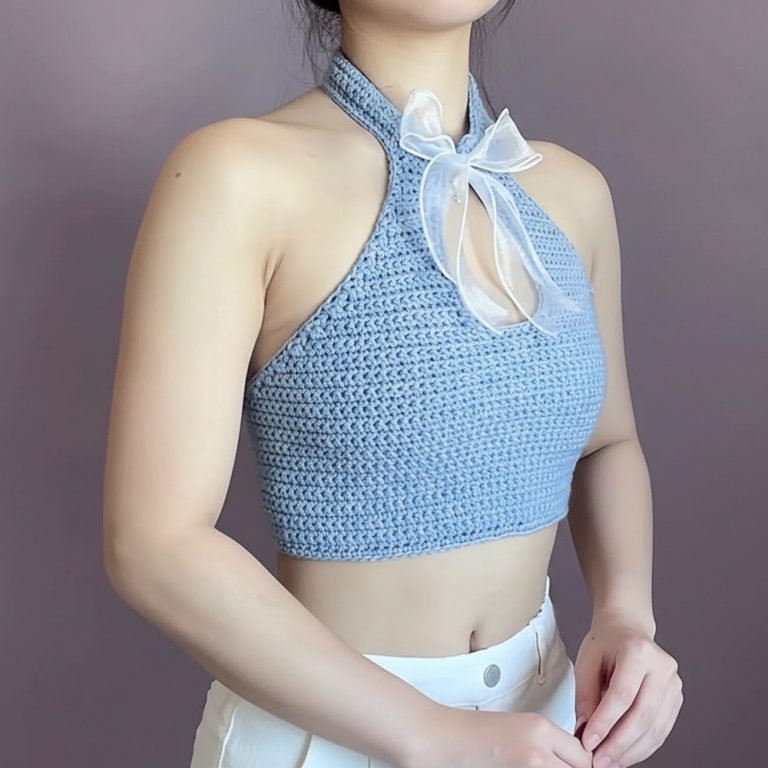
Delicate textures and artful transparency make this piece a standout in any wardrobe. The crochet openwork blouse pattern introduces graceful, airy styling with intricate lattices and gentle draping, blending effortless sophistication with comfort. Ideal for layering over camisoles, pairing with tailored pants, or adding charm to a casual skirt, the blouse transitions seamlessly from daytime outings to evening occasions. Its lightweight construction and breathable structure deliver a cool, relaxed fit that suits warm climates or transitional seasons.
The opportunity to personalize—choosing colors, adjusting sleeve lengths, and modifying fit—ensures each blouse is as unique as its wearer. Present fashion trends champion openwork designs for their ability to highlight individuality while maintaining timeless elegance. This pattern is favored by those seeking an attention-grabbing yet versatile garment that elevates everyday ensembles and remains comfortable throughout the day, embodying a harmonious blend of classic beauty and modern appeal.
Required Materials
-
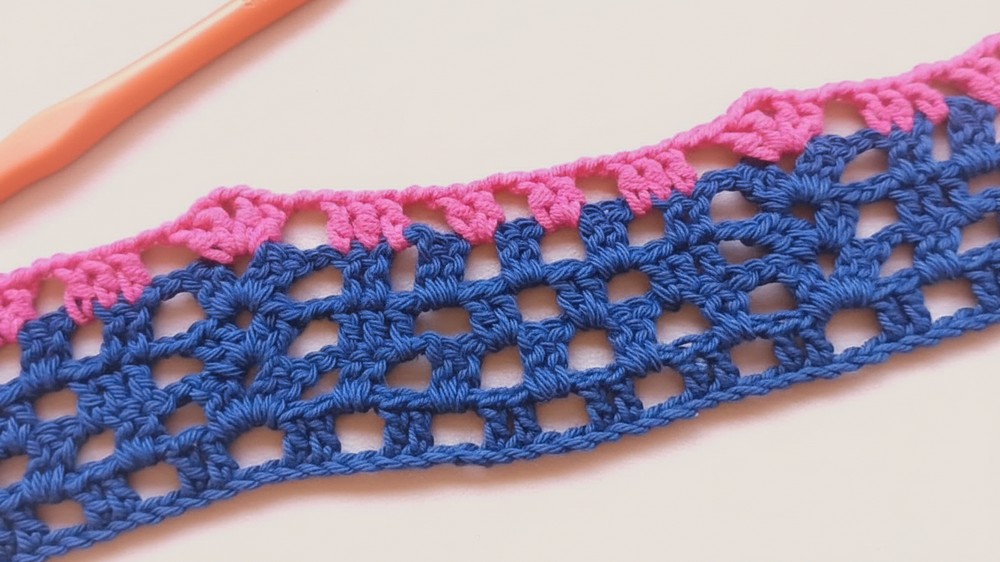
Yarn: 100% Cotton yarn in five different colors [00:10].
-
Hook: 3.0mm crochet hook [00:24].
-
Notions: Stitch markers, measuring tape, and scissors [00:27].
Pattern Instructions: Main Panels (Make 2)
1. Foundation and Lower Band
-
Foundation: Make a slip knot and chain 76 (Size M), which measures approximately 40cm. Chains should be multiples of 2.
-
Sizing: Add/subtract 2 chains for each size up/down (L: 78, XL: 80, S: 74) [01:00].
-
-
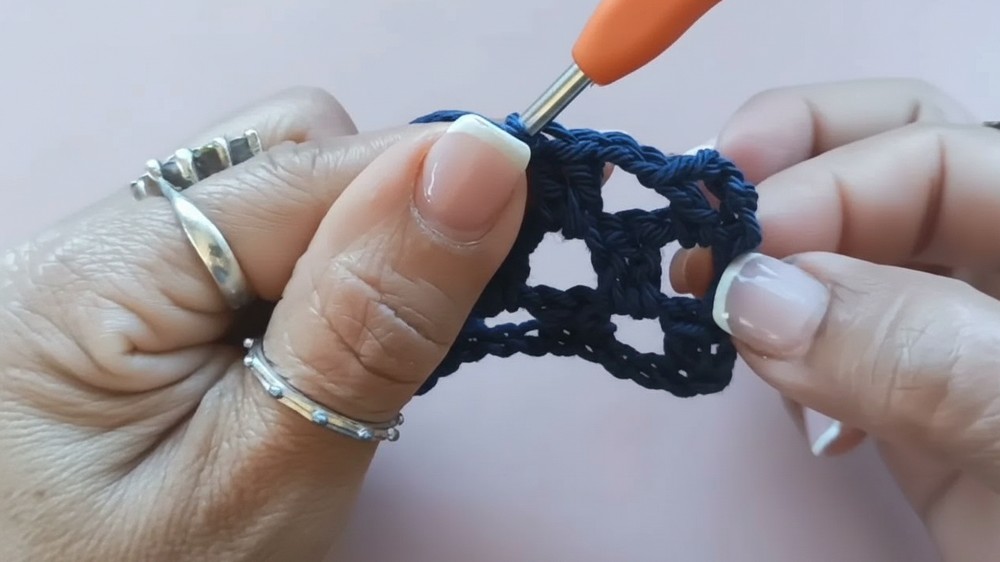
Row 1 (Mesh Foundation): Ch 3 (counts as dc). Skip 3 ch, 1 dc in 4th ch. Ch 2, skip 2 ch, 2 dc. Repeat across. End with 2 dc [02:14].
2. Patterning the Design
-
Setup: Identify the center. Count 7 mesh squares from each side and place markers. The center 5 squares will remain simple mesh, while the marked spots will house the shell design [03:57].
-
Row 2 (Shell Design): Work 2 dc in each mesh space until you reach the marker. In the marked space, work a Shell: (2 dc, ch 2, 2 dc). Continue with mesh [06:02].
-
Repeats: Alternate rows of mesh and shell groups. To expand the pattern, work 3 dc into the spaces adjacent to the shells every few rows [09:11].
-
Color Changes: Switch yarn colors every 4 rows to achieve the striped effect. Pull the new color through the final loops of the last stitch of the row [15:53].
-
Height: Continue for 28 rows total (approx. height before bust shaping) [21:02].
3. Bust and V-Neck Shaping
-
Setup: Place a marker in the center of the panel [21:16].
-
Decreasing: Attach new yarn at the center marker to begin the first “cup” shaping. Work the pattern towards the side, decreasing at the beginning and end of every row by skipping the first/last stitch and working a dc across the edges [22:13].
-
Straps: Once the cup narrows to just 3 stitches wide, continue working those 3 dc for another 12 rows to form the shoulder strap [36:45].
-
Repeat: Repeat for the second cup and on the back panel [40:17].

Assembly and Finishing
-
Seaming Sides: Place front and back panels with right sides together. Use a tapestry needle to sew the side seams from the bottom hem up to the underarm (where decreases began) [41:48].
-
Shoulder Joins: Sew the ends of the front straps to the corresponding top edges of the back panel [41:05].
-
Edging (Optional): Work a row of single crochet (sc) or slip stitches around the neckline and armholes for a cleaner, more durable finish [42:05].
-
Weaving Ends: Weave all yarn tails from color changes into the solid dc sections of the work [41:26].