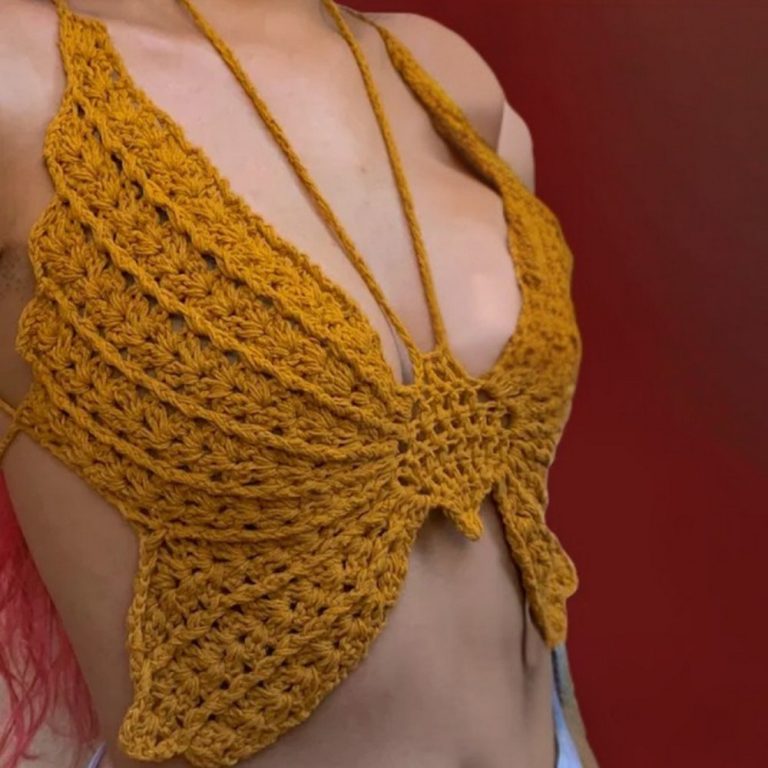
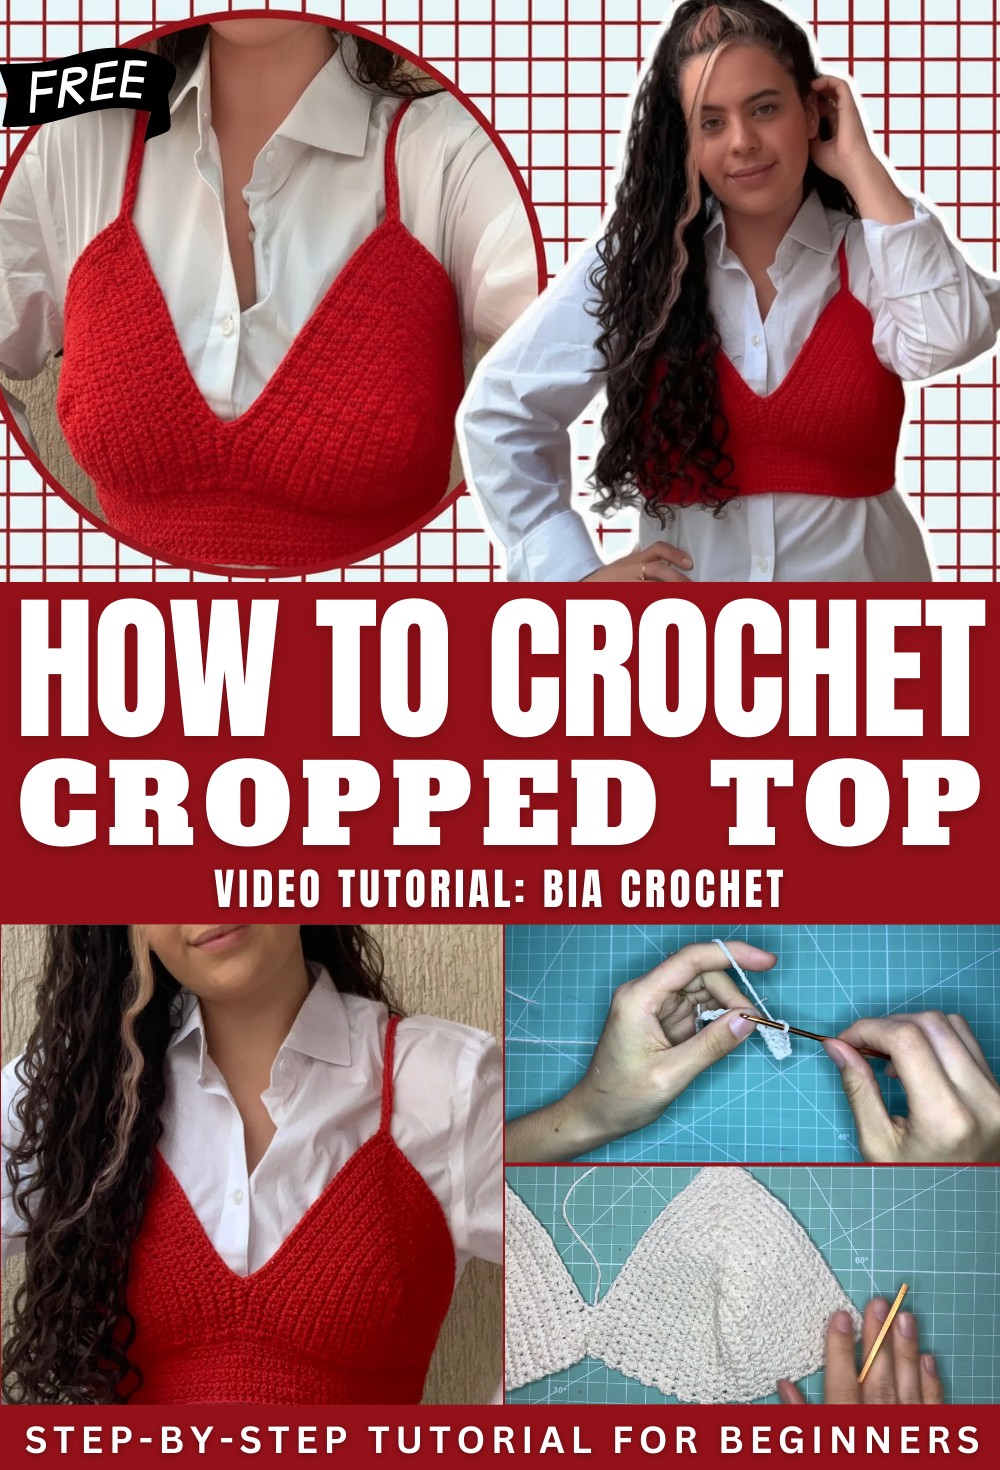
Bold Crochet cropped top Pattern for Statement Styling
Glow in summer style with Crochet cropped top Pattern that shapes a cute, comfy piece perfect for warm days, festivals, and trendy outfits.
Modern fashion often values pieces that feel personal, practical, and expressive. A handmade piece like a Crochet cropped top offers comfort, style, and a perfect fit because it can be customized to match your body and mood. It is used because it allows customization for different body types and style preferences. The lightweight structure keeps the wearer cool, while textured details add visual depth and character.
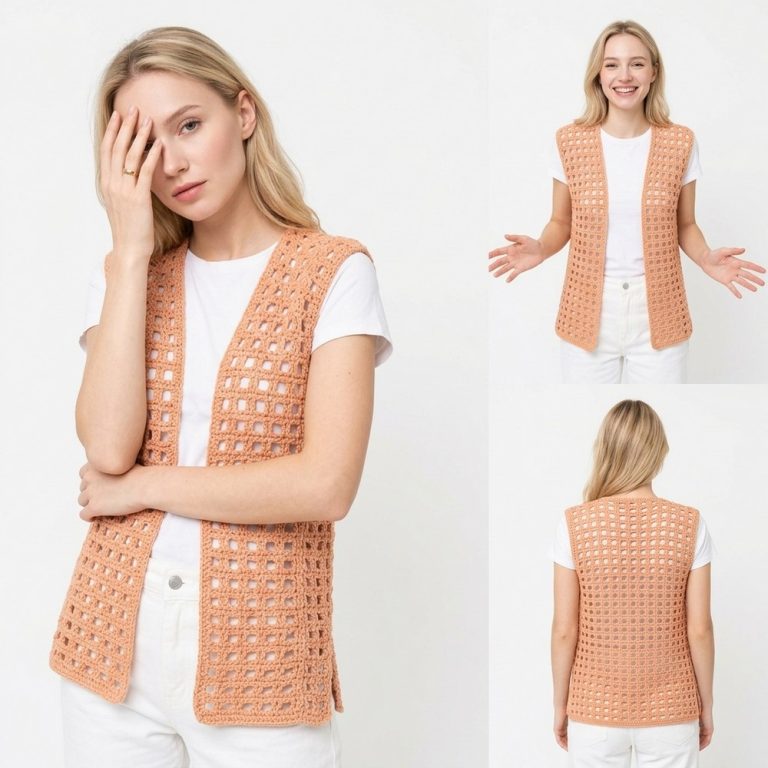
Soft Crochet cropped top Pattern for Comfortable Fashion
Its beauty lies in the balance between simplicity and craftsmanship, giving outfits a soft yet confident look. This style works well for casual outings, summer events, vacations, and relaxed gatherings with friends. It can be paired easily with jeans, skirts, or layered under jackets for transitional seasons. Beyond style, it supports sustainable habits by promoting reusable materials and long-lasting wear. Overall, it provides flexibility, charm, and individuality, making it a thoughtful addition to everyday wardrobes for creative and comfort-focused fashion choices.

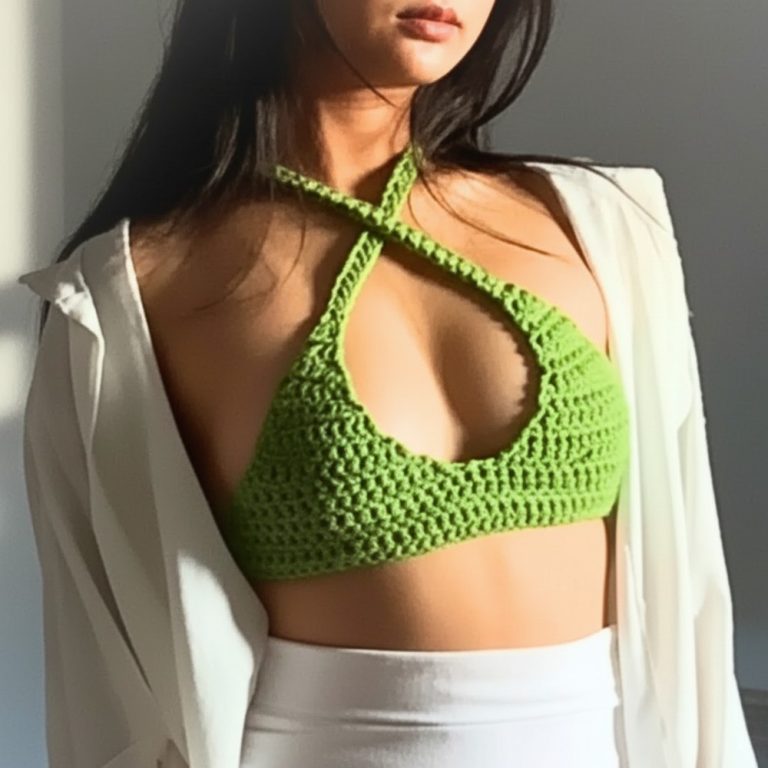
Traditional Crochet Crop Top (Cropped) – Step-by-Step Guide
Materials Needed
- Yarn: Size #6 twine (e.g., Barroco yarn or regular twine for a more economical option).
- Crochet Hook: 3.5 mm, suitable for #6 twine.
- Accessories:
- Stitch markers (or hairpins), scissors, and a tapestry needle for finishing touches.
Special Features of the Top
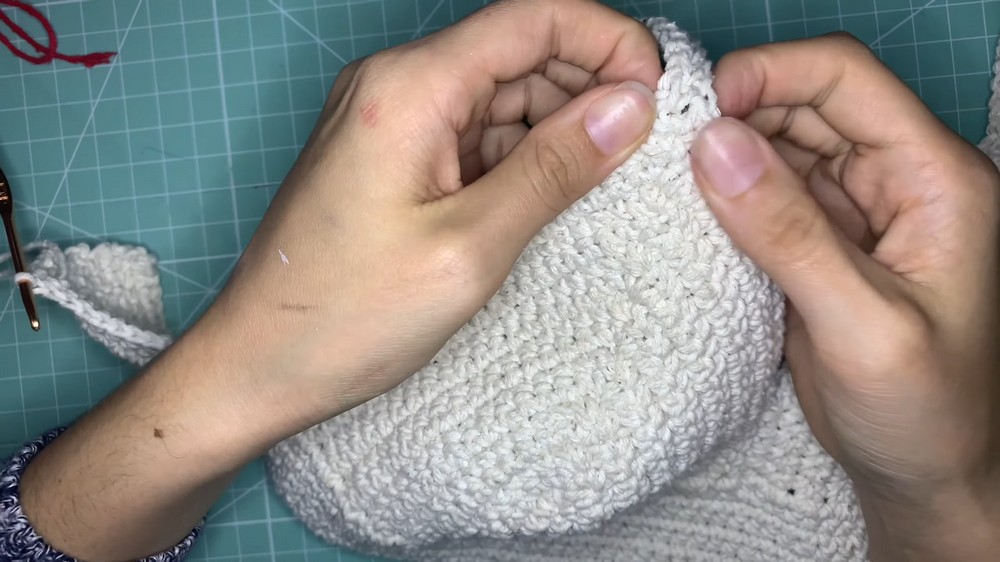
- Completely Made in Single Crochet:
- This stitch creates a dense, closed texture, eliminating the need for an inner lining in most cases.
- Personalized Fit:
- The back is adjustable with a crisscross tie system, allowing it to fit perfectly to the bust and waist.
- Anatomical Shaping:
- The increases at the top of the cups (bojos) ensure a comfortable and natural fit.
Difficulty Level
Beginner-Friendly: This pattern is ideal for beginners, as it only uses basic stitches (chains and single crochets) and introduces simple shaping techniques like increases and finishing. [00:23]
Step-by-Step Pattern
1. The Cups (Triangles)
Measuring
- Create a chain long enough to measure from the base of the breast to the nipple.
- For size Small (P), Bia suggests 10 chains, approximately 6 cm.
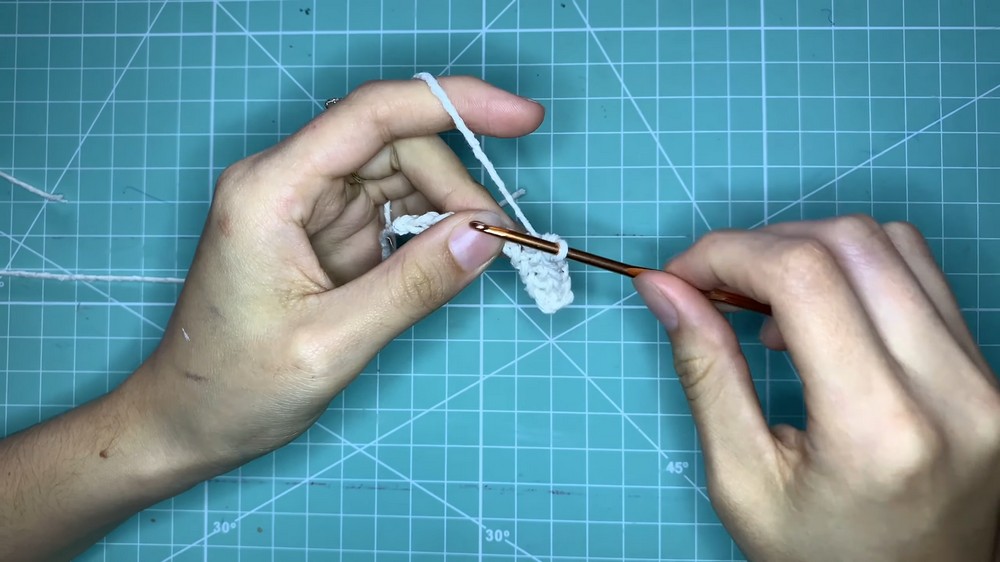
First Row
- Work single crochet (SC) into each chain across.
- At the last chain, add 5 single crochets into the same chain to create the curve at the top of the cup.
- Turn and work single crochet down the other side of the foundation chain.
Subsequent Rows
- At the end of each row, chain 1 and turn your work.
- Work single crochet into each stitch. When you reach the center stitch at the top of the curve (3rd of the 5 SCs), add 3 SC in the same stitch as your increase.
- Repeat this process until the triangle covers the breast completely. Make two identical cups.

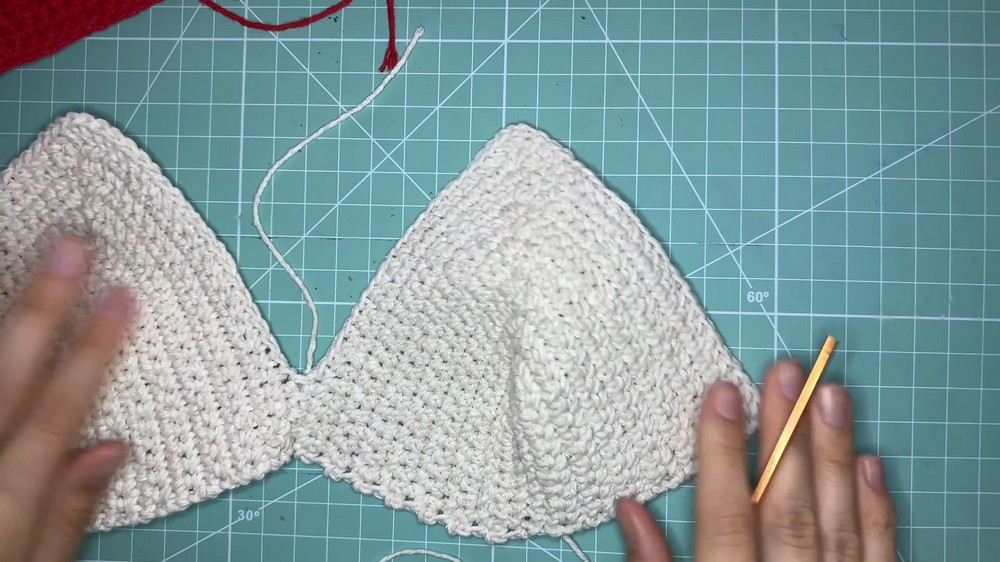
2. Joining the Cups and Lower Band
Central Join
- Place the cups side by side with their bottoms aligned.
- Join them at the center bottom using 5 to 6 single crochets to reduce the neckline depth.
Lower Band
- Measure the circumference of your bust and divide by 4.
- For example, if each side is 10 cm for size Small (P), create a chain with that length (about 10 cm on each side).
- Attach the chain to the side of one cup, work single crochets across the bottom of the joined cups, and add another chain of the same length to the other side.
- Begin working single crochet rows back and forth over the entire bottom band (the chains + the base of the cups). Continue until you reach the desired width for the band (9–11 rows on average).
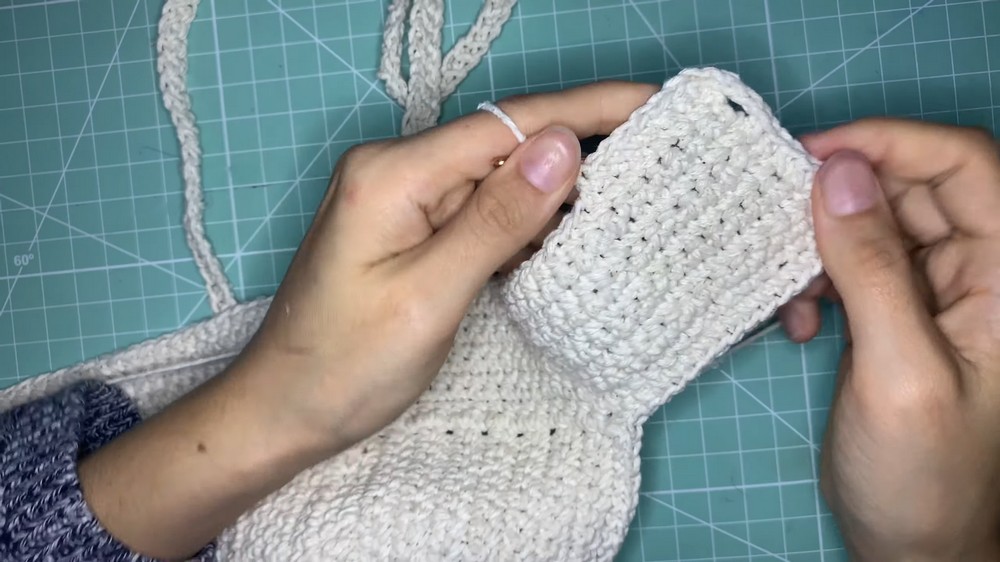
3. Finishing and Straps
Holes for the Cord (Back Ties)
- At the edges of the waist band, create “loops” by chaining 4 chains, skipping 3 rows, and attaching with a single crochet.
- These loops serve as holes for the back tie to crisscross.
Shoulder Straps
- Work single crochets around the edge of the cup. When you reach the top center stitch, create a long chain that will serve as the shoulder strap.
- The strap should be long enough to go over the shoulders and crisscross at the back.
- Work single crochet along the entire chain for added durability. Attach it back to the top of the cup with a single crochet. Repeat for the other cup.
Tutor’s Suggestions
- Cost Savings:
- Use regular twine instead of high-end yarn for a more affordable crop top. The resulting piece will have a similar look and structure.
- Marking Increases:
- Use stitch markers on the top center stitch of the cups. This avoids missing the spot for the increases and ensures symmetry.
- Comfort and Security:
- Joining the cups at the center prevents the breasts from slipping out from the sides and offers added confidence during wear.
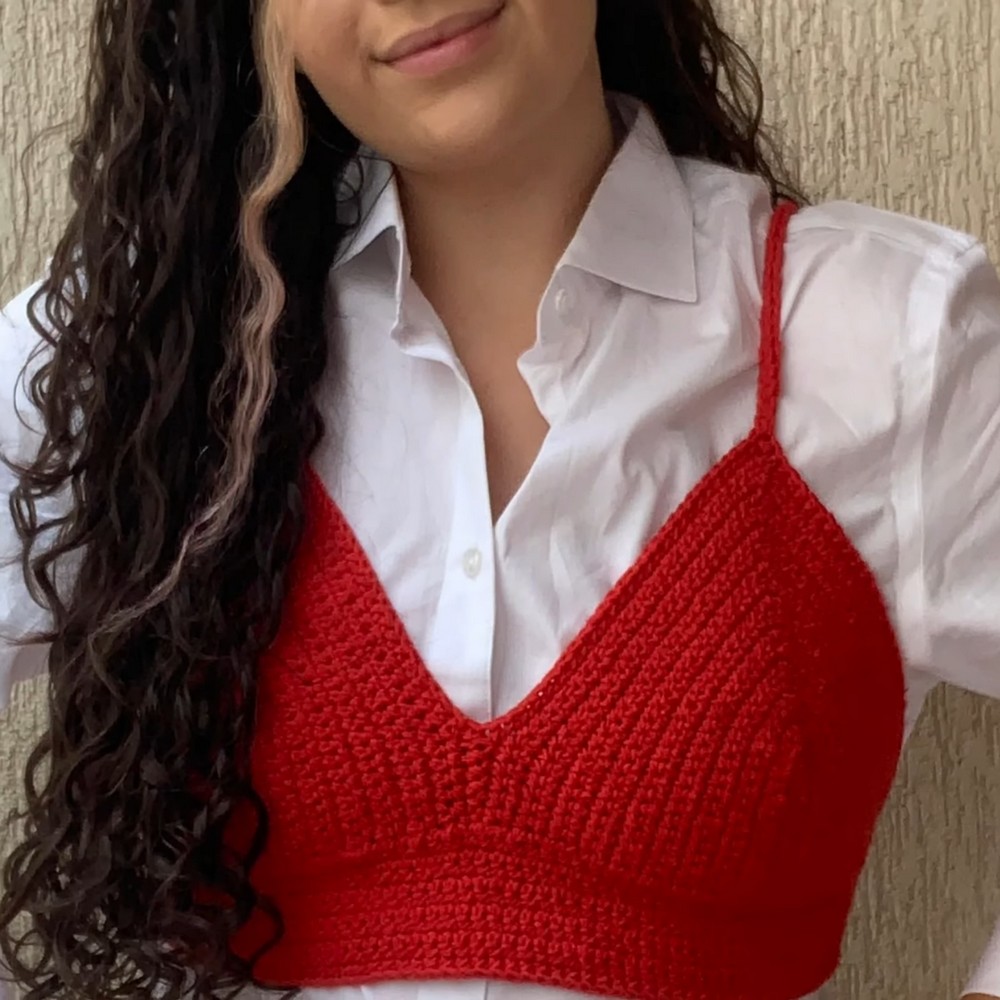
Ways to Style and Use
This crop top is perfect for festivals, casual outings, or even as part of a beachwear outfit. Its dense texture makes it more modest and versatile. Pair it with high-waisted shorts, long skirts, or wide-leg pants for a complete look.
Conclusion
The “Simple Crop Top” by Bia Crochet shows that you don’t need complicated stitches to create a stunning and impactful piece. The key lies in clean execution and proper shaping. Once completed, you’ll have a timeless, trendy piece that can be made in many colors.
Final Tip
Before wearing, gently stretch the straps. Since the single crochet in twine tends to loosen slightly with wear, pre-stretching will avoid sagging after the first wear!