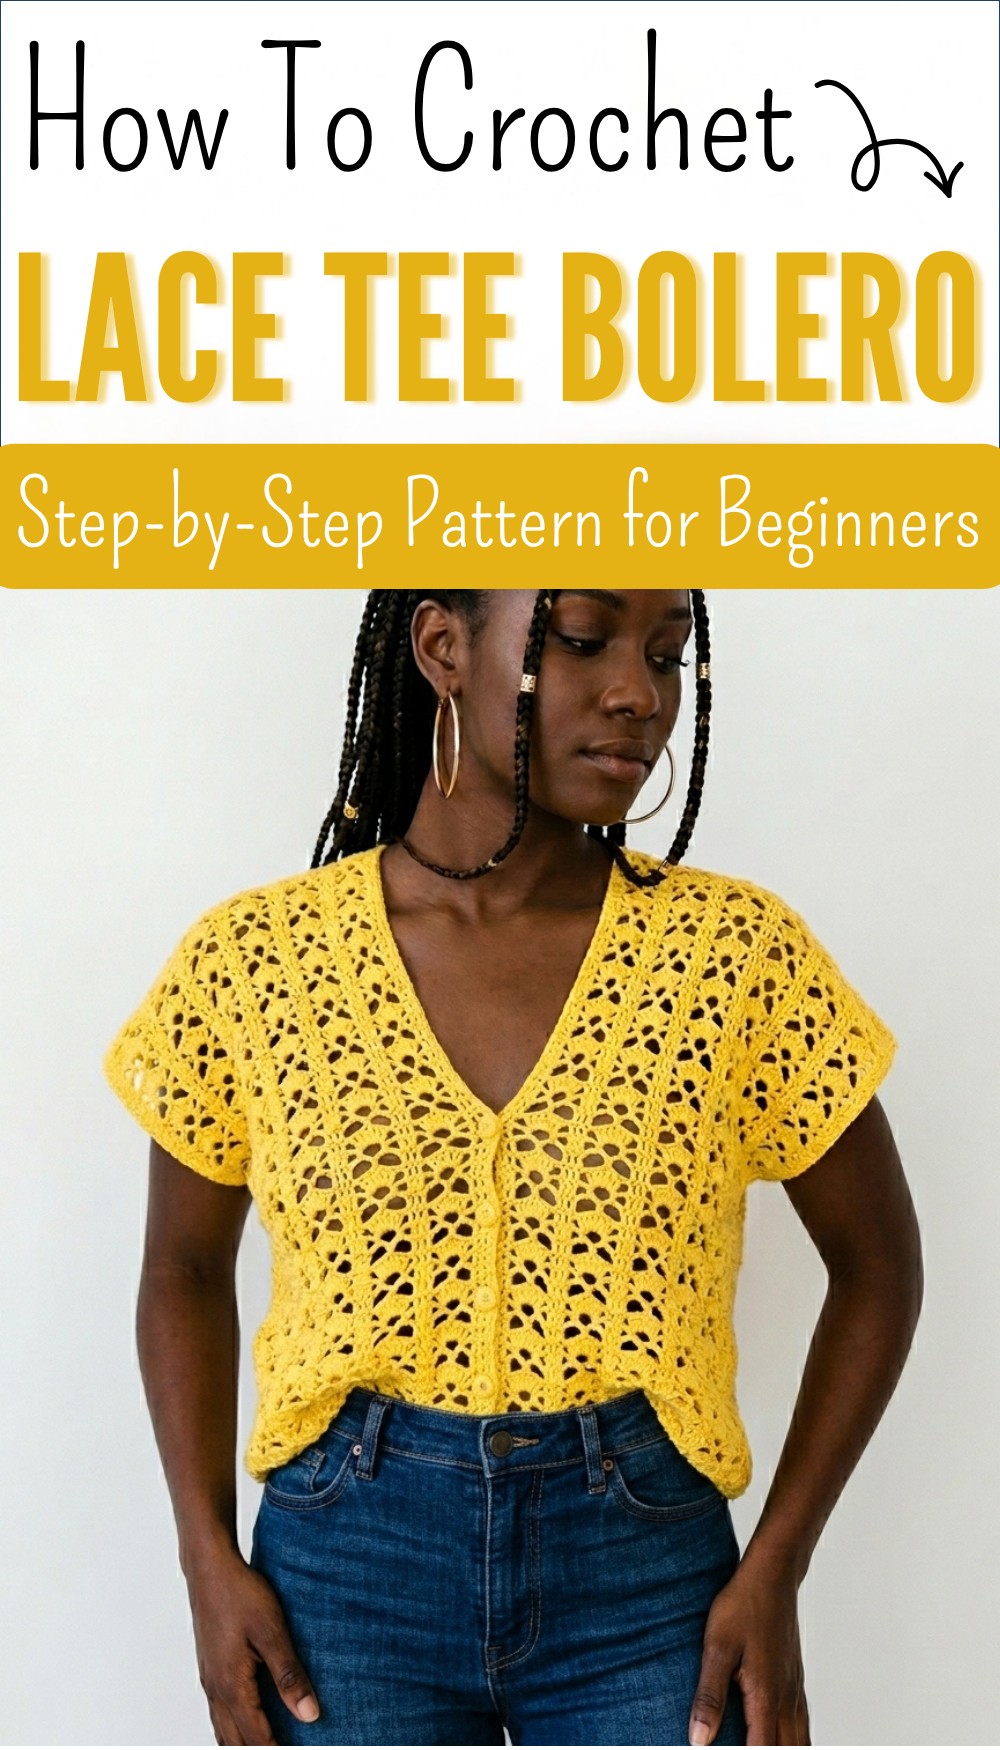
Free Crochet Lace Tee Pattern for Everyday Style
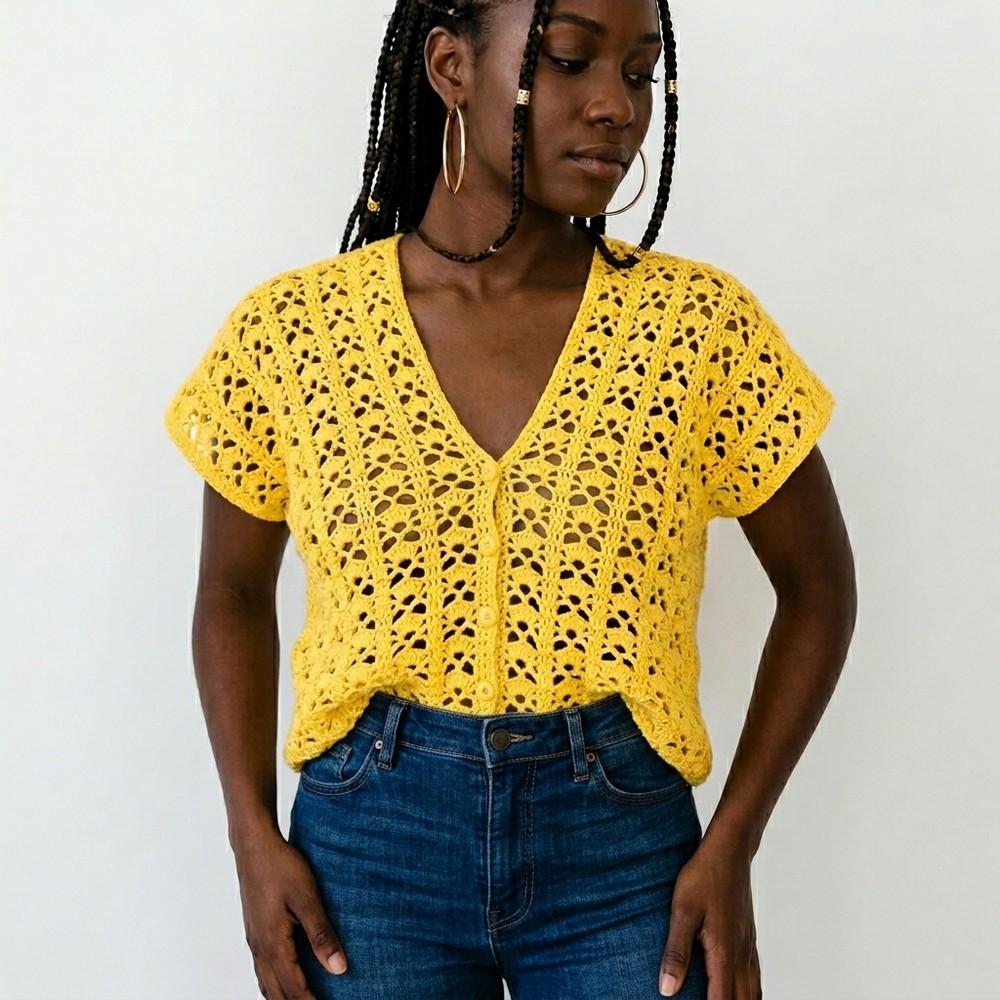
Charm yourself with this an easy crochet lace tee pattern that feels light looks beautiful and brings sweet handmade touch to your wardrobe.
Do you dream of wearing something light and pretty that makes you feel good and fresh? Soft shapes and gentle holes come together to make a tee that is easy for anyone to create. With two simple panels and easy stitches you can join them using just a needle. The crochet lace tee pattern gives you freedom to make your own size and style by changing how many stitches you make.
Free Crochet Lace Tee Pattern – Perfect for Layering
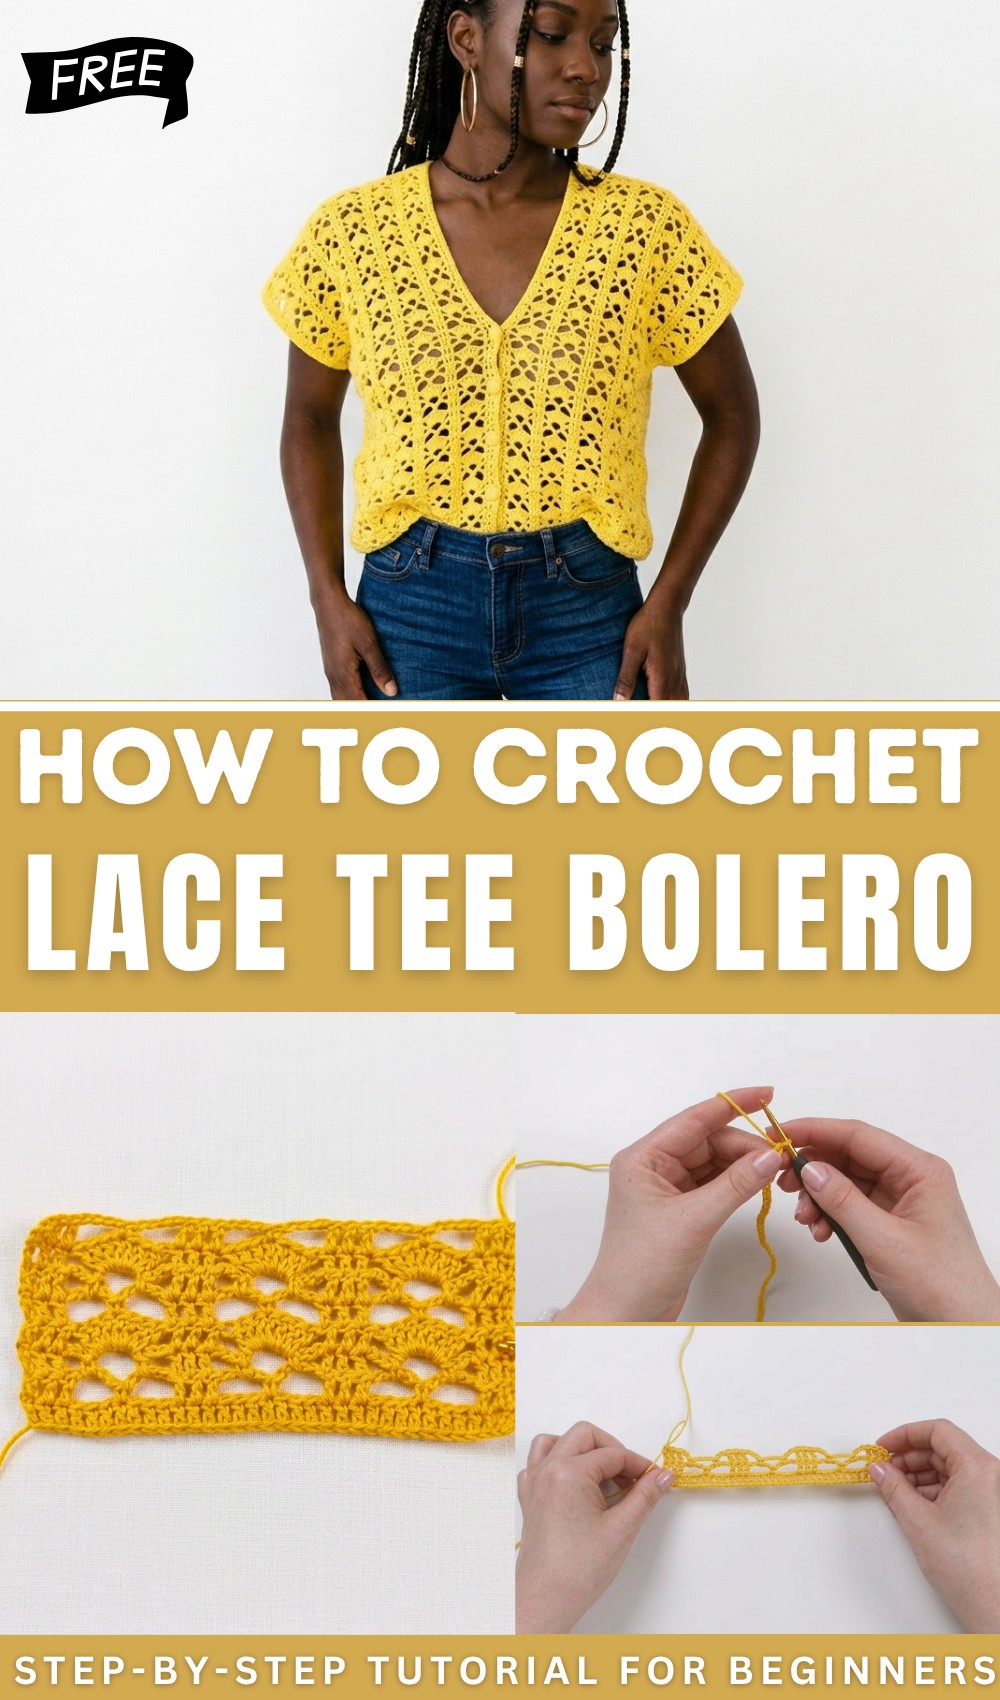
Air can flow through the open spaces keeping you cool and letting your favorite clothes show underneath. This top is perfect for warm days but can also add a special touch over a dress or with jeans. Making it by hand brings happiness because it is lovely and comfortable to wear. You do not need to know hard steps because every move is clear and simple. Bring color and joy into your life and enjoy wearing something made just for you.

Modern Free Crochet Lace Tee Pattern
Materials
- Yarn: Loves You 7, Drops, Cotton, Sport, 4ply or other similar sport weight cotton yarn
- Hook: 3.0 mm crochet hook
- Yarn needle: For sewing seams
- Stitch markers: Optional, for marking seam points
- Measuring tape: For checking gauge and placement
- Scissors
Key Abbreviations (US Terms)
- ch = chain
- sc = single crochet
- dc = double crochet
- st(s) = stitch(es)
- rep = repeat
- sp = space
- RS = right side
Special Notes
- Gauge: 24 sts x 13 rows = 10 x 10 cm (4 x 4 in) in pattern
- Sizing is very flexible; simply adjust the length/width of panels.
- Panels are worked flat and joined at the very end.
- The starting chain is a multiple of 10 + 4.
Sizing and Starting Chain Suggestions
- XS/S: 64 chains
- M/L (Sample): 74 chains
- XL/XXL: 84 chains
- (Each panel is approx. 92 cm long and 30 cm wide for M/L)
Pattern
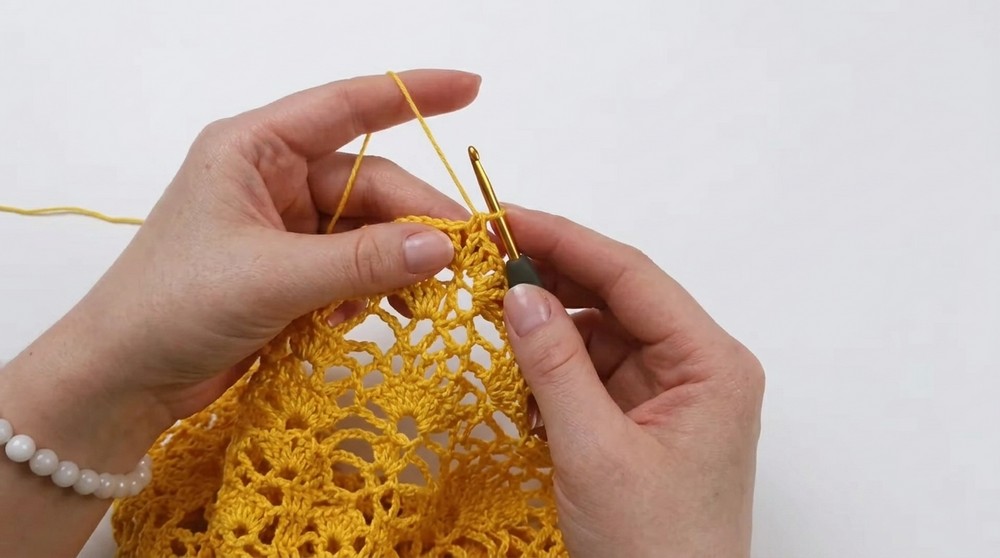
1. Panel (Make 2)
Foundation Row
- Ch a multiple of 10 plus 4 extra (see above for size suggestions).
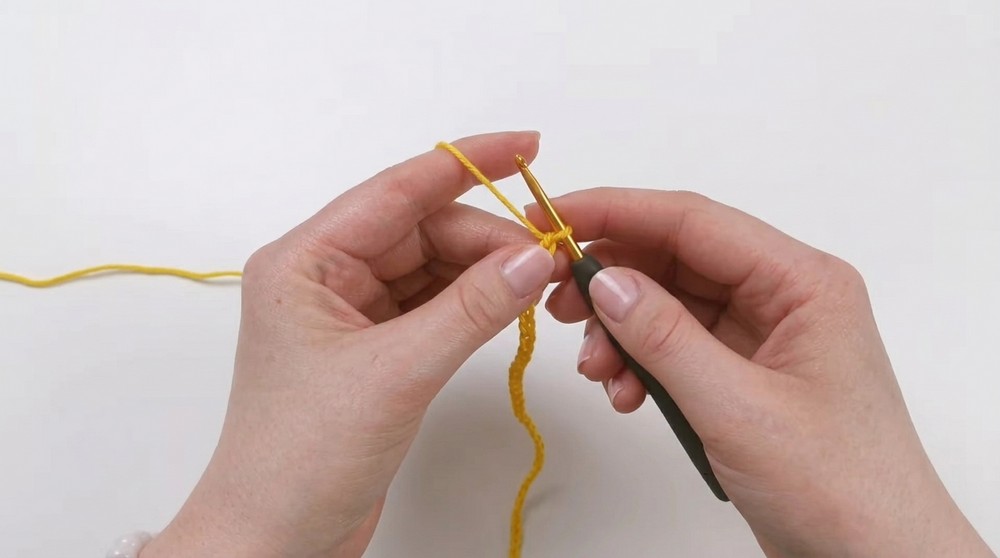
Row 1: (WS)
- Dc in the 2nd ch from the hook (use 2 sc to form the first dc), then dc in each ch across. Turn.
Row 2:
- Dc in first 3 sts,
- Ch 4, sk 3 sts, sc in next st,
Ch 4, sk 3 sts, dc in next 3 sts,
rep from * to * to end (always finish with 3 dc). Turn.
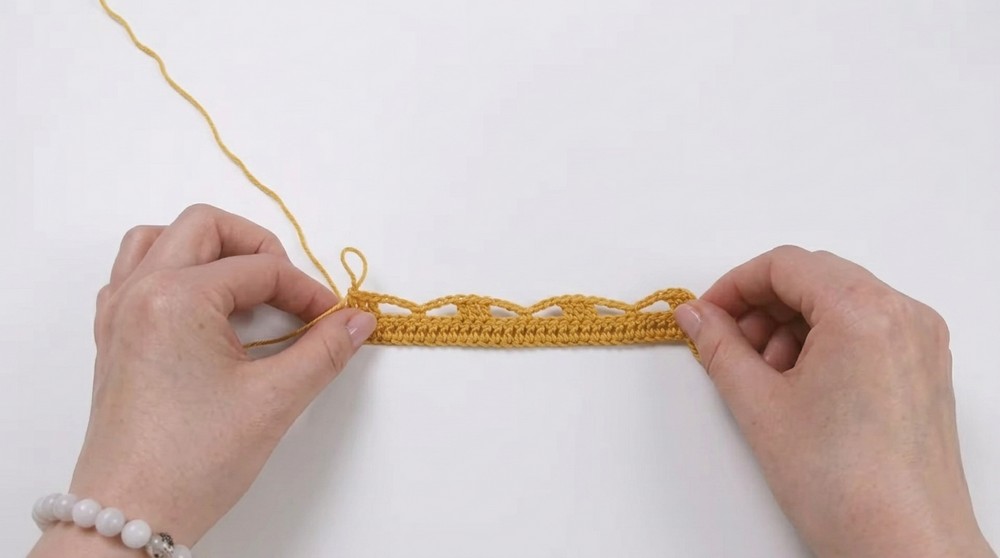
Row 3:
- Dc in first 3 sts,
- Ch 3, sc in ch-4 sp,
Ch 4, sc in next ch-4 sp,
Ch 3, dc in next 3 dc,
rep from * to * to end. Turn.
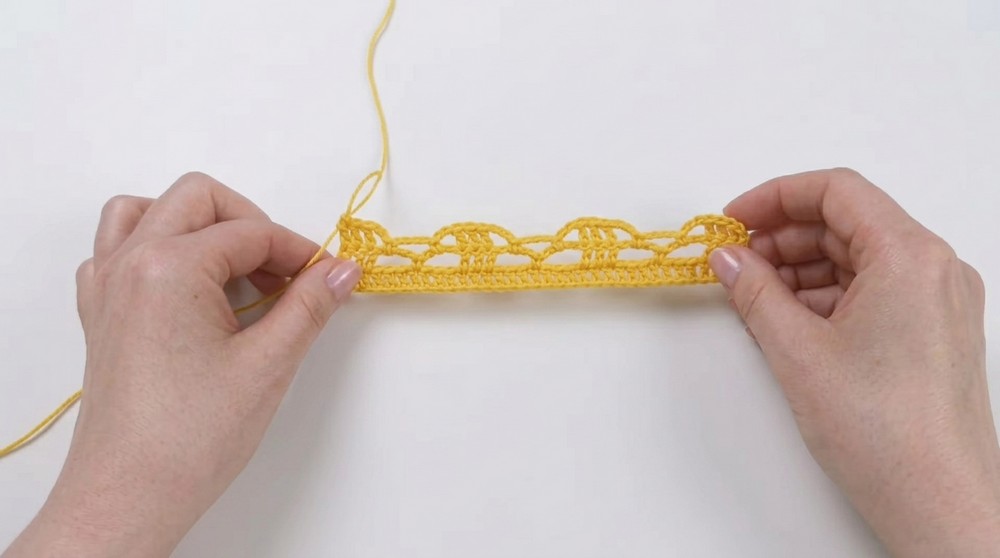
Row 4:
- Dc in first 3 sts,
- 7 dc in next ch-4 sp,
dc in next 3 dc,
rep from * to * to end. Turn.
Row 5:
- Repeat Row 2 (dc in 3, ch 4, sk 3, sc, etc.). Turn.
Row 6:
- Repeat Row 3. (dc in 3, ch 3, sc in ch-4 sp, ch 4, sc in ch-4 sp, ch 3, 3 dc, etc.). Turn.

Row 7:
- Repeat Row 4. (dc in 3, 7 dc in ch-4 sp, 3 dc, etc.). Turn.
Pattern Repeat:
- Continue working as established, alternating:
- Row 2 (dc in 3, ch4, sk3, sc, etc.)
- Row 3 (dc in 3, ch3, sc in ch-4 sp, etc.)
- Row 4 (dc in 3, 7 dc in ch-4 sp, 3 dc, etc.)
- End with a row similar to Row 2.
- Total Rows: Sample uses 111 rows per panel.
- Last Row:
- Dc in the first 3 sts,
- Sk 1, dc in next 3 sts,
dc in top of next sc,
sk 1, dc in next 3 sts,
rep to end, - End with dc over remaining dc as needed.
- The last row’s stitch count must match the very first row.
2. Assembly
- Lay both panels flat, RS out.
- Use stitch markers to mark where to seam for shoulders, sides, and armholes:
- Front seam: about 22 cm
- Back seam: about 36 cm
- Sides: about 20 cm seam, leaving ~22–26 cm for armhole per side
- Sew shoulder, front, back, and side seams with a yarn needle and matching yarn, working on the RS.
3. Finishing
- Weave in all ends.
- Block your garment as needed for shape and drape.
Conclusion
This modern mesh top is worked in two panels using a repeating openwork lace pattern. It is easily adjusted in both width and length by altering the stitch count and number of rows. Assembly is simple, with seams for the front, back, and sides, making this an approachable garment project with a striking appearance.
Pattern Correction & Tips
- Ensure your first and last rows have the same number of double crochets.
- Place stitch markers before sewing to check fit and placement of seams and armholes.
- Count carefully, especially when skipping stitches or working into spaces.
- Wet block your panels before assembly for better drape and easier seaming.
- Adjust panel length or width as desired for a perfect custom fit.