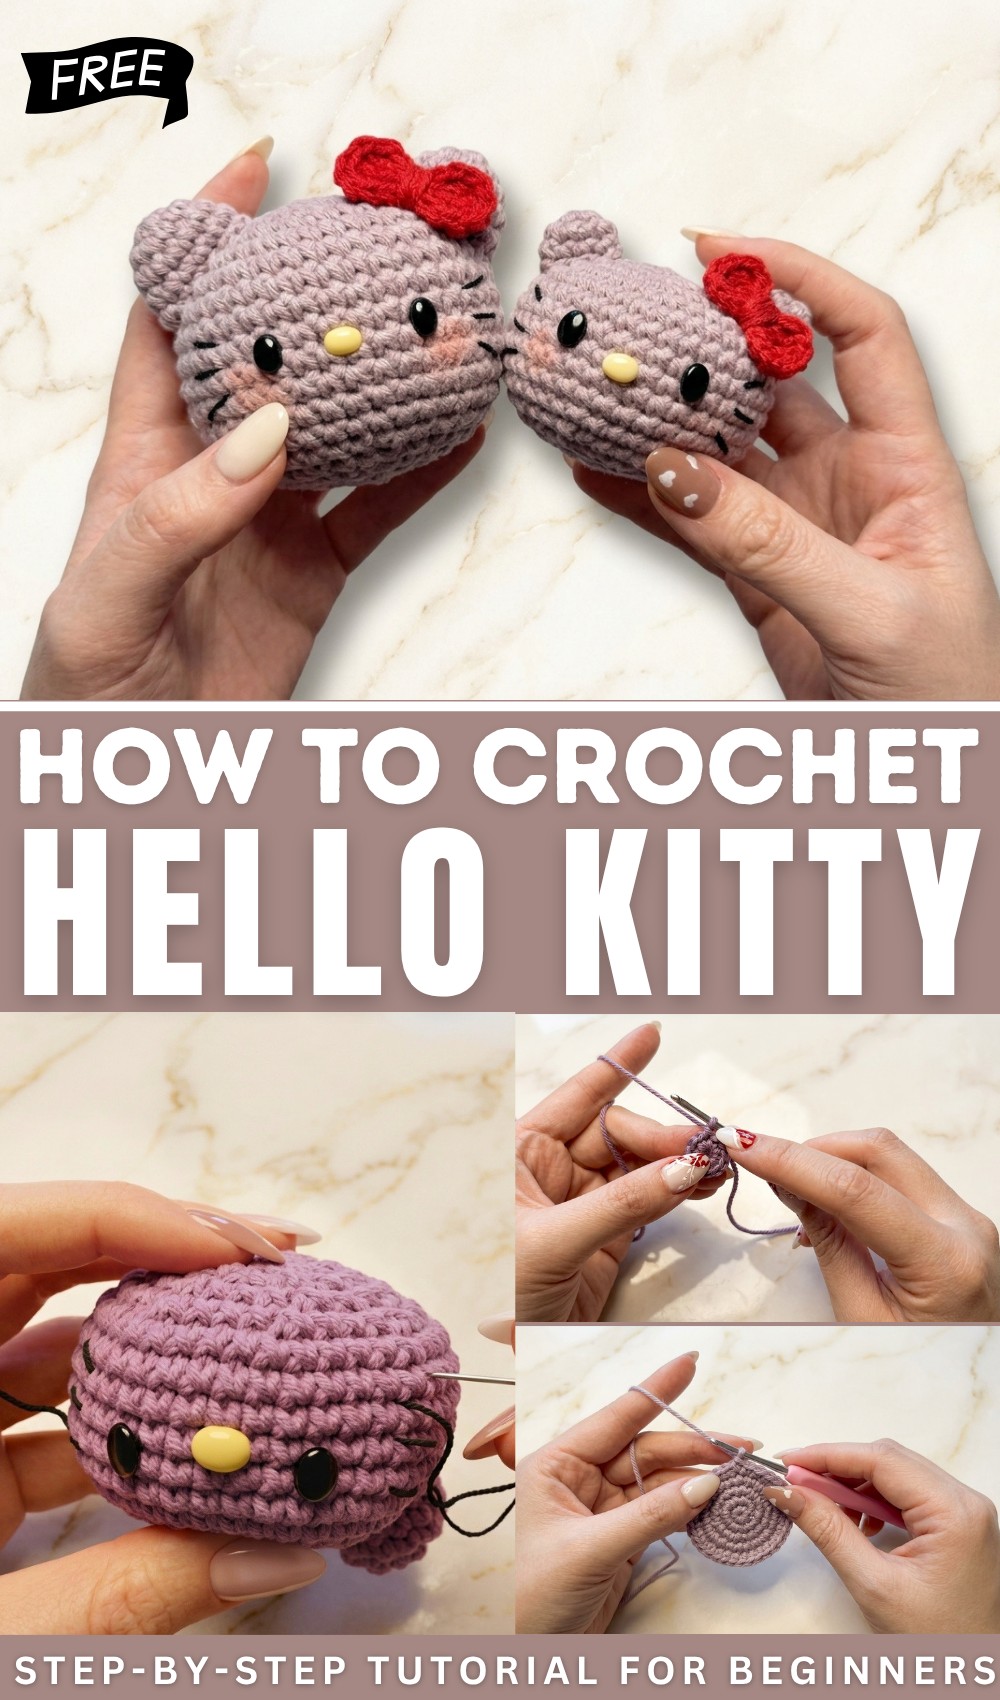
Free Hello Kitty Crochet Pattern for Gifts and Decor
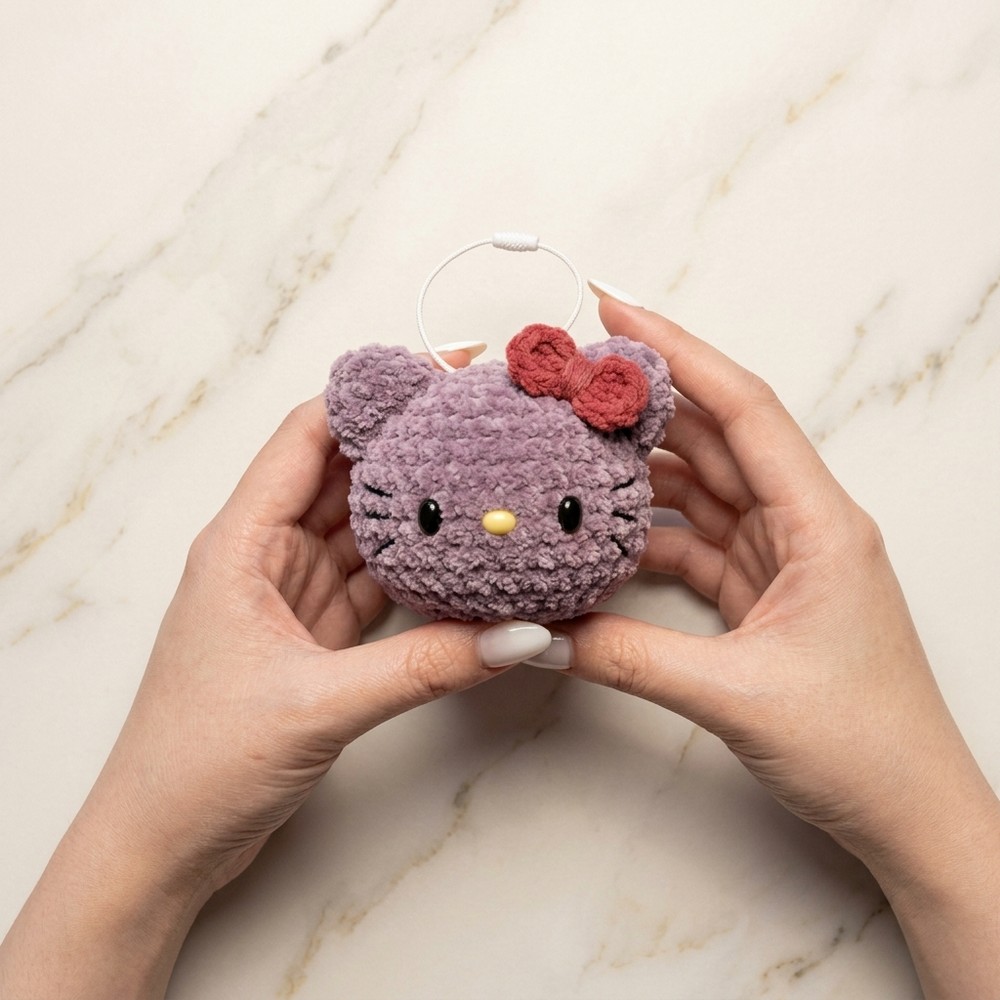
Snuggle up with Free Crochet Hello Kitty Pattern, and enjoy a charming and lovable kitty that brightens your space and brings endless smiles.
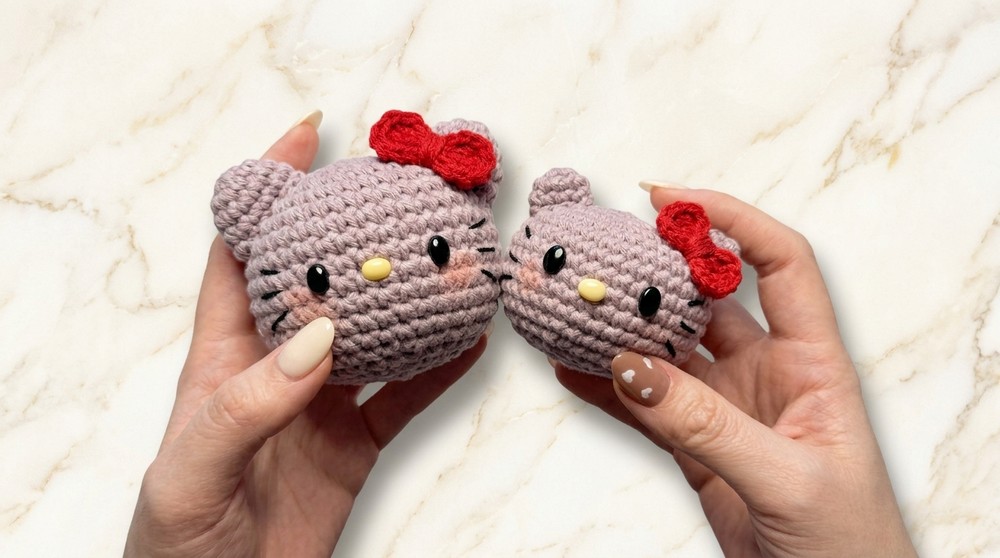
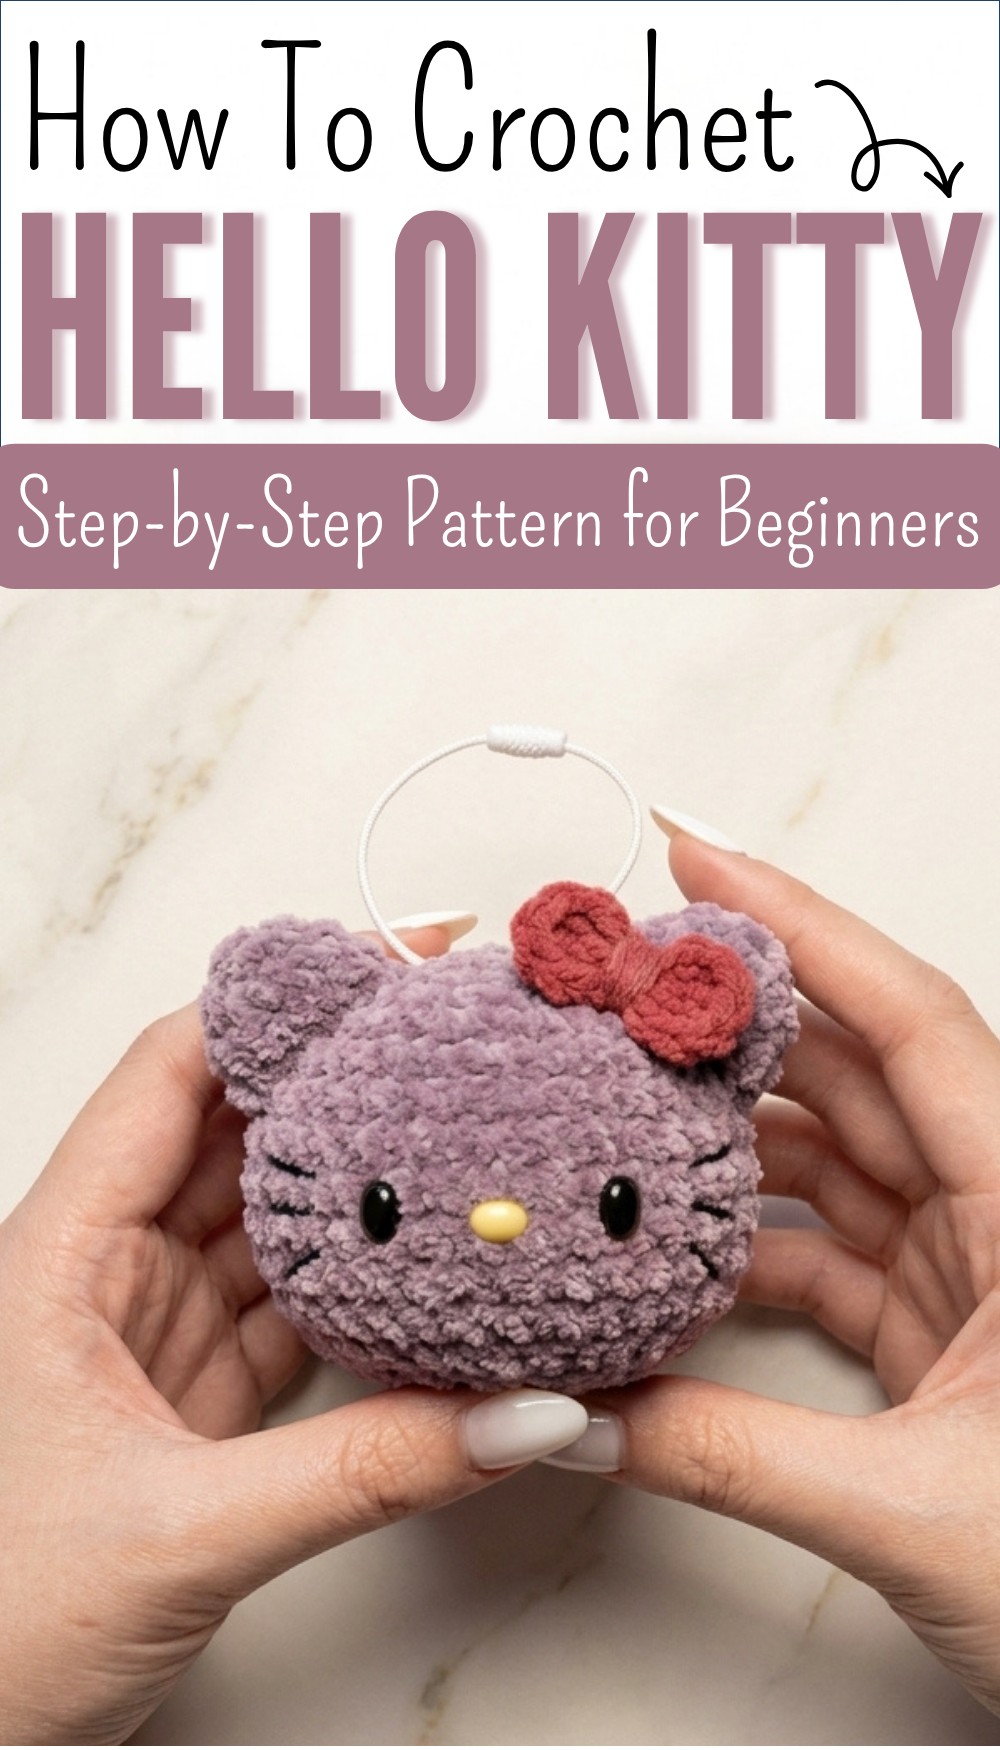
Big eyes shine bright and a little red bow on the side makes this cute kitty stand out and bring happiness wherever she goes. Her round face soft ears and tiny nose come together to create a friendly and cuddly toy everyone loves to see and hold. Using the Crochet Hello Kitty pattern you can make a special gift for children display her on your table or even use her as a playful charm on your bag.
Free Crochet Hello Kitty Plushie Pattern for Kids
The pattern is simple with clear steps guiding your hands to shape each part and put it all together so you feel proud with every finished stitch. You can use your favorite yarn colors to make her dress and bow just how you like and add sweet small touches to make her unique. This project is perfect for learning and sharing with family making everyone smile with each kitty you make and brightening any space with her cute and gentle look.
Hello Kitty Plushy (Bag Charm) Crochet Pattern
Materials
- Yarn:
- Main color: White (cotton, acrylic, or fluffy yarn)
- Bow: Pink, red, or color of choice
- Hook: Appropriate for your yarn (e.g., 2.5–4 mm for DK/light worsted)
- Stuffing: Polyester fiberfill
- Notions:
- Yarn needle (for sewing and weaving ends)
- Stitch marker (recommended)
- Scissors
- Hot glue (optional, for attaching parts)
- Safety eyes and nose or felt pieces
- Blush (optional)
Key Abbreviations (US Terminology)
| Abbreviation | Meaning |
|---|---|
| MR | Magic ring |
| ch | Chain |
| sc | Single crochet |
| inc | Increase (2 sc in same st) |
| dec | Decrease (sc2tog) |
| sl st | Slip stitch |
| st(s) | Stitch(es) |
| FLO | Front loop only |
| BLO | Back loop only |
Special Notes
- Work in continuous rounds unless otherwise specified—use a stitch marker to track your first stitch.
- Standing stitch: After joining/slip stitching at end of a round, make a ch-1 before the next round; do not count this ch-1 as a stitch.
- For best results, use invisible decrease (sc decrease in the front loops only).
- Parts may be sewn or glued on as desired.
Head
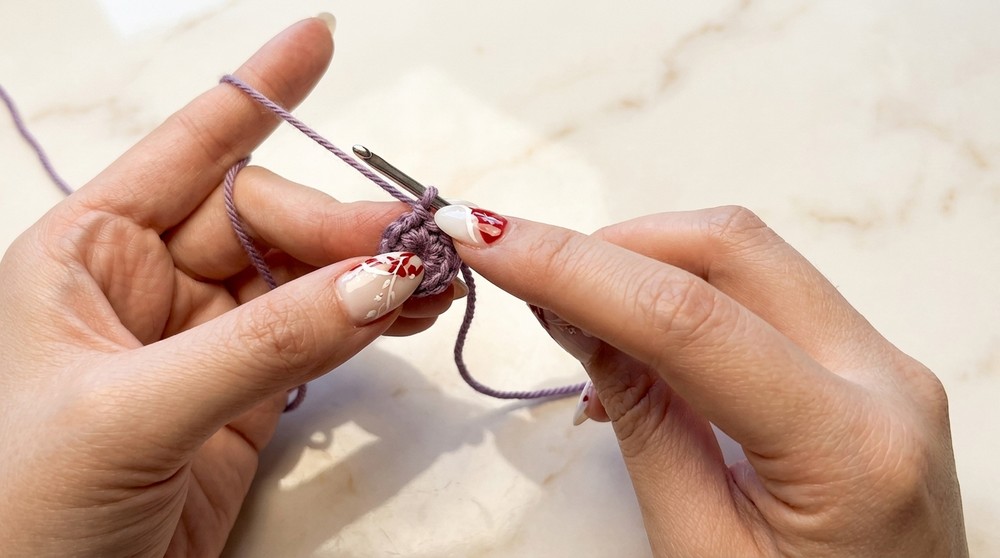
- Start with a magic ring, 8 sc in MR.
(Do not count the slip knot.) - Sl st to close the round.
- Standing stitch: ch 1 (do not count as st).
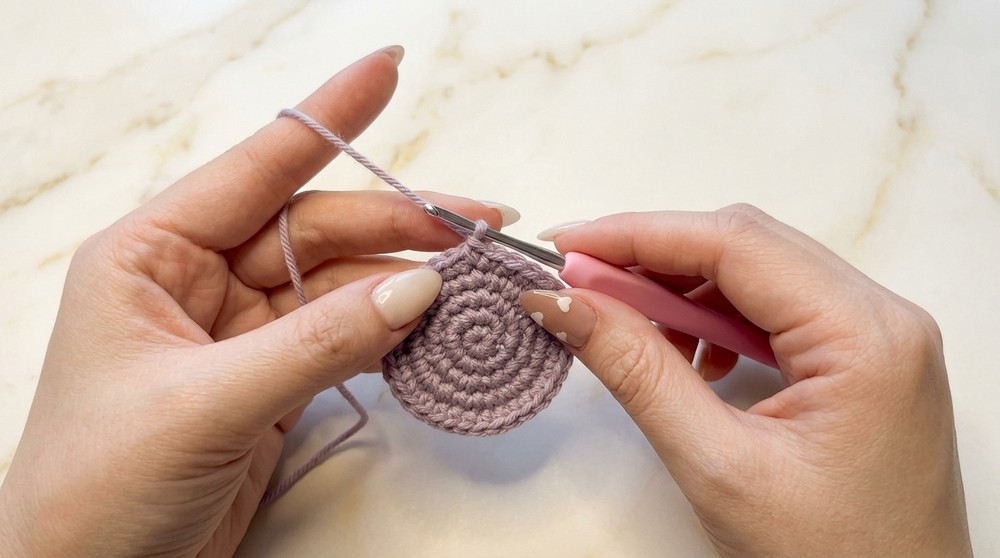
Rounds
- Round 1: 8 sc in MR. Sl st to join. (8 sts)
- Round 2: 8 inc (2 sc in each st) — 16 sts.
(Work 2 sc in each st around.) - Round 3: (sc, inc) x8 — 24 sts.
- Round 4: (2 sc, inc) x8 — 32 sts.
- Round 5: (3 sc, inc) x8 — 40 sts.
- Rounds 6–12: sc in each st around — 40 sts each round.
- Round 13: (3 sc, dec) x8 — 32 sts.
- Round 14: (2 sc, dec) x8 — 24 sts.
- Round 15: (sc, dec) x8 — 16 sts.
- Start stuffing firmly with polyfill.
- Round 16: 8 dec — 8 sts.
Finish:
- Fasten off, leaving a long tail.
- Use a yarn needle to close the opening:
Weave through front loops only of each st, pull tight to close. Weave the yarn tail into the head several times to secure, then cut the excess.
Ears (Make 2)
- Make a magic ring, 5 sc in MR.
- Sl st to the first st, ch 1 (standing stitch, not counted).
- Round 2: 5 inc — 10 sts.
- Round 3: (2 sc, inc) x2 — 8 sts
(sc in next 2 sts, inc in next st, repeat once more)
Fasten off, leaving a long tail for sewing (or short if using glue). Fold the ear slightly for a rounded effect.
Bow
- Magic ring, ch 2.
- 2 dc into ring, ch 2.
- Sl st into ring (half bow formed).
- Repeat (ch 2, 2 dc, ch 2, sl st into ring) for the other half.
- Fasten off, leaving two long yarn tails.
- Use the yarn tails to wrap the center tightly and tie off at the back. Trim ends or use for sewing.
Assembly
- Attach the ears: Sew or glue in place on the top sides of the head, slightly folding the base to create a curve.
- Attach the bow: Sew or glue bow to the side of one ear.
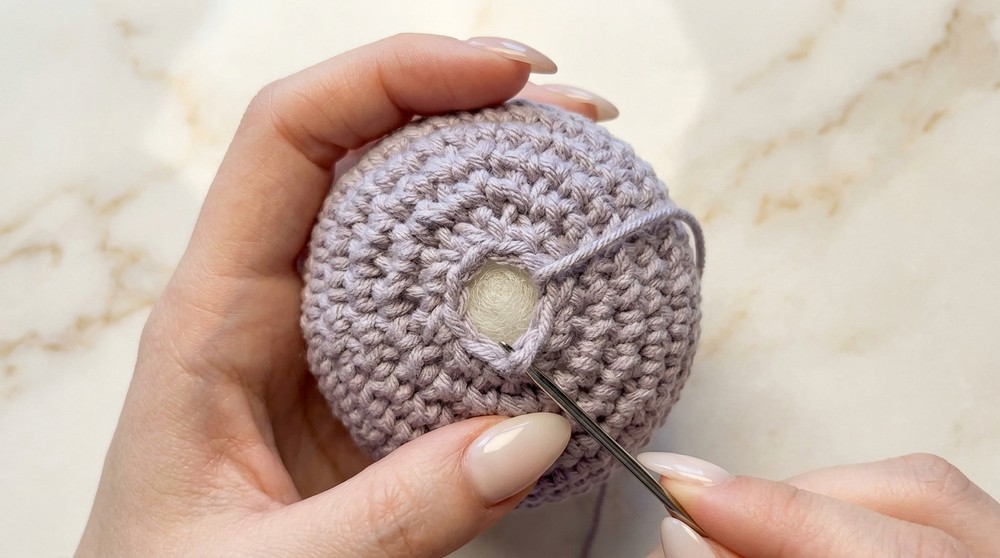
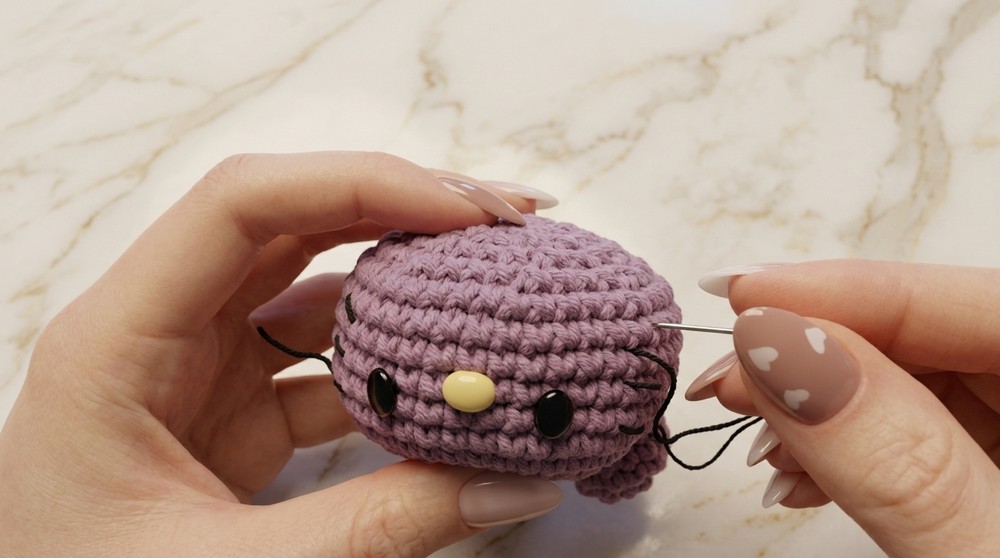
- Add face details:
- Attach safety eyes and a nose, or cut pieces from felt and glue/sew on.
- Embroider whiskers with black embroidery thread, or use a fine black yarn.
- Apply blush on the cheeks if desired.
- Optionally, attach a loop or keychain to the top as a bag charm.
Pattern Correction
- Slip knot or slip stitch at the start of the magic ring does not count as a stitch.
- Use invisible decrease (FLO) for a neater finish when decreasing.
- For beginners, marking the first stitch of each round improves shape and count accuracy.
Tips
- Use fluffy or velvet yarn for an extra-soft plushy.
- Eyes and other details can be glued or sewn according to your preference.
- Adjust bow and ear size by increasing or decreasing initial chains/stitches as desired.
- The basic head shape can be used for other characters by changing colors and facial details.
Conclusion
Congratulations! You have now created an adorable Hello Kitty plushy bag charm. This simple pattern is a great project for beginners, and it offers plenty of room for personal customization.