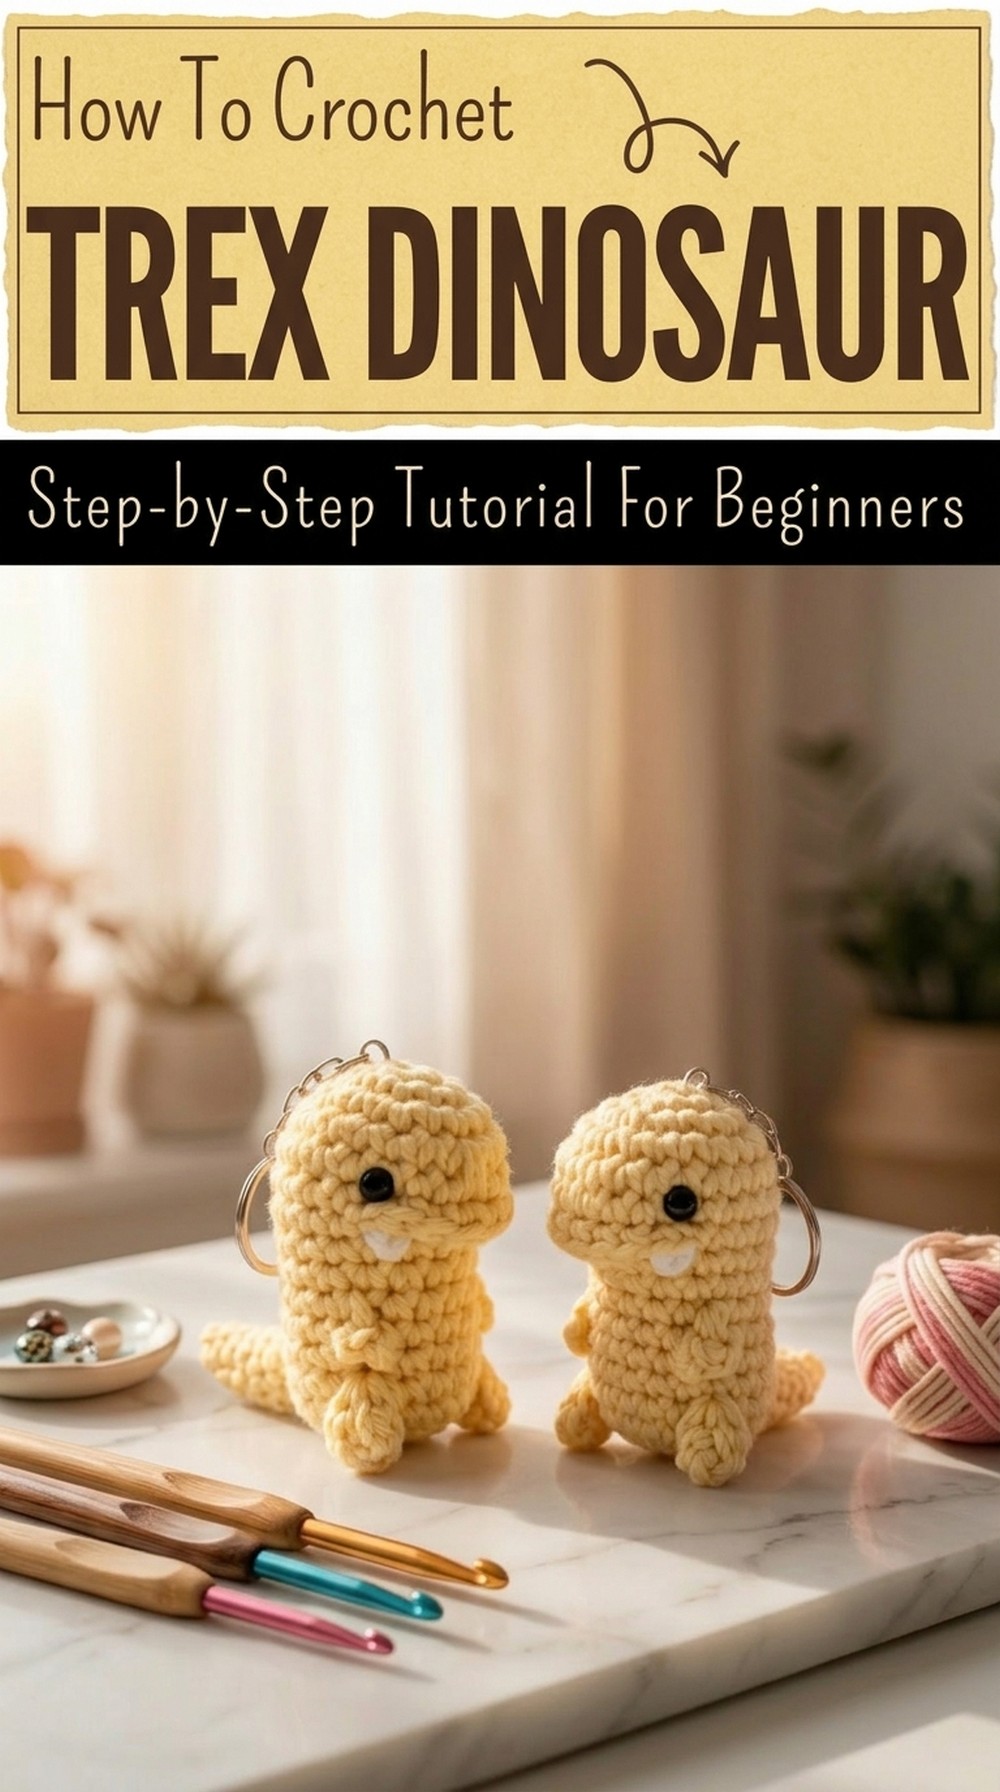
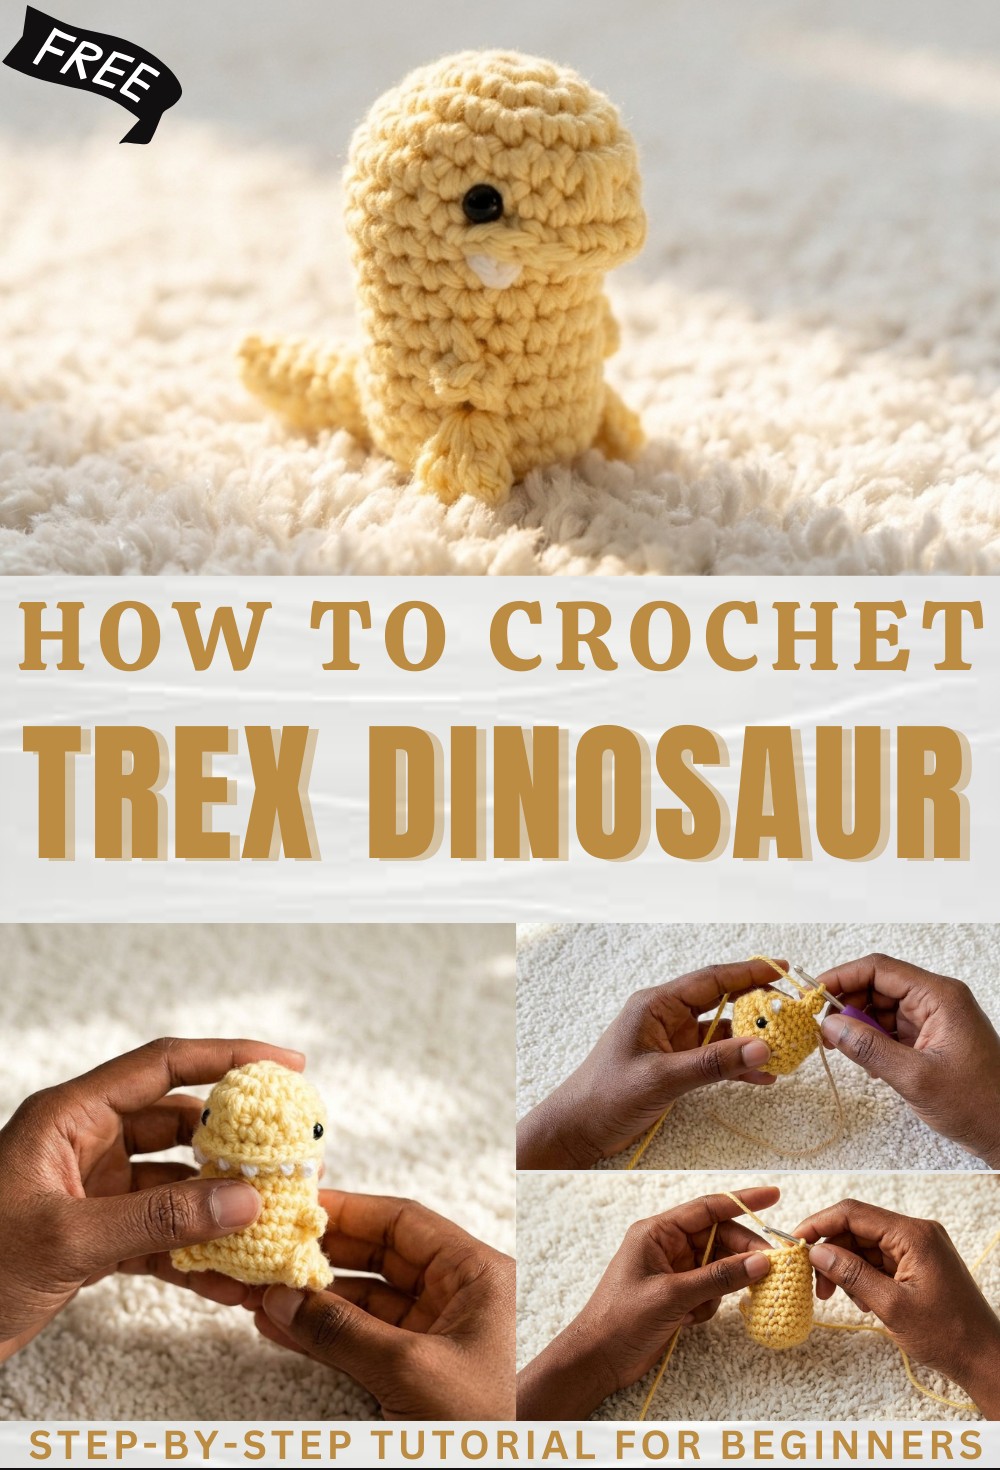
Fluffy Free Crochet Trex Dinosaur Pattern for Huggable Decor
Enjoy with Free Crochet Trex Dinosaur Pattern and make a colorful toy that spreads happiness adds charm to any room and delights everyone.
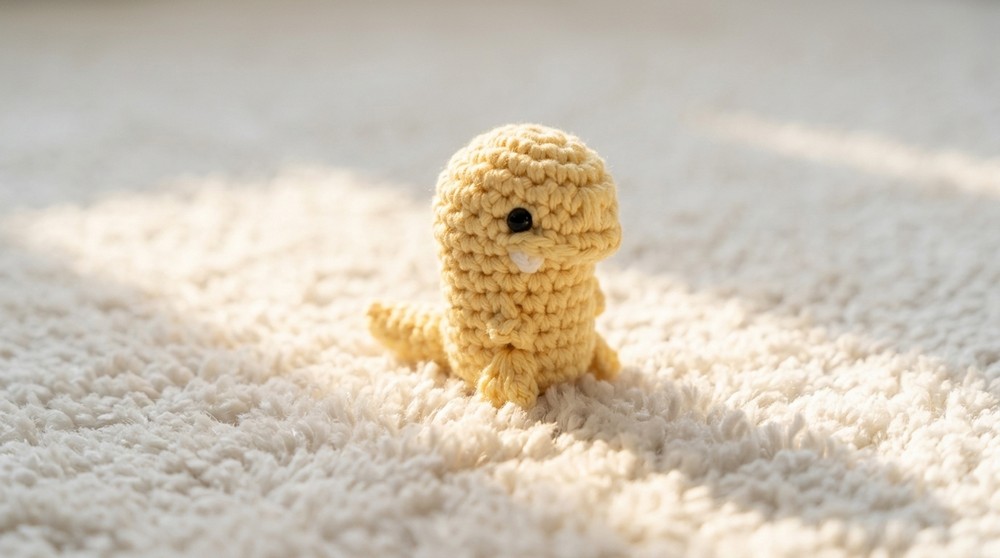
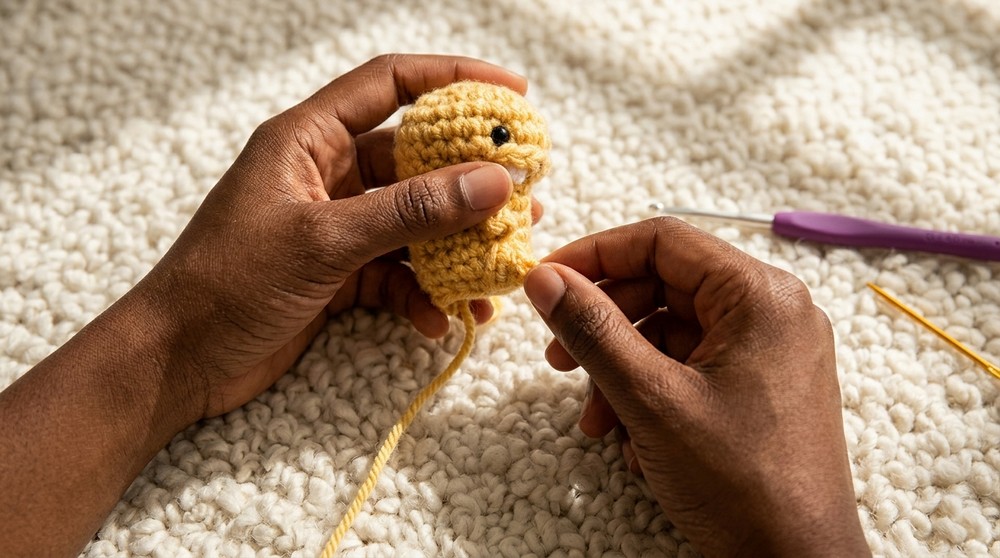
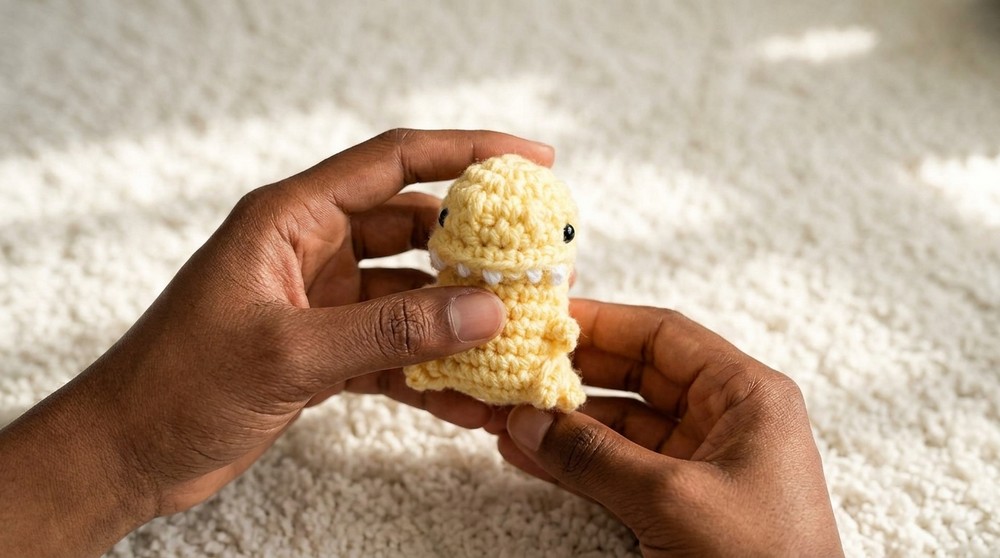
Get ready to meet a friendly dinosaur buddy with a big head tiny arms and a tail that’s perfect for wagging. Little ones and adults alike will smile when they hold this fun pal made by following the crochet Trex Dinosaur pattern. With big round eyes and soft bumpy texture its look brings happiness to anyone around. This dinosaur is not just cute but also strong enough for endless play and hugs making it a wonderful choice for kids’ rooms or as a gentle gift for someone needing a cuddle.
Festive Free Crochet Trex Dinosaur Pattern for Party Favors
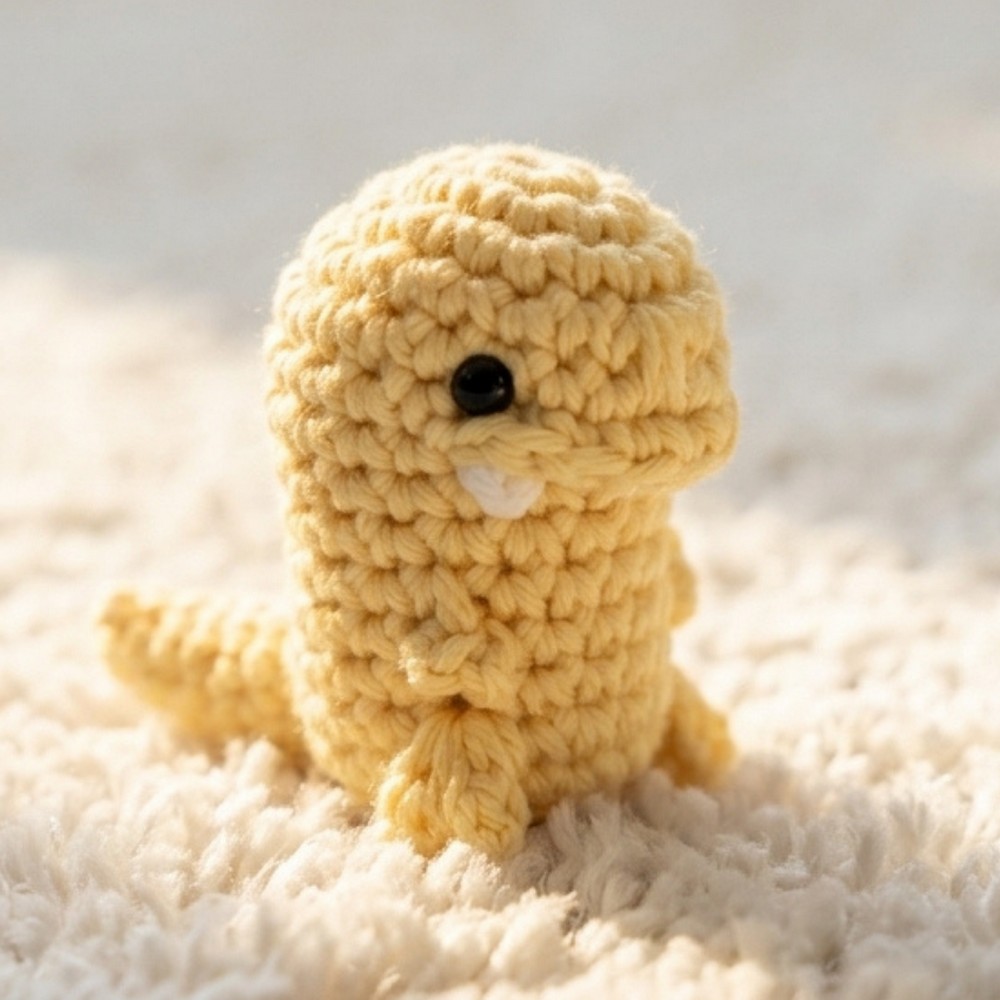
Because it comes in any color you like each dinosaur can be as joyful or calm as you want. Put a bright one on your couch or give a soft pastel for bedtime comfort and watch it become a favorite friend. From playtime to snuggle time each step of making your dinosaur brings something special into your home and heart.
Tiny Crochet T-Rex Amigurumi Pattern
Materials
- Yarn:
- Worsted/Medium (weight 4) acrylic yarn is recommended for ease of use and stitch visibility
- Main Color (Yellow)
- White (for teeth)
- Hook: G / 4.0 mm crochet hook
- Stuffing: Polyester fiberfill
- Safety Eyes: 6 mm (or embroider eyes with black yarn)
- Yarn Needle: Blunt or crimped darning needle (useful for sewing and weaving in ends)
- Scissors
- Optional: Nickel (for balance/weight inside the dinosaur)
Abbreviations (US Terms)
| Abbreviation | Meaning |
|---|---|
| MR | Magic Ring |
| ch | Chain |
| sc | Single Crochet |
| sl st | Slip Stitch |
| inc | Increase (2 sc in same st) |
| dec | Decrease (sc2tog, invisible decrease) |
| FLO | Front Loop Only |
| BLO | Back Loop Only |
| st(s) | Stitch(es) |
| dc | Double Crochet |
Special Notes
- This pattern is not for beginners—it uses advanced amigurumi and shaping techniques (magic ring, bobble/cluster feet, lips, etc).
- Use a stitch marker to track the beginning of rounds.
- The pattern is worked in continuous spirals unless noted.
- For best results, keep your tension tight to avoid stuffing showing through.
Pattern
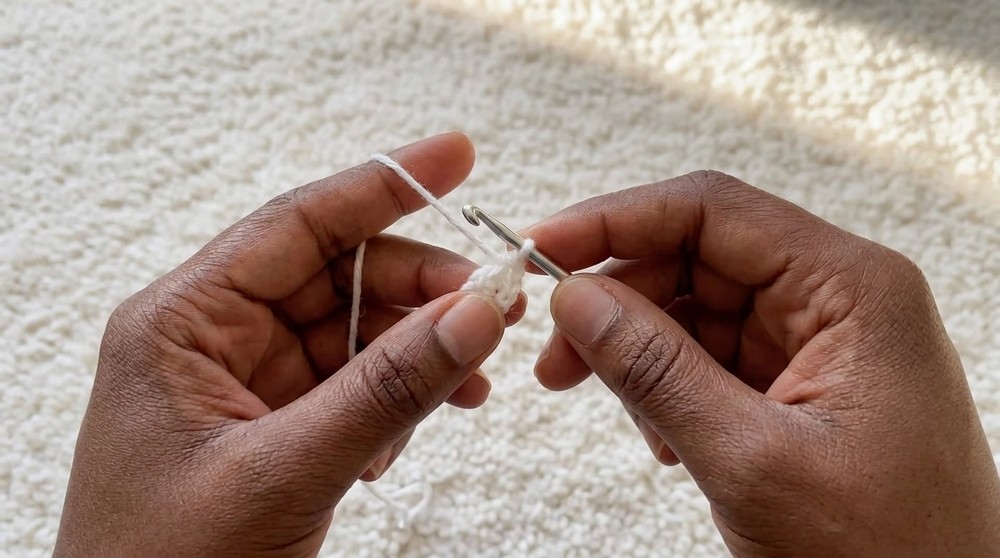
Teeth (Make 2)
With white yarn:
- Make a slipknot, ch 3.
- Working into the back loops of the chain, sc in the 2nd ch from hook.
- Ch 1, cut yarn and fasten off, leaving tails for sewing.
- Make a second tooth as above.
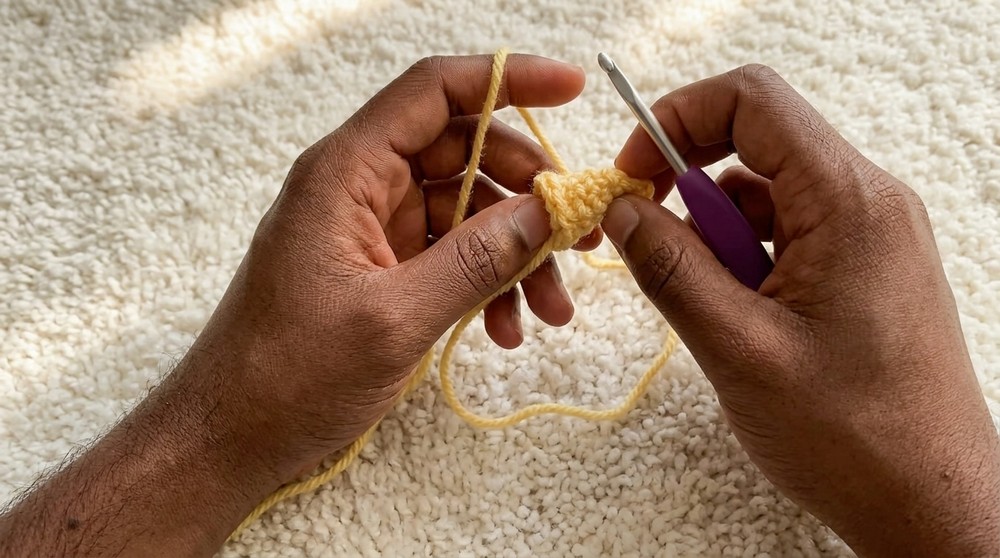
Tail
With main color:
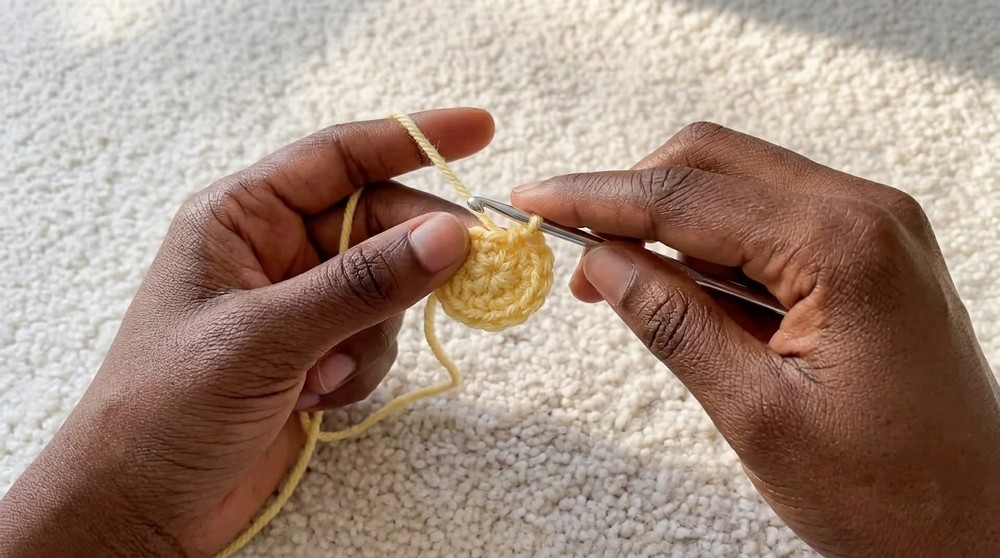
- MR, 3 sc into ring. (3)
- (First st BLO only) Inc in BLO, sc in next 2 sts. (4)
- [Sc in next st, inc in next st] x2. (6)
- Sc in each st around. (6)
- [Sc in next 2 sts, inc in next st] x2. (8)
- Sc in each st around. (8)
- Sl st to join. Leave a long tail for sewing. FO.
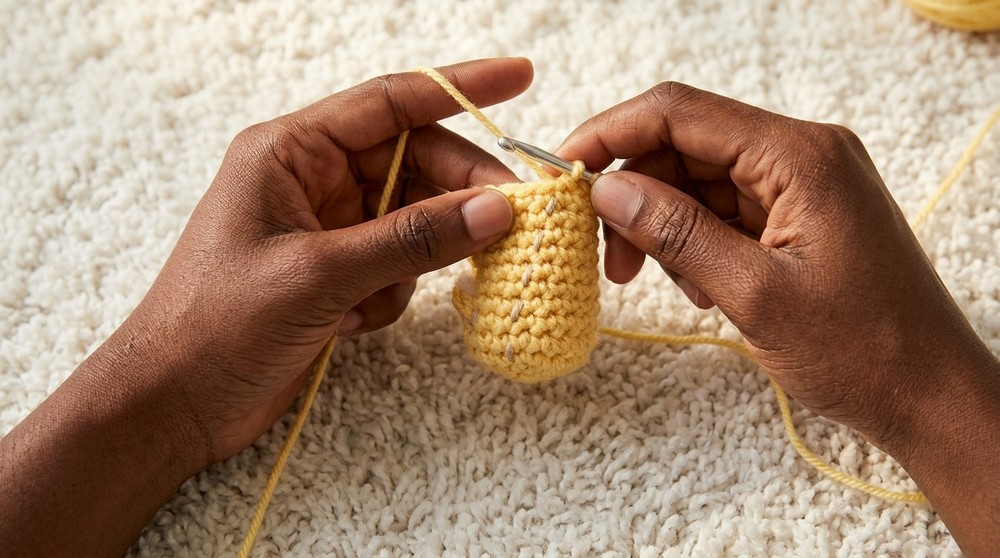
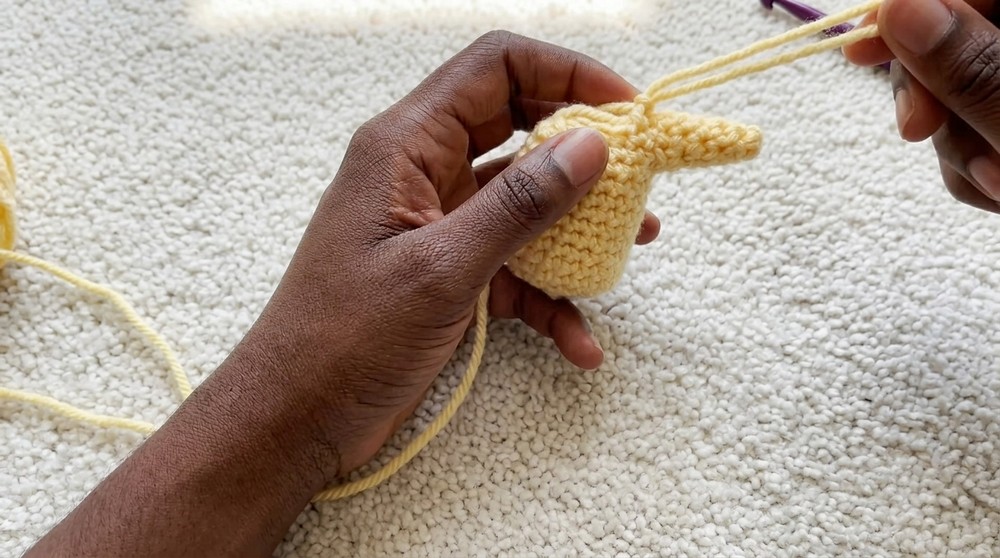
Body & Head (work as one piece)
With main color:
- Ch 4.
- Sk 1st ch, sc in next 2 ch.
- In last ch: 3 sc.
- Working along the back of chains: sc in next ch, in last (start) ch: 3 sc. (9)
- Do not join; work in continuous spiral.
- Sk 1st st, sc in next st, inc in each of next 3 sts (6 total), sc in next st, inc in each of next 3 sts (14)
- *Sc in next st, inc in next st* x3, sc in next st, repeat *Sc in next st, inc in next st* x3 (20)
- Sc in next 5, inc in next st, sc in next st, inc in next st, sc in next 12 (22)
- Sc in next 6, nostril: dc into round above, skip st worked over, sc in next 2, nostril: dc into round above, skip st worked over, sc in remaining 12 (22)
- Sc in next 3, FLO: 11 sc forming the upper lip, then sc into both loops for the last 8 sts (22)
- Sc in next 3, work into back loops from round 5 – [sc, (sharp dec)x2, sc, (sharp dec)x2, sc], then sc in remaining 8 sts (22)
- Sharp decrease: Insert hook into next st, pull up a loop, insert hook into next st, pull up a loop, yarn over and pull through all 3 loops (not a standard decrease, creates stronger shaping).
8-9. Sc in each st around (18 sts x 2 rounds). - Skip over lip stitches, continue body/face. Insert safety eyes at the sides of lip after round 9.
- Sharp decrease: Insert hook into next st, pull up a loop, insert hook into next st, pull up a loop, yarn over and pull through all 3 loops (not a standard decrease, creates stronger shaping).
- Sc in next 4, first arm: ch 3, sl st in BLO of 1st ch, ch 2, sl st in BLO of 1st ch (make 2 “fingers”), sc in next 7, second arm: repeat as for first arm, sc in next 7. (18)
- Sc in each st around (work behind the arms, keeping arms to the outside). (18)
12–13. Sc in each st around (18 sts per round) - Shaping & Legs:
- Sc in next 4.
- First leg: [Yarn over, insert into st from round above, YO and pull up, YO, pull through 2 loops] x2, ch 2, sl st in BLO of 1st ch. Repeat above bracketed step x2, ch 2, sl st in BLO of 1st ch, then bracketed step once more. YO and pull through all 6 loops on hook—1st leg made.
- Sc in next 6.
- Second leg: Repeat as above for first leg.
- Sc in remaining 6 sts. (12)
- (Sc, sharp decrease) x6 (12 → 6)
- Sc2tog around (6). FO, leave long tail for sewing.
Assembly
Sewing Tail:
- Stuff body, stuff tail lightly.
- Pin tail at the back, sew through loops of both tail and body, making sure it’s centered.
Teeth:
- Sew teeth in under the “upper lip,” stitching through both ends, knot inside.
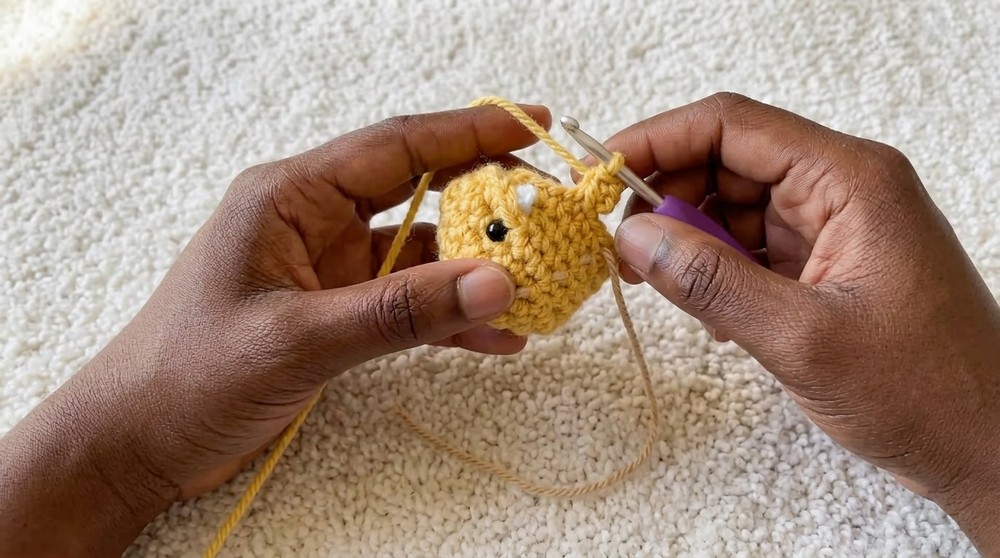
Eyes:
- Add 6 mm safety eyes or embroider in place at sides of the mouth, at the outer edge of the upper lip.
Close up the body:
- After stuffing, sew the bottom hole closed neatly with the long yarn tail using a gather or ladder stitch.
Shaping:
- Pinch toes and arms outward.
- Adjust stuffing for balance, place a nickel inside if needed for bottom weight.
- Weave in all spare ends.
Pattern Correction
- Legs and arms: Take extra time when following the complicated bobble and cluster leg instructions. Work very slowly and double-check you are consistent.
- If you ever lose track of stitch count, use a scrap of yarn as a lifeline stitch marker.
Tips
- The tail can provide balance; bend it slightly for a standing pose.
- If using acrylic and the piece is “gappy,” reduce hook size or use tighter tension.
- Add embroidered details (nostrils, belly lines, or stripes) for extra character.
Conclusion
You now have an advanced, “no-sew-minimum” tiny T-Rex amigurumi! While challenging, the unique shaping and techniques make a striking, playful dino that’s sure to be a conversation starter.