How to Crochet Chubby Frog Plushie (Tutorial for Beginners)

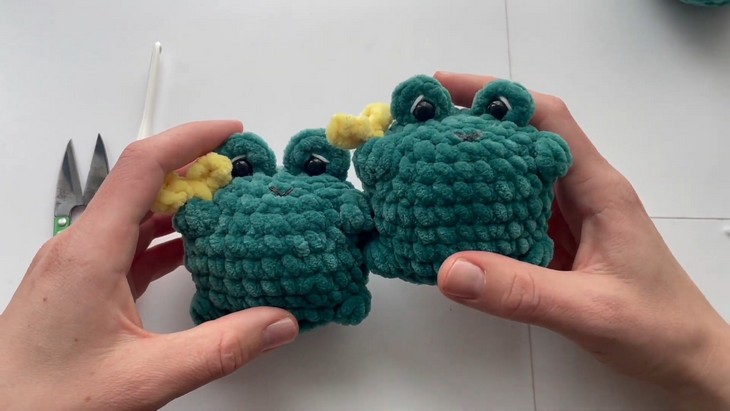
Learn how to crochet an adorable chubby frog plushie with a bow tie in hand, with a step-by-step tutorial for beginners. This plushie uses super bulky yarn, making it quick and squishy. Complete with a bulging big eye and no-sew techniques, it will become a heartfelt last-minute gift.

Skills Used: Stitches and skills involved are quite beginner-friendly in this frog amigurumi tutorial. You will crochet it using the single crochet (sc) stitches with increases and decreases. One intermediate skill introduced is the bubble (or bobble) stitch.
Skill Level: Beginner
Personalization Tips: For instance, while green is used as the main froggy color, any yarn color can be chosen for a whimsical or themed variation. The bow tie, made from a simple chain, can be adapted into different shapes like a heart or sewn onto different parts of the plushie.
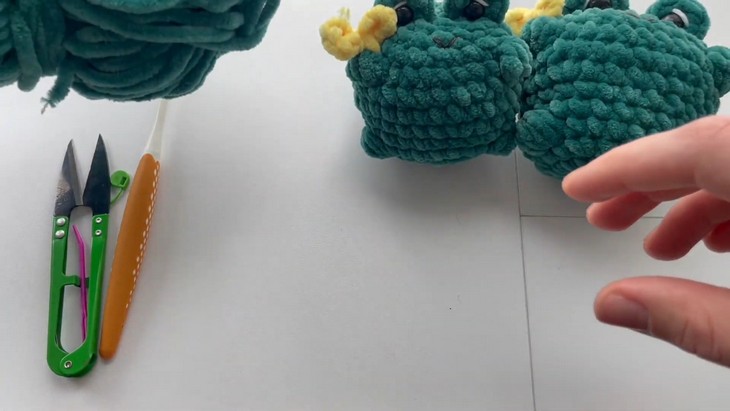
Supplies Used
Here’s a list of supplies needed for the Plushie Tutorial: Chubby Froggy amigurumi based on the tutor’s suggestions:
- Yarn – Soft, chunky yarn (like chenille yarn) in green for the frog and yellow for the bow tie. Tutor uses velvet yarn from Hobbies.
- Crochet Hook – The tutor uses a 5 mm crochet hook.
- Safety Eyes – Optional, for the frog’s bulging eyes (or you can embroider them).
- Black and white threed for embroidery.
Plushie Tutorial: Chubby Froggy
-
Magic Loop Start & Basic Rounds
The froggy begins with a magic loop. Initial rounds gradually increase from 6 to 30 stitches using standard increases. Helpful advice is given for forming tight loops and evenly spacing increases. -
Bobble Stitch Introduction
Bubble stitches form the froggy’s feet. A clear demonstration of forming a puff-like texture is shown. Each bubble stitch is followed by specific single crochet patterns. -
Body Shaping with Increases and Decreases
Stitch markers help track progression. After initial bulking, the shape is refined with strategic decreases. The creator explains how to track and calculate stitch counts to maintain symmetry.
Assembly
-
Stuffing and Shaping Tips
Practical guidance is given on how to stuff the plushie to create a pleasing chubby shape and how to mold the form, especially managing the dome shape that can appear at the top. -
Eye Construction and Placement
The eyes are made from half double crochets into a magic loop. They are sewn with consideration of curvature. Safety eyes are secured at the center of the loop. -
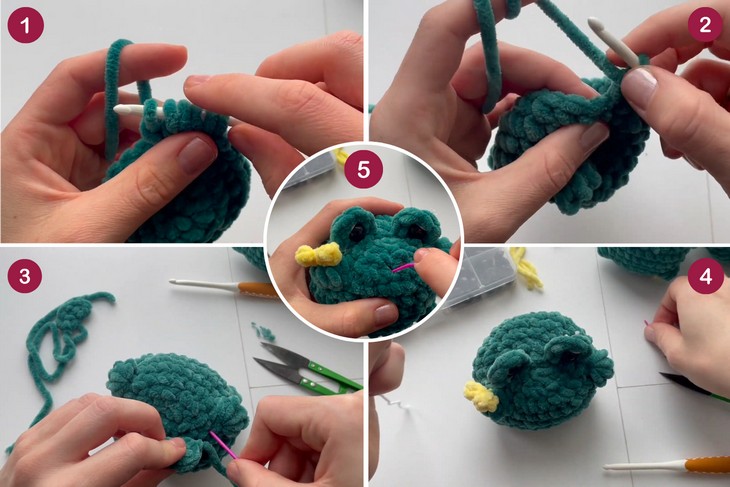
Creating and Attaching Bow Tie
A small chain is tied and flattened to form a bow tie. It’s hand-sewn to the froggy’s arm, offering tips for altering its shape into a heart motif for cuteness. -
Facial Features: Eyeshadow and Mouth
A short white yarn is sewn above each eye as a highlight. The mouth is stitched in a gentle arc below the eyes, and extra care is taken to knot and secure these parts firmly inside the plushie.
Tip: First make a pratice swatch for working with the plush yarn as it is sometimes difficult to work wit.