Free Crochet Sweater Pattern for Soft Cozy Everyday Warmth
Stay warm in handmade elegance using Free Crochet Sweater Pattern that forms soft, stylish outerwear for comfort, charm, and everyday cozy layering.
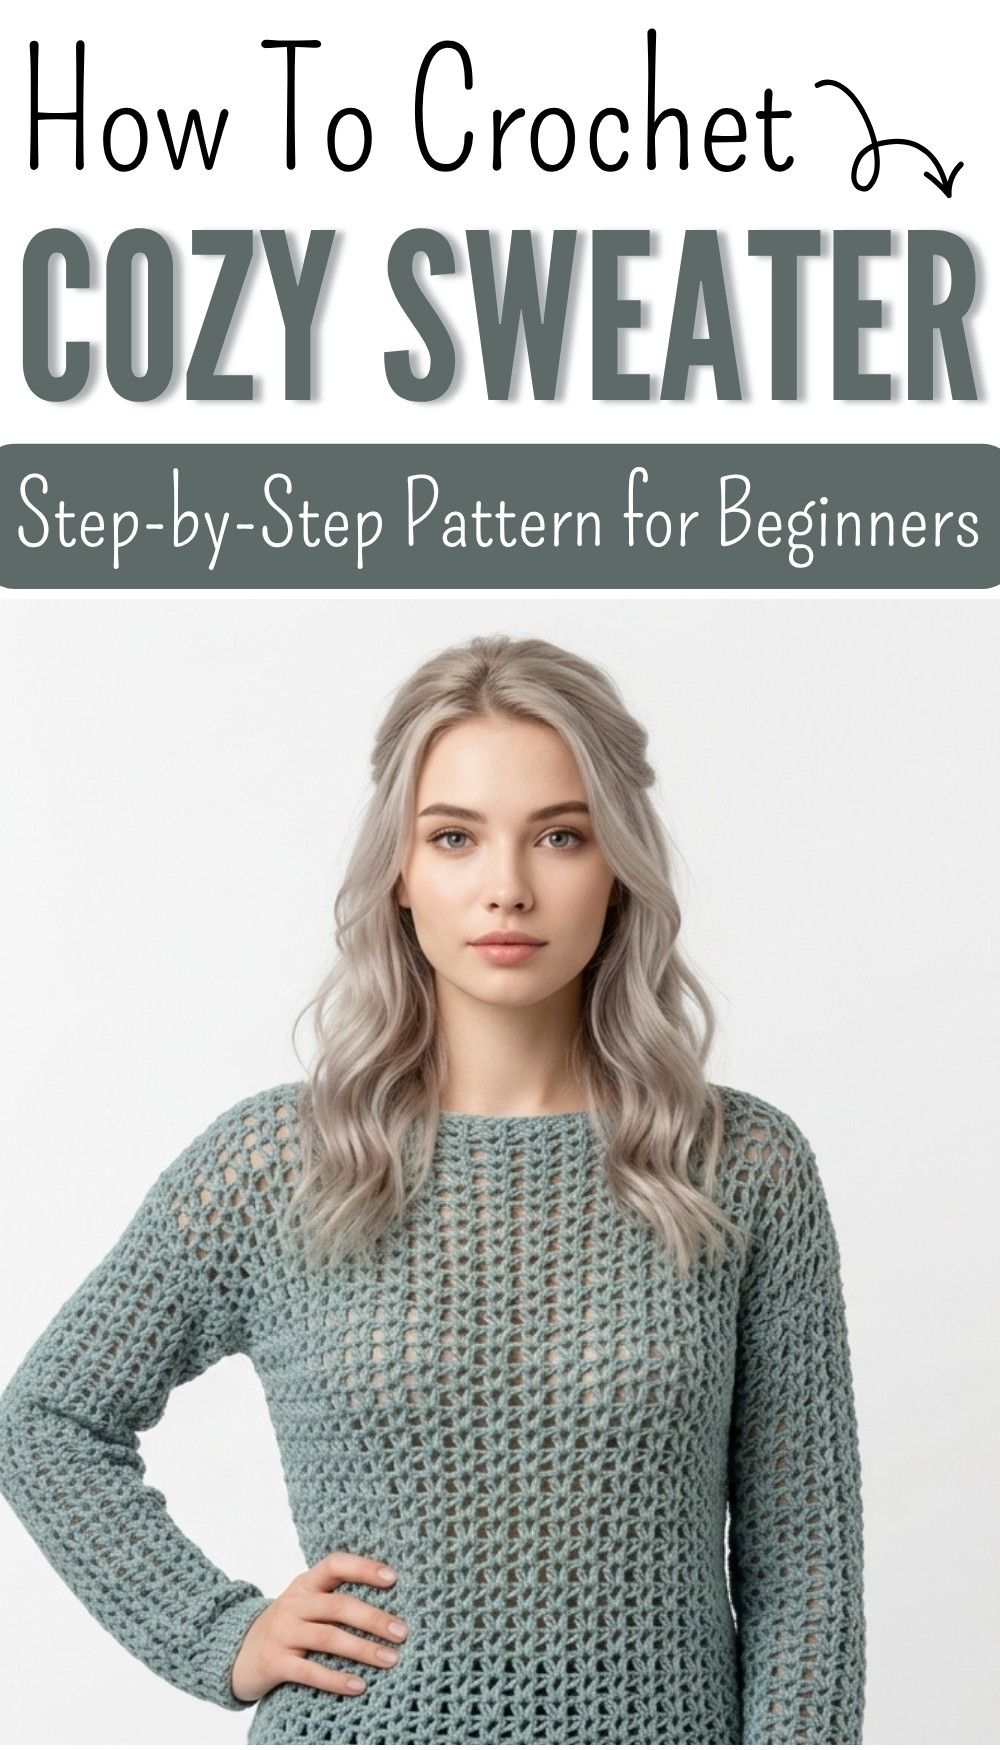
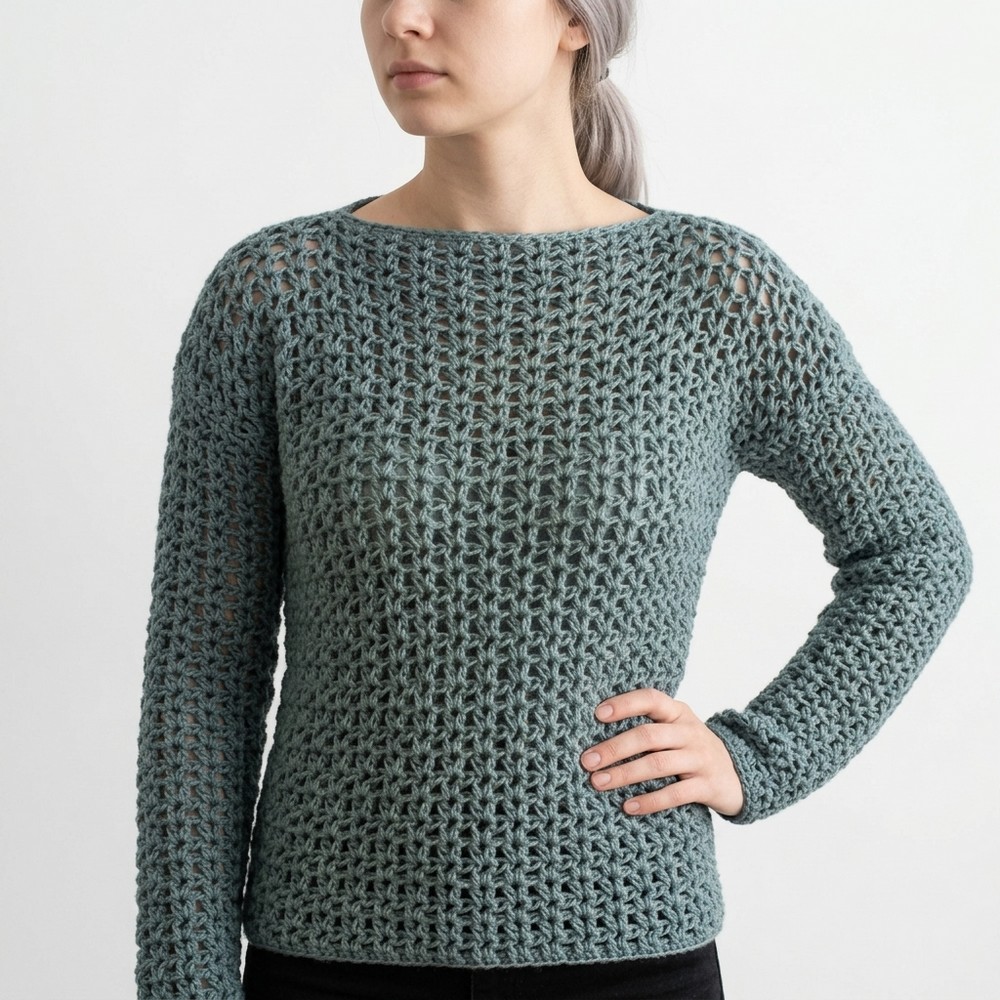
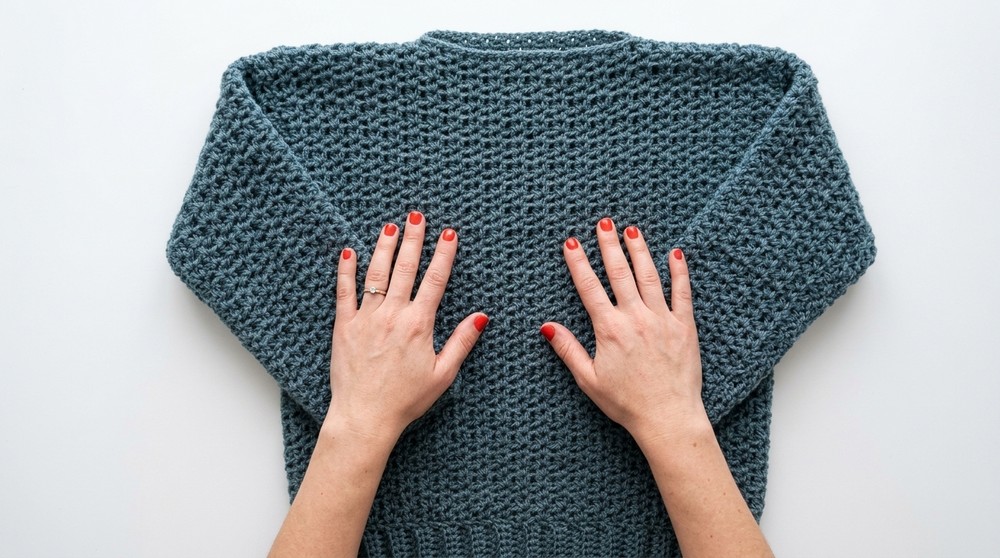
A quiet moment often comes when soft yarn sits in hand and slowly turns into something warm, useful, and full of charm. Simple panels, gentle shaping, and smooth joining come together to form a wearable piece that feels light yet cozy on the body. The Free Crochet Sweater pattern creates a relaxed-style sweater that has a clean look, soft texture, and a comfortable fit for everyday wear. It is designed in an easy way that uses basic forming methods, making it suitable for beginners who want to try clothing for the first time.
Crochet Sweater Pattern Free for Simple Step Friendly Design
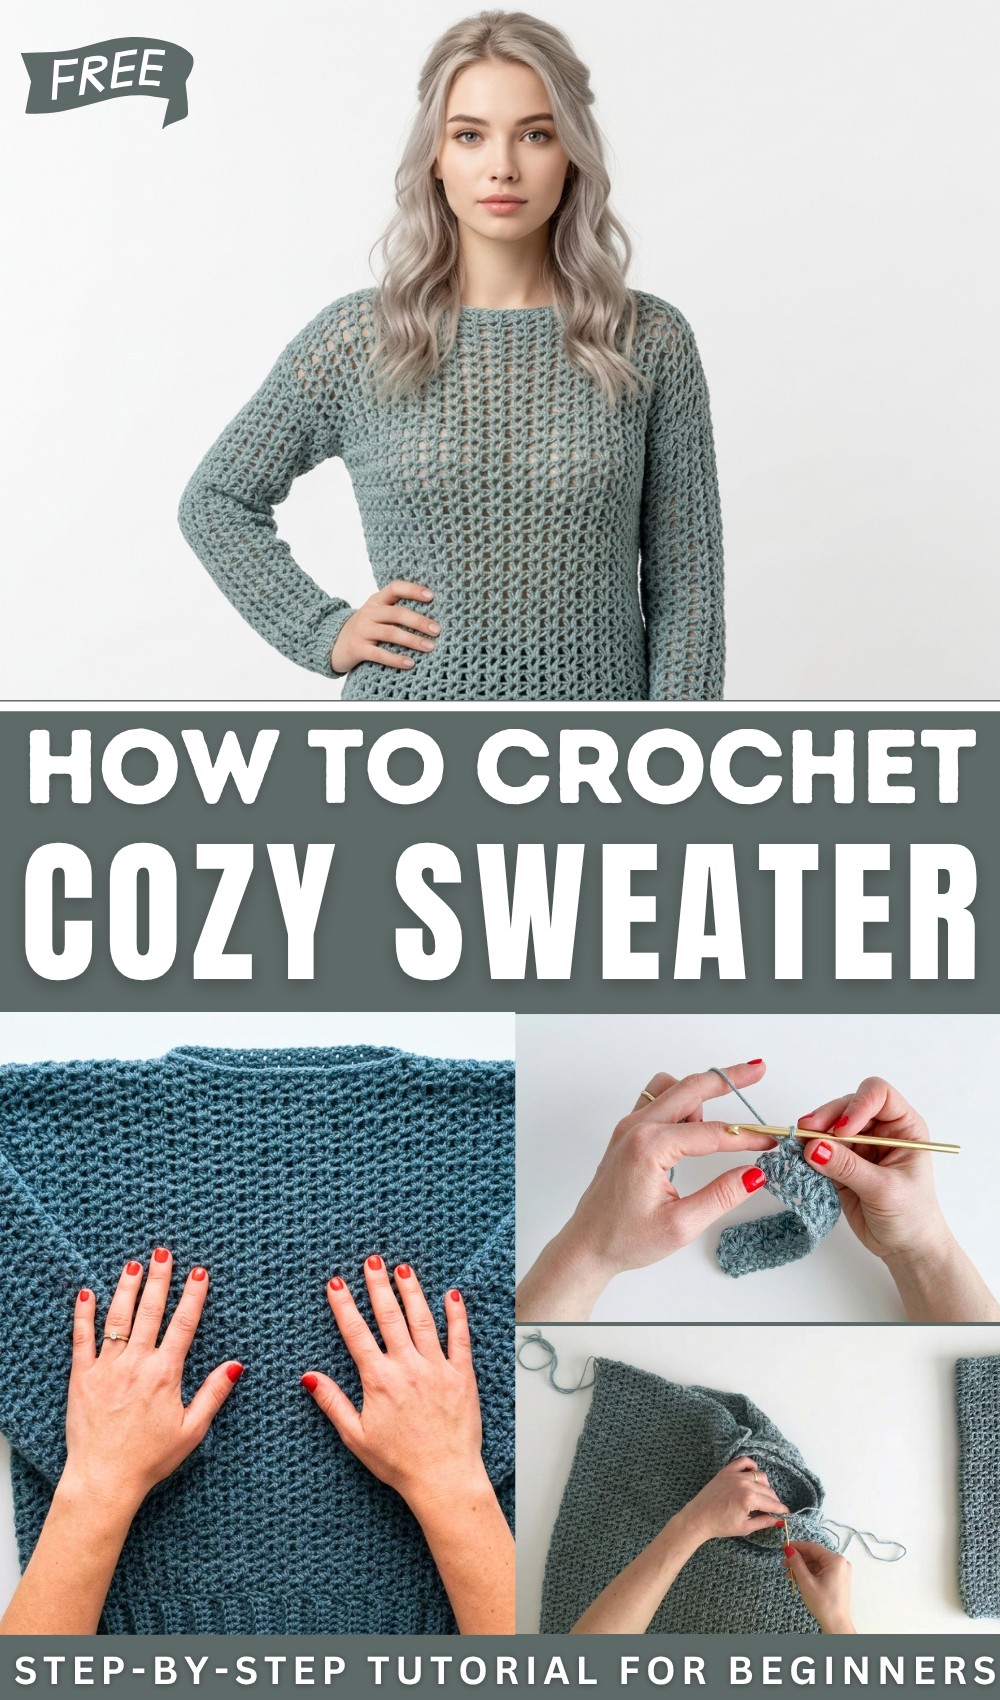
Free Crochet BABY SNEAKER pattern inspiration shows how simple handmade items can still look stylish and modern, and this same idea carries into this sweater design with its neat shape and balanced structure. The finished sweater appears soft, slightly loose, and beautifully handmade, with straight lines that give it a calm and simple fashion style.
It can be worn in cool weather for warmth or styled casually at home for comfort. The light texture makes it easy to pair with different outfits, while the handmade touch gives it a personal and thoughtful feel. This sweater becomes a practical clothing piece that also shows creativity, care, and comfort in every detail.
Sweater Nap – Crochet Pattern
Skill Level
Beginner – This pattern is accessible to those who have basic crochet skills, such as working chains, half-double crochet (hdc), and slip stitches.
Materials
- Yarn:
300 grams of medium-weight acrylic yarn (Worsted/Aran/Weight 4). Adjust the yarn when creating larger sizes.
Recommended: Nube brand yarn (Family Variety), but any medium-weight yarn will suffice. - Crochet Hooks:
- 5.5 mm hook (for the body of the sweater).
- 4.5 mm hook (for the sleeve shaping trick).
- Other Tools:
- Tapestry needle (for sewing pieces together).
- Scissors.
- Measuring tape.
Gauge
14 stitches x 8 rows of half-double crochet (hdc) create a 10 cm x 10 cm (4 in x 4 in) square using a 5.5 mm crochet hook.
Important: Crochet a swatch to ensure your gauge matches. Adjust hook size as needed.
Finished Sweater Dimensions
This sample creates a Small sweater and uses approximate measurements as follows:
- Front and Back Panels (large rectangles): 48 cm (19 inches) long x 44 cm (17.5 inches) wide.
- Sleeves (small rectangles): 40 cm (15.75 inches) long x 25 cm (9.8 inches) wide.
For adjustments to fit other sizes, see the Customization section below.
Special Techniques
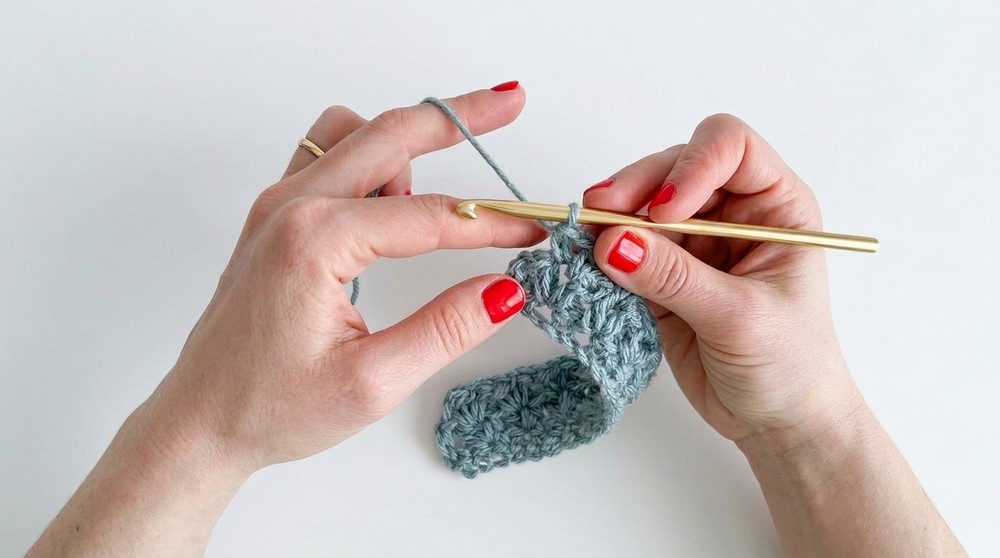
Basic Half-Double Crochet (hdc):
- Yarn over and insert hook into the stitch.
- Yarn over again and pull up a loop (3 loops on hook).
- Yarn over and pull through all 3 loops.
Foundation Chain:
Always create an odd number of chains to begin so the stitch pattern is balanced.
Simple Shaping for Sleeves Using Hook Sizes:
- Use a smaller crochet hook for the majority of the sleeve to make it narrower toward the bottom. Switch to a larger hook for the last few rows of the sleeve to create a gently flared effect.
Customization Ideas
- Sizing Options:
- Use a sweater you like as a guide. Measure its length, width, and sleeve dimensions and adjust the number of chains and rows accordingly.
- Reduce or increase the number of chains to alter width and adjust rows to change length for both the body and sleeves.
- Yarn Choices:
- For a lighter, breathable sweater, use cotton or bamboo yarn. For a cozy, warm version, choose wool or acrylic blends.
- Additional Embellishments:
- Add ribbing or cuffs to the sleeves and waistband using front and back post stitches.
- Use buttons, embroidery, or appliqués to personalize.
Pattern Instructions
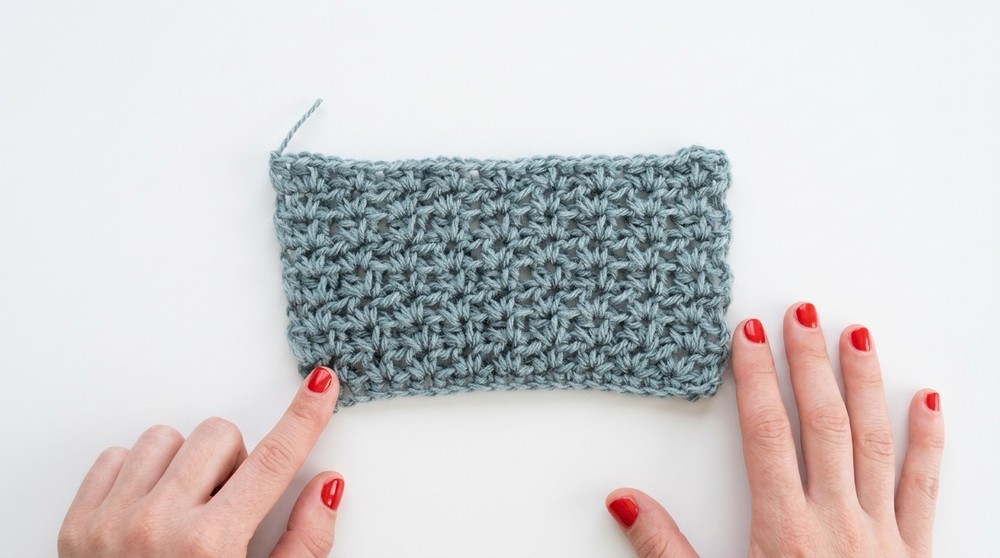
Step 1: Front and Back Panels (Make 2 identical pieces)
- Foundation:
Chain 51 for the front and back panels (or adjust for desired width, ensuring an odd number of chains). - Row 1:
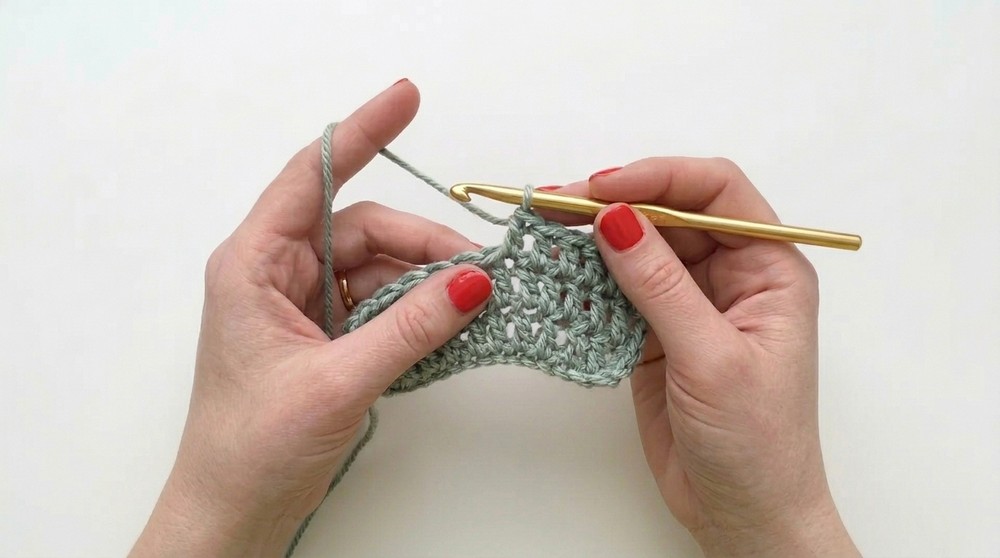
Starting in the second chain from the hook, work hdc stitches across (50 hdc). - Row 2:
- Chain 2 and turn.
- In the 4th stitch from the hook, work:
- 1 hdc, chain 1, 1 hdc in the same stitch.
- Skip 1 stitch and repeat the hdc, ch 1, hdc sequence in every other stitch across.
- At the last stitch, work 1 hdc only.
- Row 3:
- Chain 2 and turn.
- Work hdc, chain 1, hdc in the spaces made by the chain-1 gaps from the previous row.
- Continue this sequence across.
- Work 1 hdc in the last stitch.
- Repeat Row 3 for a total of 40 rows or until the piece measures 48 cm (19 inches) long.
- Finish and Fasten Off:
Cut the yarn, secure the final stitch with a chain, and weave in any loose ends.
Step 2: Sleeves (Make 2 identical pieces)
- Foundation:
Using a 4.5 mm hook, chain 31 (or adjust for desired width, ensuring an odd number of chains). - Work the same stitch pattern as the body panels for 20 rows using the 4.5 mm hook.
- Switch to 5.5 mm hook:
For rows 21–34, continue the pattern using the larger hook to create a slightly flared edge. - Finish and Fasten Off:
The finished sleeve should measure approximately 40 cm (15.75 inches) long.
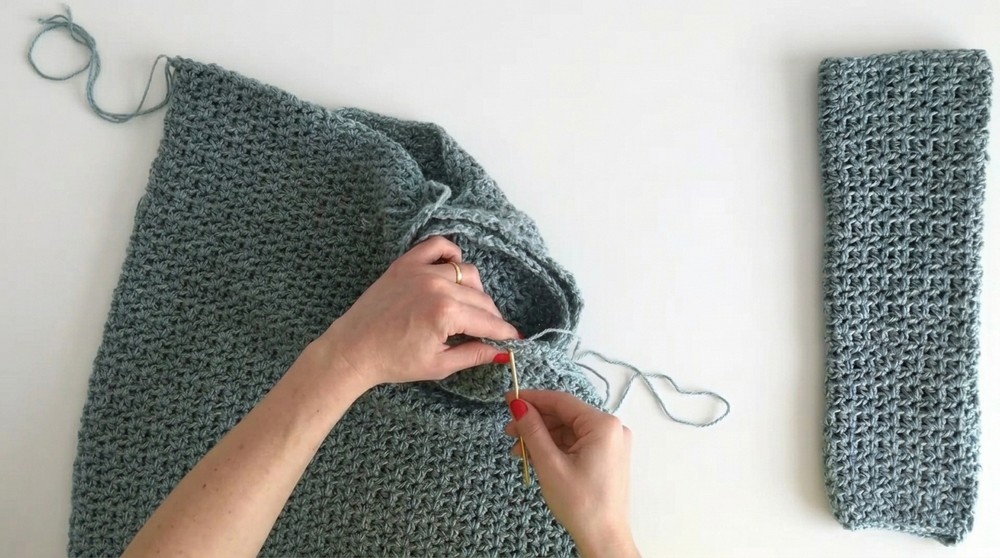
Step 3: Assembly
- Seam the Front and Back Panels:
- Lay the front and back panels flat, right sides facing each other.
- Align all edges.
- Using the tapestry needle, sew the side seams upwards, leaving an opening for the sleeves (approximately 25 cm / 9.8 inches from the bottom).
- Seam the Shoulders:
- Sew the top edges of the front and back panels together at the shoulders. Leave the center portion open for the neckline.
- Attach the Sleeves:
- Fold each sleeve in half lengthwise.
- Match the sleeve seam to the side seam of the sweater body. Pin in place.
- Sew the curved edge of the sleeve into the armhole.
- Weave in Ends:
- Secure all loose yarn ends by weaving them into the seams or stitches for a neat finish.
Step 4: Optional Additions
- Neckline Finishing:
Work one round of slip stitches around the neckline to create a clean edge. - Waistband or Sleeve Cuffs:
- Add ribbing using front and back post dc for 2–4 cm (1–1.5 inches).
- Alternatively, use the same stitch pattern as the sweater for a simpler look.

Tips for Success
- Create a small gauge swatch before beginning to understand the chosen yarn’s drape and texture.
- Block each finished rectangle to achieve the precise shape and dimensions before assembly.
- Adjust stitch counts and rows if creating a custom size to prevent oversized or undersized pieces.
Conclusion
The Sweater Nap Crochet Pattern is a versatile and practical project for beginners and experienced crocheters alike. Its simple construction, made from rectangles, lends itself to easy customization. Whether styled for warmer months with a breathable yarn or made cozy for winter, this sweater is an ideal addition to your handmade wardrobe.