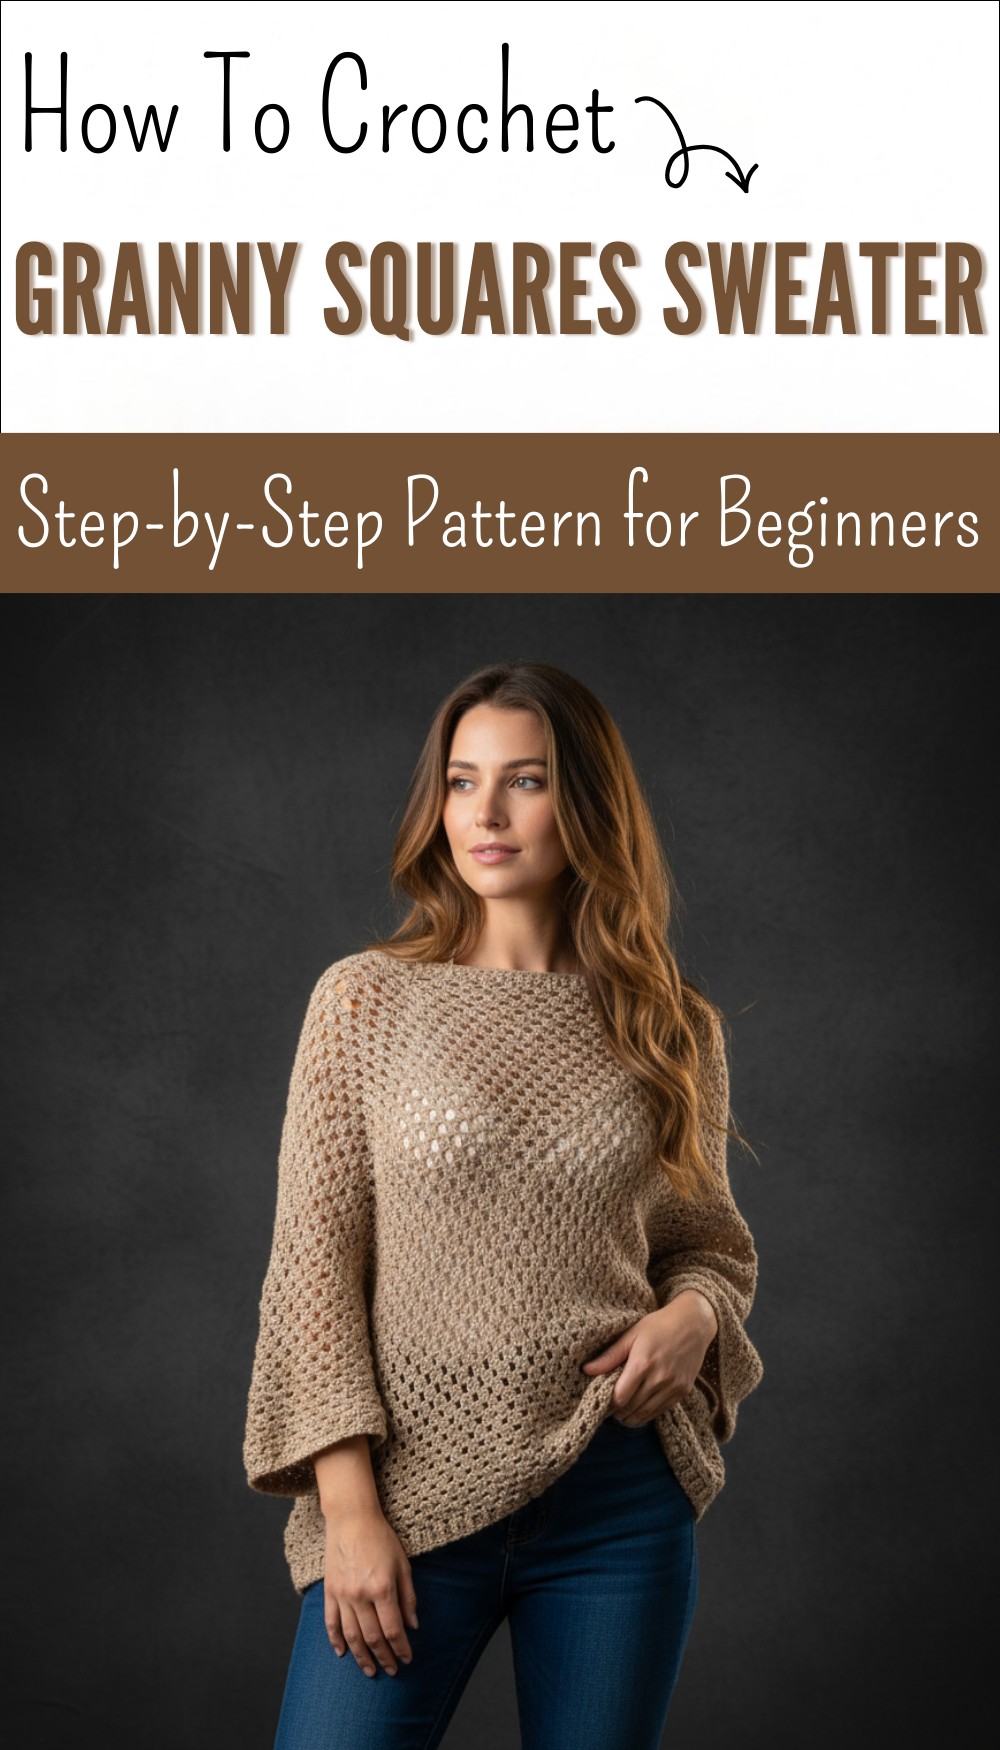
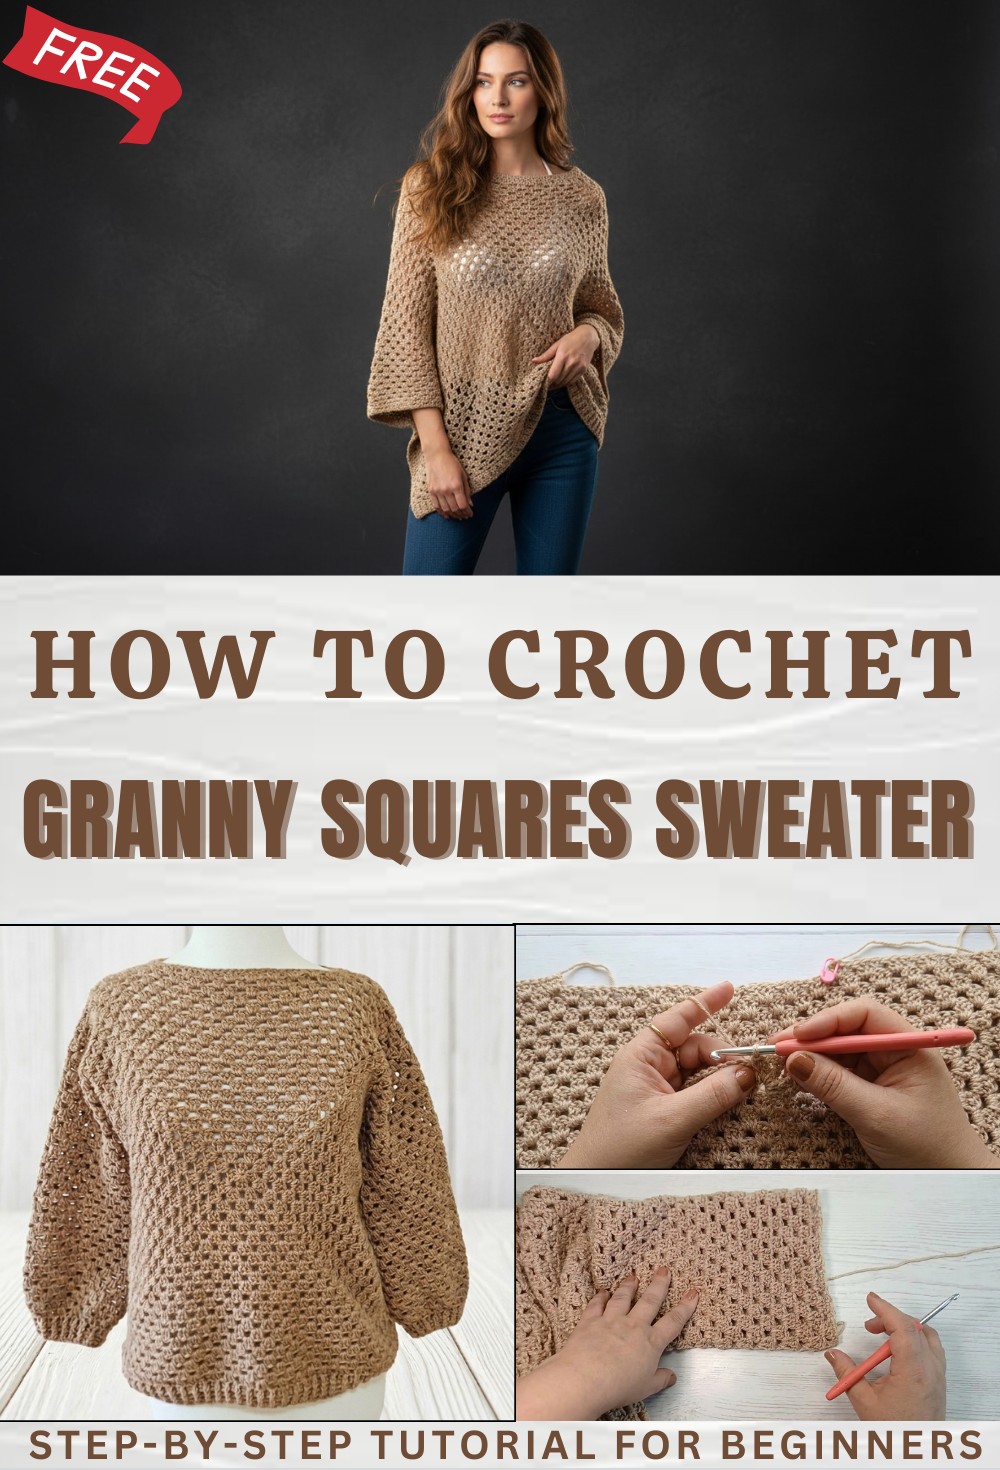
Free Crochet Granny Square Sweater Pattern Perfect for Fall
Elevate your style with this free crochet granny square sweater pattern that’s featuring vibrant colors for stylish and comfortable wardrobe.
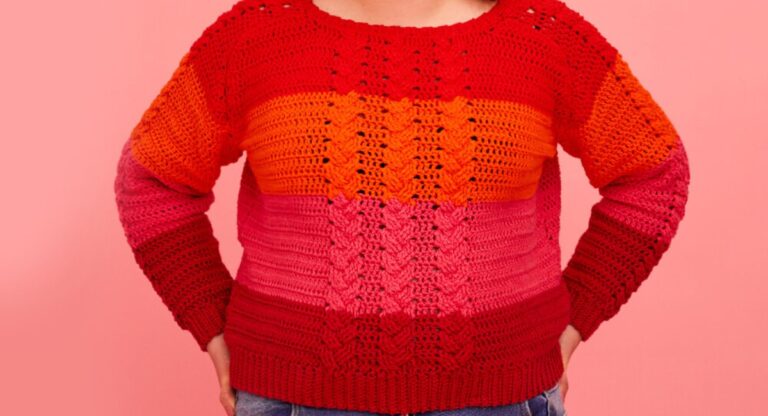
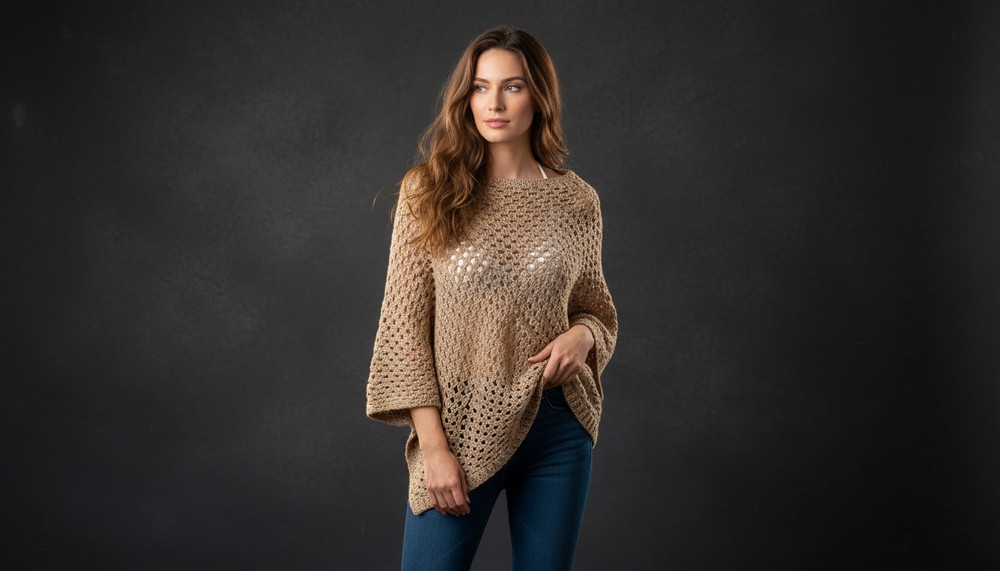
Warmth and joy shine through every patch of this eye-catching sweater where simple squares turn ordinary yarn into something truly special. With a crochet granny square sweater pattern you join beautiful bursts of color together making each piece unique and full of character. This sweater is playful and bright easy enough for beginners to follow and exciting for anyone to wear. Mixing and matching shades means there’s a style for every mood while the comfortable fit keeps you feeling good all day.
Vintage Free Crochet Granny Square Sweater Pattern You’ll Love
This sweater is wonderful for using up leftover yarn helping you save and design something fresh at the same time. Gifting this sweater brings instant joy and confidence showing off your creativity and care for loved ones. With its bold look and easy steps this project turns cozy clothing into a true statement of happiness in every stitch.
Crochet Granny Square Sweater Pattern
Materials
- Yarn: 380g (approx. 1000–1100 yards) of acrylic or similar yarn, approx. 2mm thick
- Crochet Hook: 5.5 mm (I-9) or size required for a loose, drapey fabric
- Notions:
- Scissors
- Yarn (tapestry) needle
- Several stitch markers
- Measuring tape
Abbreviations (US Terminology)
| Abbreviation | Meaning |
|---|---|
| ch | chain |
| sl st | slip stitch |
| sc | single crochet |
| hdc | half double crochet |
| dc | double crochet |
| fpdc | front post double crochet |
| bpdc | back post double crochet |
| st(s) | stitch(es) |
| sp(s) | space(s) |
| rep | repeat |
Special Notes
- Adjust Measurements: Finished sample is ~55 cm wide and 60 cm tall. Adjust your main square size based on your largest circumference (bust/waist/hips) + ease.
- Ease: For a slightly oversized fit, add ~10 cm to your largest circumference. Divide this number by 2 for the size of each square.
- Seamless Joins: All joins (shoulders, sides) are done with special double crochet techniques to create invisible, sturdy seams.
- Standing/Faux Double Crochet: Used to avoid gaps from starting chains at row beginnings. Replace with chain-3 if you prefer.
- Work in the round for sleeves and hem ribbing.
- The sweater is mostly constructed in double crochet groups and classic granny square style with modern finishing.
Pattern
Step 1: Determine Your Square Size
- Take your bust, waist, and hip circumference. Choose the largest.
- Add 10 cm for ease (or as preferred).
- Divide by 2 (front and back).
- Plan for joining—final squares may be a little smaller as each seam/edging adds width.
Example:
Largest circumference: 95 cm
- 10 cm ease = 105 cm
÷ 2 = 52.5 cm per square.
Each finished square (before joining and edging) should be ~50–52.5 cm.
Step 2: Crochet Two Main Squares
Foundation:
Ch 4. Join with sl st to form a ring.
Round 1:
- Ch 3 (counts as dc), 2 dc in ring, ch 2. (3 dc in ring, ch 2) repeat 3 times (for 4 sides/vertices total).
- Join with sl st to top of ch 3.
- (Optional for neater work: Replace beginning ch-3 with a “fake” dc by pulling up loop to dc height and working as a dc.)
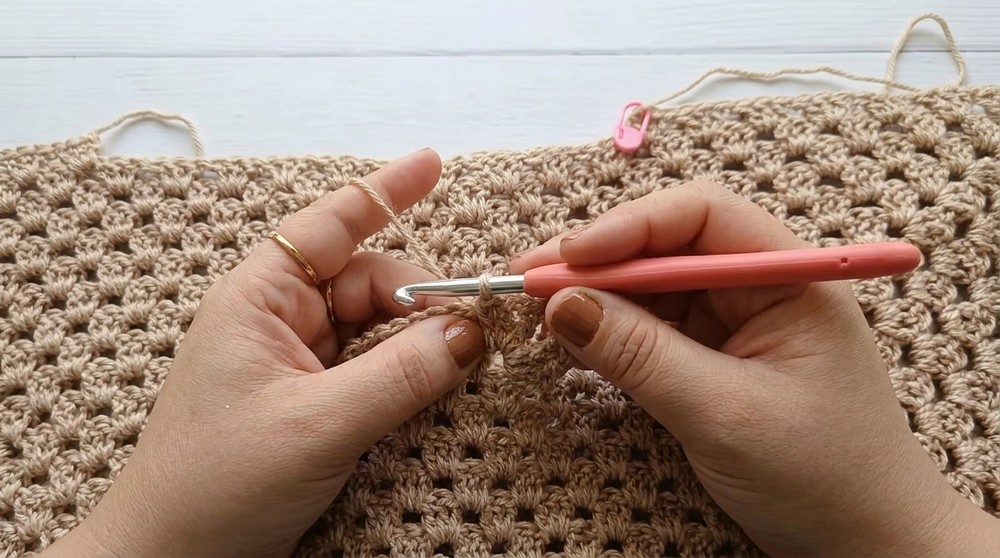
Round 2 and All Rounds:
- At each corner: [(3 dc, ch 2, 3 dc)], all in the corner sp.
- Along sides: Work 3 dc in each space between groups.
- For seamless finish: Replace starting ch-3 of each round with a standing dc (see Special Notes).
- For the final side in each round: Ch 1 and close the round with a tight hdc or sc into the top of the first group for a centered, neat finish.
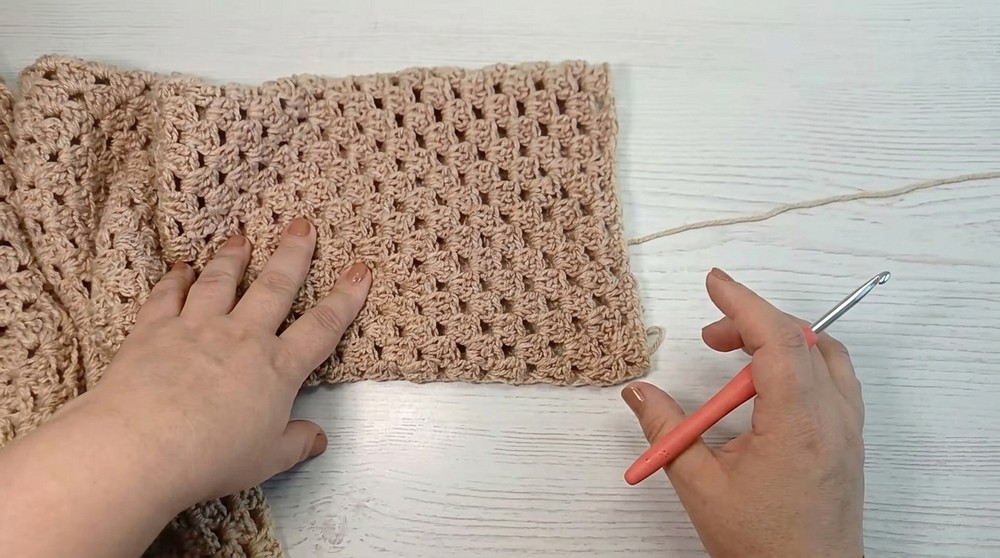
Continue adding rounds until your square reaches your desired measurement (e.g., 50–53 cm).
Sample: 22 rounds gave a central size of 53 cm.
DO NOT fasten off or cut yarn on the second square—you’ll use the working yarn for shoulder joins.
Repeat for the second square.
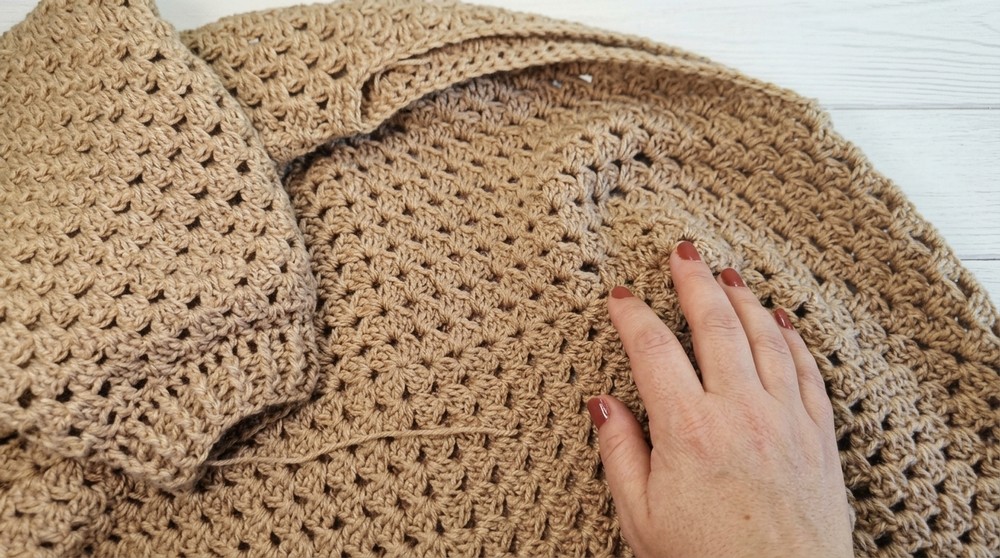
Step 3: Mark and Join Shoulders
- With wrong sides together, use stitch markers to line up both squares.
- Count and mark 7 groups (spaces between 3-dc clusters) from each corner for the shoulder seams on both squares—for both left and right shoulders.
Shoulder Join:
- With working yarn from a corner, on the wrong side, use a special double crochet join:
- In each marked space:
- Insert hook, yarn over, pull up loop—start a dc but stop before final pull-through.
- Repeat in matching space on the other square—again start (but don’t finish) a dc.
- Yarn over and pull through all 3 loops on hook (closing both together).
- Repeat 3 times for the 3 dc that make each “group”.
- In each marked space:
- Continue joining group to group, aligning spaces until the markers, including the marker group.
- Fasten off yarn if needed.
- Repeat for the other shoulder seam.
Step 4: Add and Finish Neckline
- After joining both shoulders:
- With working yarn at neckline, work one round of hdc in each stitch around the neckline for stability.
- At each shoulder seam, work 2 hdc around each joining dc for an even edge.
- Join with invisible finish:
- Fasten off, thread yarn needle, and use the “zipper” join for a neat finish—go under both loops of the second hdc, then back under back loop of first to blend seam.
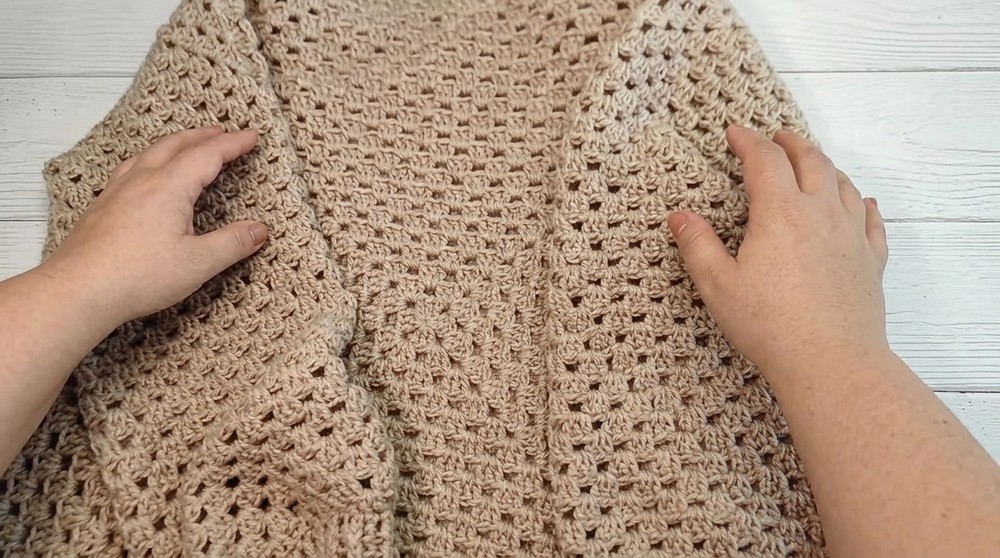
Step 5: Join Sides
- Turn sweater inside out (wrong side facing).
- Count and mark 8 groups up from each bottom corner on both sides for underarm openings.
- Use the same invisible double crochet join as for the shoulders, aligning each group-space, up to marked point.
- Fasten off.
Step 6: Add Sleeves (Worked in the Round)
- With the sweater right side out, join yarn in the middle of the underarm seam.
- Ch 3 (counts as dc), work 2 additional dc into the same space if needed to form a group.
- Work 3 dc in every space around the armhole; at the joining and shoulder, use 2 dc groups as needed to keep counts even.
- After a full round, sl st into center dc of first group to join. Sl st into next space to start new round.
- Continue: Ch 3, 2 dc in same space; work 3 dc in each gap between groups all the way around; join as before.
- Repeat for desired sleeve length (sample: 29 rounds for a full sleeve).
Decreasing for Cuff:
- When ready to taper the sleeve:
- Work 2 dc in each space around instead of 3, for 1 or 2 rounds.
Step 7: Crochet Cuff Ribbing
- After sleeve decreases, work 1 round of dc into each dc.
- Work 3 rounds of alternating fpdc/bpdc (front and back post double crochet) for rib texture:
- Ch 1, fpdc around first dc, bpdc around next dc, rep all the way around.
- Always align fpdc over fpdc and bpdc over bpdc on following rounds.
- Fasten off with “zipper” join for seamless finish (see neckline instructions).
Step 8: Second Sleeve
- Repeat Steps 6-7 for the other arm.
Step 9: Crochet Hem Ribbing
- Join yarn at lower side seam.
- Work 2 dc into each vertical side seam (at join), then 1 dc into each dc around the hem.
- Join with sl st.
- Work 3 rounds of fpdc/bpdc ribbing as for cuffs.
Step 10: Finish
- Weave in all ends on the wrong side using vertical and horizontal runs for a secure, invisible finish.
- Block if desired for measurement accuracy and drape.

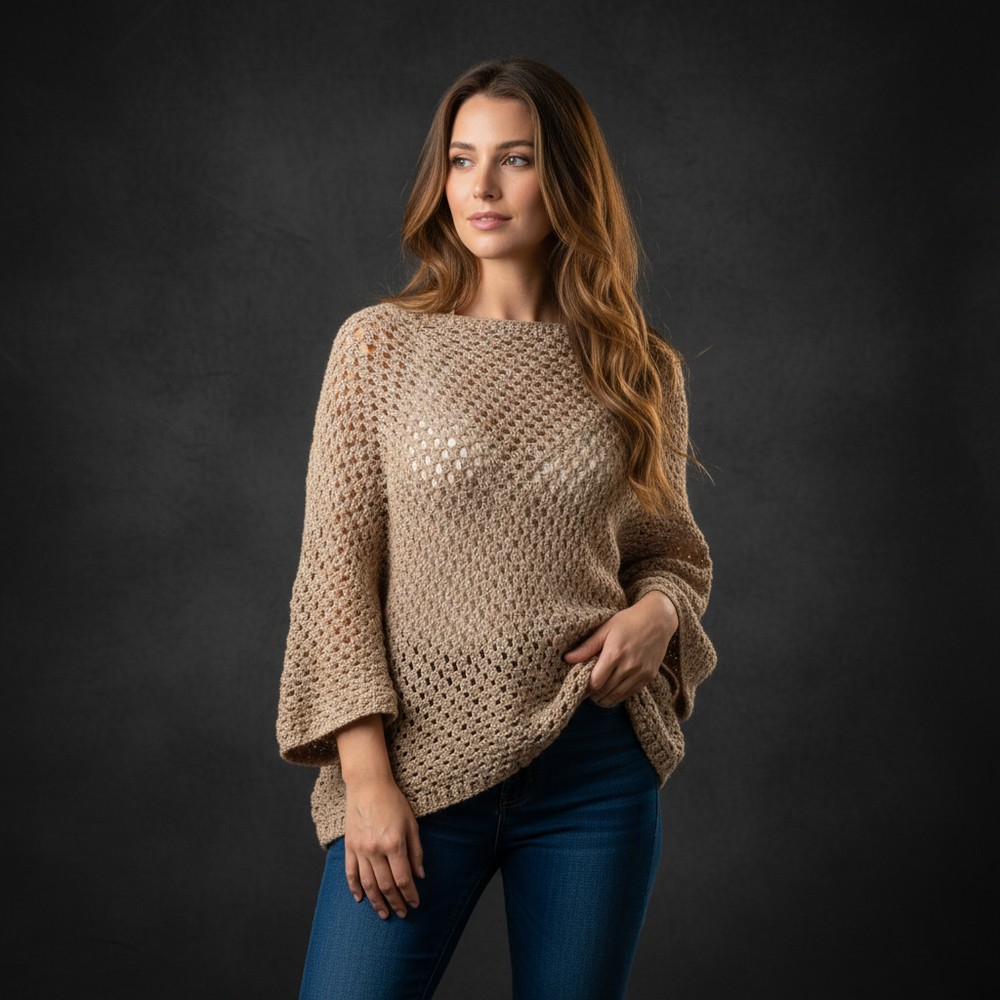
Conclusion
Congratulations! You have created a beautifully finished, seamless granny square sweater with invisible joins, fitted cuffs, a stable neckline, and hem ribbing. This modern garment is comfortable, customizable, and ideal for layering. Try other yarns for varied looks, or add stripes/patterns with variegated yarn.
Pattern Correction & Tips
- Faux/standing double crochet yields a much neater square edge than ch-3.
- Always align group spaces exactly for perfect seams—count diligently and use markers.
- Measure frequently; granny squares stretch, so block your pieces as you go if needed.
- For larger/smaller sizes: Increase/decrease square size and adjust sleeve/neck opening as needed.
- For tighter cuffs/hem: Work extra decrease rounds in these areas.
- Sleeve and body lengths can easily be adjusted by adding/removing rows or rounds as you go.