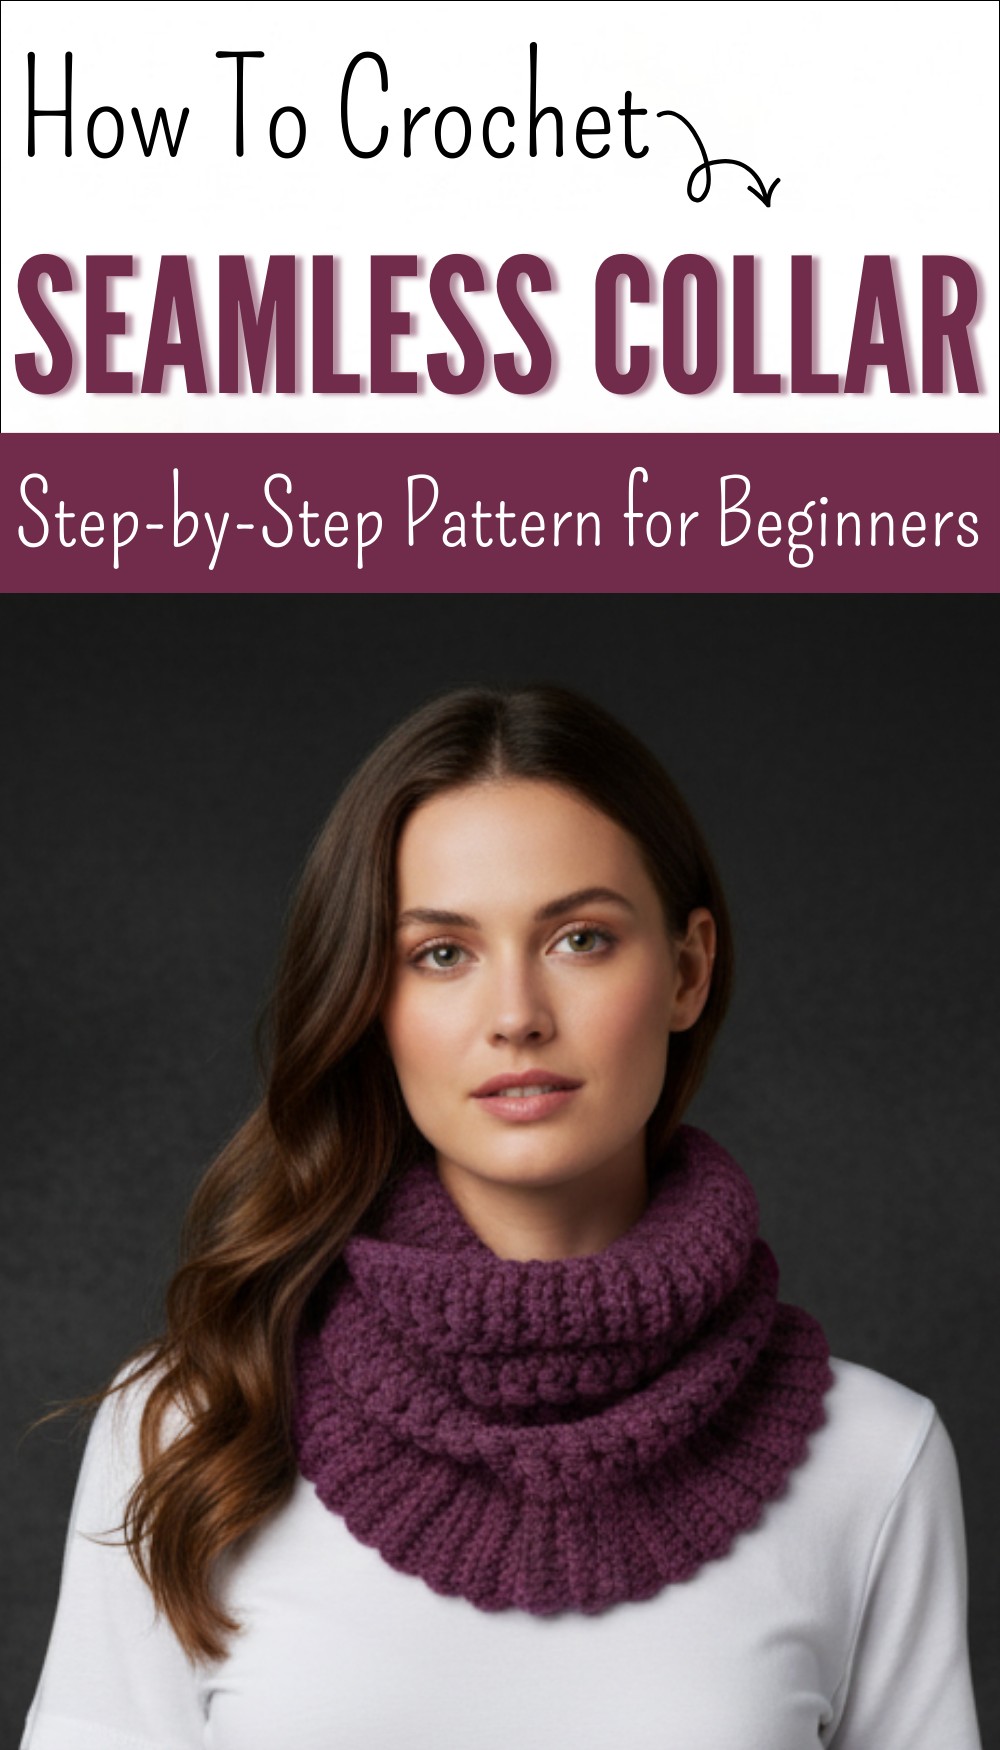
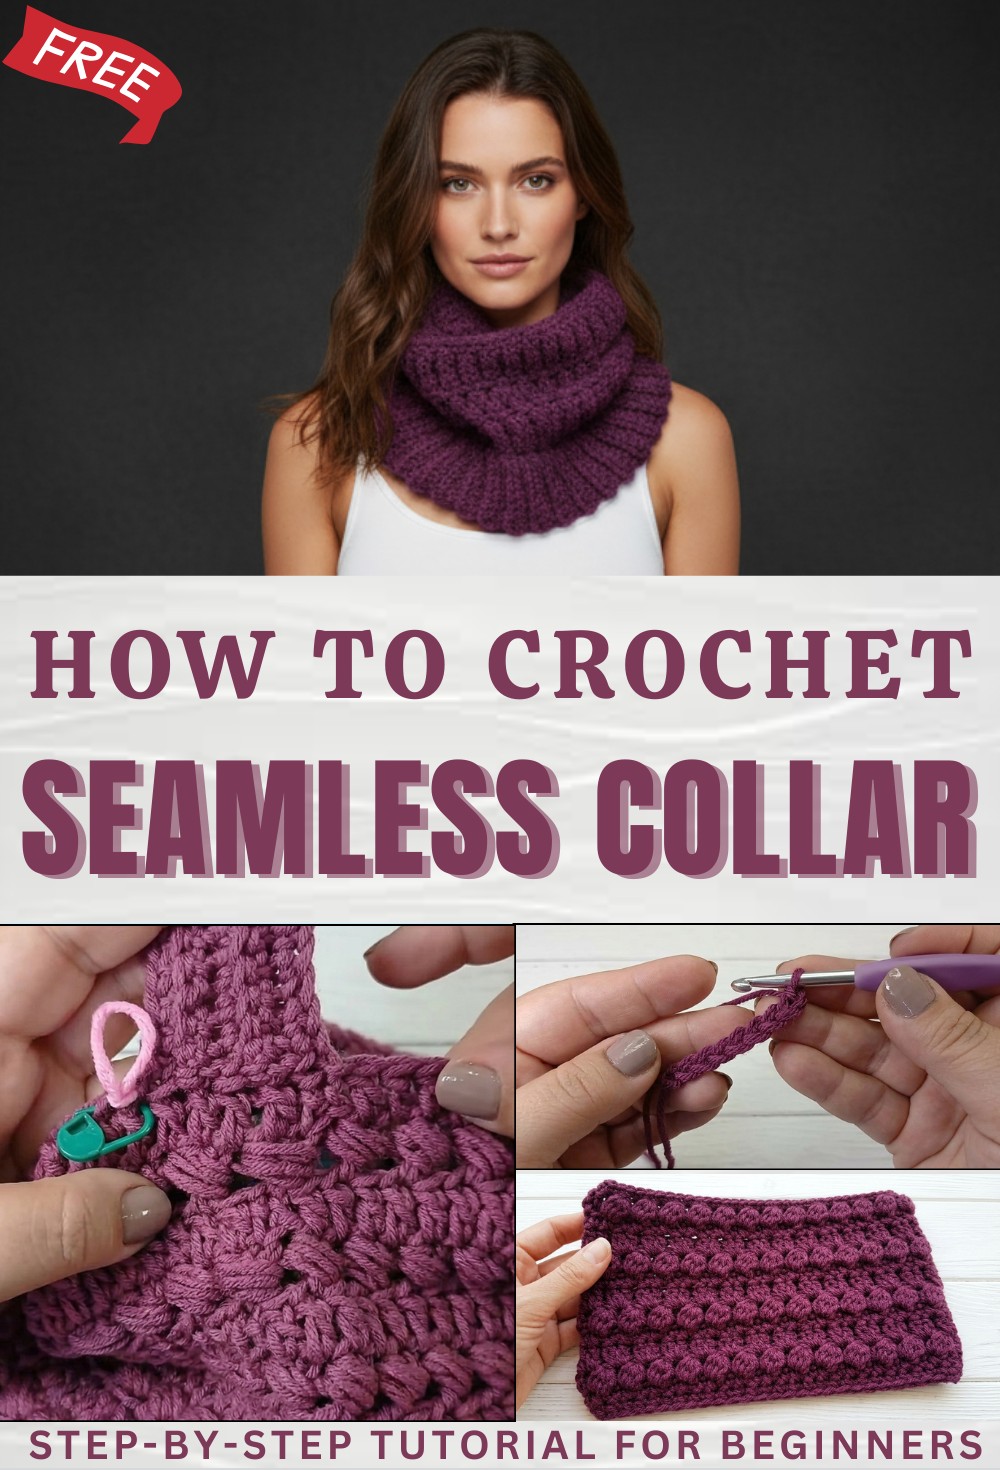
Effortless Free Crochet Cowl Pattern Everyone Will Love
Revamp your winter style with this free crochet cowl pattern to produce a very stylish look that stays extremely quick to achieve.
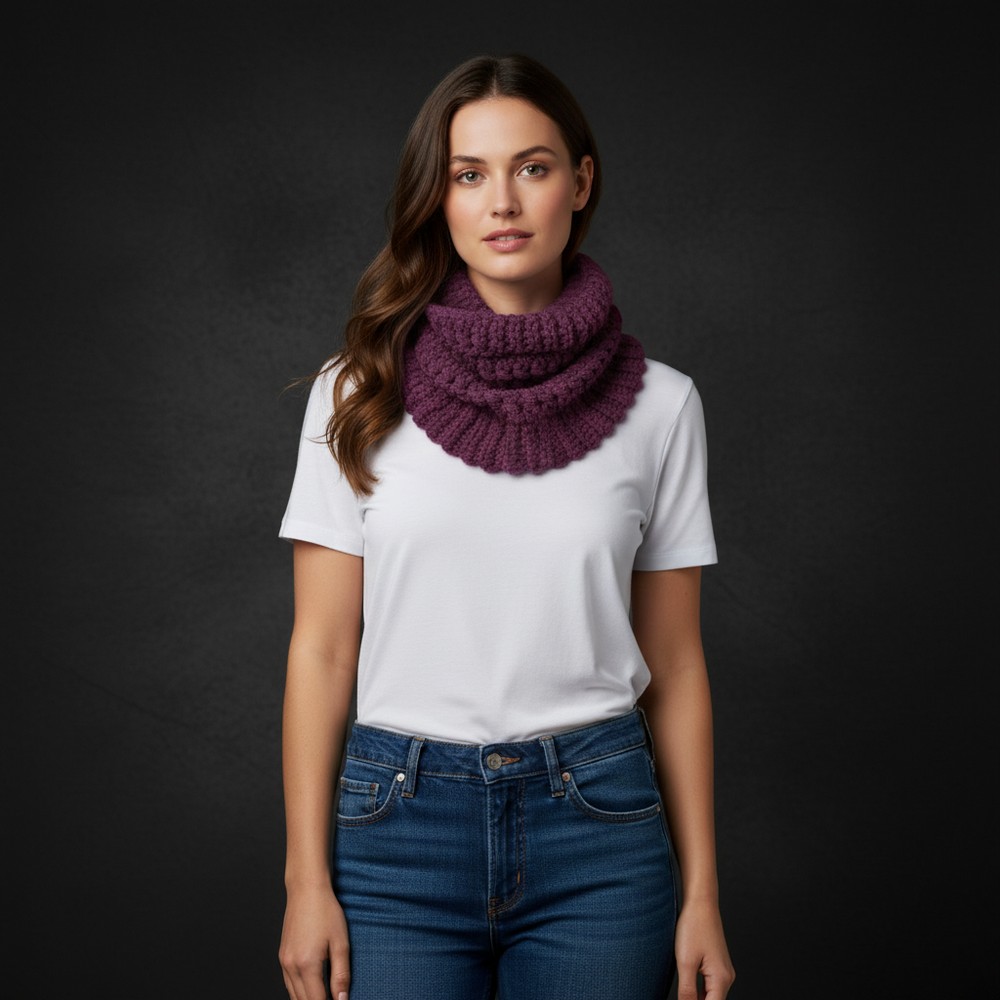
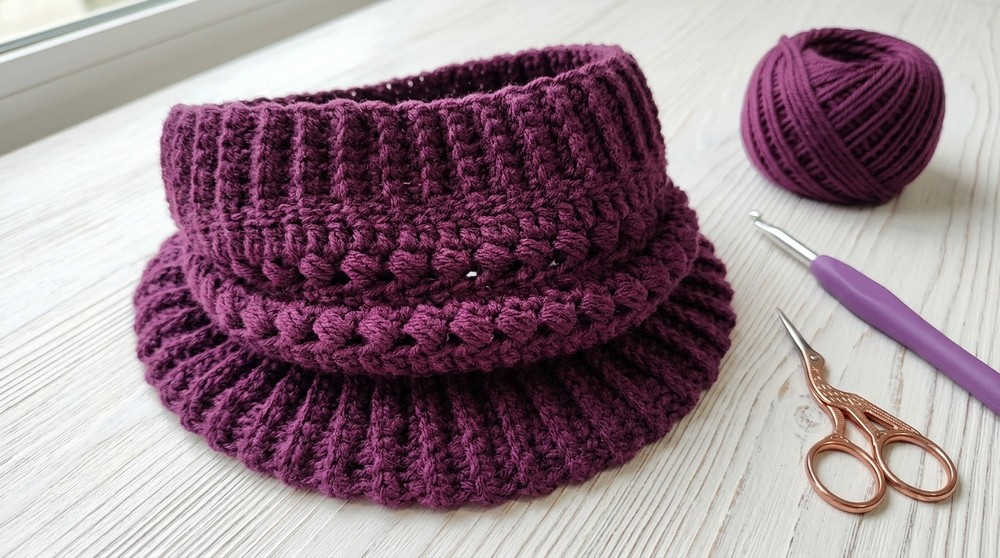
Keep your neck warm and cozy by wearing a soft loop of yarn that feels like a fluffy cloud. This thick circle of cloth sits right against your skin to block the cold wind from coming inside your coat. A crochet cowl pattern helps you make a special piece that is very sturdy and lovely to see in the winter. It works well for a long walk in the snow or a quick trip to the busy shop. The chunky wool and big loops make it look like a handmade gift from a dear friend.
Classic Free Crochet Cowl Pattern with a Modern Twist
This special item is great because it stays in one place and never falls off like a long scarf might do. A major plus is that the high neck part keeps your chin warm while you talk or laugh outside. This single piece can turn a plain jacket into something very grand and bright. It stays snug and keeps you feeling happy and warm all day long.

Free Crochet Cowl Pattern
Materials
- Yarn: 100g acrylic yarn, approx. 2mm thick
- Hook: 5mm crochet hook
- Tapestry needle: for weaving in ends
- Scissors
- Stitch marker: optional, but helpful
- Measuring tape: optional, for sizing
Finished Dimensions
- Width (at widest point): 27 cm
- Height: 25 cm
- Circumference (before stretching): Approx. 53 cm (finished ribbing, stretches well)
Key Abbreviations (US Terms)
- ch — chain
- sc — single crochet
- hdc — half double crochet
- dc — double crochet
- sl st — slip stitch
- st(s) — stitch(es)
- BLO — back loop only
Special Notes
- Ribbing is worked flat and joined into a circle with slip stitches.
- Valorio stitch (bead look) alternates with rounds of dc.
- The number of rib rows should be divisible by 2 for neat joining.
- Be sure to count stitches throughout.
Pattern
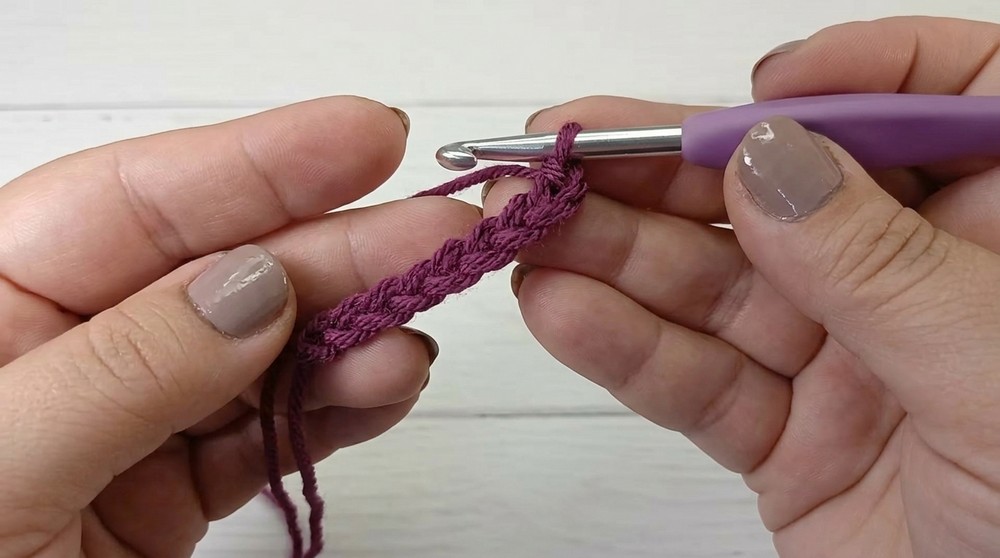
1. Elastic Ribbing — Foundation
- Ch 10 (9 for ribbing height; the 10th is a turning chain and does not count as a stitch).
- Turn, hdc in 2nd ch from hook and in each ch across, working in BLO every time. (9 hdc)
- Turn. Ch 1 (does not count as stitch). Hdc in BLO of each hdc across. (9 hdc)
- Repeat last row until ribbing measures approx. 53 cm or fits comfortably around your head. Make sure you have an even number of rows.
- Example: 76 rows.
- Do not fasten off. Bring foundation edge to meet last row (wrong sides together for invisible seam).
2. Join Ribbing to Form a Ring
- With working yarn at the top, align ribbing so foundation and last row meet.
- Slip stitch seam:
- Insert hook through BLO on last row and through both loops (front AND “third loop” or “belly”) at foundation edge.
- Sl st across all 9 sts, keeping seam loose and not tight.
- Turn work so the seam is on the inside.
3. Cowl Body — Setup Round
- Ch 1 (for height, does NOT count as st).
- Begin first round of dc:
- Optional: Use “false dc”: Pull up a loop to the height of a dc, sc in seam, then hdc into leftmost loop (see video for method). Alternatively, ch 3 for first dc.
- For each rib row, dc once around edge (should be 76). Evenly space dcs if needed.
- Sl st to first dc to join.
Check: You should have the same number of dcs as rib rows (e.g., 76).
4. Body Pattern — Alternating Texture
The following pattern repeats: One round Valorio stitch, one round dc
A. Valorio Stitch Round:
- Begin with “false dc” (see video) or ch 3.
- Place a stitch marker in the first st for round-joining clarity.
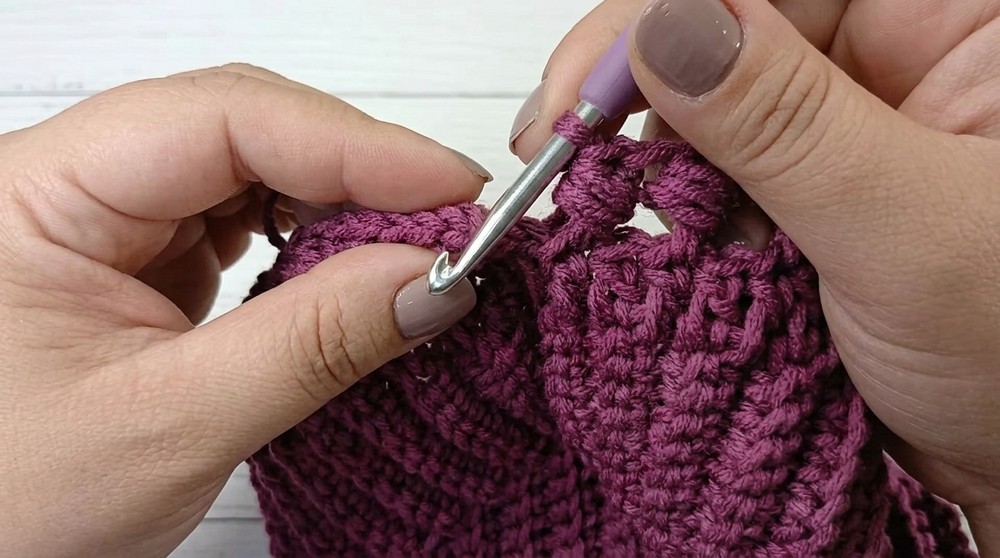
- Work Valorio stitch as follows:
- Yarn over, insert hook from right to left behind post of next dc (like fpdc), yarn over and pull loop through to front (3 loops on hook).
- Yarn over, insert hook around same post, pull up loop (5 loops).
- Yarn over, insert hook around same post, pull up loop (7 loops).
- Yarn over, pull through all 7 loops on hook slowly.
- Skip next dc, dc in next st.
- Repeat: Valorio st over next st (on next dc), skip 1 dc, dc in next.
- Continue all the way around. At end, remove marker and sl st to join in marked position.
B. Double Crochet Round:
- Begin with “false dc” or ch 3.
- Dc in each st around, ensuring to work into the tops of both valorio and dc from previous round.
- Join with sl st to first st.
Repeat rounds of A and B until you reach desired height.
- For sample: Total 11 rounds (starting and finishing with rounds of dc).
- End with a dc round before starting the final ribbing.
5. Second Elastic Ribbing (Top Edge)
- At end of last dc round, place marker at join.
- Ch 9 (for ribbing), plus ch 1 for turning (does not count as st).
- Turn, working back down the chain, sc BLO in each ch (9 sc).
- Anchor ribbing: sl st in next dc of body.
- Sl st in next dc of body.
- Turn work (ribbing facing you, cowl away). Skip sl sts, sc BLO in each ribbing st up (9 sc).
- Turn, ch 1, sc BLO in each st down (9 sc).
- Repeat: Anchor ribbing (sl st in next dc, sl st in next dc), turn, sc BLO up, turn, *ch 1, sc BLO down. Continue until all 76 dcs are covered.
6. Join Last Row of Ribbing
- After last rib section, fold cowl inside out.
- Join edges as for the first ribbing: Insert hook through two sts of first ribbing row and BLO of last ribbing row. Sl st across 9 sts.
- Fasten off, pull through end.

7. Finishing
- Weave in all ends securely using a tapestry needle. Pass thread vertically and horizontally within the back of the work to lock thread in place.
- Turn cowl right side out.
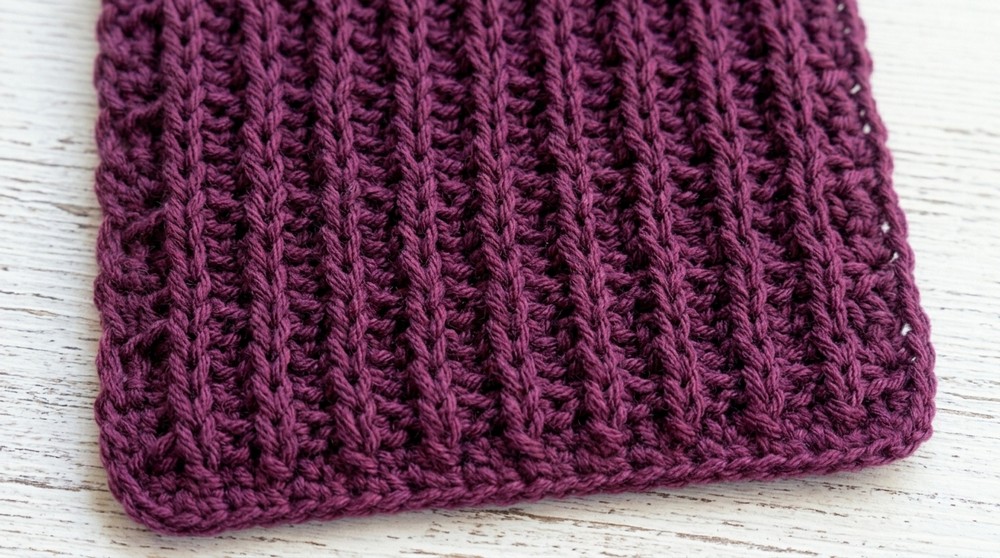
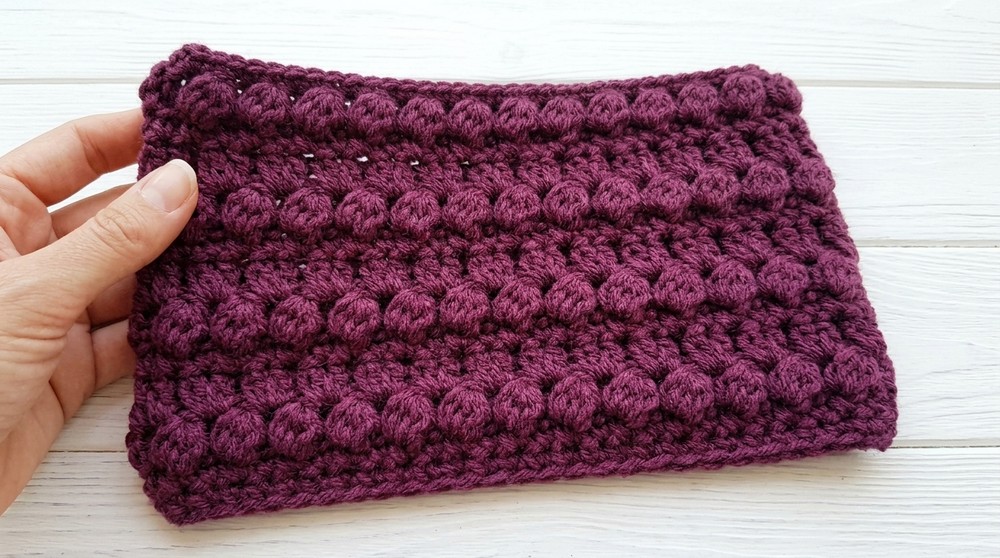
Conclusion
This cowl features beautiful, stretchy ribbing at both edges and a striking bead-like texture. The ribbing ensures a snug, but flexible fit, while the Valorio stitch adds a sophisticated look. This is an excellent project for those looking to practice textured crochet and ribbing techniques.
Corrections & Tips
Corrections
- “Half point” from the video refers to hdc (half double crochet).
- “Valorio stitch” is a type of 3-row cluster worked around the post of a dc, using similar technique to puff or bobble stitches.
- “False double crochet” is a stacked single crochet + hdc for a neat edge. You may substitute with ch 3 if desired.
Tips
- Keep slip stitches for joins very loose to avoid puckering at the seams.
- Always check your stitch count after each round; it should match the number of rib rows.
- Use stitch markers to keep track of round beginnings, especially when working Valorio rounds.
- For the ribbing, always work in the back loop only to maintain stretch.
- Try on after the first rib is joined to ensure the circumference is to your liking, keeping in mind the stretchiness.
- Block gently if desired to even out stitches, but do not over-stretch.