Free Crochet Gingerbread Man Pattern Plus Helpful Crochet Tips
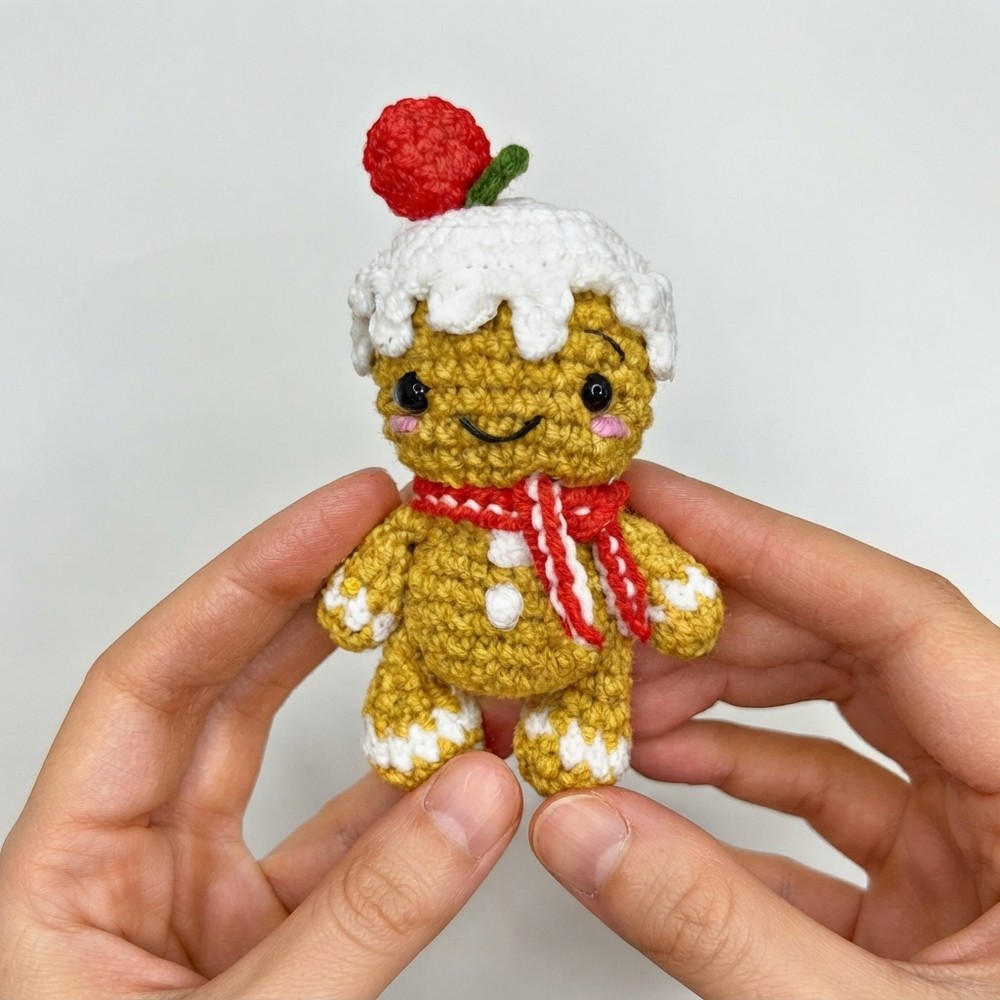
Make a cute Crochet Gingerbread Man that brings fun and warmth to your holidays with this simple and fun crochet pattern anyone can try.
Looking for a fun and charming decoration for the holiday season? The Crochet Gingerbread Man from [Gul’s Cozy Crochet] is a delightful figure that looks just like a classic holiday cookie. With warm brown tones, a cheerful smile, and cute little button details, this soft doll adds a friendly touch to any space. It fits nicely on shelves, mantels, or as part of festive table displays.
Cute Crochet Gingerbread Man Free Pattern for Christmas Décor
This Crochet Gingerbread Man works great as both a decoration and a toy for children during the holidays. Its cozy feel and happy expression can brighten up playtime or bring a joyful smile to anyone who sees it. The small size makes it easy to place throughout the home, spreading seasonal cheer in many spots.
Gul’s Cozy Crochet created the instructions to be simple and clear those who are new to crochet as well as those with experience. The finished figure has a lovely charm that can become part of holiday traditions, warming up rooms year after year.
For those wanting a cheerful addition to holiday decorations, the Crochet Gingerbread Man is a wonderful option. The free instructions by Gul’s Cozy Crochet offer easy-to-follow steps for this lovable project. It’s a thoughtful way to add extra happiness and a cozy feel during the festive season.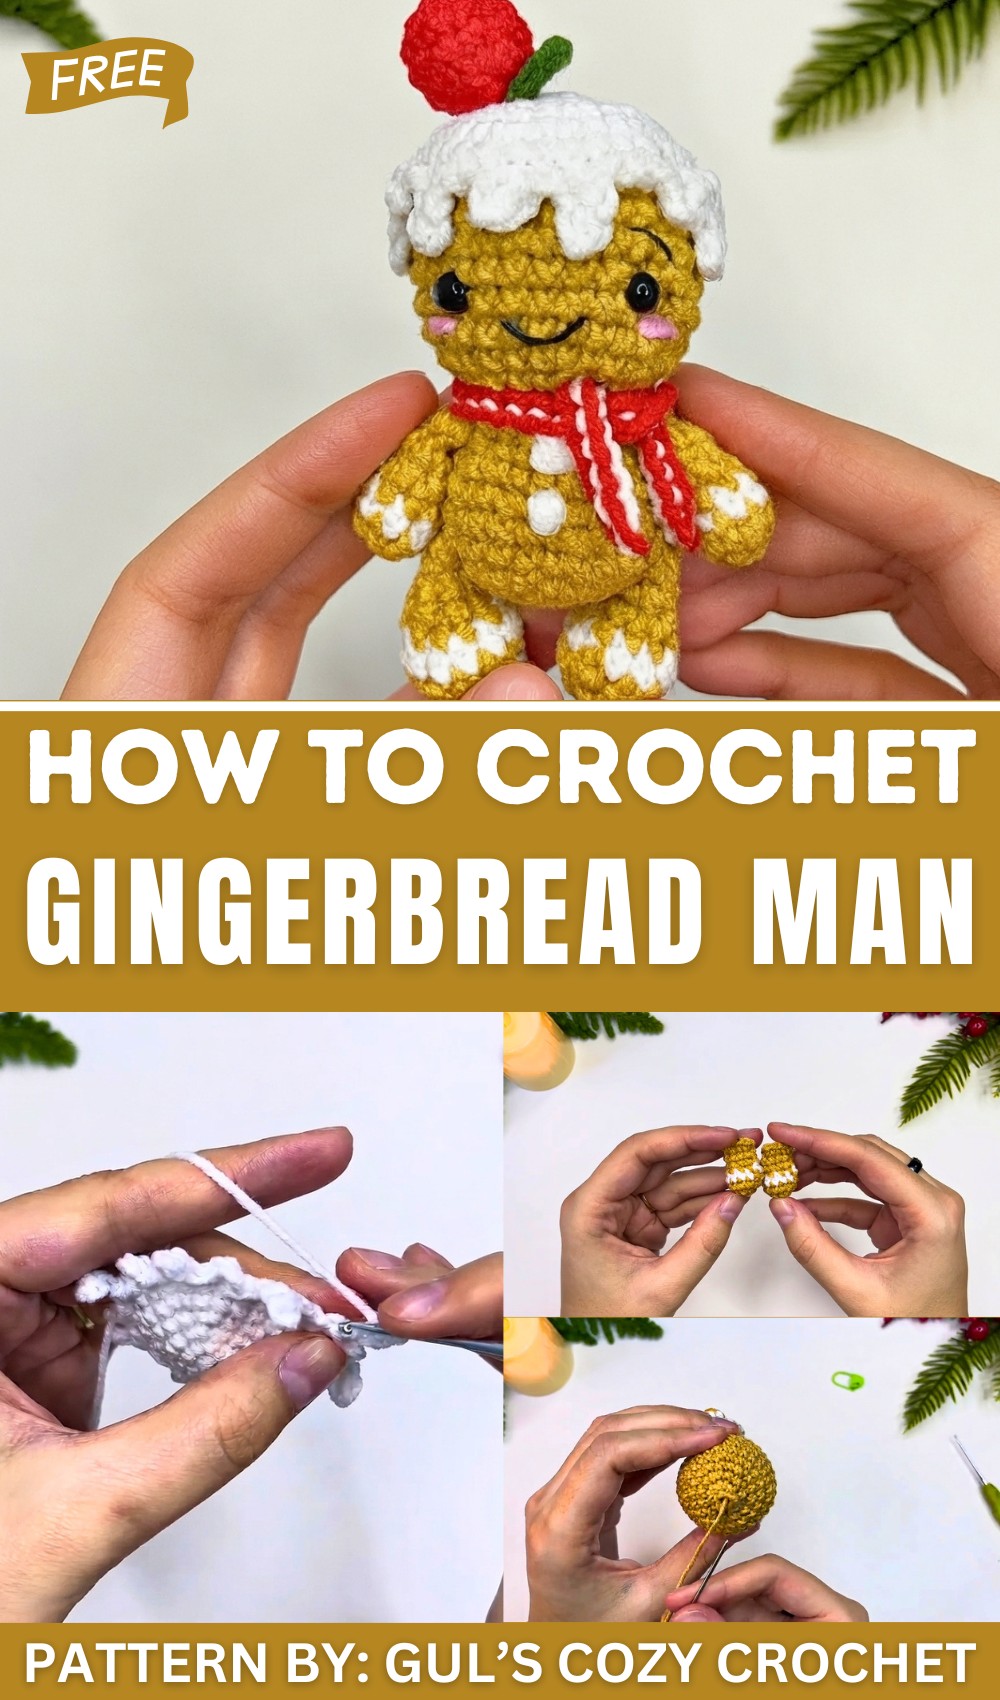
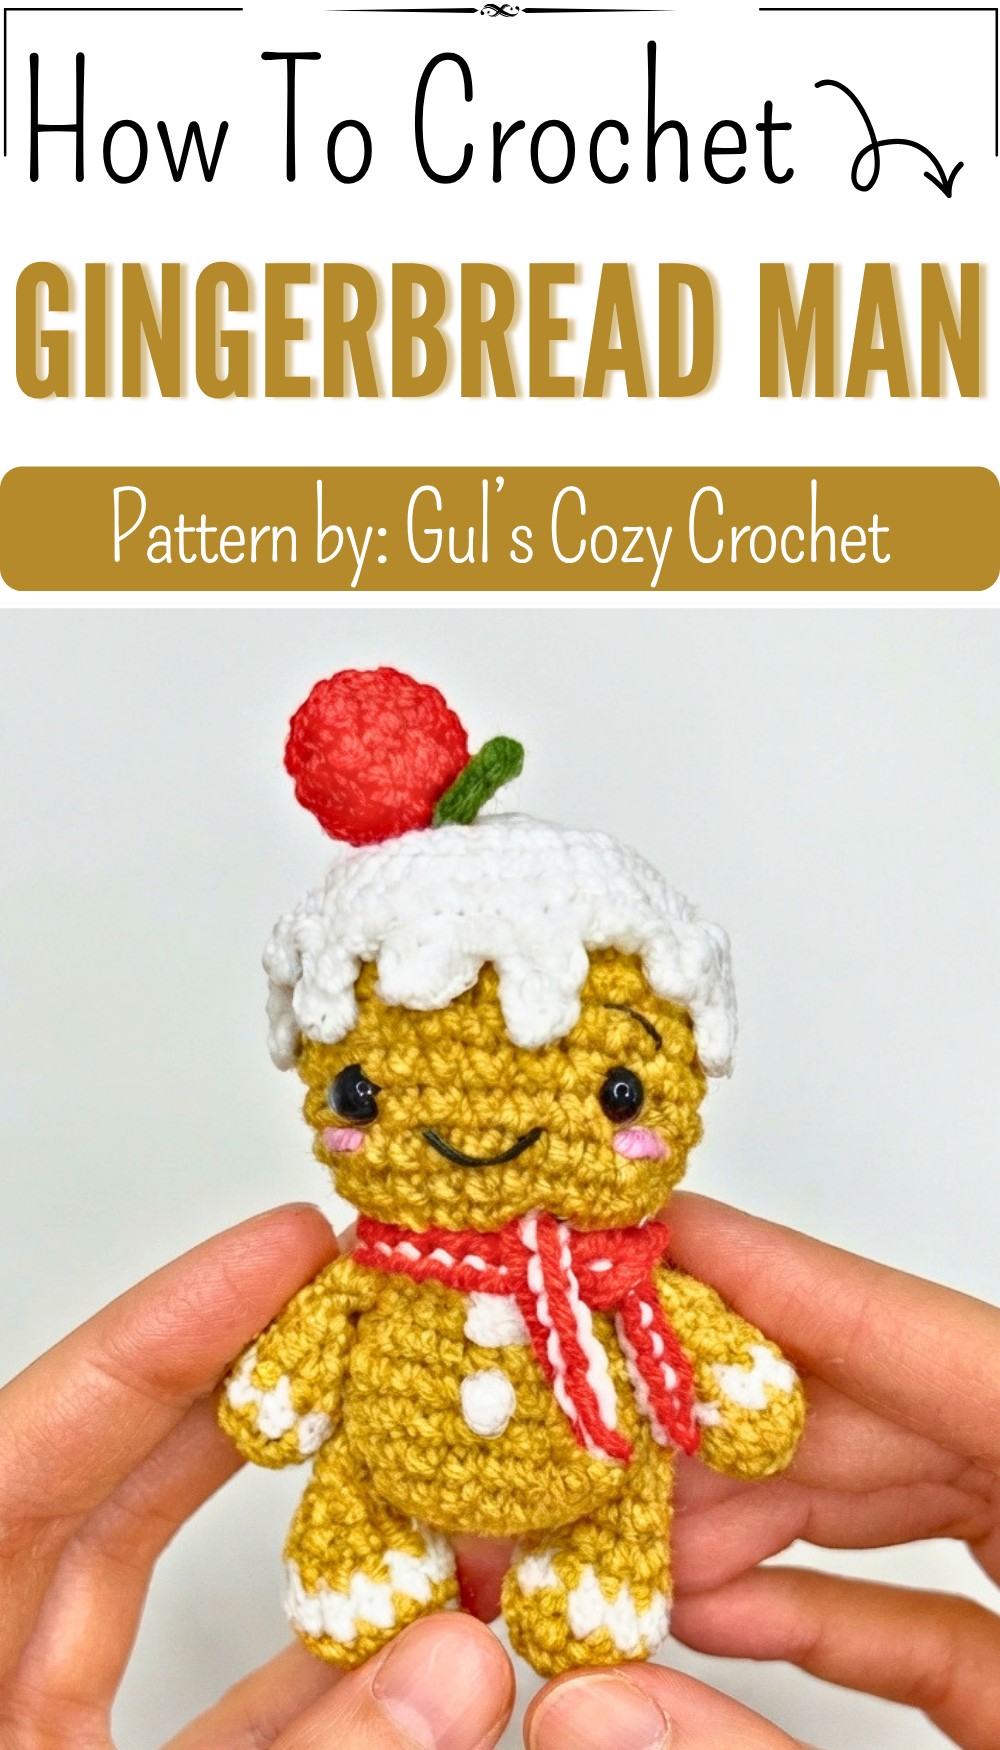
Gingerbread Doll – No Sew Crochet Pattern
This crochet cutest Christmas gingerbread doll with almost no sewing at all. If you hate sewing tiny pieces, this pattern will be your new best friend. Everything is crocheted in as we go – making this project super neat and super beginner friendly. For the little decorations, you can sew them on or simply glue them if you prefer.
Quick Overview Of Pattern
- Legs, arms and body are made in one piece as you go
- No separate sewing for limbs – they are crocheted in
- Simple increases and decreases for easy shaping
- White “icing” trims and buttons added as decoration
- Cute berry and scarf details for festive effect
- Face embroidery and icing drips for finishing touch
Notes
- The whole pattern is worked in spirals unless otherwise noted.
- Minimal sewing: Limbs and body are joined as you crochet.
- Lightly stuff as you go so the shape remains neat.
- You may sew or glue on decorations (like buttons, icing, berries).
- This is a small doll, ideal for ornaments or stocking stuffers.
- Use safety eyes or embroider eyes as desired.
- Adjust hook and yarn for different sizes.
Skill Level
Beginner-friendly. Only basic stitches (single crochet, increase, decrease, chain, slip stitch) and easy color changes are used.
Materials
- Worsted (or DK/4-ply) cotton or acrylic yarn in brown (main color), white (icing), red (berry), and green (leaf)
- 2.0–2.5 mm crochet hook (depending on your gauge and yarn)
- Polyester stuffing
- Black thread or embroidery floss for face
- Two safety eyes (or black yarn for embroidery)
- Yarn needle (for weaving and embroidery)
- Scissors
- Craft glue (optional, for decorations)
Measurements / Sizing
- Approximately 12–15 cm high (finished doll, with suggested yarn/hook)
- Leg length: ~4.5 cm
- Arm length: ~3.5 cm
- Body height (without head): ~5–6 cm
- Head diameter: ~4.5–5 cm
- Scarf length: customizable
Gauge
Not critical. For reference:
6 sc and 6 rounds ≈ 2 cm (with 2.5 mm hook and DK/4-ply yarn).
Stitch Abbreviations
| Abbreviation | Stitch |
|---|---|
| mr | magic ring |
| ch | chain |
| sc | single crochet |
| st | stitch |
| inc | increase (2 sc in one st) |
| dec | decrease (sc 2 stitches tog) |
| sl st | slip stitch |
| FLO | front loop only |
| BLO | back loop only |
Special Stitches
- Invisible decrease: Insert hook in FLO of next 2 sts, yarn over and pull through both, yarn over and pull through 2 loops.
- Magic ring (mr): Adjustable loop for starting rounds.
- Icing drips: Chains with turn-backs, worked as surface details.
Crochet Instructions
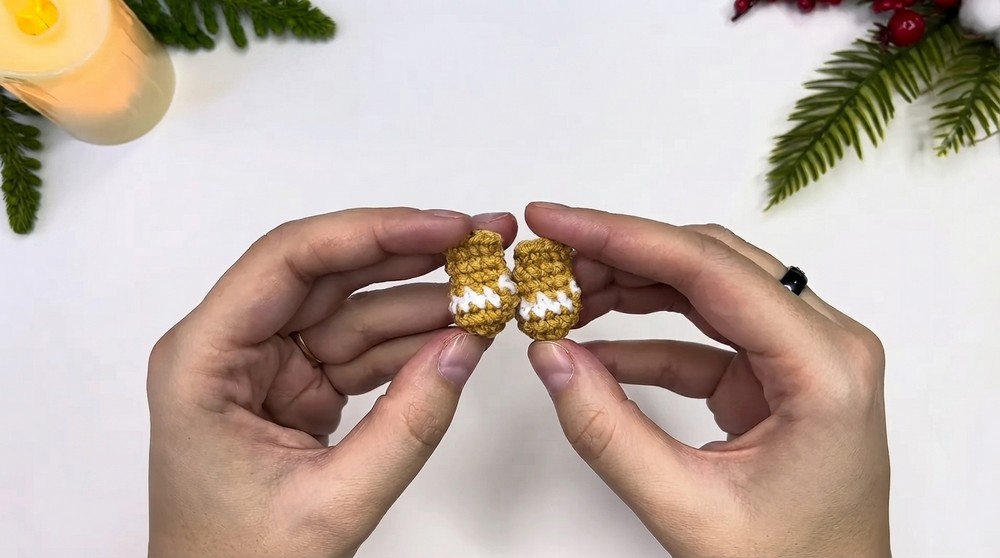
Legs (Make 2 – Work First, Don’t Fasten Off 2nd Leg)
- Round 1: With brown yarn, make a mr, 6 sc into ring.
- Round 2: Inc in each st (12)
- Round 3: Sc in each st (12)
- In last st, change to white yarn.
- Round 4: With white, sc in each st (12); in last st, change to brown.
- Round 5: Sc in next 2, dec; repeat x3 (9)
- Lightly stuff at this point.
- Round 6: Sc in next 4, dec, sc in last 3 (8)
- Round 7: Sc in each st (8)
- Round 8: Insert hook in first st, pull through, fold leg in half, ch 1, work 4 sc through both layers to close.
- Fasten off (for first leg only) and weave in end.
- Repeat for 2nd leg, DO NOT fasten off.
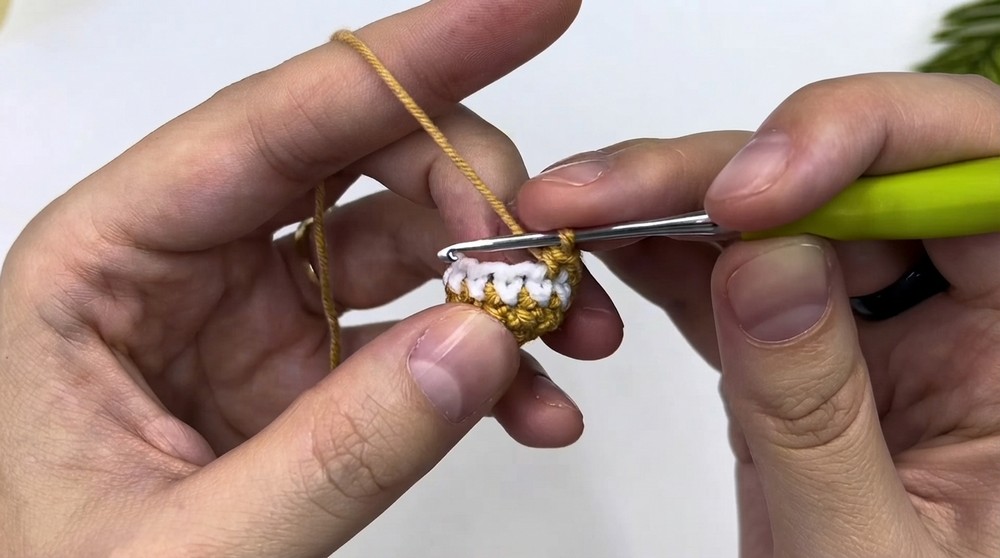
Arms (Make 2)
- Round 1: With brown, mr, 6 sc.
- Round 2: (Sc in next st, inc) x3 (9). In last st, change to white.
- Round 3: With white, sc in each st (9); in last st, change to brown.
- Round 4: Sc in each st (9)
- Round 5: (Sc in 1, dec) x3 (6)
- Lightly stuff.
- Round 6: Sc in each st (6)
- Round 7: Fold in half, ch 1, work 3 sc through both layers to close. Fasten off and hide ends.
- Make 2 arms.
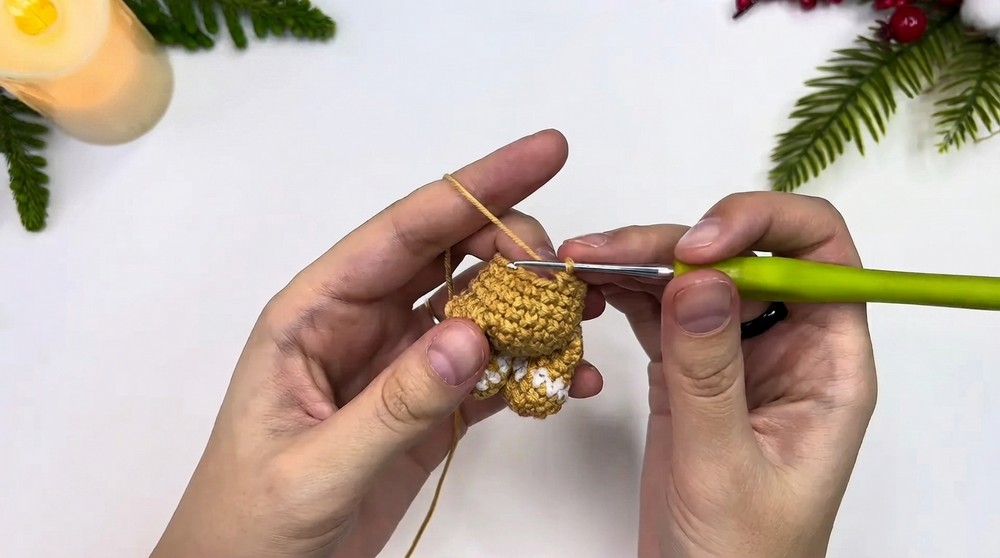
Body (Work Legs Into Body as you Go)
- Round 1: With brown, mr, 6 sc
- Round 2: Inc in each st (12)
- Round 3: (Sc in 1, inc) x6 (18)
- Round 4: (Sc in 5, inc) x3 (21)
- Body-Leg Join:
- Sc in next 3 sts
- Place 1st leg against body, sc in next 4 sts through both layers (leg+body)
- Sc in next 7 sts along body
- Join 2nd leg as first, sc in next 4 sts through both layers
- Sc in next 3 sts (21).
- Round 6: Sc in each st (21)
- Round 7: (Dec, sc 5) x3 (18)
- Round 8: Sc in each st (18)
Attach Arms to Body
- Sc in next 3 sts of body
- Join 1st arm, sc in next 3 sts through both layers (arm+body)
- Sc in next 6 body sts
- Join 2nd arm, sc in next 3 sts through both layers
- Sc in last 3 sts (18)
Bodice Decrease and Head Start
- (Dec, sc in 1) x6 (12)
- Stuff the body firmly.
- Continue to head (do not cut yarn).
Head
Round 1
- (FLO): (Sc in 1, inc) x6 (18)
Round 2:
- (Sc in 1, inc, sc in 1) x6 (24)
Round 3:
- (Sc in 3, inc) x6 (30)
Rounds 4–9:
- Sc in each st (6 rounds, 30)
- Insert safety eyes between R15–R16, spacing 6–7 sts apart
Round 10:
- (Sc in 3, dec) x6 (24)
Round 11:
- (Sc in 1, dec, sc in 1) x6 (18)
- Stuff head well.
Round 12:
- (Sc in 1, dec) x6 (12)
Round 13:
- Dec x6 (6)
Sl st to close. Fasten off and hide yarn.
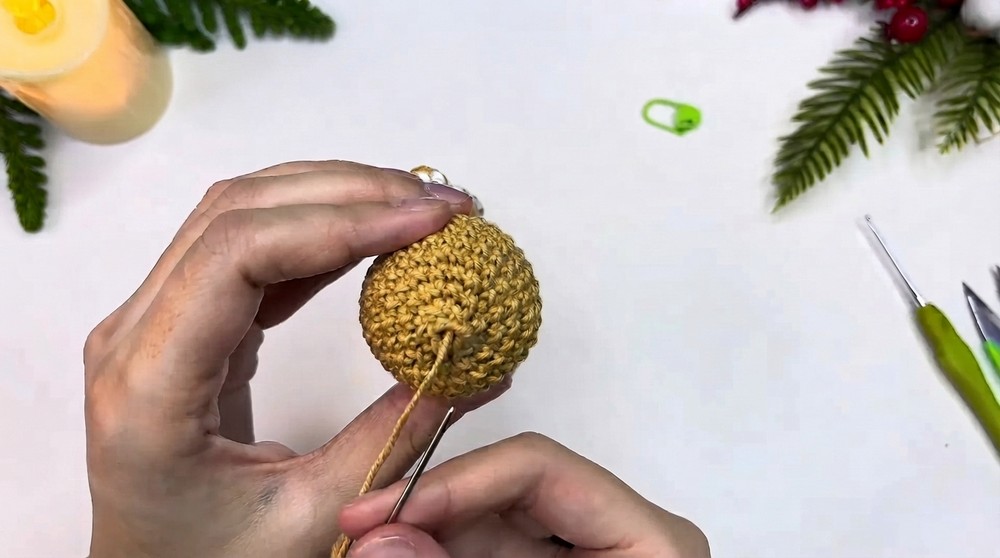
Face Embroidery, Buttons, and Icing
- Embroider smile and cheeks using black floss or yarn for mouth and pink for blush (optional).
- Icing Buttons:
- Cut ~20 cm of white yarn.
- Loop it around itself four times; tie lightly to make a puffy knot, leave loose for a “sugar” look.
- Sew or glue button knots to front of body.
Icing Cap (for Head)
Rnd 1:
- With white, mr, 6 sc.
Rnd 2:
- Inc in each st (12)
Rnd 3:
- (Sc in 1, inc) x6 (18)
Rnd 4:
- (Sc in 1, inc, sc in 1) x6 (24)
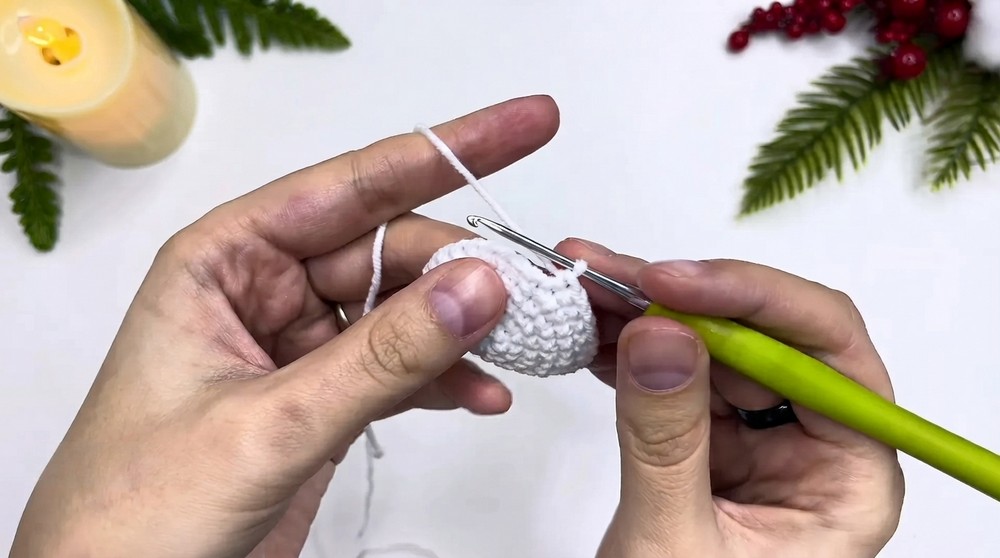
Rnd 5:
- (Sc in 3, inc) x6 (30)
Rnd 6:
- Sc in each st (30)
Rnd 7:
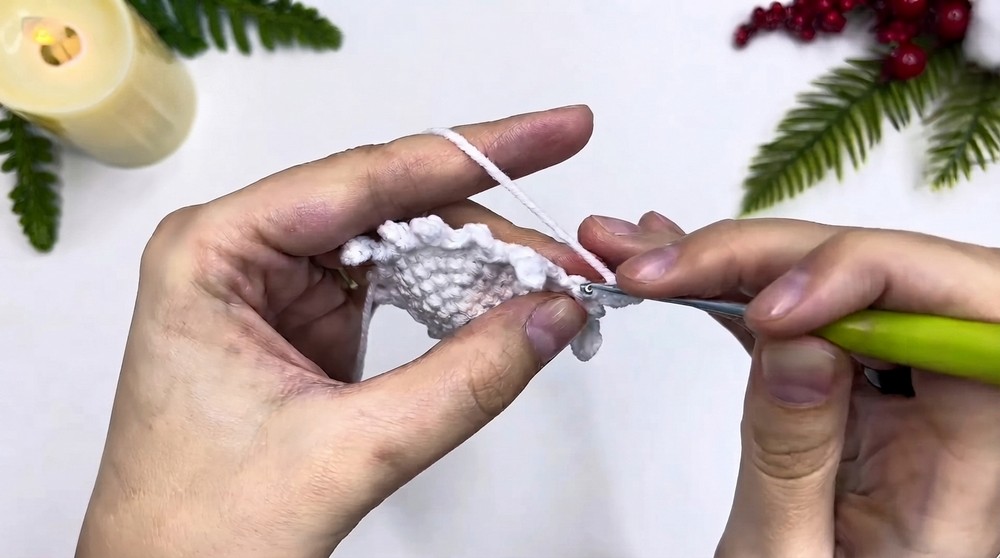
- Work icing drips:
- Ch 4, turn, skip 1 ch, sc in next 3 ch, sl st in base, sl st in next base st; ch 2, turn, skip 1 ch, sc in next ch, sl st in base, sl st in next st; ch 3, turn, skip 1 ch, sc in next 2 ch, sl st in base, sl st in next st;
- Continue varying drip lengths (chain 2–4) around to form a drippy icing edge.
- Sew or glue icing to head.
Berry & Leaf
- Berry (red yarn):
- R1: mr, 6 sc
- R2: Inc in each (12)
- R3–4: Sc around (12)
- R5: Dec x6 (6)
- Close opening, weave in end.
- Leaf (green yarn):
- Ch 4, turn, sl st in each of next 3 ch, fasten off.
- Sew or glue next to berry on icing or chest.
Scarf
- Use two strands, white and red.
- Start with magic loop, keep working:
- With white, yo, draw up loop (2 on hook), with red, draw through both loops.
- Continue alternating—scarf will twist into a candy-cane effect.
- Make as long as you wish.
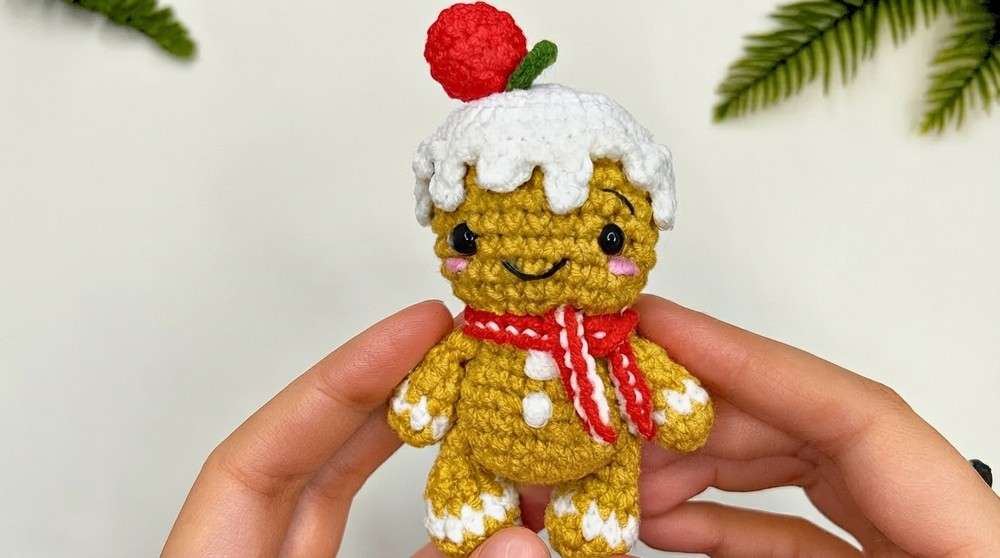
Assembly & Finished Size
- No separate sewing is needed for arms and legs.
- Attach icing cap, buttons, berry, and scarf to finish.
- Finished doll: about 12–15 cm tall (size will vary depending on yarn and tension).
Conclusion and Ending Words
Our little gingerbread man is all finished! With almost no sewing, this project produces an adorable and festive doll, perfect as a Christmas ornament or cute gift. Feel free to personalize your gingerbread with extra embroidery, a hat, or more decorations.