How to Crochet Strawberry Keychain Free Pattern for Beginners
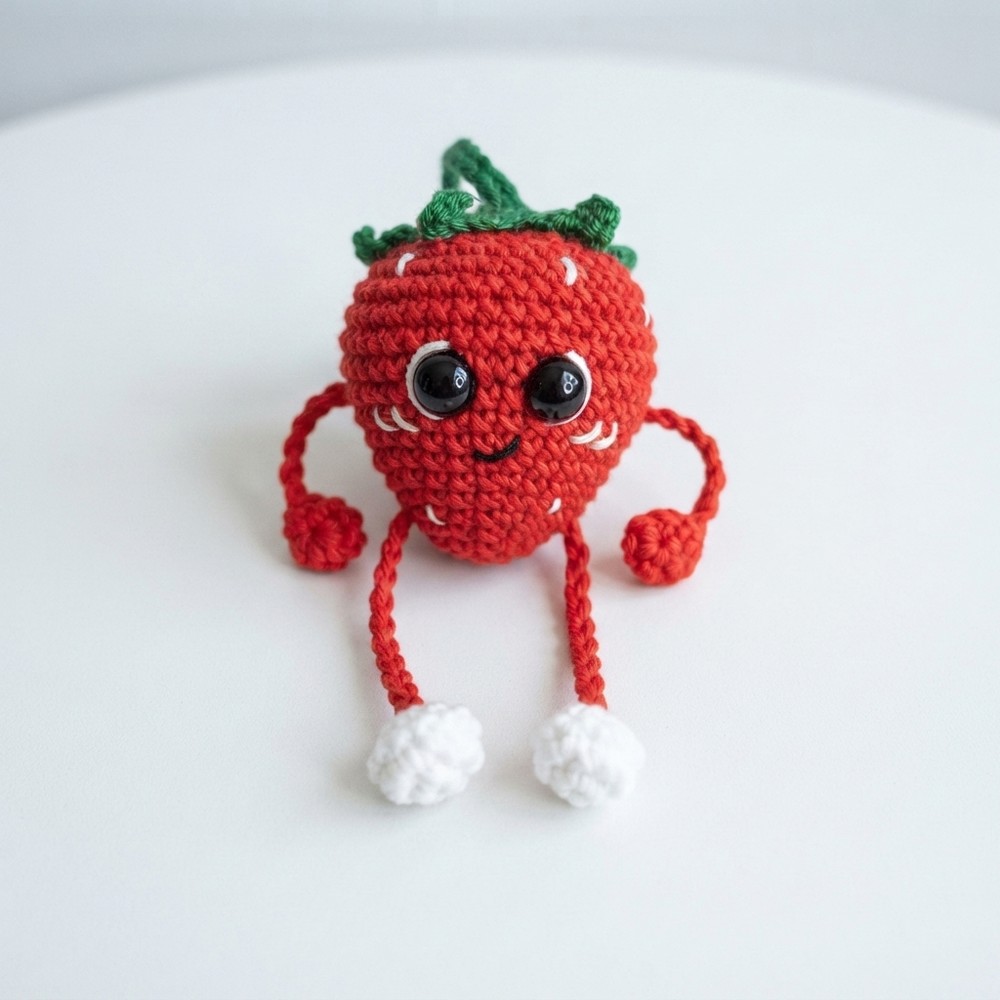
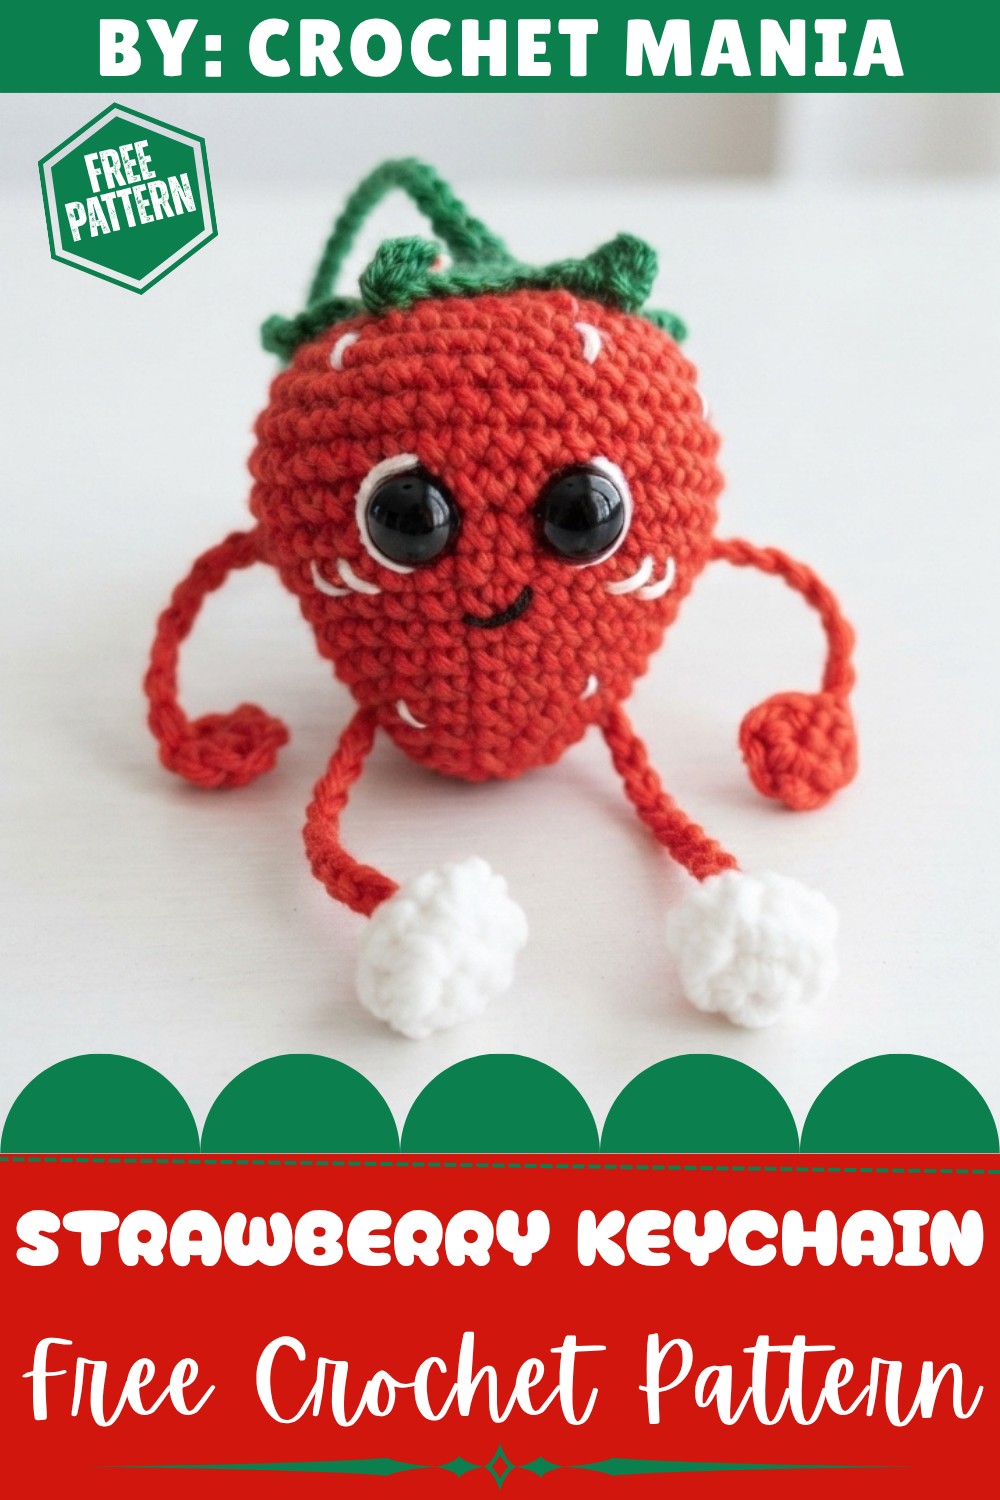
Colors can change the whole mood of the finished piece. Bright red and green create a classic strawberry look, while pink or darker red can give it a fun new style. You could also make several versions and give each one a different color combination. This makes the project a nice way to enjoy simple creativity without making a large item.
Small projects like this are also easy to fit into a busy day. A beginner can enjoy working on a cute accessory without taking on a large project. Someone with more crochet experience can add personal details or make matching fruit designs. The finished strawberry is small, but it still has enough character to stand out.
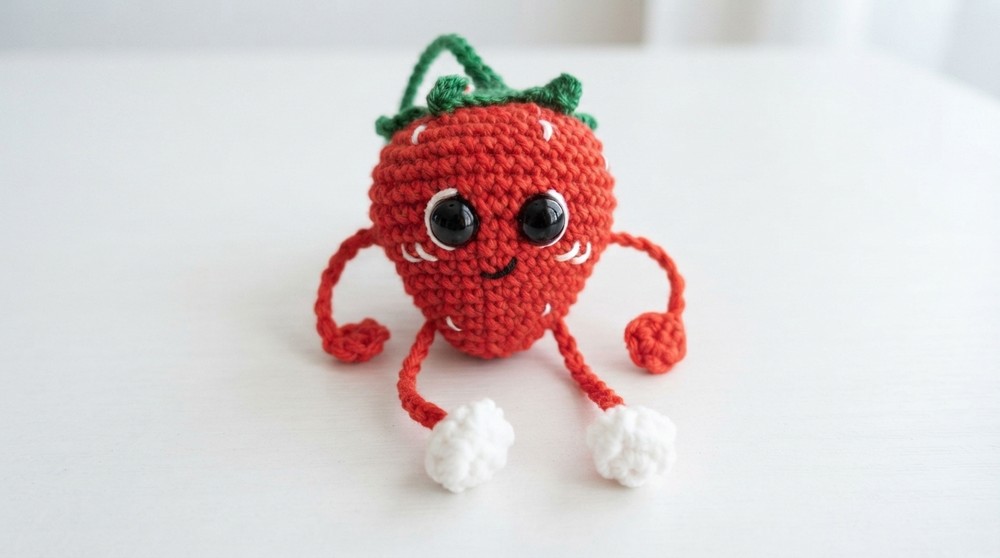
There is something special about giving a handmade item that feels personal. A strawberry keychain can be a cute gift for a friend, child, sister, classmate, or anyone who enjoys fun accessories. It can also become a small keepsake attached to a favorite bag for a long time.
Crochet Strawberry Keychain Pattern
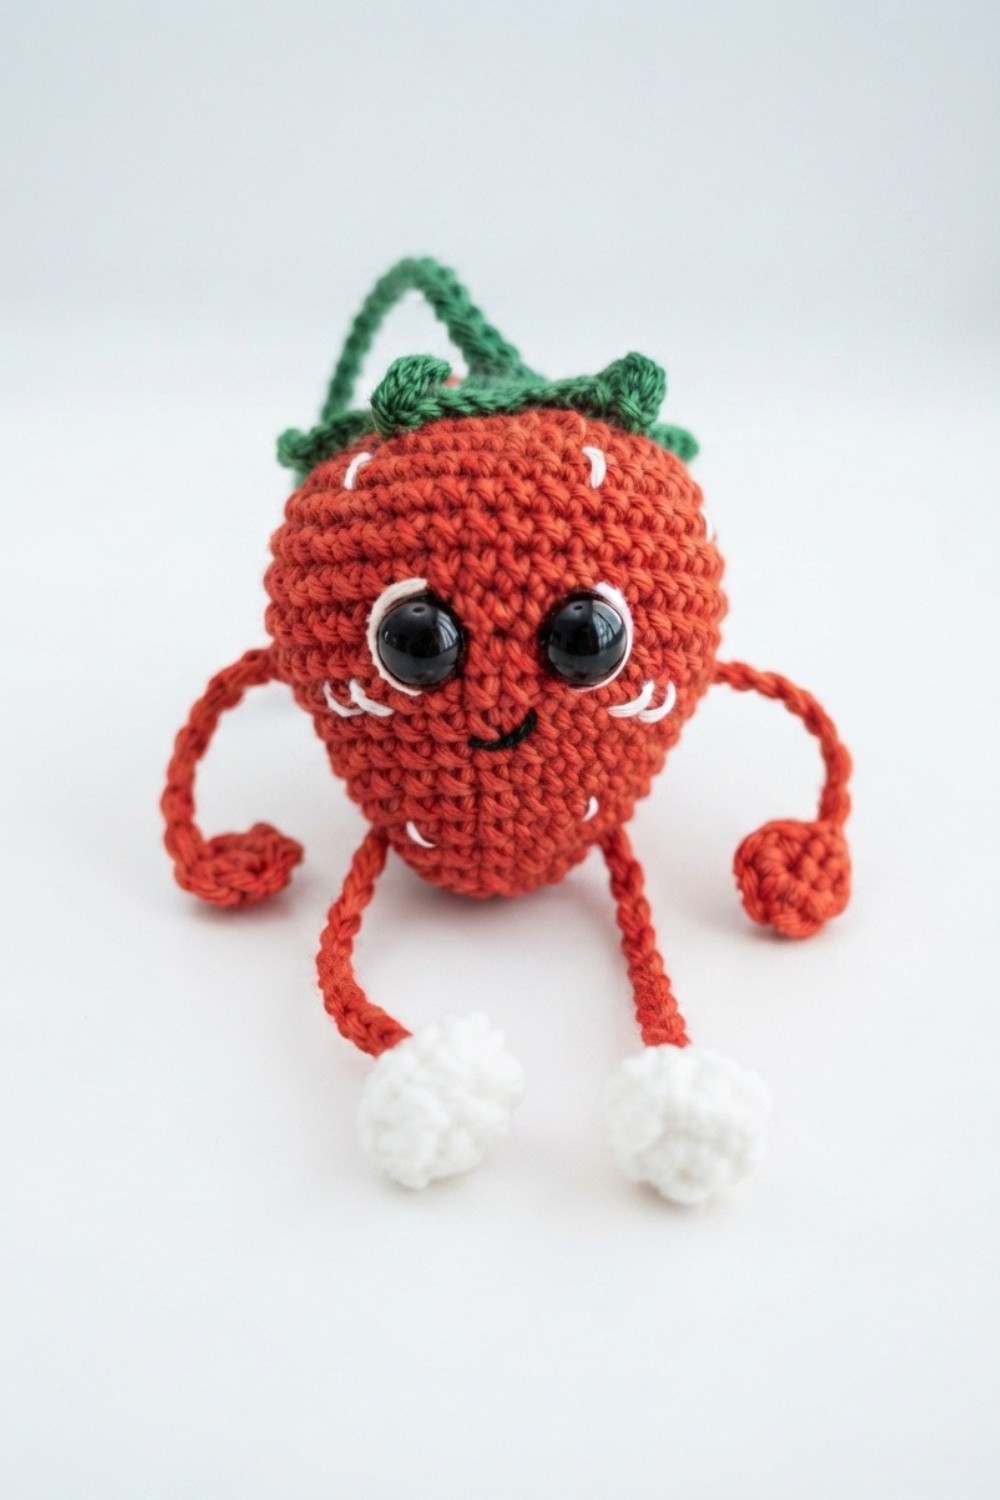
This delightful crochet strawberry keychain is a charming and practical accessory that can be completed with basic to intermediate crochet skills. Using classic amigurumi techniques and a touch of creativity, you will create a small strawberry complete with arms, legs, a leafy top, and embroidered details. The piece is perfect as a gift or a personal keepsake — a great way to practice working with magic rings, invisible decreases, and surface embroidery.
This comprehensive pattern guides you step-by-step through crochet rounds and finishing touches, ensuring clarity for every stage.
Quick Overview of the Pattern
- Create two arms and two legs shaped using magic rings and single crochet rounds.
- Construct the leaf/top piece with petal-shaped crochet rounds.
- Crochet the main strawberry body in rounds, increasing and decreasing appropriately.
- Add facial features and safety eyes, attach limbs and leaves.
- Embroider small seed details to mimic a strawberry’s natural look.
- Assemble all parts and finish by securing the leaf atop the body.
Notes
- The magic ring (or adjustable loop) is used to start most parts for a tight, hole-free center.
- Invisible decreases (also known as invisible single crochet decreases) are used for a neater amigurumi shape.
- Safety eyes should be attached firmly between rounds 10 and 11 of the main body before stuffing.
- Yarn ends must be woven in cleanly to avoid unraveling.
- A tapestry needle is recommended for sewing, embroidery, and closing seams.
- The optional keychain cord is easily added but may be skipped if desired.
Skill Level
Intermediate beginner to intermediate.
This project requires familiarity with:
- Magic ring techniques
- Single crochet (SC)
- Chain stitches (ch)
- Slip stitch (sl st)
- Half-double crochet (hdc)
- Double crochet (dc)
- Invisible decrease (inv dec)
- Basic embroidery stitches
Materials
- Worsted weight or 4-ply cotton yarn in red, green, white, and black
- 2.5 mm crochet hook
- Safety eyes (small size, e.g., 6 or 8 mm)
- Polyester fiberfill stuffing
- Stitch markers
- Embroidery needle and yarn for details
- Scissors
- Tapestry needle
- Optional keychain findings or chain
Measurements / Sizing (Approximate)
- Finished strawberry length: about 10 cm (4 inches) without the optional keychain cord.
- Width: approximately 6 cm (2.5 inches) at the widest part of the strawberry body.
- Arms and legs: roughly 7 cm (2.7 inches) long.
- Leaf diameter: about 5 cm (2 inches).
- Keychain cord: approximately 15 cm (6 inches) folded in half.
Gauge and Stitch Pattern
- Gauge is not critical for this amigurumi but maintain an even tight tension to avoid visible stuffing.
- Stitch pattern primarily consists of:
- Single Crochet (SC) in rounds
- Increases (2 SC in one stitch)
- Invisible decreases (inv dec) for smooth shaping
- Chains for cord and petals
- Slip stitches (sl st) for joining rounds and shaping petals
Stitch Abbreviations
| Abbreviation | Full Term | Description |
|---|---|---|
| ch | Chain | Yarn over, pull through loop on hook |
| sc | Single Crochet | Yarn over, insert hook, pull loop through, yarn over, pull through both loops |
| sl st | Slip Stitch | Insert hook, yarn over, pull through loop on hook |
| hdc | Half Double Crochet | Yarn over, insert hook, pull loop, yarn over, pull through all loops |
| dc | Double Crochet | Yarn over, insert hook, pull loop, yarn over, pull through two loops, yarn over, pull through last two loops |
| inv dec | Invisible Decrease | Decrease stitch worked invisibly (see special stitches) |
Special Stitches
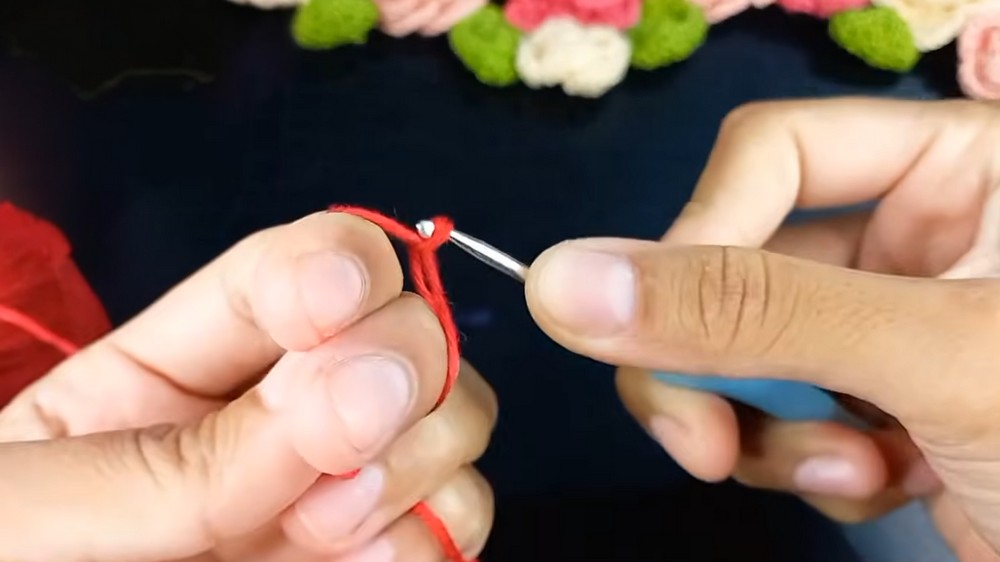
Magic Ring (Magic Circle)
- Wrap yarn around fingers to create an adjustable loop that can be pulled tight to close the round’s center hole.
- Work stitches into the loop before pulling it closed.
Invisible Decrease (inv dec)
- Insert hook into the front loop of the next two stitches.
- Yarn over and pull up a loop (3 loops on hook).
- Insert hook into the back loop of those same two stitches.
- Yarn over and pull up a loop (5 loops on hook).
- Yarn over and pull through all 5 loops on hook for an invisible decrease.
Petal Formation (Leaf Top)
- Combination of chains, slip stitches, single crochet, half-double crochet, and double crochet stitches worked into a round to form petal shapes.
The Crochet Pattern!
1. Arms (Make 2)
- Ring:
- Create a magic ring, crochet 6 single crochets (sc) into it.
- Finish Round:
- Join the round by slip stitching (sl st) into the first sc.
- Chain:
- Chain 25 for the arm length.
- Cut:
- Cut yarn leaving about 10 cm tail for weaving in ends.
- Weave:
- Weave in ends securely.
2. Legs (Make 2)
- Round 1:
- Make a magic ring and crochet 6 sc into it.
- Join with a slip stitch to form a round.
- Round 2:
- Crochet 6 increases: 2 sc in each stitch around, total 12 sc.
- Join with slip stitch.
- Round 3:
- Crochet 12 sc evenly around.
- Join with slip stitch.
- Cut Yarn:
- Leave a long tail (~20 cm) for sewing the leg to the body during assembly.
3. Leaf / Top Piece
- Round 1:
- Magic ring, 5 sc inside.
- Join with slip stitch.
- Round 2:
- Crochet 5 increases: 2 sc in each stitch, total 10 sc.
- Join with slip stitch.
- Round 3 (Petal Formation):
- Petal repeat 5 times:
- Chain 5, skip 1 base chain, slip stitch in next chain,
- 1 sc, 1 half-double crochet (hdc), 1 double crochet (dc),
- Skip 1 base stitch, join with slip stitch.
- Optional Keychain Cord:
- Chain 40.
- Fold in half and attach securely to the center of the leaf piece.
4. Main Body
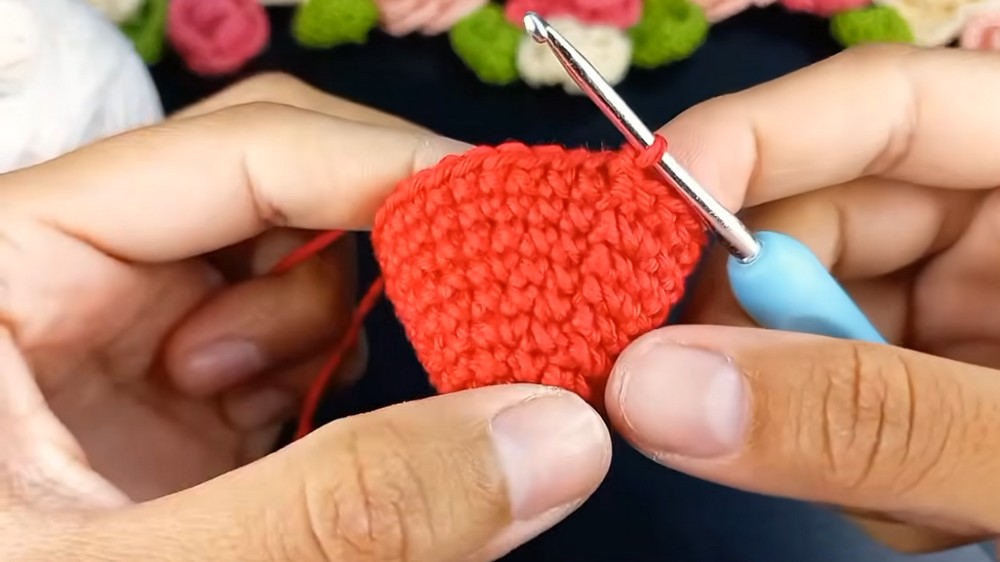
Begin with magic ring and rounds as follows:
- Round 1:
- Magic ring, crochet 6 sc. Join slip stitch.
- Round 2:
- Increase: 2 sc in each stitch around – total 12 sc.
- Round 3:
- Crochet 12 sc evenly.
- Round 4:
- Pattern: 1 sc, 1 increase; repeat 6 times – total 18 sc.
- Round 5:
- Crochet 18 sc evenly.
- Round 6:
- Pattern: 2 sc, 1 increase; repeat 6 times – total 24 sc.
- Round 7:
- Crochet 24 sc evenly.
- Round 8:
- Pattern: 3 sc, 1 increase; repeat 6 times – total 30 sc.
- Round 9:
- Crochet 30 sc evenly.
- Round 10:
- Pattern: 2 sc, 1 increase, 2 sc; repeat 6 times – total 36 sc.
- Round 11:
- Pattern: 5 sc, 1 increase; repeat 6 times – total 42 sc.
- Rounds 12 to 14:
- Crochet 42 sc in each round.
Details: Face and Limb Attachment
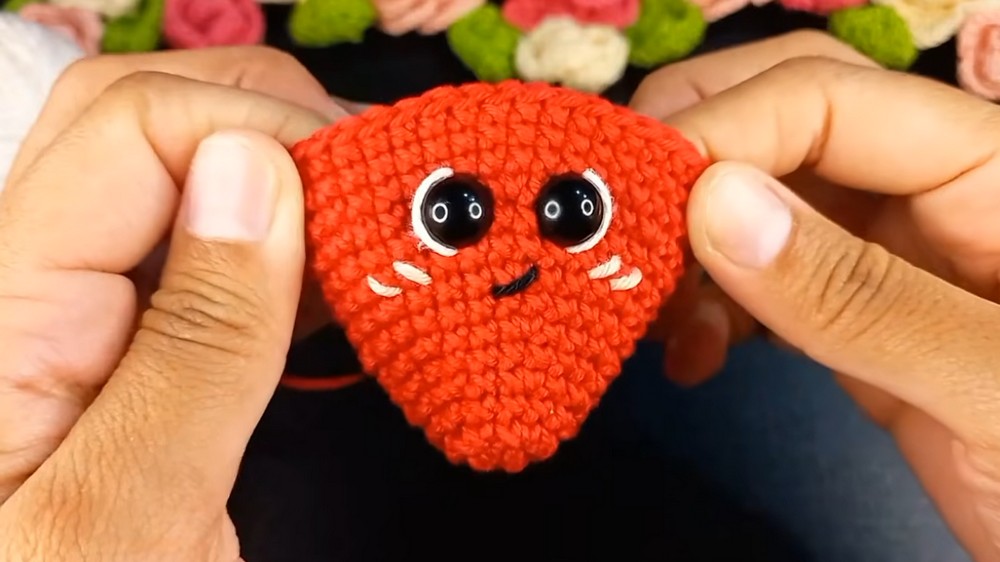
- Safety Eyes:
- Place safety eyes firmly between rounds 10 and 11 at your desired spacing.
- Embroider Face:
- Use black yarn or embroidery thread to create a smile, eyelashes, or other facial details.
- Attach Arms and Legs:
- Sew limbs securely using yarn tails, positioning arms and legs symmetrically.
Continue Body Shaping and Closure
- Round 15:
- Pattern: 5 sc, 1 invisible decrease; repeat 6 times – total 36 sc.
- Round 16:
- Pattern: 2 sc, 1 invisible decrease, 2 sc; repeat 6 times – total 30 sc.
- Round 17:
- Pattern: 3 sc, 1 invisible decrease; repeat 6 times – total 24 sc.
- Round 18:
- Pattern: 1 sc, 1 invisible decrease, 1 sc; repeat 6 times – total 18 sc.
- Round 19:
- Pattern: 1 sc, 1 invisible decrease; repeat 6 times – total 12 sc.
- Stuff the body firmly at this stage for shape.
- Round 20:
- 6 invisible decreases – total 6 sc remaining.
- Finish off by closing the hole using a tapestry needle and weaving in ends securely.
5. Final Touches
- Seed Embroidery:
- Using white yarn or thread, embroider small seed marks scattered across the strawberry body for realism.
- Attach Leaf Piece:
- Sew or glue the leaf/top piece securely onto the top of the strawberry body ensuring it sits evenly.
Assembly & Finished Size
- The finished strawberry keychain measures approximately 10 cm (4 inches) in length excluding optional keychain cord.
- Arms and legs are about 7 cm (2.7 inches), giving realistic proportions.
- The leaf creates a lovely decorative top, around 5 cm (2 inches) across.
- Assembly requires careful sewn attachment and embroidery finishing to bring the character to life.
Conclusion
This strawberry keychain is a charming project combining traditional amigurumi techniques with creative crochet stitches and embroidery for delightful results. The detailed instructions provide a clear roadmap for crocheting every part from limbs to leaves, shaping the body, and adding personality with facial features and seed details.
Perfect as a gift or personal accessory, this project enhances skills such as working in rounds, increasing, invisible decreases, and combining surface embroidery with amigurumi construction. The use of stitch markers, stitch placement, and finishing tips ensure a neat and professional piece.