Free Crochet Ribbon Handbag Pattern for Everyday Fashion Lovers

Carry your essentials with ease using this free crochet ribbon handbag pattern, combining style and practicality for everyday use effortlessly.
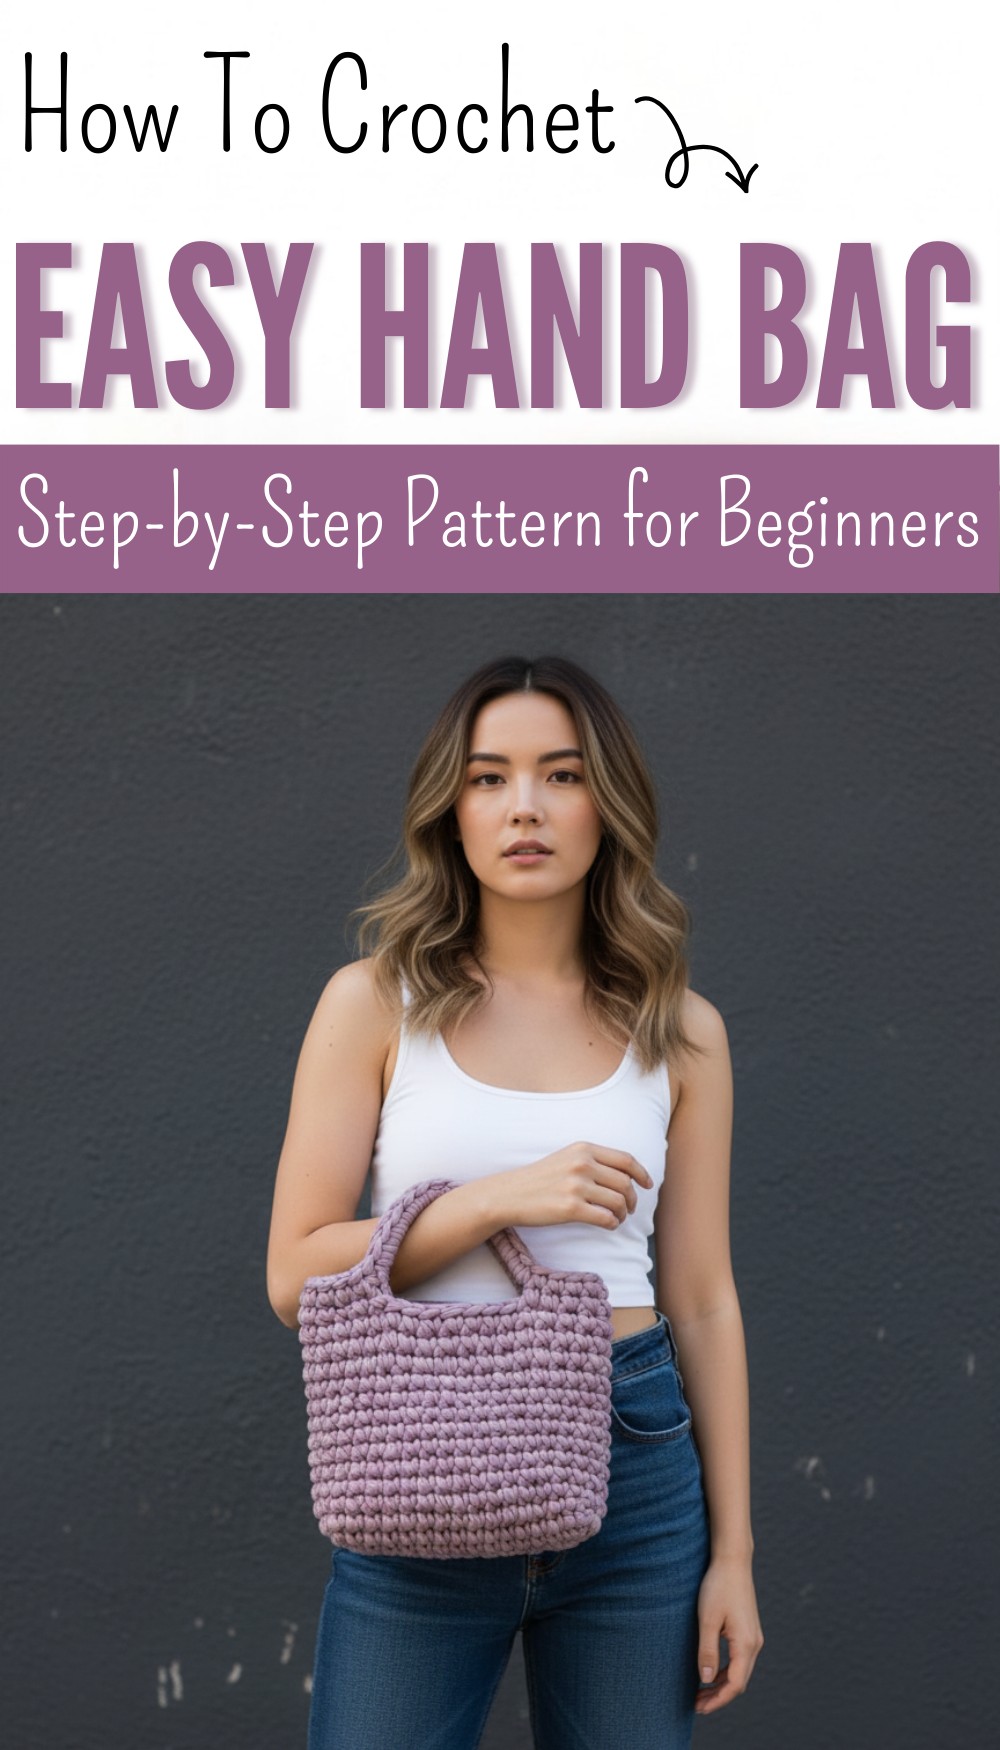
Have you ever wanted to make your very own pretty bag? A free crochet ribbon handbag pattern is a great way to create a cute and useful item all by yourself! This type of handbag is made with soft ribbons or yarn that look shiny and colorful. It’s fun to hold and easy to carry around.
Stylish Free Crochet Ribbon Handbag Pattern That Looks Store Bought
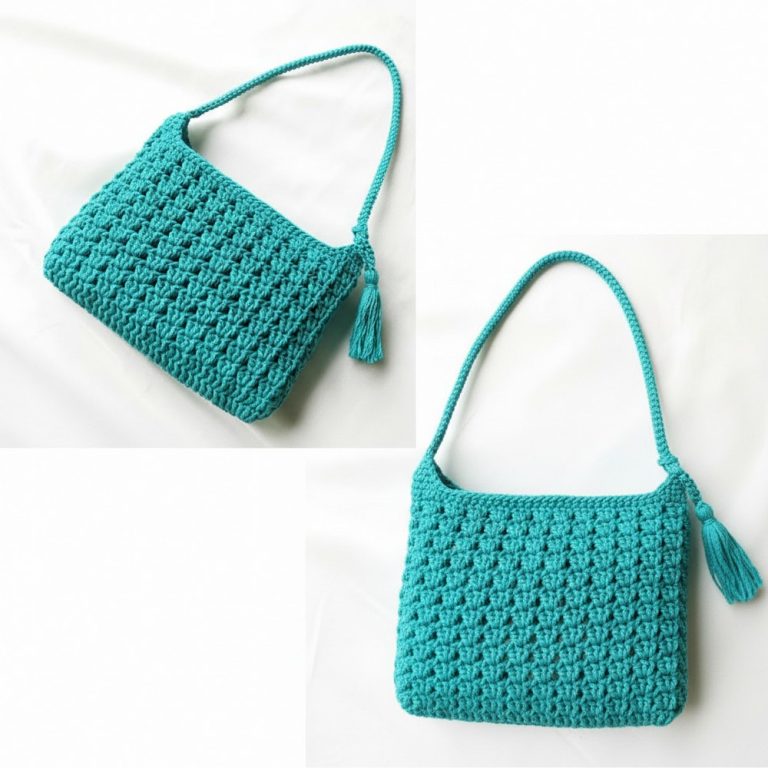
What makes this handbag special is its simple but beautiful design. The ribbon gives it a smooth and fancy look, almost like little waves or lines all over the bag. You can pick your favorite colors, bright reds, soft pinks, or even rainbow shades, to make a handbag that matches your style perfectly. Depending on how big or small you want it, you can change the size by using more or less ribbon and making more or fewer stitches.

This handbag is not just pretty but also very handy. You can use it to carry small things like your phone, keys, or even snacks when you go outside. Some people also like to make these bags as gifts for friends or family because they look special and feel warm, since they are handmade.
The important stitch used in this pattern is usually a single crochet or a half double crochet, which makes the bag strong and holds its shape well. These stitches are also easy to learn, so even kids who are just starting to crochet can try it with some help.
In short, this free crochet ribbon handbag pattern lets you make a lovely handbag, perfect for yourself or as a gift. It teaches you how to use color, size, and simple stitches to create something special and useful. Whether you want a big bag or a small one, this project is a wonderful way to start crocheting and enjoy making things with your own hands!

Crochet Ribbon Handbag Pattern
Materials
- Ribbon yarn
- Crochet hook: 6 mm
- Stitch markers (or safety pins/hair clips)
- Wool (tapestry) needle
- Scissors
- (Optional) Smaller crochet hook for finishing
Key Abbreviations (US Terms)
| Abbreviation | Meaning |
|---|---|
| ch | chain |
| sc | single crochet |
| inc | increase (2 sc in same st) |
| st(s) | stitch(es) |
| rep | repeat |
Special Notes
- The bag is worked in continuous rounds (spiral) after the base is completed.
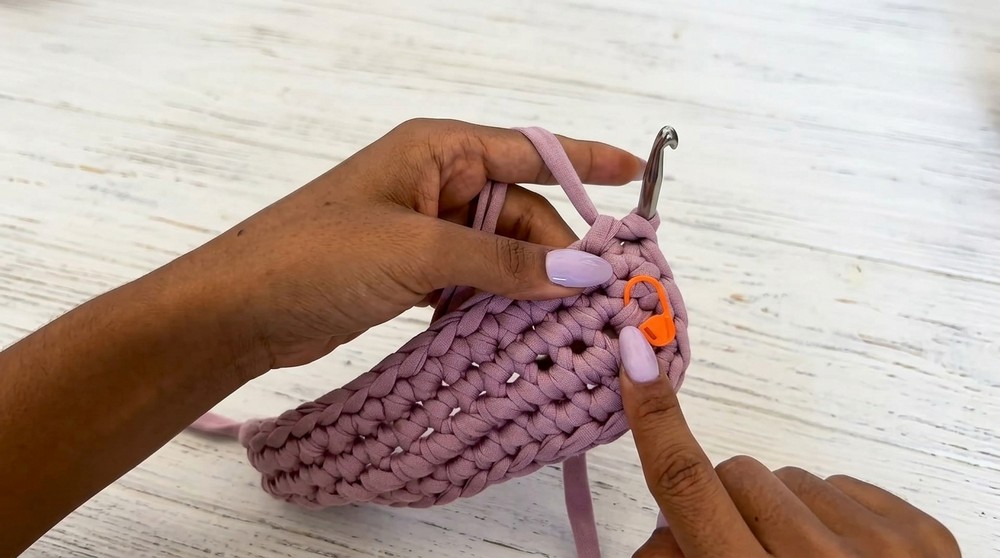
- Use markers to clearly mark the first stitch of each round and handle placement.
- The bag is constructed as one piece, with special rounds for the handles.
Pattern
1. Base
- Foundation Chain:
- Ch 13. (If including the starting loop, ch 14.)
- Row 1 (First Side):
- Starting from the 2nd ch from the hook, work 1 sc in each of the next 12 ch. (Total 12 sc)
- Mark the first sc with a stitch marker if desired.
- First Corner:
- In the last chain (base chain at the end), work 4 sc into the same ch to turn the corner. (Mark the first of these increases.)
- Second Side:
- Continuing along the opposite side of foundation chain, work 11 sc across the remaining free loops (one in each ch).
- Second Corner:
- In the last ch, work 3 sc in the same ch (making the second curve).
(You should now have a rounded rectangle: 12+4+11+3 = 30 sc total)
- Invisible Join:
- Join with an invisible closure:
- Remove hook, insert into first stitch from outside.
- Pull end through, reinsert into arch, finish the closure as described.
- Join with an invisible closure:

2. Base Expansion (Optional for Extra Flatness):
- Optional: To clarify increases, ensure both ends have extra increases:
- Round 2:
- Ch 1, work around the base as:
- Sc in each st up to corner.
- At corners: [1 sc, 1 inc, 1 sc, 1 inc] for 4 corner sc.
- Continue sc along sides.
- At other end: [1 sc, 1 inc, 1 sc] in the 3 corner sts.
- Ch 1, work around the base as:
- You should end up with a total of 34 sc around the base.
- Round 2:
- Remove all markers after this round; they are no longer needed for the body.
3. Body of Bag
- Work in Spiral:
- Do not join or close rounds.
- Sc in each st around (34 sts per round) for 10 rounds to build up the sides.
- Optional: Continue to use a marker to mark the first stitch of each round for accuracy.
- Count rounds and review for even height.
- After 10 rounds, the body is complete.

4. Creating the Handles
- Handle Placement:
- With stitch markers, count and mark as follows:
- From starting point, 10 sc for one side.
- Next 7 sc will be the handle opening (mark the first and last of these).
- Then 10 sc for the other side.
- The final 7 sc will be the second handle.
- With stitch markers, count and mark as follows:
- Handle Round:
- Sc in the first 5 (up to marker).
- Ch 7, skip the next 7 sts, then sc in the next st (attach to next marker).
- Continue with 10 sc along next section.
- Ch 7, skip 7 sts, then finish with 5 sc.
5. Thickening and Finishing Handles
- Final Round:
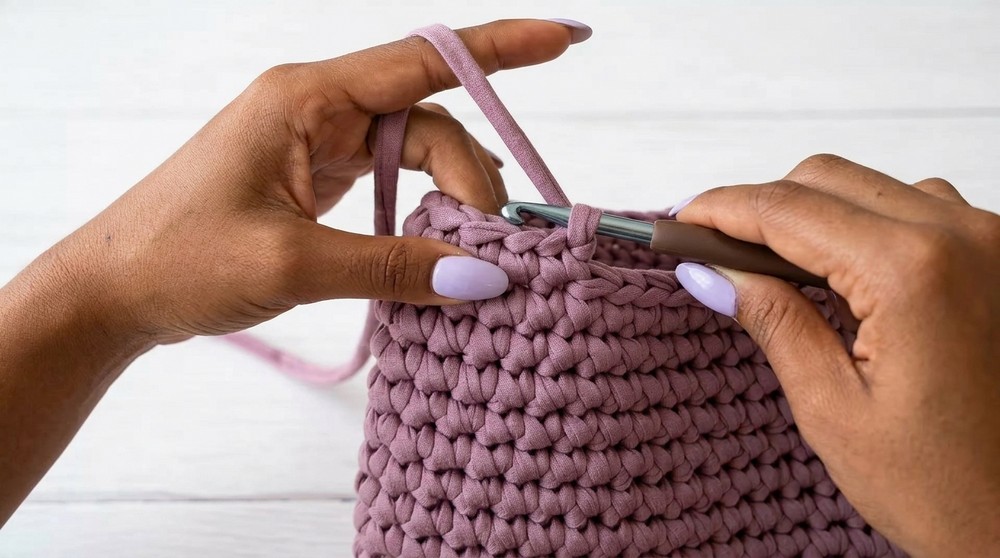
- Sc in each body st and handle ch:
- Sc in first 5 body sts.
- Sc 7 times around the handle loop (insert hook under ch-7 loop for each sc).
- Sc into all following body sts to the next handle loop.
- Sc 7 times around the second handle (insert hook under ch-7 loop).
- Finish the round with 5 sc to your starting point.
- Sc in each body st and handle ch:
6. Invisible Fastening and Finishing
- End with Invisible Join:
- After last sc, skip next st, insert hook into following (from outside), pull yarn through to front.
- Insert hook through inside loop of original starting stitch from inside, pull through and finish off.
- Weave in Ends:
- Use a wool needle or smaller crochet hook, insert yarn tail through stitches for about 10 passes, pull gently, and cut any excess.
Conclusion
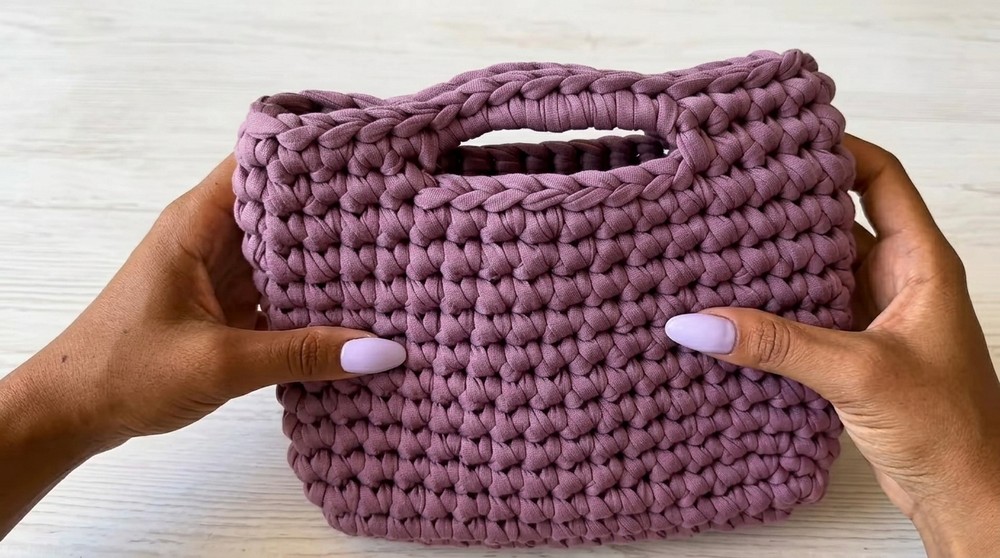
You have now completed a stylish, sturdy ribbon handbag with integrated handles! This quick project is ideal for beginners and can be accomplished in an afternoon.
Pattern Corrections
- Maintain exactly 34 stitches throughout the body and handle rounds for a bag without distortion.
- Use stitch markers generously, especially for handle openings and first stitches of rounds.
Tips
- For perfect symmetry, double-check handle placement with stitch markers before crocheting the handle round.
- You can adjust the bag’s size by increasing the starting chain/rounds, or changing yarn and hook size.
- Hide yarn tails inside the walls of the bag for a neat finish.