Crochet Scrunchie Free Pattern for Comfortable Wear
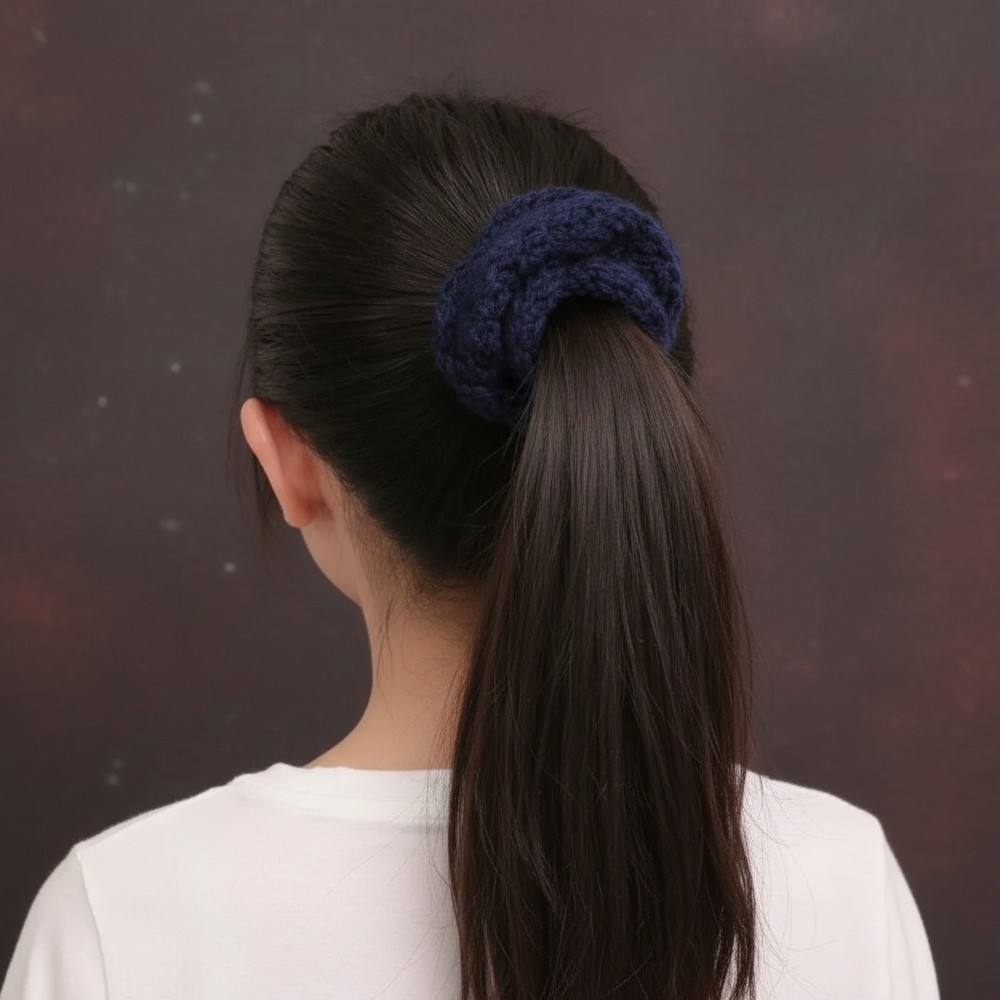
Personalize your hair accessories with this free crochet scrunchie pattern perfect for stylish looks gentle hold and comfort all day long.
A soft band wraps around your hair and adds a splash of color to your style in seconds. Using a crochet scrunchie pattern makes a beautiful hair tie that looks fancy and keeps your hair safe from damage. The round shape stays gentle and stretchy so it fits thick or thin hair easily. This scrunchie brings beauty to a ponytail, bun, or braid, giving your hair a touch of charm with every use. It never tangles or pulls, so hair stays comfortable all day.
Free Crochet Scrunchie Pattern for Last-Minute Accessories

Many people use this band as a bracelet, carrying a pop of color wherever they go. The special part is that each scrunchie is made by hand and can match any outfit or mood, making it a wonderful gift for friends or family. This easy and soft design is perfect for brightening up hair or wrist with something personal that lasts a long time.

Crochet Ribbed Scrunchie (Beginner Friendly)
This beginner-friendly pattern teaches you how to crochet a classic ribbed scrunchie from start to finish. The design uses just single crochet (sc) in the back loop for a soft, stretchy ribbed texture. You’ll create a rectangle, seam the ends together, enclose an elastic hair tie in the fabric, then slip stitch the long edges closed to form a plush, handmade scrunchie. The result is a beautiful, functional accessory you’ll be proud to wear or gift.
Bsics Of Pattern
- Simple Ribbed Texture: Made with only single crochet in the back loop for maximum stretch and comfort.
- Minimal Sewing: Slip stitches are used to seam both short and long edges for a nearly invisible join.
- Encased Elastic: Standard elastic hair tie forms the secure, flexible core.
- Customizable Size: Easily make your scrunchie thicker, thinner, or larger by adjusting chain/row counts.
- Perfect for Beginners: Only basic stitches (single crochet and slip stitch) are needed.
Notes
- Pattern is written in US crochet terms.
- All stitches are worked into the back loop unless otherwise specified—this is what gives the scrunchie its distinctive ribbing.
- For best results, count your stitches at the end of every row, especially at the start.
- Use a soft, smooth yarn for maximum comfort, but almost any worsted, DK, or even bulky yarn will work.
- You can use any standard elastic hair tie; choose one similar in size to what you generally use.
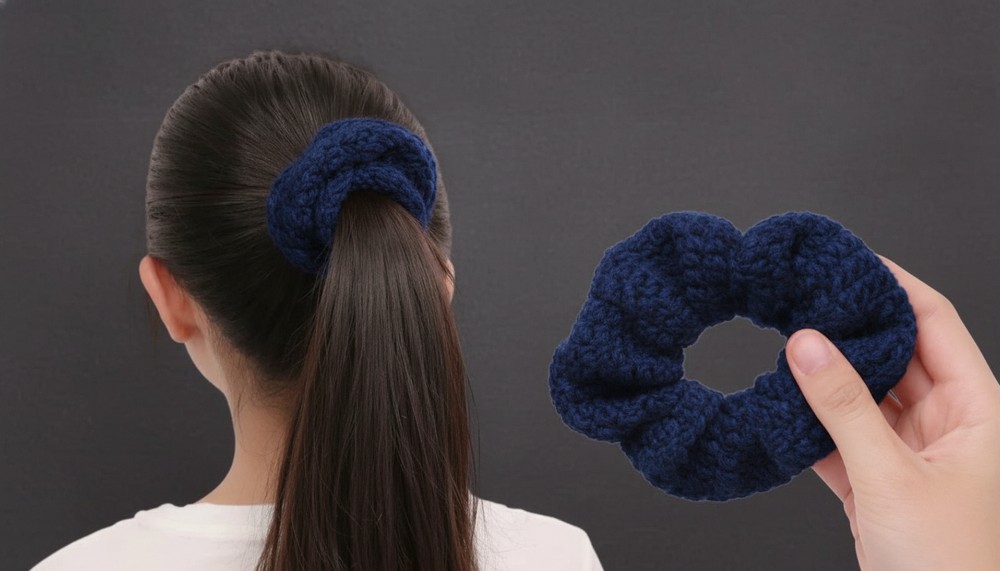
- The finished scrunchie is stretchy and will gather nicely once the elastic is enclosed.
- This is a fantastic stash-buster project.
Skill Level
Absolute Beginner
- Requires only chain, single crochet (in back loop), and slip stitch.
- Minimal shaping or sewing.
Materials
- Yarn: Worsted weight yarn (small amount, about 10-15g or less)
- Hook: 4.0 mm (G/6) or 4.5mm for a looser fabric—adjust as you wish for your yarn.
- Elastic hair tie: Standard size (thick, non-glittery ones work best)
- Scissors
- Yarn needle (for weaving ends)
Measurements / Sizing
- Width (height of rib): Approx. 1.5 in (4 cm)
- Length (before joining): Approx. 10–11 in (25–28 cm) or as needed to stretch comfortably around your elastic hair tie.
- The finished scrunchie will gather up and fit standard ponytail size with lots of stretch.
- Adjust length or width by adding more/less chains or rows.
Gauge & Stitch Pattern
Gauge:
- Not critical for this pattern; focus on making your strip long enough to comfortably stretch around your elastic.
Stitch Pattern:
- Back Loop Only Single Crochet Rib:
- Foundation: Work single crochet in the back loop of each chain, then turn and repeat in back loops only for every row after.
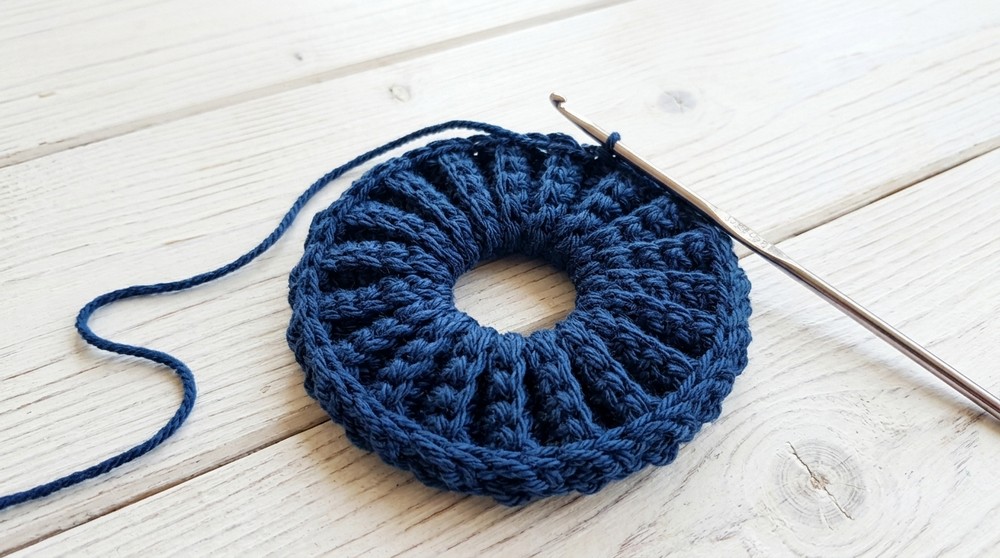
- The fabric should be stretchy and springy with prominent ridges.
Stitch Abbreviations
| Abbreviation | Meaning |
|---|---|
| ch | Chain |
| sc | Single crochet |
| sl st | Slip stitch |
| BLO | Back loop only |
| st(s) | Stitch(es) |
| rep | Repeat |
Special Stitches
- Single Crochet in the Back Loop Only (sc BLO):
Insert your hook only under the back loop (the one furthest from you) of the next stitch and make a regular single crochet. This makes the ribbed effect. - Slip Stitch (sl st) Seaming:
When joining edges, you’ll sl st through loops on both pieces at once for a flat, secure seam.
Step-by-Step Pattern
Step 1: Foundation Chain
- Start with a slip knot.
- Ch 13 (for approx. 1.5″ width; adjust if you want a wider/thinner scrunchie).

Step 2: First Row (Establish Rib)
- Turn your work.
- Sc in the back loop only (BLO) of the 2nd ch from hook.
- Sc BLO in each ch across. You should have 12 sc at the end.
- Count your sts to confirm you have 12.
Step 3: Ribbed Band
- Ch 1, turn.
- Sc BLO in each st across (12 sc).
- Rep Row 3 until you have 38 rows or until the strip fits comfortably while stretched around your elastic.
- You should have a soft, stretchy ribbed rectangle.

Tip: Hold your strip around your elastic—it should stretch slightly for a snug fit.
Step 4: Form the Tube (Seam Short Edges)
- Fold your strip in half so the short edges meet, forming a loop.
- Ch 1.
- With the wrong side out, sl st through both edges at once:
- Insert hook into back loop of the edge nearest you and front loop of the edge furthest from you.
- Sl st across to join (12 sl st).
- This makes a flat, flexible seam—the start of your scrunchie tube.
Step 5: Joining Around Elastic
- Slide your elastic hair tie into the tube you’ve made.
- Fold the tube length-ways to enclose the elastic, matching the long edges.
- Join the long edges:
- Insert your hook through the edge closest to you, then through the edge opposite.
- Sl st the edges together, working around the circle and keeping the elastic inside.
- Take your time; shift the gathers as you go for even fullness and make sure you don’t split the elastic.
Step 6: Finishing
- Ch 1, cut your yarn, and fasten off.
- Use your hook or yarn needle to weave tail ends neatly into the stitched seam.
- Spread fabric evenly around elastic for a nice, ruffled look.
Assembly & Finished Size
- The ribbed strip is seamed into a circle, then folded and slip stitched around elastic.
- Final scrunchie will measure about 3.5–4 inches (9–10 cm) wide laid flat, but will easily stretch to fit most ponytails or buns.
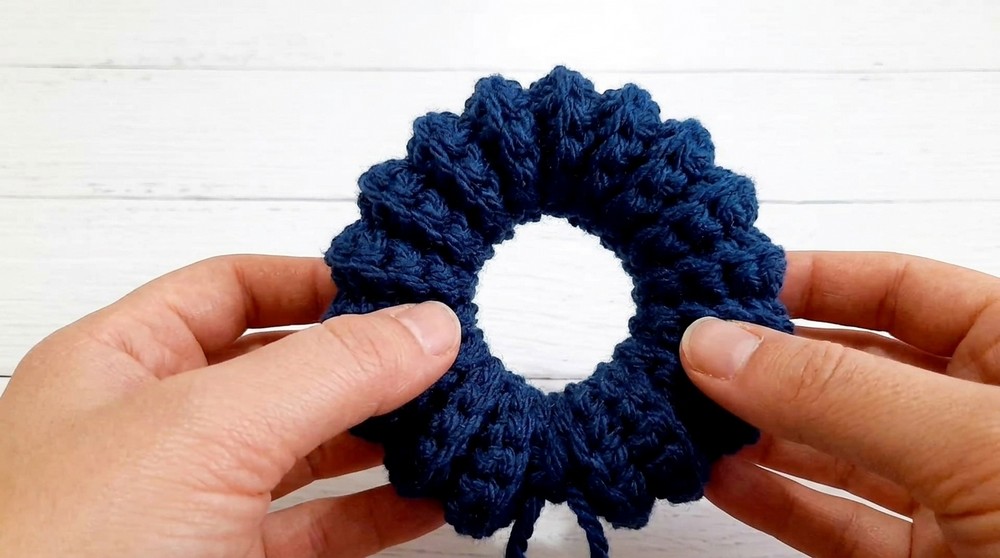
- Fabric gathers up naturally for a soft, plush scrunch effect.
Conclusion
Congratulations! your ribbed scrunchie is complete. With just single crochet, slip stitch, and some simple folding and joining, you’ve made a custom, stylish accessory. These make excellent gifts, are perfect for using up scrap yarn, and are a quick and satisfying project for crocheters of any level. Enjoy making more in every color, and wear your new scrunchie proudly.